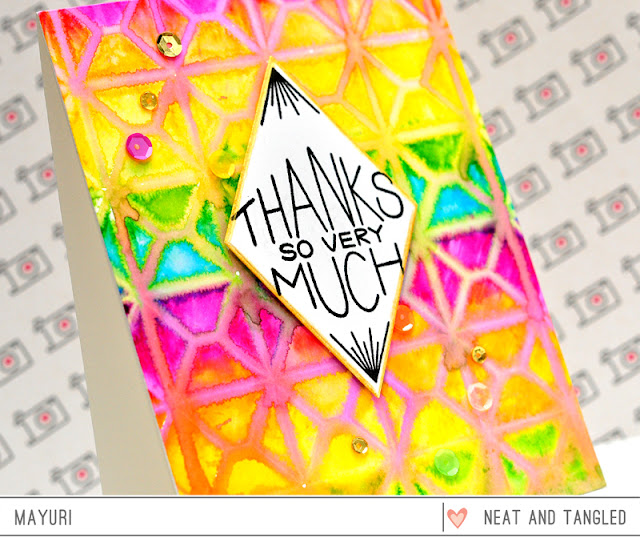
Mayuri here to share a card using a stencil, a die and a stamp set!
I began by creating a colourful background using the Cubic stencil and some ZIG Clean Color Real Brush Pens. I simple laid the stencil down onto a piece of white cardstock, coloured through the stencil and onto the card with the brush pens, and then liberally spritzed with water!
I adhered the panel straight down to my card based and moved onto the sentiment. I die-cut the diamond shape using the diamond shaped die from Gift Card Box Die Additions and then stamped a sentiment from the Thanks So Much set. I brushed some gold ink all the way around the edges of the die-cut piece before foam mounting to the card front.
To finish, I embellished with a mixture of sequins.
Thanks for stopping by!


Colorful and pretty :)
ReplyDelete