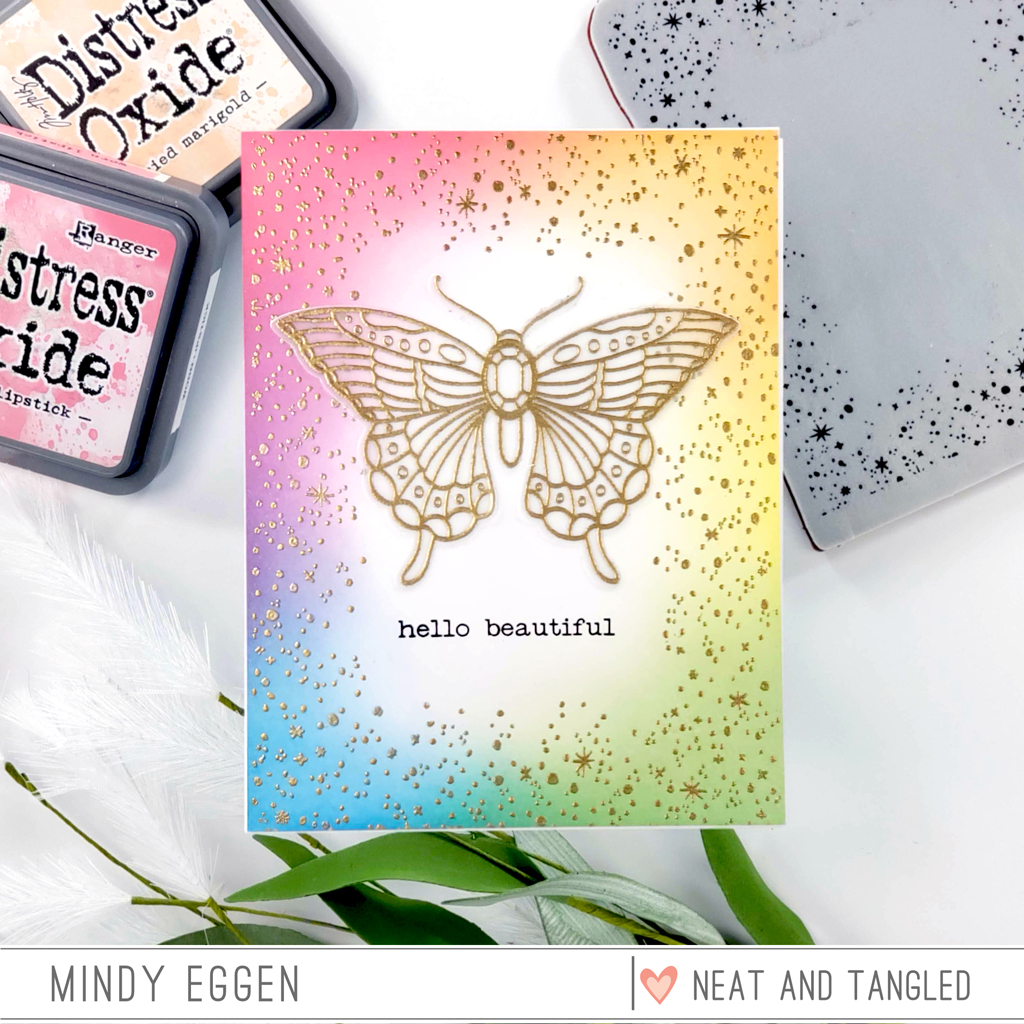
Welcome everyone! I had an idea hit me that I couldn't wait to try out! The Starry Sky background from Neat & Tangled is definitely one of my favorite background stamps but Instead of creating an actual sky with it, I wanted to see how a rainbow would look.
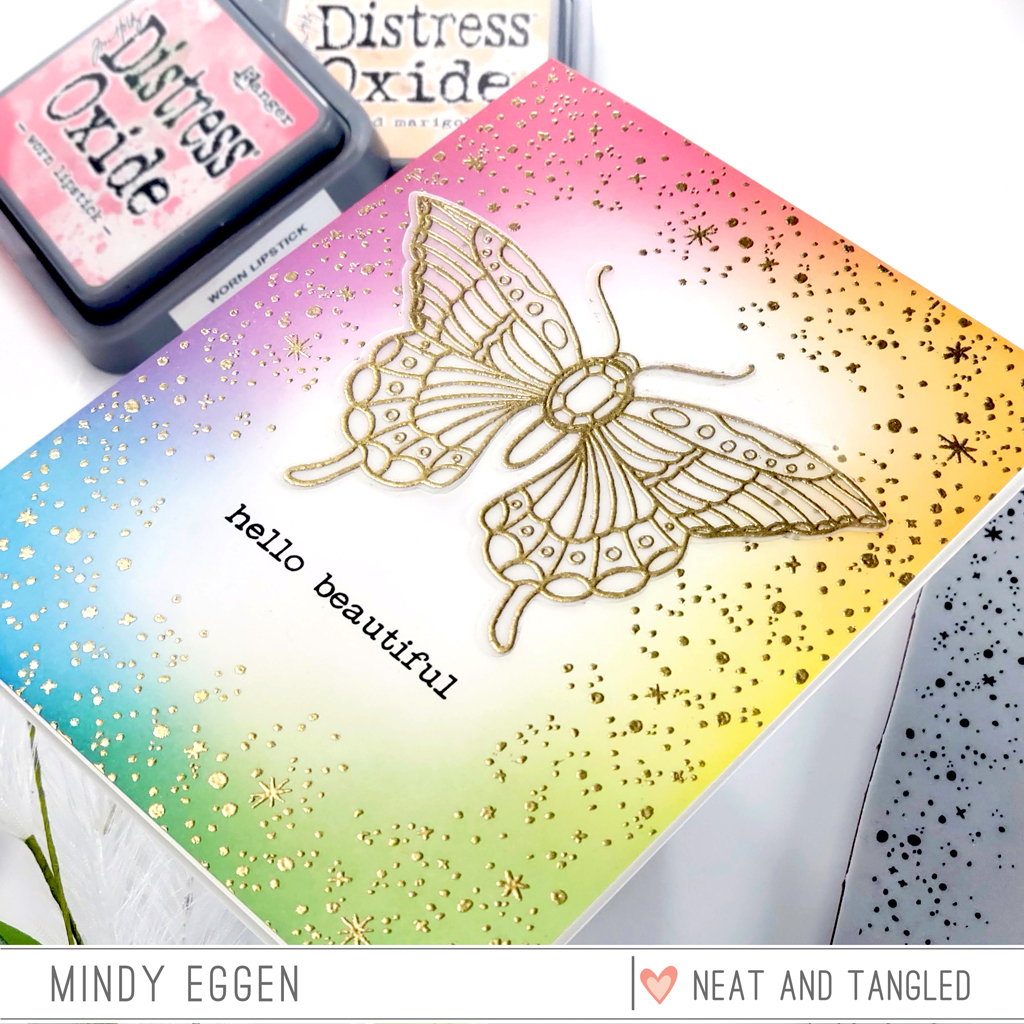
I start with creating the background first. I ink blended Worn Lipstick, Dried Marigold, Squeezed Lemonade, Cracked Pistachio, Salty Ocean and Milled Lavender onto Neenah Solar White 80lb cardstock. I used my Life Changing Blending Brushes when blending for a nice soft look around the edges.
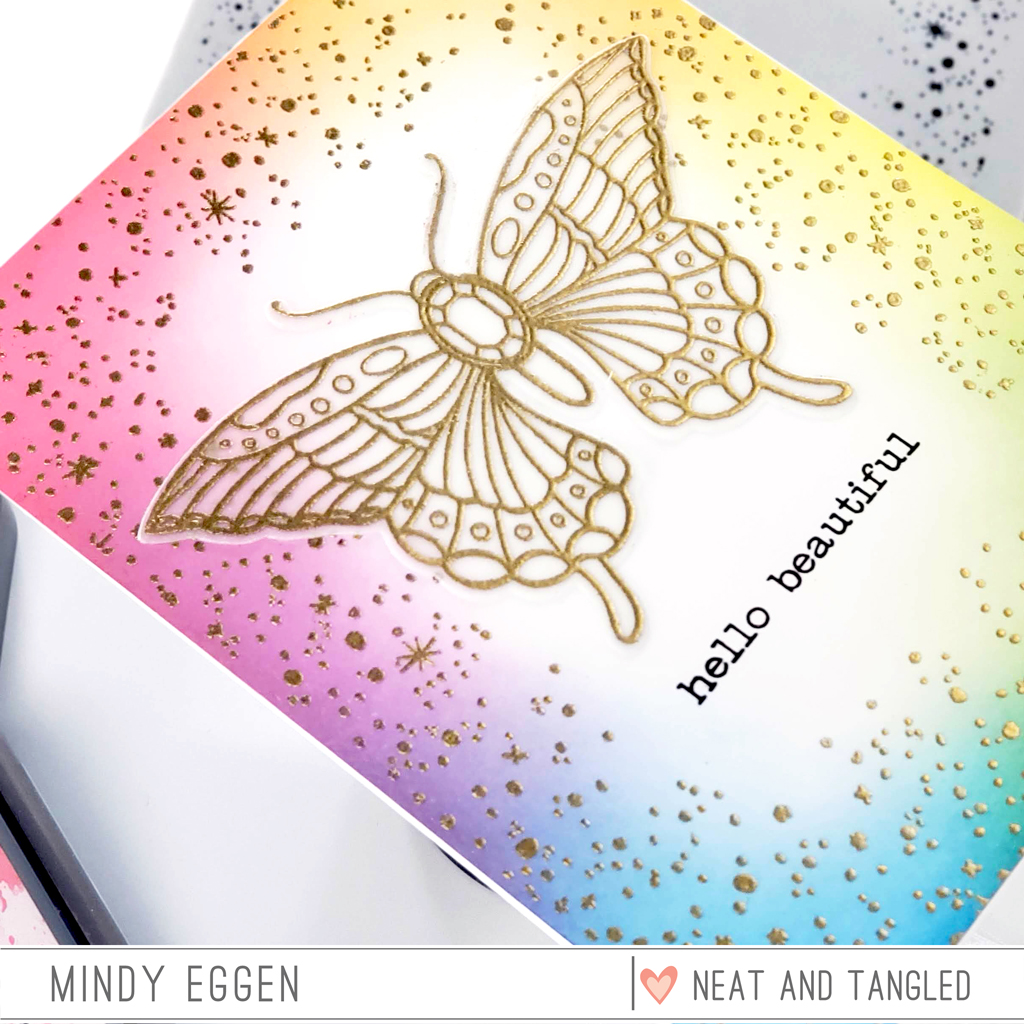
Once that was completely dry, I heat embossed the Starry Background in Gold embossing powder using my Misti tool and clear ink. That background alone was amazing! So many possibilities with it. Do you have the Magical Day stamp set? Or maybe the To The Stars stamp set? Those would look amazing with this!
Even adding a die cut word to the center would be a great addition.
I opted to use the Butterfly Beauties but the Moon Magic set would work too.
I heat embossed the image onto Vellum with Gold embossing powder to tie into my background. Then used the coordinating die to cut it out. I could not find my sticker maker, so I used spray adhesive on the back of my image. Other then me over-spraying and having a little bit of the glue seep out, it worked really well. I just used a Mono Sand Eraser to remove any of the gunk the seeped out.
I finished off the card by stamping the sentiment from Butterfly Beauties in Black ink. I adore the font on these sentiments.
I'm pretty crazy happy with how this turned out. I hoped you enjoyed it too!
If you find any of these supplies out of stock, please be sure to click the "Email Me When Available" link on the website.
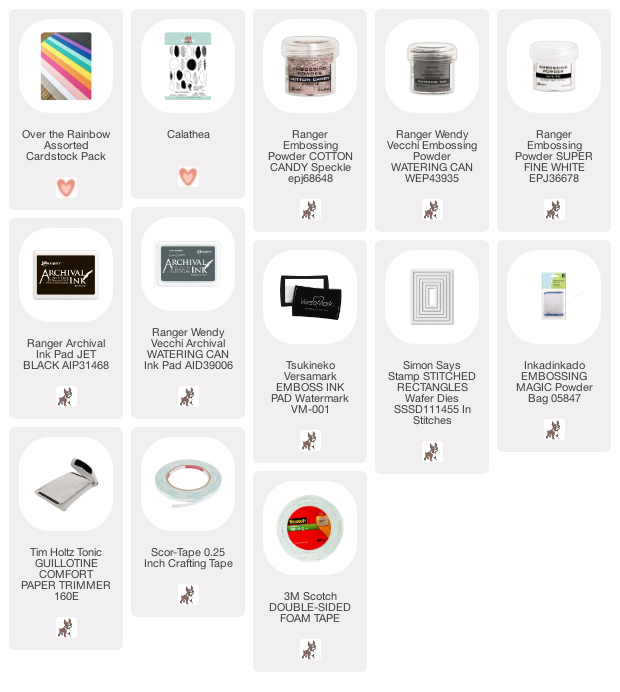
SUPPLIES
Below you will find links to the products used. Click the icon to start shopping. Compensated Affiliate links are used at no additional cost to you. Your support helps me to keep bringing you new projects and videos. Thank you!
Hello everyone, Koren here with a vibrant card today, featuring several of Neat & Tangled's products. This card really pops and it's a fun way to use your floral stamps without coloring them.
Background:
I started with two pieces of cardstock both cut to 4 3/4 by 3 1/2. I used the pink and teal colors from the Neat & Tangled Cardstock Assortment Pack. I loaded one panel at a time into my Mini MISTI with the largest floral stamp, from Neat & Tangled's Grateful Heart stamp set, aligned within it. I stamped it twice, once on the pink panel and again on the teal panel, both in the exact same spot.
I took the teal panel and the Neat & Tangled Butterfly Beauties Die, and aligned the die to be cut towards the upper right center of the teal panel. Once the butterfly was cut into the teal panel I adhered a piece of Judikins Heat Embossable Window Plastic directly behind the panel with Nuvo Liquid Deluxe adhesive.
To create the window pocket for the sequins to live in, I added thin strips of foam adhesive all along the body of the butterfly. Doing this helps the sequins stay within the confines of the window where you can see them. I added the same adhesive to the rest of the panel.
The sequins used on this card are from Simon Says Stamp. They are called Flowering Clover and have beautiful tones of pink and greens to go well with this cards color palette. Once the sequins were added I stuck the pink panel to the back to enclose all of my beautiful sequins.
Sentiment:
To create the cluster of sentiments I have arranged here on my card, I took the hot pink color cardstock from the Neat & Tangled Cardstock Assortment Pack and stamped "a friend like" and "is rare" both from the Neat & Tangled Moon Magic stamp set. I stamped it with Nuvo Clear Mark embossing ink and heat embossed it with Simon Says Stamp white embossing powder. I then used my paper trimmer to cut it down into small strips. This is actually all one sentiment but I masked the parts of the sentiment that I didn't want to stamp with a short piece of tape (or you can even use scrap paper to mask it).
The "you" word die is from Neat & Tangled's Just because word die set. I cut is using several of the same colors already used on the card plus one very bright green that I pulled from my stash. If you look closely, you can see different color layers in the side of the word die.
The strips were popped up using foam tape and the word die was adhered using liquid adhesive. To finish off the card I used a few of the Flowering Clover sequins on the outside of the shaker pocket surrounding the sentiments.
I hope that I have inspired you to create something today.
Hi there crafty friends, it's Cheiron here and today I have a fun Calathea patterned card for you featuring multiple colors (and some multiple layers) of heat embossing. I have not used my Calathea set in a long time, and I thought it would be fun to use it to make a pattern in non traditional colors.
For this card, I used a panel of the light pink card stock from the Over the Rainbow Cardstock pack.
I stamped the leaves in black and grey ink and embossed some of them in white to create the first layer of my pattern.
Once I filled the panel with the a pattern of the big leaves, I added layers of embossing powder in Watering Can, White and Cotton Candy Speckle on top of the solid leaves. To do the embossing, I went over the entire panel with an Embossing magic pouch and embossed each color separately. So I embossed all the leaves I wanted white, then heat set them. Then I did the same thing for the grey and heat set them, then embossed the pink. It does take a bit of time to do each layer, but I think the end result is work the effort, and gives it a totally different look than the green leaves we normally see.
I definitely dove into my stash for this one, and used some of those fun colored embossing powders that I forgot about! I hope you will take some of your favorite layering stamps and try this out for yourself using your favorite colors.
Daria here. Today, I am playing with Heartfelt Thanks stamp and die. I've signed up for Online Card Classes, and although I am not using any of the technique from the class today, it always inspires me to watch other people creating. So, I wanted to create one card and it turned out completely different, but I liked it. I am big fun of heat embossing, and I am kind of rediscovering it for myself lately. I have a video process for you. You may watch down here, or at our YouTube channel:
And some more close-up photos:
I started with heat-embossing. I heat embossed a flower bouquet from Heartfelt Thanks stamp set in white over craft and over white card-stock.
Then, I spent some time colouring over heat-embossed image onto white cardstock. For colouring, I scribble some color with watercolour pencil into my image and then go over it with alcohol markers. It gives a nice variation in color and depth. When I made a decision about placement, I cut my coloured piece in two and adhered it with foam squares. The sentiment is from Butterfly Beauties stamp set and stamped over a banner shape made with Skinny Strips die set. As a finishing touch, I have added a few sequins in gold.
Thanks so much for stopping by, and see you next time, xoxo,
D.
I have been spending quite a bit of my card making time trying to create encouraging cards for those wonderful people out there working still keeping our world turning. Consequently, I've been all about making multiples.
My amazing teammate Daris recently put up this beautiful card using the negative of our Butterfly Beauties Die and it had me all kinds of inspired! I decided to take it one step further and use both the positive and negatives from my die cuts to create four cards.
This card is the CASE of Daria's which started it all. I used the largest die from our Geometric set and turned it on it's side. Once I die cut it out I used it as a frame for the lovely Grateful Heart Stamps.
I stamped several of the flowers on white cardstock to create my focal point. Try using a pencil to lightly trace the frame shape on your background to make sure all the pieces get filled it completely and you don't have any empty stamping spots.
I used the positive piece to create an accent style focal point. I stamped the flowers all over the entire piece filling up the space. Once that was done I went back in with a dark gray and colored in all the spaces in between. This gives the piece more of a presence on the card. I used the die to create a frame on both cards by tracing around it with a black pen. The "frame" help finishes the card off.
I love how both cards turned out. They are the same but different. Which one do you prefer?
For my next card I used the largest die from our Circular set to die cut through the bottom ride of the card. I cut another circle in the next size down for my sentiment. I used that frame trick again but this time I added in some glitter paper to change the design up and of course add some sparkle!
The last card can be done one of two ways. I actually used my positive as a mask to stamp my flowers around the circular shape but you could actually stamp them as usual and just pop your stamp up over top, no masking required. I opted for a black circle to make the focal point a bit more bold but any complimentary color would look great!
The purple one gets it's extra flair from the soft blue halo around it but I thin I'm a bit partial to the pink because of that glitter paper :)
I think each one will be really happy in their new home showering a healthcare worker, grocery store employee, delivery truck driver with love. So many essential workers out there!
You can see all the cards being made in the video below.
Last but not least the Neat & Tangled 25% off Sale is still going on!
Danielle is amazing and is going to keep the sale going as long as possible. You can shop it here! Don't forget it counts towards already discounted sales items too!