Going, Going, Gone - End of Year Retirement Sale!


Hello friends!

I hope you are having a wonderful holiday season!

With the start of 2020 just days away, we are beginning our end of year retirement sale! This means BIG sales.  All items in the SALE section of the shop are marked 40% off OR MORE! Since this is a retirement sale, it means that once these items are sold out, they are gone for good! They will not be coming back in stock - so if you've had your eye on something, head on over!

This sale is big, I am retiring almost all stamps, dies and stencils created prior to August 2019 so, basically almost all of the shop is on sale!

And for the details:
- Sale is good on in stock items only
- No code needed, prices are on sale as marked in the SALE section
- Due to large volume of orders we cannot combine orders
- Due to large volume of orders please allow up to 7 days to receive a shipping notification

Thank you all for a wonderful 2019! I'm excited to see what 2020 has in store :)

xo
Danielle


1

Classic Christmas in red card with Sveta Fotinia

Hello everyone and Merry Christmas! Today will show you totally red card with tiny touch of gold.
The main playing role I gave to the Holiday Wishes Red Rubber Cling stamp. I stamped it on a red cardstock with the embossing ink and heat embossed with the clear embossing powder. 

I planned to place the sentiment strip in the center so blended some white pigment ink on the just made background to highlight it.

Then I heat embossed a sentiment from the Classic Christmas stamp set with the gold embossing powder.

Finally I added some gold sequins and adhered the panel on the card base made from the same red cardstock. 
Hope you liked my card today! Bye!
0

Two Confetti Cards with Daria

Hello-hello Awesome People! MERRY MERRY CHRISTMAS!!! 

Hope you have a wonderful holiday season with your families filled with magic and love.


Daria here. And for  today's projects I was inspired by loots of confetti and christmas lights everywhere. So, I die cut lots of circles from coloured and glitter cardstock using Circular die set.

Then, I randomly arranged them onto my card-bases and adhered everything with foam squares from Scrapbook Adhesives.


I had two card-bases, one stamped with Delicate Dots rubber background stamp and one made from woodgrain embossed card-stock. 


For both of the cards, I added sentiment from Classic Christmas stamp set.  I stamped them onto banners made with Skinny Stripes dies.  


Hope you like these simple ideas and will give them a try. And Happy New 2020 Year! YAY!
Wishing you lots of crafting, inspiration and joy into the upcoming year.


Love,


D.

3

Blue Christmas by Mindy Eggen

Welcome back everyone! It's been a hot minute since I've posted. I've been taking a little break from card making. Kids are now on Christmas break and I'm just enjoying some down time at the moment. Now I'm back and ready to get stamping!

I'm starting with a blue Christmas. That's what I'm calling it. It's fun to take your stamps and use them with colors and styles that you may not normally have done. The beautiful Classic Christmas stamp set for example. My card is fairy clean and simple but still packs a punch with non-traditional colors.


I started my card by ink blending a piece of Lapis card stock with Cornflower and Navy ink from Hero Arts. I started with the Cornflower Ink, blending in towards the middle of the card with a blending brush. I didn't blend it all the way to the center.


Next, I ink blended Navy Ink on the very edges. I wanted the center to pop just a little more so I lightly ink blended Sea Salt Reactive Ink. Once my panel was completely dry, which I helped along with a heat tool, I prepped it with an anti-static tool. Then I randomly stamped the image onto the card panel using embossing ink. I sprinkled on Sparkle Embossing Powder and heat set.

I added Nuvo Aqua Shimmer Pen in Glitter Gloss to all of flowers and leaves. This adds a beautiful sparkle to the images without overpowering it.


I stamped the sentiment from the Classic Christmas stamp set onto Pitch Black card stock with embossing ink. Then heat set with white embossing powder and trimmed down to a thin strip.


I added a small strip of foam tape to the back of the sentiment and added it to my card front using a T-square ruler to help me keep it straight. My finishing touch is to add a couple sequins with Connect glue. Then topped off with Nuvo Dream Drops.

I hope you enjoyed today's inspiration! I hope you all have a wonderful Christmas and Happy New Year!

SUPPLIES

Below you will find links to the products used. Click the icon to start shopping. Compensated Affiliate links are used at no additional cost to you. Your support helps me to keep bringing you new projects and videos. Thank you!


2

Grateful Heart Is My Favorite By Far with Koren Wiskman


Hello everyone. Koren here today to show you my last card project for 2019 and I love it. On this project I used the Neat & Tangled Grateful Heart stamp set and coordinating dies to make a "thank you" card that helped me get out of my comfort-zone and into having a great time making this card.

 With no doubt in my mind, my favorite stamp set of 2019 is the Grateful Heart stamp set and it's coordinating dies. Coming from me, that is saying something because I know nothing about flowers. I couldn't tell you what these flowers actually are. To me they are still beautiful but not knowing exactly what they are allowed me to use more of my imagination when it came to coloring them.

I have seen other cardmakers use this loose style of watercoloring on different floral projects and I am just blown away everytime. So I decided that I would give it a try. This card before you is my first attempt at using liquid watercolors to color a floral arrangement in this loose style.


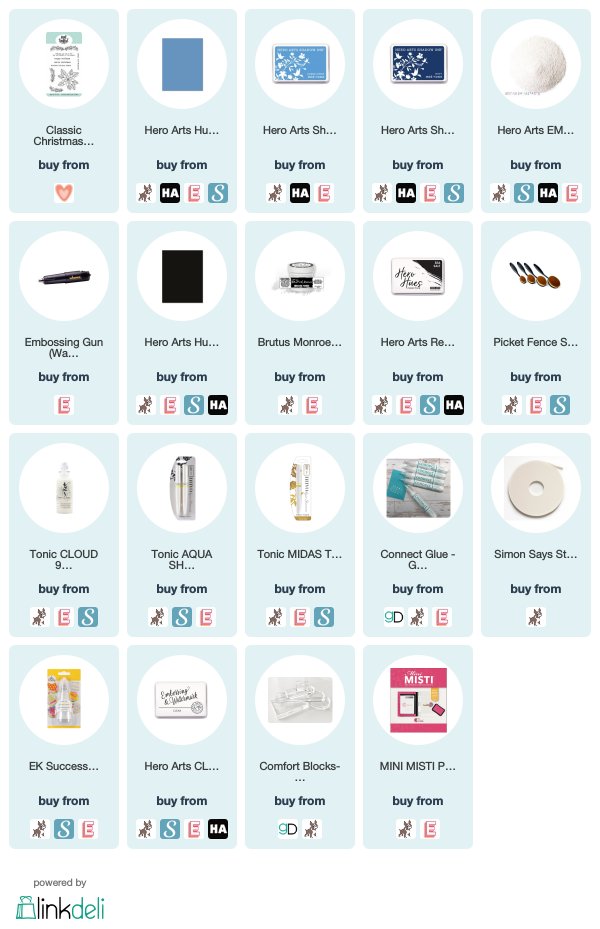
I started with a piece of hot pressed watercolor paper. I loaded it into my Mini MISTI so that I could stamp this image multiple times (I felt like I was going to need back ups). I stamped all of the images from the Grateful Heart stamp set, well all except one I should say... I lost one of the leaf images (begin playing taps). I have searched everywhere. It is actually gone.

I stamped the images using a hybrid light gray ink that will work with water (wont bleed). I wanted to increase the difficulty level, because I felt like I needed to make this more challenging for myself, and make it a no line watercoloring. So, I stamped the images onto the watercolor paper around 3 times each so that I could make out all of the lines. The hot pressed paper is fairly smooth but it does still have more roughness than the smooth cardstock I usually use for stamping. Using the MISTI helped me with this process because I used it to stamp multiple times in same exact location.

I then went to town using some liquid watercolors, coloring the image. I learned that it takes patience, and several layers of color to get the look I was going for. I would add a bit of color and then immediately move onto another spot on the page using the same color. Once I was done adding all of one color I would wait before adding the next layer of color or move on to the next. This process took a long time. I don't mind it though, because I can do other things while I wait. I alway know that If I get too impatient I can take a heat tool to the project or set it in front of a fan and this will speed up the drying process. After the images had dried completely, I used their coordinating dies to cut them out.


Once I was done adding all of the layers of watercolor to my images, I placed them in my splat box to splatter them with ink. This was tricky because I wanted to splatter the pink on the flowers and the green on the leaves but this is mostly all one image and could prove to be more effort than I'm planning to give. So, I used my memo tape (or a post it would do well) to cover the green and pink parts accordingly. I lightly splattered some of the colors I used while coloring the image onto all of the die cut arrangement.  I also splattered some white gouache onto the images as well as the background. Although, it didn't show up well on my background panel.

Speaking of which, I cut a piece of ivory cardstock to 3 1/2 by 4 3/4. This is the piece I splattered with white gouache. When I do this again, I want to use more color in the background.

I needed a sentiment, so I stamped the "thank you" from the Grateful Heart stamp set onto the background panel with black pigment ink. This panel was then popped up onto a heavyweight white card base cut to size A2 and scored with a top folding portrait orientation. To pop it up I used white craft foam and tear tape adhesive.

I spent a very long time arranging the flowers and trying to figure out how to place them on my card. A very long time. I finally decided where I wanted them and used both foam tape and liquid glue to either pop up or adhere flat based on where they ended up in the arrangement. I wish I knew more about flowers, maybe I would be better at arranging them... maybe.

Anyway, I hope I've inspired you to try new things and create a little. Also, take a look at the Grateful Heart stamp set. It has really given me tons of joy creating this year and I want that for all of you as well.

Have a wonderful holiday season.

Koren

Koren
3

Embossed Resist For Christmas and Everyday with Kelly Latevola


Hello Crafters! 

Can you believe Christmas is only two days away! 
TWO DAYS! 

Since the holiday season is upon us I wanted to do a Christmas card but I also wanted to share how you can use a layout you love for the holidays for an everyday card too! 


I really love the Foliage Frame stamp and thought it would be perfect for a tone on tone background. In order to make sure it didn't blend too much into the background I decided on an embossed resist. 
I picked two colors of cardstock as my base and got o work stamping. 


The Foliage Frame stamps the entire front of a A2 sized card. In order to make sure I get it edge to edge I use temporary adhesive to hold me cardstock down inside my MISTI. Once I'm done I just rub it off the foam. 
In order to get smooth results I treated the cardstock with my anti-static bag andthen stamped in clear sticky embossing ink. I heat embossed with clear embossing powder so the true color of the cardstock would be trapped underneath the embossing. 


For my Christmas card I added layers of yellow greens around the center of the carstock getting progressively darker on the outside edges. The darker the ink the better the resist will show through. 
For this card I used shabby shutters, crushed olive, peeled paint, and forest moss. 


I wanted my everyday card to still have a green ish background that would make sense with the leaf frame so I opted for teals. I layered on cracked pistachio, peacock feathers, mermaid lagoon, and pine needles for this one. 

Once the ink blending was done I set my backgrounds aside to copic color my flowers. 


After the coloring was done I die cut both poinsettias out along with the strips for my sentiments. I heat set both sentiments in white embossing powder this time. For the larger words I fussy cut around them so they didn't feel duper blocky.  Everything got popped up on foam and accented with either our Sophisticated Enamel Dots or our Cleat Sequins. 

You can see the entire process in the video below. 
I apologize for the quiet volume but I was having trouble with my audio :/ 


Thank you so much for stopping by and I hope you have a wonderful Christmas! 


Supplies: Supplies: 

Affiliate links are used
Neat & Tangled TYPED SENTIMENTS
Shop at:
SSS | EH | NT
Neat & Tangled SOPHISTICATED Enamel Dots
Shop at:
SSS | EH | NT
Neat & Tangled Foliage Frame
Shop at:
SSS | EH | NT
Neat & Tangled Classic Christmas
Shop at:
SSS | EH | NT
Classic Christmas NICE AND NEAT DIES
Shop at:
SSS | EH | NT
Skinny Strips NICE AND NEAT DIES
Shop at:
SSS | EH | NT
Neat and Tangled CRYSTAL CLEAR SEQUIN MIX
Shop at:
SSS | EH | NT
Tim Holtz Distress Ink Pad SHABBY SHUTTERS
Shop at:
SSS | SB
Neenah Classic Crest 80 LB REAM Smooth Solar White Paper Pack 250 Sheets
Shop at:
SSS

Sakura WHITE GELLY ROLL Medium Point Pens Set
Shop at:
SSS | HB
EK Success WRITING PEN FINE TIP
Shop at:
SSS
Neenah Classic Crest 80 LB SMOOTH SOLAR WHITE
Shop at:
SSS | SB | HB
Fiskars PREMIUM CUT LINE Paper Trimmer 12 Inches
Shop at:
SSS | SB
Tombow MONO MULTI Liquid Glue
Shop at:
SSS | SB | HB
Ranger MINI ROUND INK BLENDING TOOLS
Shop at:
SSS | SB | HB
Ranger MINI ROUND FOAM REFILLS for Mini Round Ink Blending Tools
Shop at:
SSS | SB | HB
3M Scotch DOUBLE-SIDED FOAM TAPE Permanent
Shop at:
SSS
Copic Sketch MARKER E99 BAKED CLAY
Shop at:
SSS | DB
Copic Sketch Marker BG11 MOON WHITE
Shop at:
SSS | DB
Copic Sketch Marker BG45 NILE BLUE
Shop at:
SSS | DB
Copic Sketch Marker BG49 DUCK BLUE
Shop at:
SSS | DB
Copic Sketch Marker YG01 GREEN BICE
Shop at:
SSS | DB
Copic Sketch Marker YG03 YELLOW GREEN
Shop at:
SSS | DB
Copic Sketch Marker YG17 GRASS GREEN
Shop at:
SSS | DB
Copic Sketch Marker YG67 MOSS
Shop at:
SSS | DB
Simon Says Stamp LARGE GRID PAPER Pack Pad
Shop at:
SSS
Precision Heat Embossing Tool Gun
Shop at:
SSS | SB | HA | HB
Tsukineko Versamark EMBOSS INK PAD
Shop at:
SSS | SB | HB
Inkadinkado EMBOSSING MAGIC Powder Bag
Shop at:
SSS | SB | HB
Copic Sketch Marker YR04 CHROME ORANGE
Shop at:
SSS | DB
Copic Sketch Marker Y08 ACID YELLOW
Shop at:
SSS | DB
ZIG Wink of Stella GLITTER CLEAR Brush Tip Marker
Shop at:
SSS | SB | HB
Copic Sketch MARKER YR09 CHINESE ORANGE
Shop at:
SSS | DB
MISTI PRECISION STAMPER Stamping Tool Kit
Shop at:
SSS | SB
MINI MISTI PRECISION STAMPER Stamping Tool Kit
Shop at:
SSS | SB
Copic Sketch Marker R32 PEACH
Shop at:
SSS | DB
Copic Sketch Marker R35 CORAL
Shop at:
SSS | DB
Copic Sketch Marker R29 LIPSTICK RED
Shop at:
SSS | DB
Copic Sketch Marker R59 CARDINAL
Shop at:
SSS | DB
Copic Sketch Marker YR15 PUMPKIN YELLOW
Shop at:
SSS | DB
Copic Sketch MARKER YR24 PALE SEPIA
Shop at:
SSS | DB
Tim Holtz Distress Ink Pad CRACKED PISTACHIO
Shop at:
SSS | SB
Tim Holtz Distress Ink Pad PEELED PAINT
Shop at:
SSS
Tim Holtz Distress Ink Pad PINE NEEDLES
Shop at:
SSS
Simon Says Stamp EMBOSSING POWDER CLEAR Fine Detail
Shop at:
SSS
We R Memory Keepers TRIM AND SCORE Board
Shop at:
SSS | SB
Simon Says Stamp Card Stock Black
Shop at:
SSS
Tim Holtz Tonic CRAFT PICK
Shop at:
SSS | Tonic USA | Tonic UK
Tim Holtz Distress Ink Pad CRUSHED OLIVE
Shop at:
SSS | SB
Tim Holtz Distress Ink Pad FOREST MOSS
Shop at:
SSS | SB
Tim Holtz Distress Ink Pad MERMAID LAGOON
Shop at:
SSS | SB
Spellbinders PLATINUM 6 DIE CUTTING AND EMBOSSING MACHINE
Shop at:
SSS | SB | Spellbinders
Simon Says Stamp Card Stock GREEN APPLE
Shop at:
SSS
WPlus9 Nautical Navy Cardstock
Shop at:
SB
Tonic BLACK SHADOW Ink
Shop at:
SSS | Tonic USA | WF
Nuvo Glitter Gloss Pen
Shop at:
SSS | SB | Tonic USA
Waffleflower Water Media Mat
Shop at:
SSS | SB | WF
Nuvo Clear Mark Embossing Pad
Shop at:
Tonic USA
SSS Audrey Blue Card Stock
Shop at:
SSS
Copic Marker B39 PRUSSIAN BLUE
Shop at:
SSS | DB
3
Back to Top