Neon Mail Background with Cheiron

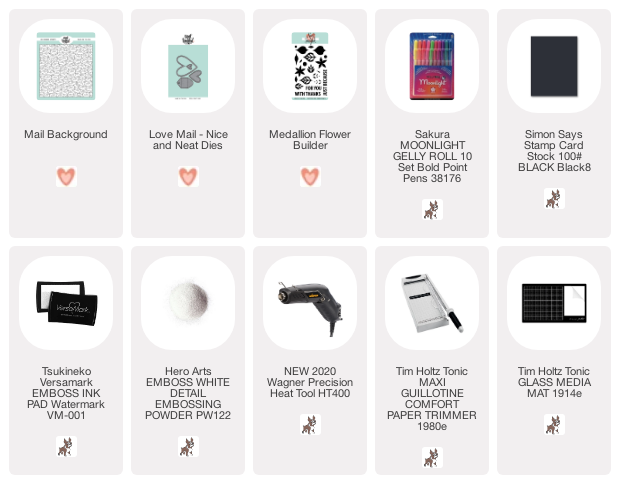
Hi there crafty friends. It's Cheiron here with another monthly post. This month I am using the Mail Background stamp, which just came back into stock in the Neat and Tangled shop, so grab yours while you can! 

I don't know if you are a fan of neon, but I love it so much! I am glad to see some neon pieces trending for fall in some of my favorite shops and was inspired to pull out some neon supplies from my stash to make this quick and easy card. 

First, I stamped and embossed the Mail Background in white on a black piece of cardstock. Then I used my Gelly Roll Moonlight pens in all my favorite colors to color in the hearts. Once the hearts were dry, I stamped the Just Because sentiment from the Medallion Flower Builder Set onto a strip of white cardstock. I added a few neon envies cut from the Love Mail dies to complete the card. That's it! Super easy and super colorful and ready to send to brighten someone's day! 


SUPPLIES: 

2

Super Simple Thank You Card with Daria Grushina

  Hello-hello awesome people,

Daria here. Today, I am sharing a super simple and fast to make project. Again, I am working with  Grateful Heart stamp set. Love when image speaks for itself and already is a gorgeous focal point. So, I've decided to go with the image, gold embossing and simple, almost minimal design. 


I started with heat embossing beautiful flower cluster from Grateful Heart stamp set in Gold embossing powder. Die cut it and foam mounted over a grey cardstock base. Sentiment is from the same stamp set, and also heat embossed in gold. I finished it up with a few sequins in gold. 


With this design, it is super easy to mass produce Thank You cards. Moreover, it will work with any color scheme. I made a few photos to show how good this image would look with different colours of background. 


You may even choose to use pattern or embossed paper. 


While thinking about this post, I also made another card, using photos of the project as an inspiration. I will share it next time. Meanwhile, I will be happy to see what you create. If you get inspired, be sure to tag us in social media.


Thanks so much for stopping by, and see you next time,
xoxo,
D.


3

Diamond Pattern Card with Daria Grushina

 Hello-hello dear people,


Daria here. For my today's post, I've created a diamond pattern using Geometric die set and little flowers and leaves from Grateful Heart stamp. And I really like the way it turned out. 


I started with stamping and colouring small flowers and leaves from Grateful Heart stamp. Then, I die cut the flowers with  coordinating dies, along with several diamond shapes from Geometric die set. 

I arranged these geometric shapes over my card base and then worked on each flower cluster individually. I adhere every cluster using both glue dots and foam squares. 


When all of my individual pieces were done, I adhered them with foam tape to the card base. 

I also added a sentiment from  Typed Sentiments stamp set and placed on a banner from Skinny Stripes dies. A few sequins in Crystal Clear added a little bit of shine. 


As I had a lot of extra flower let, I've decided to do second card. For my second card, I went with a design I tried earlier, but with a little twist. I leave the link here, so you may check it out.  I arranged flowers, added leaves, and adhered everything with foam tape. I left little borders on the sides to mimic the frame. 


I placed a little sentiment from Typed Sentiments stamp set over a short banner from Skinny Stripes dies on the side, picking from one of the flowers. 


A single gold sequin attract attention to the sentiment and gives a little more interest to the card. 


That's it, hope you like it and may be will give a try. 
Thanks so much for stopping by, and see you next time,

xoxo,
D.

6
Back to Top