Pink + Gold Card with Daria Grushina [VIDEO]

Hello-hello Awesome People!

Daria here. I was playing with Floral Frame Stamp and die set. And there is a video too. There is lots of heat-embossing, pink and gold. So, it turned out to be very girlish birthday card. 


Here, you may find the process:


I started with stamping the Floral Frame with Versamark Ink and heat embossed it in gold embossing powder. Then, I die-cut it using coordinating die.


Next step was to stamp the Delicate Dots Rubber Background stamp to the pink panel. This beautiful colour of cardstock comes from Over The Rainbow Assorted Cardstock Pack. I used the central portion of the Floral Frame that left after die-cutting to mask the center. This way, I had a space for the sentiment free from the background dots.


I heat-embossed the sentiment from the same stamp set in the middle of the panel, using white embossing powder. I adhere the frame with foam tape. I also added a few sequins here and there for some extra shine.


This card turned out to be really tender. I love the combination of pink, white and gold.  Plus, it is completely made with heat embossing, and I love heat-embossing. Each time, it is like magic. Hope you like it (wink).


Thanks so much for stopping by, and see you next time,
xoxo,
D.


ps: There is another project, I've done with the same Floral Frame Stamp and die set. You may find it here, including a process video for the card. 
0

Grateful Heart Thank You with Cheiron


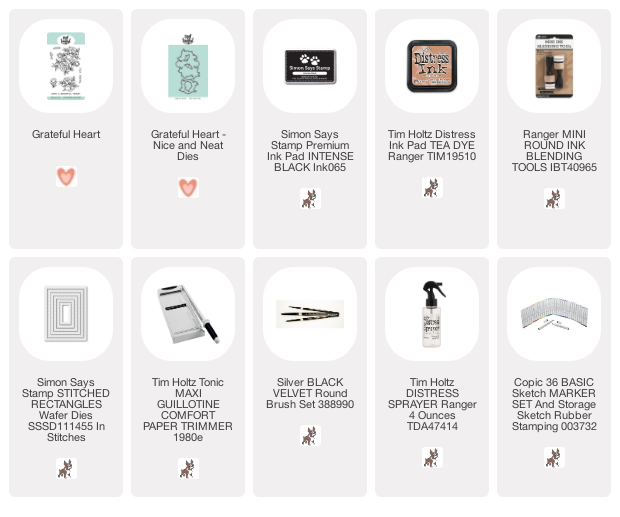
Hi there crafty friends, it's Cheiron here and today I have a card for you using the Grateful Heart stamps and dies. It's a quick and easy card, with some quick Copic coloring on the flowers and a Distress Ink panel as the background.


I blended Tea Dye Distress Ink onto a panel of Distress Watercolor cardstock, and also splattered some Tea Dye Ink mixed with water onto the panel. Once it was dry, I stamped the sentiment.

I stamped the flowers onto a piece of Neenah cardstock and colored them in with Copic markers, then adhered them to the panel with foam tape. Super quick and easy and reminded myself that coloring and cutting a ton of these flowers would be great to have on hand for future cards!


SUPPLIES:
1

Losing Your Creativity with Koren Wiskman


Hello everyone, Koren here with a little tip to help you out when you feel like you've lost your creativity. 

There are many factors that can affect your creativity. Recently I have struggled without having a desire to create anything at all. To fix this, I started to look to my friends in the cardmaking and crafting industry for inspiration. I started to search online for a specific stamp set that I wanted to use, and to see what other crafters had created with this exact set. I was hoping to use the Neat & Tangled Floral Frames stamp set. Unfortunately, I own the stamp set but not the dies for this set, which normally doesn't bother me unless the dies set offers something incredible, like these. But what was I to do? The die set was sold out and I was left to come up with some solutions of my own. 

I saw that my friend Tiffany Solorio had used this exact stamp set around the time that it was originally released last year. I fell in love with her card and thought, what if I just start to create my own version of this card to hopefully spark a little creativity inside myself. So, without watching the video Tiffany created, I just took her photo and tried to recreate the card without knowing what products she used or what process she took to create it. I just started to make it my own way. 

I found myself completely inspired to create this project. Almost giddy about playing with my products and creating my own version of this card- and I learned a new path to reigniting my creative spark. To see Tiffany's post (CLICK HERE!). 


Background:
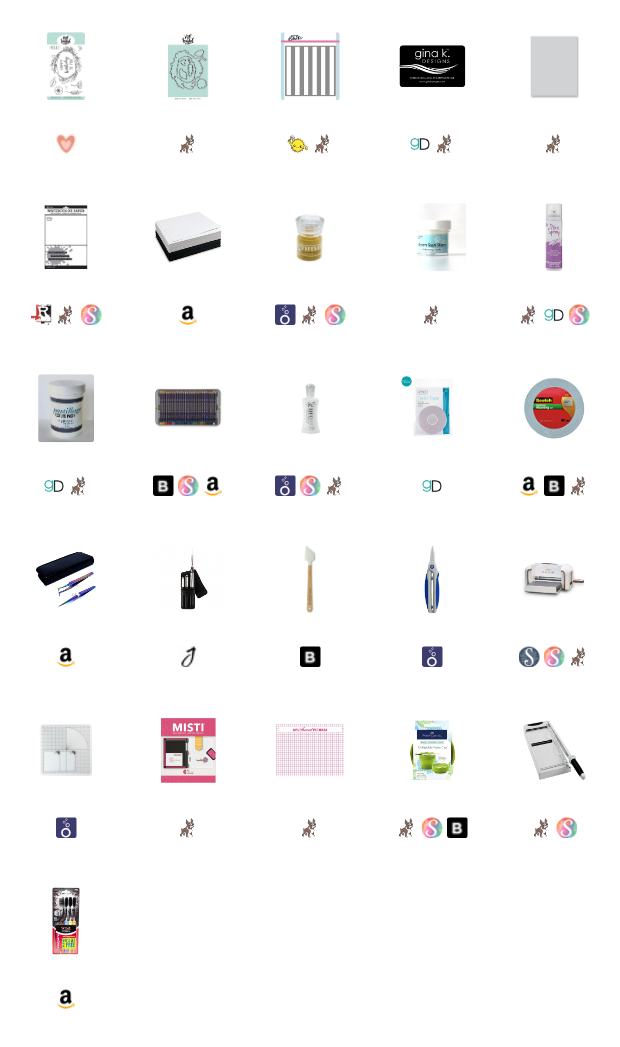
I started with a piece of Neenah 110lb. Solar White cardstock cut to 4 1/4 by 5 1/2. I took one of the stencils from my stash that gave me a nice thick stripe pattern. To mimic the gray stripe background on the inspiration card, I took some texture paste and a little gray dye based ink and mixed the two together to get a nice cool gray texture paste. I used the well mixed paste and striped stencil to cover my card panel leaving behind crisp thick gray stripes. I really tend to play up the gray on my cards. 

Images:
I stamped all of my images from the Neat & Tangled Floral Frames stamp set multiple times. I stamped them using watermark ink and heat embossed each image with white embossing powder. 

To add color to my images, I used Inktense pencils that behave a lot like watercolors but is not manipulatable by adding more water after it dries. These pencils give a look that is similar to watercolors and I really enjoy using them, so that is why I reached for them first. I stuck to Tiffany's gorgeous color palette but without looking at what she originally used, I was happily guessing. I looked for a very turquoise blue combo as well as the bright yellow and gray. I loved that she used gray to color the greenery, so I made sure to copy that aspect of her card as well. 

Once all of my images where colored, I used my scissors to fussy cut most of them but when I got to the main image, I did NOT want to cut out that very detailed image, so... I grabbed an oval die from Neat & Tangled's Card Front Designs die set and cut out the image. I wasn't sure at first if I liked doing this but in the end, I think it turned out nice, once you have all of the extra floral images surrounding it and building it up a bit. I fussy cut all of the additional images.


Sentiment:
For the sentiment, I grabbed the "happy birthday to you" stamp from the same Floral Frames stamp set and stamped it into the center of my oval piece. I used a coordinating yellow embossing powder from my stash to heat emboss it. 

Once everything was cut out I put them all in my splat box and grabbed a little bit of white gouache. I mixed some white gouache and a little water into a small dish and used a toothbrush to splatter white specks of paint all of the images and sentiment. 


Once they dried, I started to assemble the card. I added the striped background panel using white craft foam and tear tape adhesive, to a light gray card base. This card base is cut to size A2 and scored in a side folding landscape orientation. 

After the main panel was popped up, I started to play around with placement of my images. Some things were adhered flat to the card panel using liquid adhesive and some were popped up using foam tape. 

Not only do I love how my card turned out, but I'm glad to report that I have been creating ever since I made this card and that to me, is invaluable. I hope you enjoyed this project and I've inspired you to create something today. 

Koren 


3

Circular Abstract Art Inspiration by Cheiron


Hello there crafty friends! It's Cheiron here and today I am playing around with an idea inspired by abstract art I saw on Instagram by azarias.art 


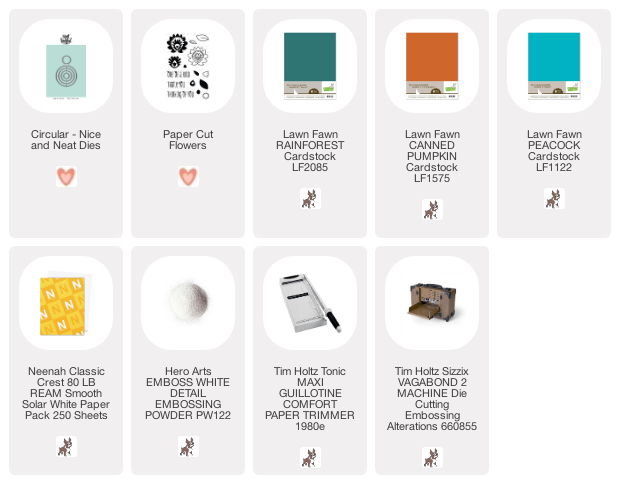
I thought it would be a fun thing to try with the Circular dies. I am always looking for ways to stretch my dies and use them to make something a bit different. To make my card, I cut four panels of cardstock in white, yellows and blues to 4 x 5 1/4 and also selected a contrasting color for the background and cut it the same size. I cut each panel (starting with the one that would go on the bottom) with the Circular dies placing the circle dies down on my panel, running them through my die cut machine and repeating until I cut circles out of the entire panel.


For each layer I cut, I looked at the previous layer (putting it underneath the new piece and holding it up to the light helps) and places the circles so that my openings would show additional layers underneath and the holes overlapped. It takes a little time, but it was a fun process for me.


When all the layers were cut, I added tiny pieces of foam tape behind the layers and stacked them on top of each other. I backed the stacked panel with the constrasting orange panel for some pop and adhered the entire panel onto a white notecard. The sentiment is from the Paper Cut Flower set (which is on sale now) and it seemed like the perfect sentiment to go with this one of a kind card.


I love that you can switch up the colors and make this type of card for any occasion just by changing the cardstock.

SUPPLIES:

5

Raining Love with Koren Wiskman


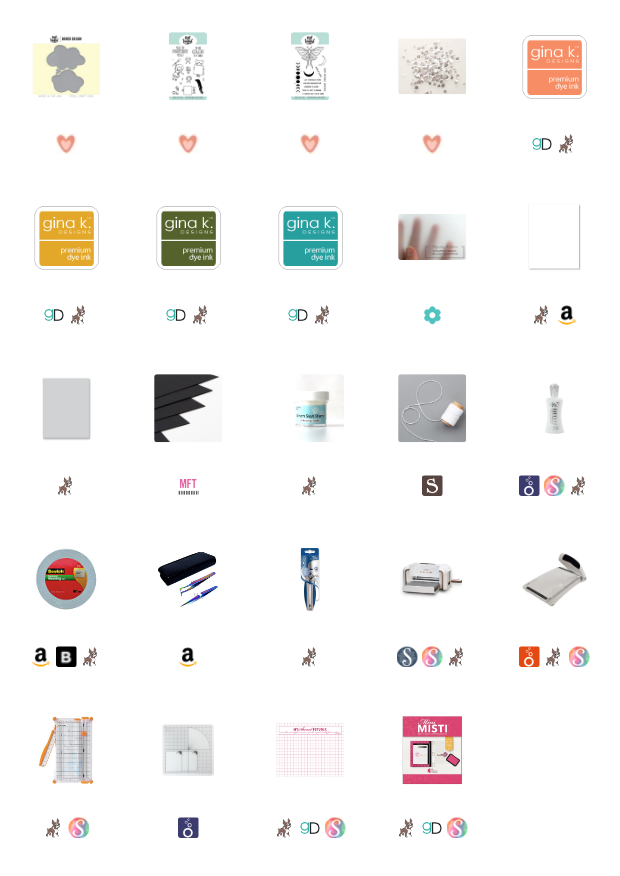
Hello everyone, Koren here. Today I have a shaker card using some heavy weight vellum and the Stitched Cloud Dies by Neat & Tangled and Benzie Designs. I also used the paint swoosh from the Paint Night stamp set and the Love word die from the Love Notes die set also by Neat & Tangled. 

Background:
I started by cutting a piece of Neenah 110 Solar White cardstock to 3 1/2 by 4 3/4. I loaded it into my Mini MISTI along with the paint swoosh stamp from the Paint Night stamp set. I stamped it several times toward the bottom of the card panel (using other elements of the card to count for spacing). I stamped the swoosh from the Paint Night stamp set with Gina K Designs ink in Peach Bellini, Prickly Pear, Fresh Asparagus, and Turquoise Sea. I tried to keep them in line with each other spaced evenly apart. 


I used the "Love" word die, from the Neat & Tangled Love Notes die set and aligned it toward the bottom of the card, slightly overlapping my stamped images. I ran this through my die cutting machine and saved all of the negative pieces from the cut. I then layered the word die by cutting it three additional times from the same white cardstock. I glued them together using Nuvo Deluxe liquid adhesive. For the final layer of the word die, I used the piece that was cut from the main panel. This will allow the word to appear from under the stamped images. To adhere it all together I used the same liquid adhesive to alight the panel onto my card base. I used a Simon Says Stamp Fog card base cut to size A2 and scored in a top folding portrait orientation. This gives me a backing for me to glue my word die, so I glued it directly into that space that was cut out. To finish it up, I used the same glue to add the negative pieces from inside the "L, O, and E".


Shaker:
To create the shaker, I used my favorite Heavy Weight Vellum and cut it twice using one of the shaker cloud dies from the Stitched Cloud Dies collaboration with Benzie Designs. I used white bakers twine to seal up the bottom of my shaker pouch first. I then added some of the Crystal Clear sequins as well as a few gold sequins to fill the pouch. After sealing up the pouch using the bakers twine, I tied a pretty white bow in the upper left corner of the cloud. I adhered this cloud directly to my card using clear foam tape to die it as much as possible. 

Sentiment:
I stamped the "change is good" sentiment from the Moon Magic stamp set also by Neat & Tangled. I stamped it in Gina K designs Watermark ink and heat embossed it with Simon Says Stamp white embossing powder. I attached the sentiment to the popped up cloud using Scotch 3M foam tape. 

I hope that you have been inspired to create something today, 
Koren 

1

Hello Mail Card with Daria Grushina

Hello-hello dear people,

Daria here. Hope your weekend has a good start, as I have a card for you to share in case you plan some time for crafting.   This time, I've decided to play with Mail Background Stamp. It is quite versatile one. It could be both a focal point, or a nice background. You even may cut off small envelopes or your design.


I started with heat-embossing the background in white, then add some color using smushing technique and different distress inks.

When my panel was ready, I took my circle dies from Simon (that's a basic set, you may use any circle die sets you have on hand) and die cut a circle from it. I also made a bigger circle from silver glitter paper and more bigger one from light blue cardstock.  I used our Over The Rainbow Assorted Cardstock Pack.

All these circles made a nice backing for the one with lots of envelopes.  I also decided to use woodgrain embossed paper for the background. But you may skip this step. I glue everything with double-sided tape and foam tape.


To finish the card, I added three little envelopes made from different paper with Love Mail die set. A little banner from Skinny Strips die set and a tiny Hello nicely picks from the lower envelope. The sentiment is from Butterfly Beauties stamp.  Two of three little envelopes are glued with foam squares. It gives more variation in dimension. I just love how cute these little die-cut envelopes. 


That's it, hope you like it and may be will give a try. 
Thanks so much for stopping by, and see you next time,

xoxo,
D.

ps: I also made another background with the same Mail Background Stamp. It is picking on one of the photos. But, I still haven't decided how to finish it up. But I will try to show it next time. 
2
Back to Top