Showing posts with label merry and bright. Show all posts

A Little Sparkle Holiday Card

We all need a bit of sparkle in our lives, right? How about a simple sparky holiday card using the fabulous Merry & Bright set?


I will honest with you, this is my most favorite holiday stamp set of all times! Perfect for so so many different cards and other projects too!  


This particular card appeared after a simple stamping session. I wanted to create a fun partial background using one of the ornaments from the set. I stamped it a few times alternating the direction and the color of ink. And ended up having somewhat of a pink and grey ombre effect which I just adore!

9

a little Sparkle a lot of Shine.


Hello!  It's Amy T here with a quick and inexpensive gift!

First I should start by telling you that I ♡ Target.  Like with most things I do, I'm pretty methodical in my shopping habits...hit the $ Spot first.  Head for the clothing and end with the groceries.  I'm sure that many of you are the same, right?

They had these gorgeous kraft & gold journals a couple weeks ago.  Yes, I'm now kicking myself that I only bought one.

I was going to heat emboss onto the cover of the journal but wasn't sure if I was going to ultimately like the look so I embellished a vellum envelope and made it into my fav, a shaker card:


I have always been such a fan of Danielle's sentiment stamps and couldn't resist heat embossing the "a little sparkle a lot of shine' in gold onto a tiny tag that I cut from Strathmore watercolor paper.


I did a quick color wash using salty ocean distress ink.

Do you see the envelope?  It's been filled with Neat & Tangled Flat Matte Gold and Summer Sky Satin Sequins.  I popped in an extra die cut from My Minds Eye Market Street, that's what the #SO EXCITED is also from.  

The shaker is 'adhered' using a tiny clothespin.

A perfect gift for a friend that is having a Baby Boy!  I had her gifts sent to her {thanks to the Target Baby Registry} but wanted to also send her a card to the Baby Shower that I'm unable to attend.  This journal could come in handy with little thoughts and aha moments she'll be experiencing with her bundle of joy!


Thanks so much for stoppin' by!

19

Still Christmas??

Happy Sunday!  It's Pamela here with a Christmas card *gasp*!  I am taking the Online Card Class - Stenciled and we are on Day 2. I made my own stencil with my Silhouette using a cut file from Studio Calico and did some watercolouring over the stencil.  Then I stamped the sentiment from Neat & Tangled's Merry and Bright.

Stenciled - Day 2

Of course, you can change this up with a heart stencil and the sentiments from You + Me for a Valentine's Day card!

--- Pamela

Supplies:

4

Last minute Christmas Tree decorations

Hello everyone, Yana is here and today I have a last minute Christmas Tree decoration idea to share with you. 


I'm a huge fan of the chalkboard trend and I've been trying to incorporate some of it into my holiday decor. I painted a few ornaments using black chalkboard paint and doodled some stuff using white chalk on them but that wasn't quite enough. So I decided to make little paper decorations using stamps.

Here's what I ended up with - a miniature door/gift card holder to hang on a tree:


This is actually a little pocket/envelope with a chipboard door and a Merry & Bright chalkboard wreath. The pocket can be used to hold some flat candy, a gift card or even cash. Or alternatively you can put a little note inside for a loved one or use it for an advent calendar. 

Here's how you can make these: 


Start by creating a wreath - die cut a scalloped circle and heat emboss the sentiment from the Merry & Bright set using white embossing powder. Add some "chalk dust" using white pigment ink. Adhere it to the chipboard door and add a little twine bow. Adhere that to a piece of pattern paper (add a few drops of red spray ink) and finally place on top of a black cardstock envelope/pocket. Finally - enjoy!

Merry Christmas!

3

Merry and Bright Bokeh Tree

Good morning! Heather here to share a Christmas card using my Neat and Tangled stamps a little creatively - I really like the "bokeh" style cards, and it occurred to me that it would work perfectly to make a Christmas tree! 


 I used the solid and outline circle from Merry and Bright to build my tree, stamping each in a different shade of green ink, then stamping off 2 or 3 times to make it look like even more colors. The sentiment also came from this set. I added the star on top, and throughout the tree from Sparkle and Shine. I also used some Raspberry Red Satin Sequins, with a touch of black bling in the center.


Pattern paper is from October Afternoon, and the stitched rectangle is a Lawn Fawn die. The tiny clothespin was in a pack I found at Michael's and just HAD to have - full of cute and fun colors! I tied some jute twine and added some tiny jingle bells to my card to finish it off.


Thanks for stopping by today! Have a wonderful day!

9

Merry & Bright

 
Hi everyone!  Amy K. here today during this cold, cold holiday time.  Serious folks.....I'm cold and I can't wait for warmer temps! 
 
I'm here with a festive holiday card that really didn't take any time at all!!!  I'm excited to see the chalkboard trend continuing and here I've paired it with vellum!  If you've visited my blog lately......I've been using vellum a LOT and I LOVE it!!!  I think it's just a gorgeous paper and it gives so much more depth to a project.  For instance.....Look at this striped paper.  I love how the vellum "muted" the striped paper and let the sentiment circle take center stage!  A few sequins and some red glitter tape was added for the bling factor!
 
The sentiment is from Merry & Bright and was heat embossed with white Filigree embossing powder as was the circular scroll frame from Swirly Twirly Tags.
 
12.11.13

Thanks for sharing a part of your day with me!
 

7

Holiday Memories Album Project

Happy December! It’s Jean sharing a Holiday Memories Album project. Whether you plan to document the December holidays on a daily basis or only the month’s key events, there are lots of Neat &Tangled stamp sets with which you can create original 3” x 4” filler cards. I’m sharing cards I created, along with a bit about my Holiday Album.

PLCardsSpread

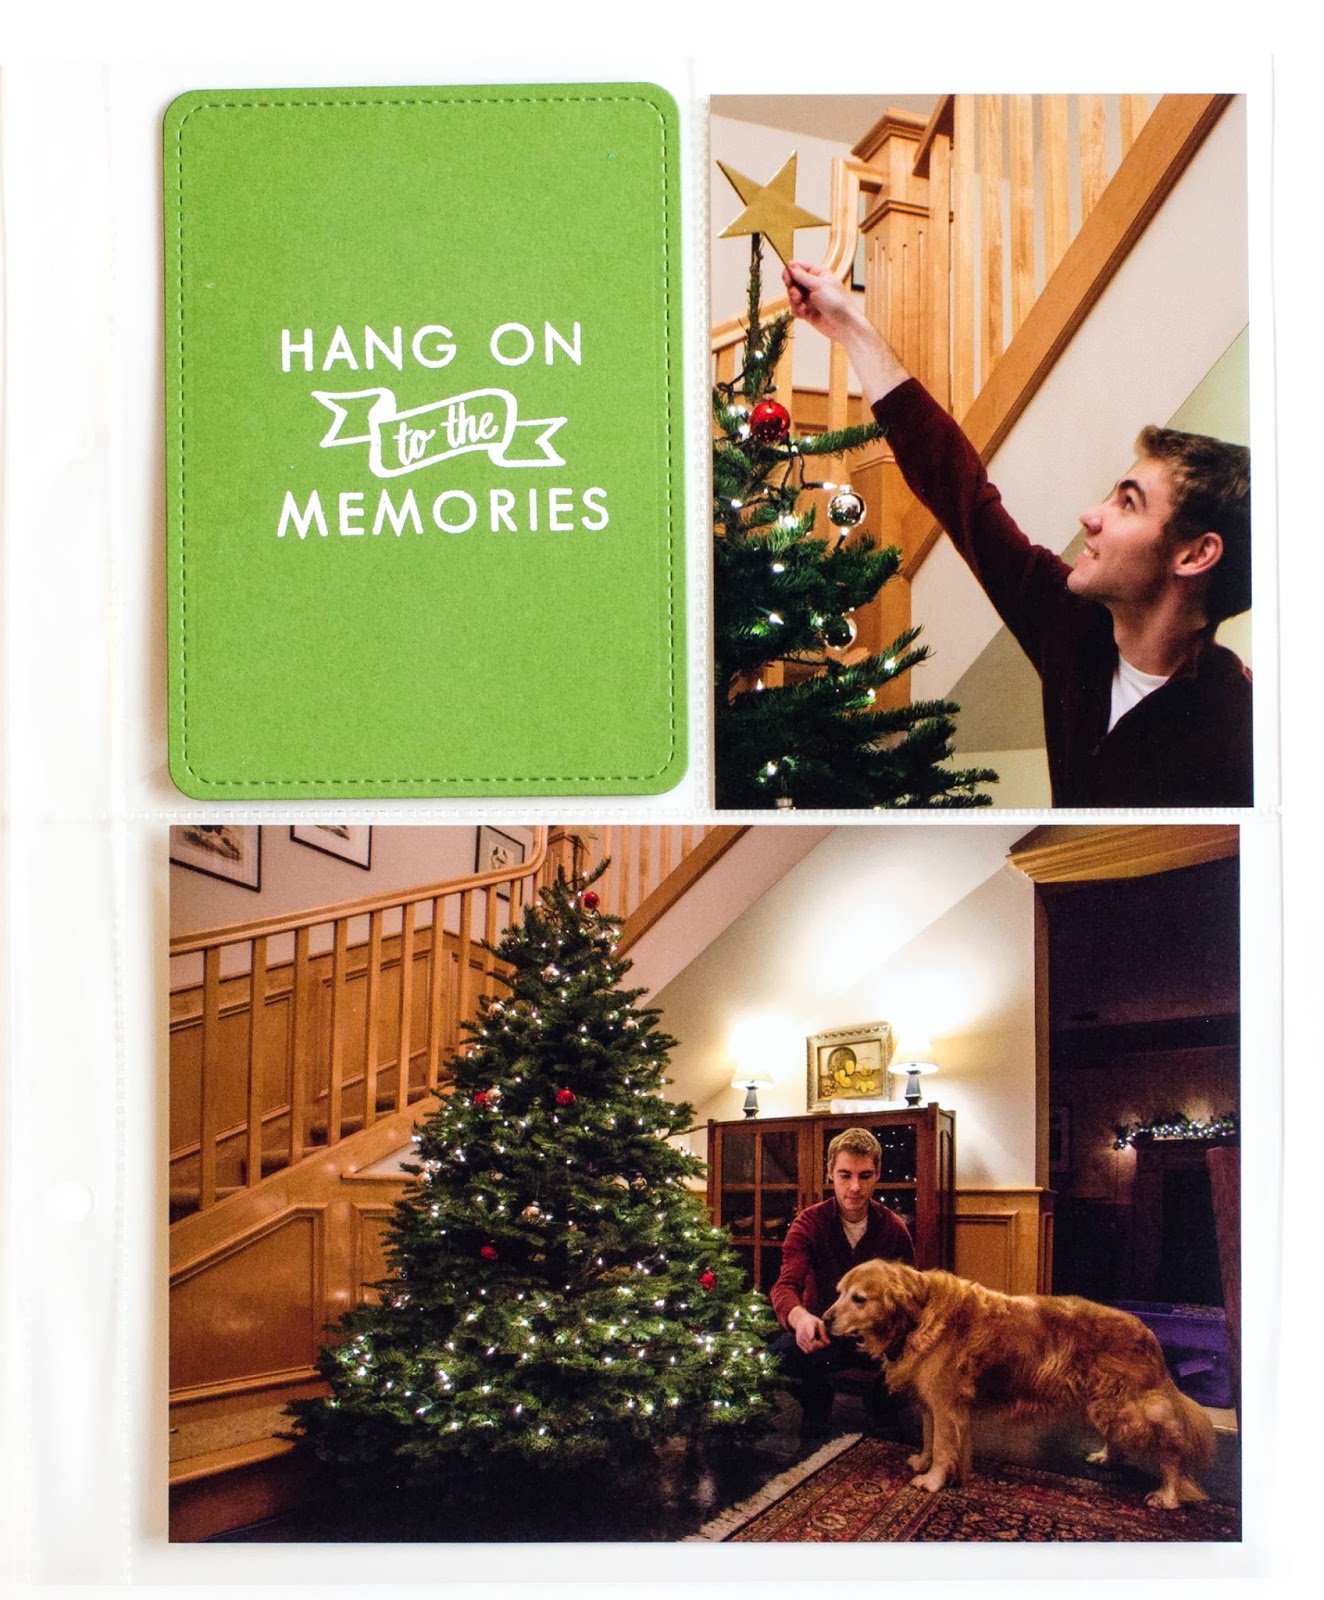
Approach to project: I’m focusing on time-honored traditions with my Holiday pocket-page album, rather than documenting December on a daily basis. While my sons are now “grown,” we still have traditional events that I photograph and journal about during the holidays. With those traditions in mind, which include watching a local parade, decorating our tree, visiting a local nursery to see their poinsettia “tree,” and sitting down to our Christmas dinner, I created album insert cards using sentiments and images from several Neat &Tangled stamp sets.

Album Foundation: I wanted to keep this album simple, which for me means limiting the number of embellishments I use and picking a color scheme that’s easy for me to mix and match. I’m using the Simple Stories SN@P! binder with their photo protector inserts, along with patterned papers from Echo Park’s ’Tis the Season.

Album

Creating the Cards: I cut my 3” x 4” cards with the Lawn Fawn Stitched Journaling card die from Stampin’ Up cardstock, which I already owned in shades of green and red that matched the Echo Park papers. I heat-embossed the Neat &Tangled sentiments and images with Hero Arts white embossing powder. I really like the look of the white embossing on the solid cardstock. For the journaling cards, I heat-embossed the tops of lined Project Life cards with Hero Arts silver embossing powder and Stampin’ Up powder.

Here’s a look at a few of my page spreads. I'm using photos from last year’s December album for illustrative purposes. The Neat &Tangled stamp set(s) used to create the filler card(s) are listed below each spread.

Neat &Tangled Merry and Bright
Neat &Tangled On the Strip 2 and Fresh Blooms
Neat &Tangled Santa’s Tags
Neat &Tangled Merry and Bright
Neat &Tangled On the Strip 2 and Sweet Home

ADDITIONAL EMBELLISHMENTS: It’s easy to add embellishments to the filler cards, such as sequins, die cuts, washi tape and wood veneer pieces.

The idea is to make your project work for you and your family. Because I tend to overthink things, I appreciate having certain decisions made ahead of time. That way I can focus on capturing the memories through my photos and journaling, rather than worry about details that ultimately won’t be memorable. The absolute last thing I worry about is the cover. In fact, I might not even embellish the cover, as the interior pages matter the most to me. But that’s me.

Have you made a December Holidays album before? What’s your strategy? Have you created your own filler cards?


8

Shopping for inspiration- the holiday edition

Hello Neat and Tangled lovelies!

Katie Gehring here.  It's no secret that I love shopping for inspiration when I am out and about, and I am popping in today to share a card I made inspired by holiday decorations at (my favorite store, like, ever) Target!

Last weekend, I was picking up the items on my Target list and somewhere between the kids clothes and shoes departments I looked up and saw this.


Those colors, the circles, the shine!  I was inspired!  I snapped a picture with my iphone trying not to look too conspicuous.  When I returned home, I pulled out some of my Neat & Tangled stamps to make a card based on this Target decor, and here's what I created... 

dsc_0082

I stamped Sunburst with green ink on green cardstock and punched out the center of the image with my circle punch.  Party Dots was stamped with gold ink, and I punched a couple of small circles from the larger stamped image.

dsc_0080

The stars from Merry and Bright accent the red circles and the sentiment is from Simple Christmas. A few circles punched from bronze shimmer cardstock added some depth and shine.

I think this card is pretty on Target with the inspiration (pun intended), and it's flat for easy mailing!  Next time you are out and about in all the hustle and bustle of the holiday season, don't forget to look around. Your next spark of inspiration could be hanging from the ceiling!

Thanks for stopping by!
Katie :)

7

Merry & Bright!

Hello everyone!  It's Pamela on the blog today with a very simple Christmas card to share!  This one is mail-friendly, easy to mass produce and lots of room for minor customization!

I focused on the sentiments from the stamp set Merry & Bright for my card.

Merry & Bright

I first masked off the stripes using some washi tape.  Then I blended the red and green ink together to create a gradient effect.  Finally, the sentiment is stamped on a piece of vellum tag and stitched in place.  Embellish the card front with some wooden stars and it's ready to be mailed out!

Merry & Bright - Close Up

There are three sentiments to choose from Merry & Bright and there are many other colours you could use for your stripes!  Let's see your variations using the Neat & Tangled stamps!

--- pamela

Supplies:

5

Starry & Bright

Hello Crafters!

It's Chari here today with a simple Christmas card.  I used a couple images from the new Merry and Bright set along with the tiny star background from Hero Arts.

Merry&Bright

I stamped the background with silver shadow ink, then I used the long curved stamp from Merry and Bright to make my "garlands" across the back.  The holly leaves are stamped with images from Simple Christmas and I embellished with raspberry red sequins for the holly berries and crystal clear sequins on the garlands. I also added wink of stella glitter to the striped square and to the green garland stamps, but it is hard to see in my photograph.

Thanks for stopping by and letting me share with you today! :)

9

Neat & Tangled in Week 41

Hello everyone!  It's Pamela on the blog today to share one of my favorite Project Life spread using my Neat & Tangled stamps.

I used Scrap Circles and stamped "Live" "Laugh" and "Love" onto a piece of acetate using white stazon ink.  I love how the white looks when I slip this filler card into my pocket!

I stamped my favorite sentiment from Merry & Bright onto one of my journaling cards and coloured the little banner with a stardust pen.  This sentiment is just perfect for my project life!

Week 41

Oh!  And did you notice that I used On the Strip 2 on one of the journaling cards?  I stamped the stripes in grey on both right and left side of my last journaling card instead of using a solid stripe.

How are you using your Neat & Tangled stamps?

--- pamela

Supplies:

2
Back to Top