Showing posts with label amy kolling. Show all posts

Design Team Reunion: Amy Kolling

Hi friends!

Did you think the party had ended? Now way! Just about everyday for the rest of this month we will have a past design team member stopping by the blog to reminisce and share a card or two with you! I am so excited to kick things off with Amy Kolling! She was one of our original design team members, and I'm so happy to call her a friend! Now more from Amy...
_ _ _ _ _ _ _ _ _ _
Hello Neat & Tangled friends!  I am so honored to be back on the Neat & Tangled blog as a guest for their 5th birthday celebration!  I was one of the original design team members and I loved the time I spent with this group!  I have followed along since and I'm so proud of where Danielle has taken Neat & Tangled.......it's so fun to look back and see where it's come!  Here's to many more years!  

I love the new Hooray word dies from this release......so many ways to use them.  I paired them with the All The Sprinkles background and some Distress Oxide inks in Worn Lipstick, Broken China, and Wilted Violet.  I created two cards with these sets......one with pastels and one with masculine colors!
For both cards, I stamped in versamark the All The Sprinkles onto a panel of black cardstock and a panel of white cardstock.  The black was heat set with gold embossing powder and the white with white embossing powder.  Then the magic happens with emboss resist.......blend the Distress Oxide inks over the panels and spritz with water!  

To the pastel card, the Hooray dies were done and layered with foam adhesive for dimension.  For my masculine card, the outline Hooray die was die cut from the panel and then the word Hooray was inset back in done in gold foil.  Both options are awesome!
21

Cosmo Cricket Week - Day 5


We are closing out our Cosmo Cricket collaboration week today, hopefully you have been following along and enjoying the projects all week!

Every good collaboration need a couple prizes, right?  We've got a great bundle of Cosmo Cricket goodies to share with one of you.  Just leave a comment on each post this week and we'll pick a winner and announce them next week.

Cosmo Cricket also has a prize to share, so be sure to stop by and check them out on Facebook and Instagram.

Today Amy and Keeway are sharing with us:

Hi, it's Amy!  I couldn't wait to dive into the goodies from Cosmo Cricket!  Here is a peek at some of my supplies:


I've been really enjoying the watercoloring trend and was looking forward to combining the Cosmo Cricket Just Add Watercolor Blank Tags along with the Pixie Paint in Candy!  Here's how I was inspired:


I love how vivid the Pixie Paint is....such a great background to the images from Big Top Birthday, don't you agree?  I teamed it up with the awesome Hooray Nice & Neat die.  I trimmed it down to just the sentiment.

I colored all the stamped images with my copics...couldn't resist the green + pink color combo!

And here's Keeway:

For my card, I created a little scene with the Little Stinker smelling the envelope and thinking of someone special. Have you ever reminisce about someone after reading an old letter or card? That's exactly how I felt when I thought of this card.


I played with the Cosmo Cricket Pixie Paint in the pink "Candy" and blue "Pool". The paint itself comes in powder form with multiple hues. When water is added, you create this beautiful, vibrant "cloudlike" wash of color with a hint of hue variation.

I used the Pixie Paint to create a bright background of pink on the left side and blue on the right side. I blended the two sides towards each other with water so that there is no harsh line where they meet. Because the blue is more cerulean, the mixture of the pink and the blue can come out greyish purple, so I kept the blending of the two rather minimal, just enough to have the wash look fluid.


The colorful background contrasted my black and white skunk perfectly! My "thinking of you" bubble had some minor copic coloring with a matching blue color to balance the blue on the right side, just like how the pink accents on my skunk balanced out the pink on the left side.

I absolutely love the texture of the background that these Pixie Paints create. It makes creating washes incredibly easy!

Thanks so much for joining us all week.  Leave a comment on this post for another chance to win that Cosmo Cricket prize pack, and we'd like to send out a HUGE thanks to Julie at Cosmo Cricket for all these fantastic supplies.  The team thoroughly enjoyed working with Cosmo Cricket's products!!!
37

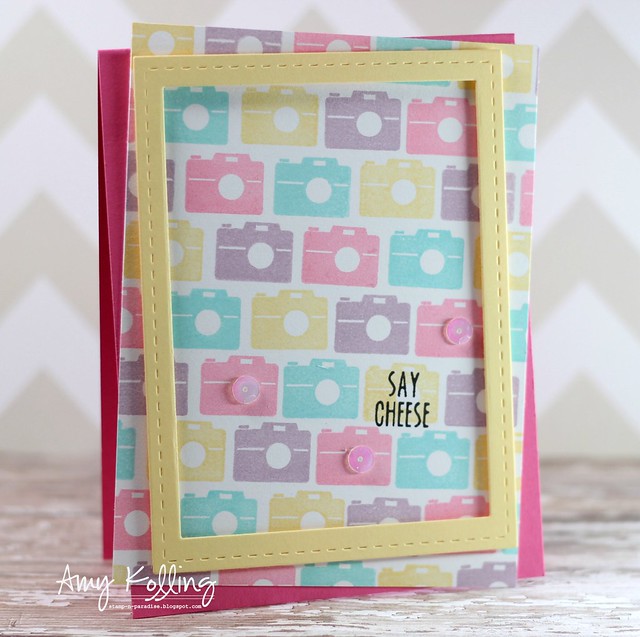
Say Cheese!


Hi Neat & Tangled friends!
Amy Kolling here with a bittersweet post because it's my LAST post as part of the original DT.  Danielle has expanded her team and it's time for my style to go!  I have really enjoyed this team and am so grateful to Danielle for letting me design with her stamps.  

Did you see the fabulous new release of stamps last week?  If not, scroll back through the posts from last week!  The new DT has outdone themselves!!!

I created my card with the new set called Photo Booth.  I just love all the itty bitty images that are included in this set which are perfectly sized to fit in the photo strip stamp from the set.  But here, I've used the little camera stamp to stamp my own background paper.  Just goes to show how you can use all those smaller images in way that really shows them off!

Say Cheese2


Since this is my last post, I wanted to share a few of my favorite NAT cards I've made during my term.  Hope you enjoy and have a great summer!!!

2.26.14

Our Life

Just saying hi

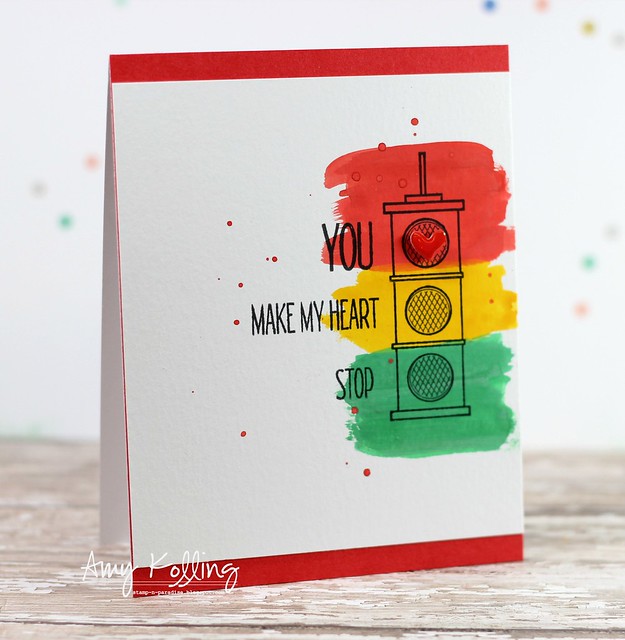
Stop and Go1

5

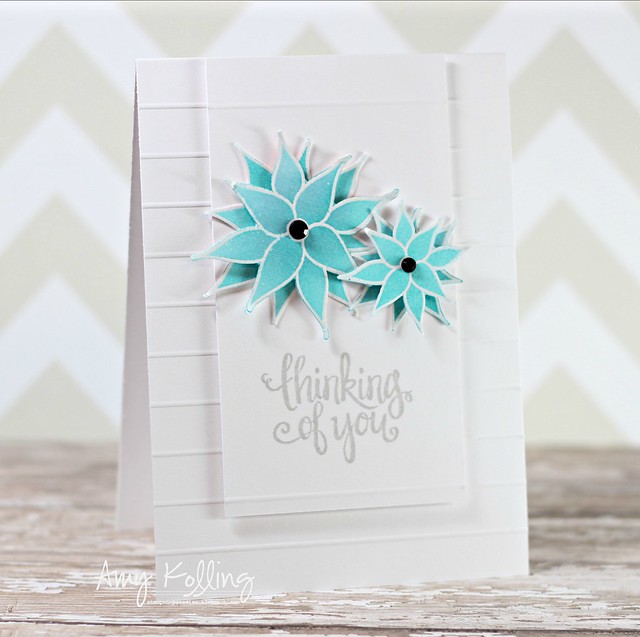
thinking of you


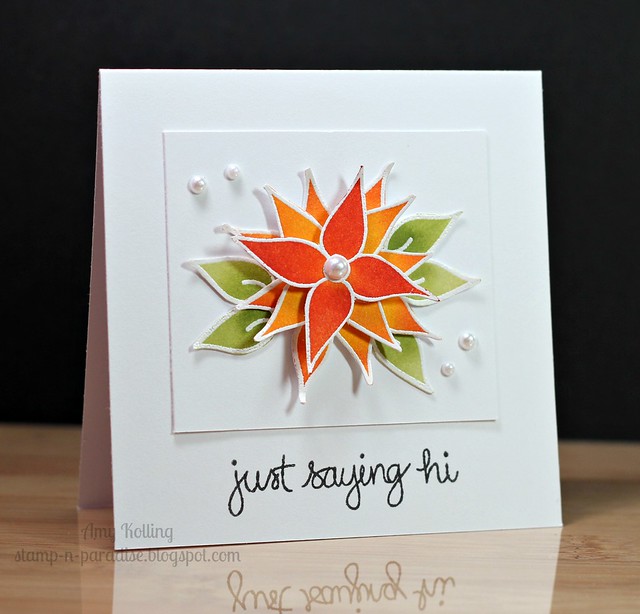
Hi everyone!  Amy K. here with a card using one of Neat & Tangled's first sets.......Fresh Blooms.  
I adore these blooms and even more when they are layered.  I went with an emboss resist technique with Distress Inks and clear embossing powder.  

I wanted my blooms to stand out on my card so I dry embossed my card base and a few coordinating lines on my bloom panel with my Scor-Pal.  Above my bottom score line, I added a sentiment from Just Thinking of You.

4.29.14,jpg


8

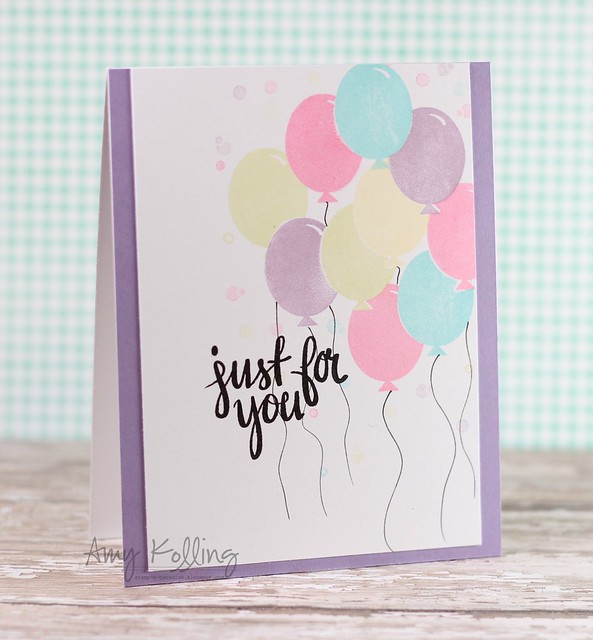
Just for you


Hi everyone!  Amy K. here today with a fun technique that I don't do nearly enough but I love the results!!!  Simple masking.

I've made a sweet spring inspired card using the balloons from Just for You.  I added in some dots (these were stamped off once) from Party Dots randomly around the balloons to resemble confetti!  I've stamped one of Danielle's fabulous handwriting stamps over some of the hand drawn balloon strings........LOVE!

3.30.14

That's all for me today but I hope to get out and enjoy the Spring weather we're to have here today!!

4

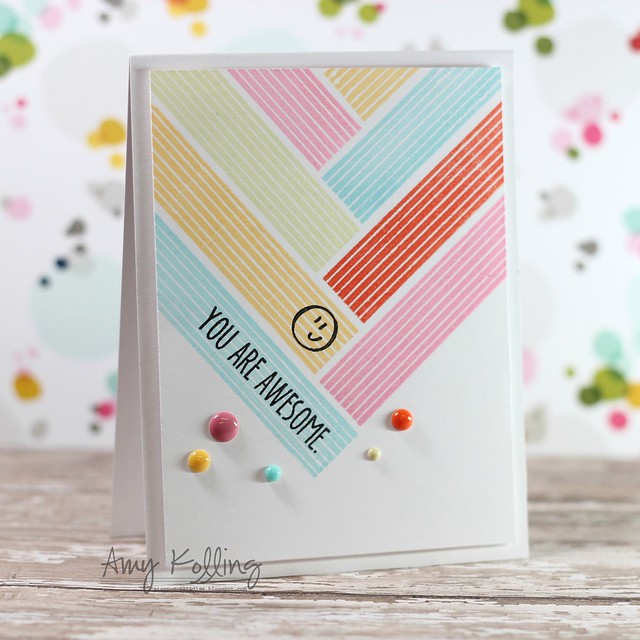
You are awesome.


I am really enjoying using stripes lately.  Trendy?  yes.   Fun?  yes.  I've been seeing stripe patterns everywhere that I can't wait to try out.  I believe I saw this pattern a while back on a decorative pillow so I thought I'd give it a try using On the Strip 2 from Neat & Tangled.

I started by randomly stamping the first stripe and used that as my building block for the pattern.  I found that if you get the stripe stamp perfectly straight on your block (I use a Martha Stewart footed block) then stamping these stripes is a breeze!  

2.26.14

Thanks so much for stopping by today!  xx

6

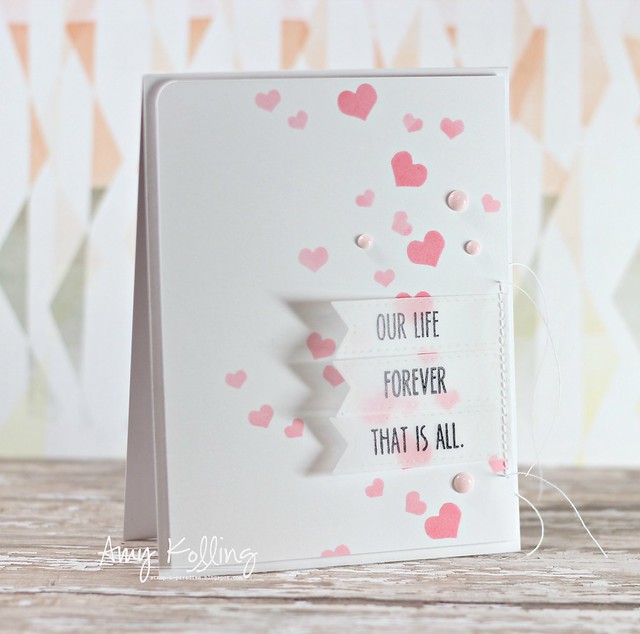
Our Life......


I've been playing around with some of my stencils lately.  There are so many ways you can use them!  An old stand by is to use those Distress Inks.  I've sponged some Spun Sugar and Worn Lipstick Distress Inks over a heart stencil from my stash.  I then thought it would be fun to stitch some sentiment banners to the side but using VELLUM.  It seems to have become my 'go to' embellishment lately.  Using several stamps from the You + Me stamp set, I stamped them using Staz-On onto the vellum banners. 

Our Life

This card would be fitting for Anniversary, Valentine's or Just Because!  Don't forget to check out the new Calligraphy Monogram Stamps and new sequins Danielle just released!  Hugs!


13

Merry & Bright

 
Hi everyone!  Amy K. here today during this cold, cold holiday time.  Serious folks.....I'm cold and I can't wait for warmer temps! 
 
I'm here with a festive holiday card that really didn't take any time at all!!!  I'm excited to see the chalkboard trend continuing and here I've paired it with vellum!  If you've visited my blog lately......I've been using vellum a LOT and I LOVE it!!!  I think it's just a gorgeous paper and it gives so much more depth to a project.  For instance.....Look at this striped paper.  I love how the vellum "muted" the striped paper and let the sentiment circle take center stage!  A few sequins and some red glitter tape was added for the bling factor!
 
The sentiment is from Merry & Bright and was heat embossed with white Filigree embossing powder as was the circular scroll frame from Swirly Twirly Tags.
 
12.11.13

Thanks for sharing a part of your day with me!

 

7

YOU + ME

Hi everyone!  Amy K here today........What did you think of the November release last week?  We hope you liked it! 

I have one more card to share using You + Me.  LOVE this set.  Today, I've used it as Danielle used in her VIDEO during release.  You can view the video HERE.  I loved hearing where her inspiration for this stamp set came from!!!  Great idea=fabulous stamp set!

I went with a sweet design and pale colors.  I created my little scallops using the heart stamp included in this set......another use for your stamps! 
 
11.27.13

Thanks for stopping by today!!


5

Happy Halloween!

 
Hi everyone!  Since Halloween is just over a week away, I thought I'd share another card I made this season.  This is a spooky "cute" Halloween card using stamps from Neat & Tangled
 
I enjoy the polaroid look because it narrows down the creative space you have when creating a scene.  Here I simply stamped my scene onto white cardstock and layered it on a black panel.  Layering your stamped panel onto a bright colored background really makes the panel standout. 
 
HappyHalloween 10.23.13  
 
Graveyard Shift
Graveyard Shift
 
Halloween Scene
Halloween Scene
 
 
{Happy Halloween}
Stamps:  Halloween Scene, Graveyard Shift (Neat & Tangled)
Paper:  White, True Black (PTI)
Pattern Paper:  Halloween Parade (Doodlebug Design)
Ink: Versamark, Onyx Black (Versafine)
Misc:  Copic, Foam Adhesive, White Embossing Powder

3

Happy Halloween!

 
Hi sweet Neat & Tangled fans!  Amy K. here with a start to my Halloween cards this year!
 
I found some time to play with an older Neat & Tangled set called Halloween Scene.  I need several Halloween cards this year for the kiddos in my family......so, check one more to-do off my list!
 
I pulled out some vellum to stamp my ghosts on to and trimmed them out.  The "Happy Halloween" sentiment is one stamp so 'Happy'  was selectively inked onto one part of a die cut banner and then again with the word 'Halloween' on another part of a banner.
 
Happy Halloween  
 
 
7

Birthday Bash!


Happy Monday and Happy Birthday Neat & Tangled!!! 
Amy K. here sharing a bright and sunshiny birthday card perfect for anyone!  I've stamped the Sunburst background and layered a stamped circle from Everyday Circles.  The fun thing about these circles is that they are easily punched with a circle punch! 
 
Sunshine birthday  
 
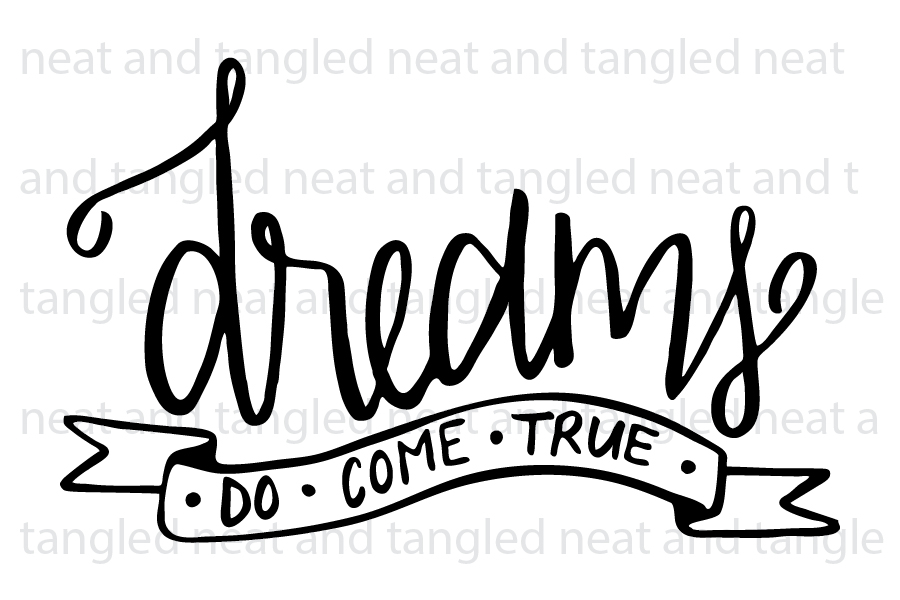
Have you see this??  It is a mini stamp (3x2) called Dreams that will be included with all stamp purchases this month!


Have a wonderful day and we'll see you back here tomorrow with more BIRTHDAY celebration!!!


7

Ink Splash!

 
It's an Ink Splash day here at Neat & Tangled!!!  Have you seen the latest stamp set from Neat & Tangled?  I'm loving these ink splash stamps! 
 
Today, I've paired them up with my new Gelatos that I picked up while at Michael's.  I have been watching the videos that Kimberly Crawford posted with them and had to give them a try with the Ink Splash stamps!  Check out all her videos HERE.  Thanks Kimberly!
 
happybirthday  
 
For my card, I used Kimberly's Day 2 ideas with stamping with Gelatos.  Basically, what I did here was color on a craft mat and spritzed the color with water and inked up my stamp!  Love the watercolor look!  My sentiment is from the Across the Card stamp set.  Thanks for joining me!!
  
 
5

let's celebrate!


let's celebrate2  


Hi Neat & Tangled friends!  Amy K. here with a card I made using the very popular set On the Strip 2.  I knew the layout I wanted but experimented with the color combo before stamping my final panel.  The sentiment (from Party Dots)  fits perfectly where the stripes meet!  I love how the stripes just pop when layered on a black card base!

Thanks for stopping by!


8

Happy Birthday

 
Hi everyone! Amy K. here today!!!
 
I know there are Neat & Tangled fans out there, right?  Well, have you checked out the newest challenge over at the Little Tangles blog?  There is a stamp set up for grabs to a lucky winner!  This challenge runs until Sunday, May 26th at 11:59 EST.  This is your chance to ink up those stamps and create!!  The challenge theme is Embellish It! 
 
I used the newest stamp set.....Across the Card.  Love this set.....using it makes for such a quick and simple but bold card!!  I added in some sequins as my embellishment!  The Summer Sun sequins are from Neat & Tangled and I embellished them with some Stickles for more added bling!
  
 happy birthday


Now, we'd LOVE to see your take on this challenge!  Remember, you must link up your card by May 26th, at 11:59 EST.  Thanks for stopping by today!!


4

Happy Birthday

Hey there!!!  Amy K. here and I have a masculine birthday card to share.
I know masculine cards are very difficult for many of us but I have a quick and fairly easy card here using the woodgrain image from the set On the Strip 2!  If you don't have this set and it's counterpart, On the Strip, you are missing out!  These two sets alone give you ENDLESS options for cardmaking!
 
Here I've stamped the woodgrain strip with brown ink over and over again until my kraft panel was filled.  Every time I would ink the stamp I would move it across just a bit to give it a more realistic look.  My sentiment was stamped on a scrap strip using a sentiment from Sketchy CupcakesTucking a few woodgrain buttons under the sentmemt strip was the final touch for my masculine card.   
 
happy birthday2


What do you think? Masculine cards.......are they hard or easy for you?  Thanks for stopping by!!!


3

Nautical "hello"!

 
Hi everyone!  It's Amy K. here with a nautical card to share!!!!
 
If you follow trends at all then you may know that all things 'NAUTICAL' are in.  I've had this little idea in my head to do ever since Timeless Twine by Bella Creationz came out with their Natural Twine.  Don't you just LOVE that tiny Sailor's Knot??  I DO.......a LOT!  With the current release of Neat & Tangled's On the Strip 2 stamp set, this card came together soo easy!  I actually stamped a larger striped panel and just trimmed down to size.  My sentiment is selectively inked from the set:  Just Hello.
 
Nautical hi!

 Now for that sailor's knot........you all know Pinterest.  The site where hours upon hours of your day can go unaccounted for?  I used a tutorial found HERE however, I've made several of these years ago for a card so you can find sources pretty much anywhere on how to make these.  For my knot, I just used 4 equal strands of Natural Twine and followed this diagram!
 
Source:  Martha Stewart


Well, that's it for me today, but I'd love to hear what you think about my card today because well, I kinda like it!  Have a great Sunday!


{hi!}
Stamps:  On the Strip 2, Just Hello (Neat & Tangled Stamps)
Paper:  White, Pure Poppy (PTI)
Ink:  Enchanted Evening, Pure Poppy (PTI)
Twine:  Natural (Timeless Twine by Bella Creationz)
Misc:  Foam Adhesive


7

Sweet hello

Hi everyone!  Amy K. here and it's Monday.......Spring Break time at my house!
We are in the middle of building forts, watching movies, and having fun.  :)
 
I have a sweet little "hello" card for you today using several Neat & Tangled stamps!
 
I created my own plaid panel using the solid strip from the newest set:  On the Strip 2 in kraft ink.  Adding in a "hello" sentiment from Swirly Twirly Tags......stamped off and stamped again for the shadow effect.  I had to add in several stamped hearts from Just Thinking of You for good measure! 
 hello
 
Thanks for stopping by the Neat & Tangled blog today!
 
{hello}
Stamps:  Just Thinking of You, Swirly Twirly Tags, On the Strip 2 (Neat & Tangled)
Paper:  White (PTI)
Ink:  Kraft (PTI), Shell (Amuse)

3
Back to Top