Showing posts with label nina yang. Show all posts

Design Team Reunion: Nina Yang

Hello everyone! It’s Nina Yang here! I was lucky to join Neat and Tangled design team for a year about 5 years ago! Danielle is one of the sweetest person I’ve met and she has some of the most creative ideas in the industry! I’m delighted to join the celebration with a card I made from the new Wild Ones stamp set and Wild Ones – Nice and Neat Dies!
It’s the giraffe’s birthday and she's hosting a disco party! The monkey is swinging by with his gifts! The new Like Magic Sequin Mix is perfect for making a disco ball for the party scene! So sparkly and fun! I bended the sentiment strip a little for some dimension and movement on my card. All elements are colored with Copic markers.

Thanks Neat and Tangled again for having me!

Happy Birthday!

Hugs,
Nina

5

Like All Good Things...

Hello everyone! Nina here to share some of my favorite projects for Neat and Tangled since the very first release. I'm grateful for Danielle. She invited me to join her amazing design team when I was a newbie. When I look back, I can see how much I've grown as a card maker and how much Danielle has grown as a stamp designer.


Thank Danielle for giving us the chance to say a proper goodbye. I will miss my talented teamies who knock my socks off every single time. 

If you are also a fan of Neat and Tangled's unique, whimsey and trendy style, don't forget to check out the DT Call

All the best,

Nina Yang
8

Holiday Cards Using Non-Holiday Stamps

Hello everyone! Nina here with two quick and easy holiday cards using non-holiday stamps from Neat and Tangled.

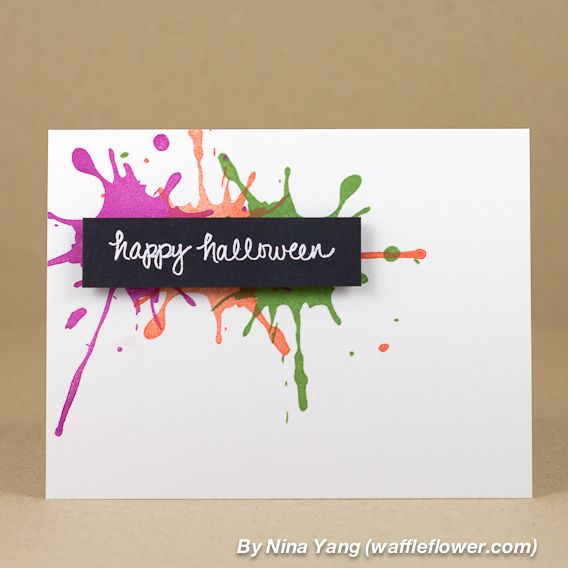
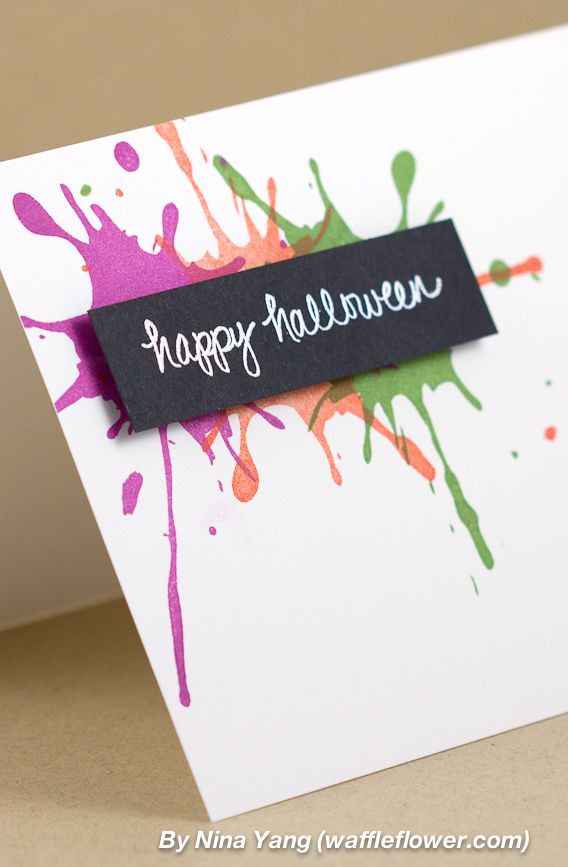
First one up, a Halloween card using Ink Splash.


I used halloween colors to quickly create the background. I heat embossed the sentiment from Halloween Scene on black cardstock, cut to size and adhered with foam adhesive.


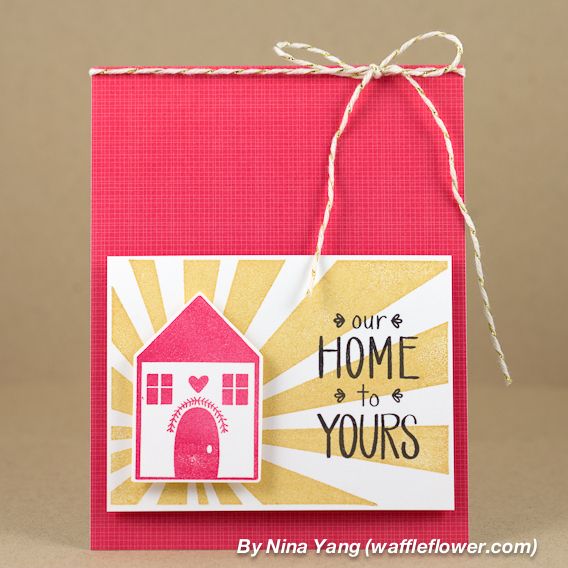
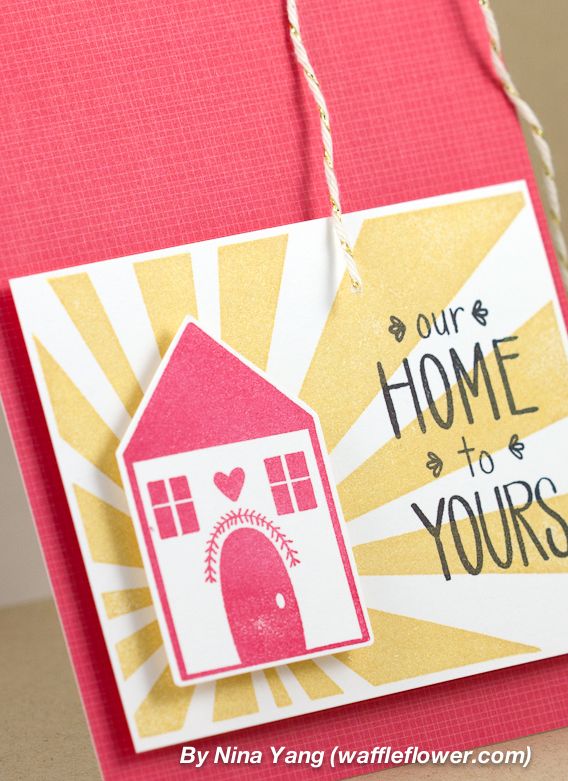
Second,  a Christmas card using Sunburst.


This is a great set to create a scene with a warm feeling. It also helps emphasize the focal. Home and sentiment stamps from Simple Christmas.


I collect basic, background building pattern stamps and think these two from Neat and Tangled are must-haves. I hope that you are inspired to use more of your pattern stamps on your holiday cards this year? 

Thank you for stopping by! Happy Crafting!

7

Celebrate Banner Card

Hello everyone! Nina here again to share a simple card created using some new stamp sets from Neat and Tangled latest release.

 nina-yang-celebrate-card

First, I used the curved line stamp from Merry and Bright to create a few masks from thin printer paper.

nina-yang-nt-celebrate-card-creating-mask

I stamped the round ornament stamp (also from Merry and Bright) multiple times along the curved masks to create the banners.

nina-yang-nt-celebrate-card-stamp-banner

Then I ran a thin layer of liquid glue along the lines to adhere the twine.

nina-yang-nt-celebrate-card-adhere-twine

And some sequins to finish it up! Sentiment is from Just For You.

nina-yang-celebrate-card-closeup

Thank you for stopping by! I hope you are inspired to use masks in your next project. Happy Crafting!
3

Dreams! - Reverse Masking Technique

Hello everyone! Nina here to share a card using the brand new stamp set: Dreams! It is a special stamp set which is free with any order placed during our Neat and Tangled birth month :)

I used a technique I call Reverse Masking to create the orange background for the sentiment.


I use reverse stamping technique a lot but when the stamp design is not symmetrical, it will not work. How about using the reverse side to create a mask for it? I experimented and liked the result. Here is how I did it:

I inked the stamp on its reverse side, stamped and cut out. I used both pieces on my card.


I used the cut-out piece (stamped side facing down) to mask and create the pink area.


And the negative part to mask and ink the orange area. As the arrow shown: I used a piece of Scotch tape (hard to see but it is there) to help keep the mask together at where I cut in.


I left the mask in place when stamping the sentiment to help me align it to the center.


I stamped the sentiment again on some yellow paper and cut out the banner part to add interest to the sentiment. I also used a white gel pen to draw some lines for some depth for the pink background.


I had a lot of fun playing with this sentiment. I look forward to our September release with more awesome calligraphy stamps by Danielle! See you then! Happy Stamping!

9

Faux Washi Look - Shine Bright Card

Hello everyone! Nina here with another one layer card and a fun technique.


Stamps: (speech bubble from A Lot to Say, diamond and sentiment from Sparkle and Shine, strips from On the Strip 2) Neat and Tangled.

Quick and easy masking with a Post-It note torn in half.


I'm very excited to share another card I made using the same technique and was published in Paper Crafts July/August 2013 Issue! I used the hello strip from On the Strip.


I hope that you are inspired. Don't forget to join us for the July release starting tomorrow!! Thank you for stopping by! Happy Stamping! 


5

ABNH Week - You Are My Light Card

Hello everyone! Nina here to share a card using both Hero Arts and Neat and Tangled products for our collaboration week with A Blog Named Hero!


I was thrilled to see Danielle come up with this cool Sunburst stamp. I immediately wanted to pair it with the Starburst Background stamp by Hero Arts. 

Inspired by Pamela's card here, I cut the starburst (red) out and mounted it to card with some foam adhesive. I used the Lemon Sequins from Neat and Tangled store to emphasize the dimension.


Don't forget to check out A Blog Named Hero for more inspiration! Happy crafting!
10

Star Confetti Birthday Card

Hello everyone! Nina here to share a star confetti birthday card!


There are various star sizes in the Sparkle and Shine stamp set - perfect for creating a confetti look. I used 3 ink colors and tried to stamp them in triangles for a random look. 


Then cut a slot to insert the craft pin:


Bling it up with some sequins from Neat and Tangled store: Mermaid Tale 


Thank you for stopping by! Happy Crafting!
5

Thinking of You Card

Hello everyone! Nina here again. Today I am on fence! ;)


When I saw the woodgrain strip in On the Strip 2, I wanted to make a fence with it. Just stamp a few on some scrap and cut out with pointed heads; then use the thin solid strip stamp from the same set on the card front for the backing boards:


I used the muffin top from Sketchy Cupcakes as a frame for my sentiment (from Just Thinking of You set). A little masking is all it takes:


Throw in a few mushrooms from Little Bear set to add more colors to the card:


I had so much fun making this card. I hope that you are inspired to create a scene yourself :) Thank you for stopping by! Happy Crafting!

13

Interactive Card - We've Moved!

Hello everyone! Nina here to share a fun interactive card.


I used the staff from "My Heart Sings" set to make my fence :) Just draw lines as shown and cut out.


The sentiment was created with my label maker :)


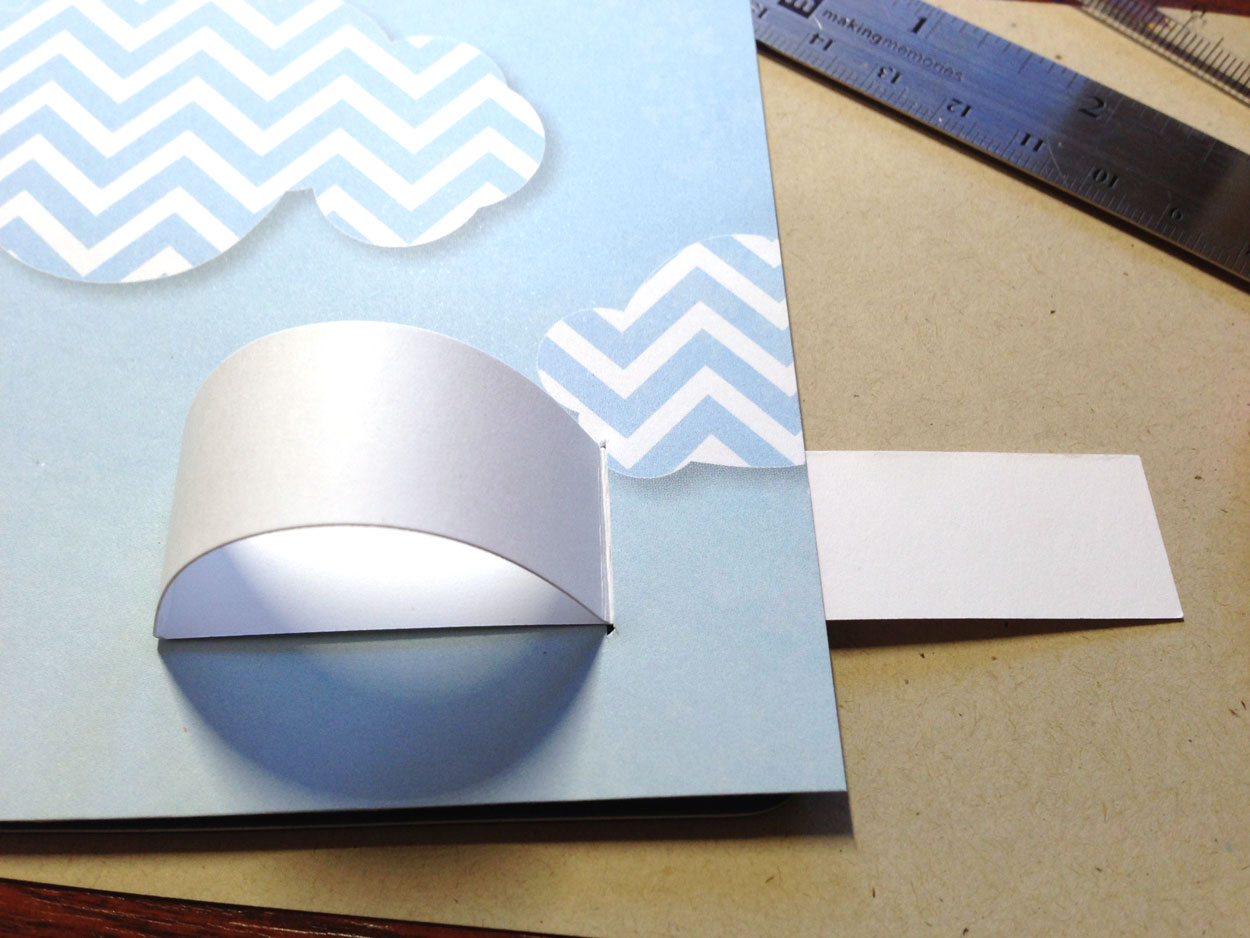
Cut a slot for your sentiment strip:


Cut paper to 3/4" x 7-1/2", score at 1/2" and 3"; fold as shown. Put adhesive on the 1/2" part and insert into the slot.


You will get something like this:


Then cover the strip with the fence and house that you created and you are done! The house stamp is from "Sweet Home", tree from "Little Bear", and the little bee is from "Fresh Blooms". All paper pieced.


I hope that you enjoyed today's post and will give an interactive card a try! Happy crafting!


6
Back to Top