To shop all of the retiring items now on sale (CLICK HERE!) to visit the online store or blog for more information.
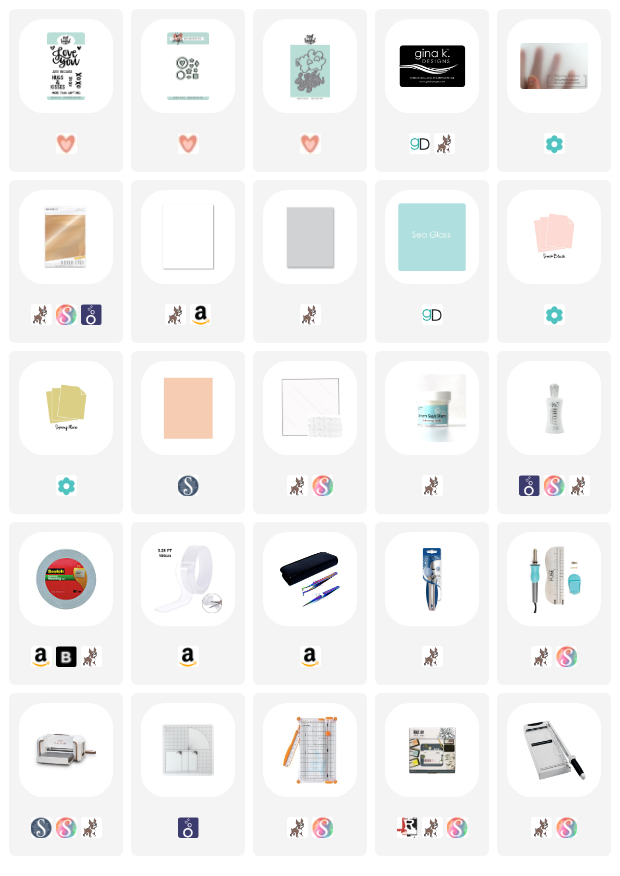
To create this card, I started with some We R Memory Keepers Fuse-sable sheets. These are clear sheets of 12 x 12 material used in conjunction with the We R Memory Keepers Fuse Tool to create your own pockets. This can be used for a number of projects ranging from creating your own memory keeping pocket pages to making your own shaker card, like I'm doing today.
I started with two pieces of fusible material cut to 3 1/2 by 4 3/4. I needed to line these two pieces together so that I can fuse them using the perforated-looking tip that comes with your Fuse Tool. To help me line them up I used the Ranger Make Art Stay-tion by Wendy Vecchi. This magnetic mat was unbelievably helpful for lining the material up and keeping it in place. The magnets kept my materials in place while I used the Fuse Tool ruler to make a perfectly straight seal. The metal composition of the mat also allows me to use the tool directly onto the surface without damage occurring from the heated tip. I now store my Fuse Tool and Make Art Stay-tion together, as they are now forever friends.
I sealed the material on only three sides, then I stopped in order to fill the inside with shaker bits. Insert Neat & Tangled Little Bits die set. This die set is so awesome, it comes with all of these tiny little dies that I often reach for to spruce up any project I'm working on. Today, I pulled out the two heart shapes that come in the set to make my shaker bits. I also used the heart dies that come with the Just Because coordinating die set also by Neat & Tangled. The combination of these elements made up the contents of my pouch. I cut these little guys using an assortment of cardstock in complementary colors. Including gold foiled cardstock, which brings me to my next tip. Before you seal the fourth and final side to your shaker pouch, make sure the elements inside the pouch are facing the right way. My gold elements shifted and now that it's sealed, I can't turn them back around. So, to make sure your flashy gold elements can be seen, make sure they are facing toward the observer. Most of the cardstock pieces look the same on both sides, except that the foiled cardstock I chose has white on the reverse.
Once your DIY shaker pouch is sealed on four sides, it's time to add a sentiment. I cut my sentiment from the Just Because coordinating die set, but this same look can be achieved by stamping the "love you" in gold embossing powder or gold foil. I cut mine from the same gold cardstock I used on the interior elements and I cut its shadow from vellum to maintain the see- through appearance of the card. I hid the liquid adhesive used to attach the word die and its shadow behind the letters so that you don't see it when looking at the card. I also stamped the "just because" sub sentiment, from the same Just Because stamp set, with watermark ink and heat embossed using white embossing powder. I cut it down into a strip using my cut line paper trimmer. I popped it up onto the shaker panel using foam tape.
I added a decorative banner from an older Neat & Tangled die set called Card Front designs, but again, it's so easy to replicate this element. I used the smallest heart die from the Little Bits set to cut a heart out as another see through element.
I cut a piece of Neenah 110 lb. cardstock to 4 3/4 by 3 1/2 and used it as a background to make my shaker bits pop a bit more. I adhered the shaker pouch to the white panel using liquid adhesive being sure to hide the adhesive once again.
All of this was added to an A2 size card base cut and scored in a top folding portrait orientation using my favorite light gray cardstock.
I hope you have enjoyed my project today and I've inspired you to create something using your paper crafting supplies.
Koren


Such a pretty soft palette, these pouches are a joy to make versus the foam tape method.
ReplyDelete