Showing posts with label origami map. Show all posts

Watercoloring a World of Heart


Hello everyone. Koren here again with another super simple card project. Today I am playing with the Neat & Tangled Origami Map stamp set. I have always loved prints of world maps, they have  an amazing effect on me. I will stop and stare at a map and think about all of the places that I have been, or want to visit some day, and how these places were discovered. I also like to see where my friends live that are so far away, the maps somehow make them feel closer. One way to share love with those people is to send them a handmade card to let them know that you are thinking of them, no matter how far the distance between you. 

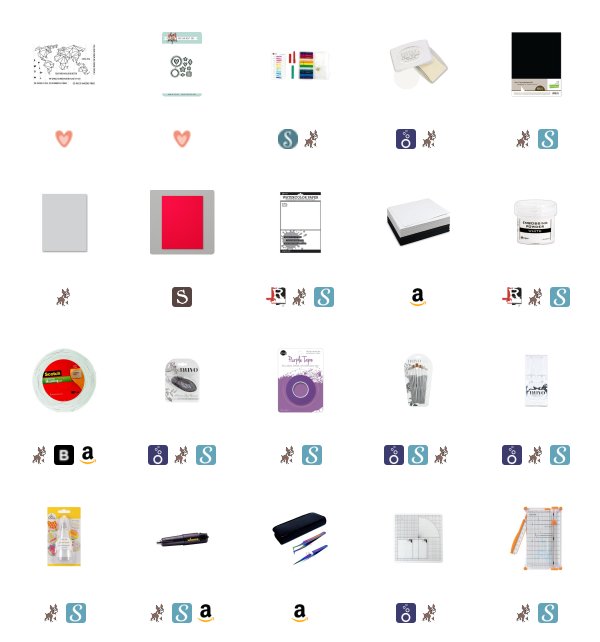
I started with a piece of Ranger watercolor paper cut to 3 1/2 by 4 3/4. I loaded it into my stamp positioner along with the map image from the Origami Map stamp set.  I stamped it onto the panel, trying to align the map as best I could in the center of the panel. I inked it up with Nuvo Clear Mark embossing ink and heat embossed it with Ranger White embossing powder.  


To add the color I used Jane Davenport’s Colorsticks by Spellbinders. These watercolors come in a container much like a lipstick. I simply added a bit of color to my glass mat and sprayed it with water. I used my Nuvo paint brush in size 9 to mix the color on my mat and bring it to my paper. I used a rainbow of color. If you search watercolor map on google. you will be sure to find some amazing inspiration for this look. I took some inspiration from a photo that I saw and tried to replicate similar areas of color. This doesn’t really matter because these watercolors blend nicely together, no matter where you put them. I just wanted to make sure that I used them all while still keeping the individual continents generally represented on the map.  I think it turned out great. 

I added some white craft foam to the back of this panel using Nuvo Maxi Tape Runner adhesive. Then I affixed it to a Simon Says Stamp Fog card base the same way. 

For a sentiment, I stamped the “ my world is brighter because of you” in the same clear embossing ink and heat embossed it as well. I stamped it onto a Lawn Fawn black licorice cardstock and used my Fiskars wire guide paper trimmer to trim it down into a strip. I popped it up onto the panel using Scotch 3M foam adhesive. 


To add a touch of personalization, I cut two tiny hearts from the Little Bits die set also by Neat & Tangled. I cut them from Stampin’ Up! Poppy Parade cardstock and adhered them using Nuvo Deluxe Liquid adhesive.  I placed one where I live on the east coast of the United States and the other right in the middle of Austrailia. 

I hope you enjoyed my card project for today and I hope I inspired you to create your own world of heart. Don’t pay any attention to the fact that I don’t know enough about Austrailia to have placed the heart in an inhabitable part of that great country. I’m just pretending my friends live in the dessert in the bush like Crocodile Dundee. Don’t eat Vegemite, it’s terrible, no matter what they tell you. 

Koren 

3

Easy rainbow summer cards + alcohol markers with Bibi


Hello everyone! It is Bibi here,  today I'm sharing creative ways to stretch out your crafty supplies while I walk you through the process of making a couple of  easy, colourful and fun summer cards.

I used Hello Summer die, Night Paint Stamp Set Dimensional Triangles cover plate die from the latest Neat and Tangled release and one of my fav ever: Origami Map die .

Here is the Video.


As you can see in the video I also used Nuvo Creative Pens -  Alcohol Markers with dual tip. I used their broad tip to create a striped pattern on a piece of bristol board paper and I only used the markers to add colours to other images and die cuts on these cards.


This is the first card I'm making the video and I think it is perfect to send encouragement. 


For this card, I trimmed a portion of the large die cut produced by Dimensional Triangles Cover plate die and I made a kite.

The girl image is from Night Paint Stamp Set. In the original image, she has a brush in her hand. I cut it off so it seems like she is holding the kite.

That's all for today!

Many hugs  and happy crafting

x

Bibi

Supplies

3

Design Team Reunion: Anna Kossakovskaya


Hello friends! Anna Kossakovskaya is here today with you and I am so excited to share with you this post today. I was honored to be invited to Neat & Tangled Reunion month, when all old design team members gather together again! I started to work with Neat & Tangled and Danielle three years ago - the summer of 2014. Three years have been passed! Time flies really fast! It was one of my first design teams of such level - to work with the manufacture! Isn't it a dream? 

It was a great time working with amazing and unique style and stamp designs. And I am so happy to be back again, even only for one post! And I prepared two new cards for you today, that combine my favorite Neat & Tangled products.

For the first card I played with All The Sprinkles stamp set and multi layered resist technique. And for the sentiment I added 'Hooray' layered word I die cut with Hooray Word die. I started with embossing the stamp with the clear powder and then sponged the background with Worn Lipstick distress ink.


When the ink has dried I repeated the first two steps - the embossing with the clear powder and the sponging with the same ink color (but added more color this time). And then repeated it again the third time. And the last step was to add two strips of the vellum, the sentiment and few sequins from Like Magic Sequin Mix. I really adore this mix! The sequins can change the color a little, the real magic!


For the second card I used Hooray Word die again together with my most favorite N&T stamp set ever - Origami Map! I stamped the map on the white front panel and colored some segments with the pink and light blue colors. Then I die cut the 'hooray' word (the bottom layer) and added some foam. And on the top of the foam I adhered the layer with the stamped map and top black layer. So this word really pop!


Also I stamped the additional small sentiment and added again the sequins from Like Magic Sequin Mix. I like how they perfectly fits here.

Have a good day!
8

A happy card and a little break...

Hi everyone! I’m back with my latest card for Neat & Tangled! Today, I decided to feature the Origami Map stamp set: 


This stamp set is fabulous! I only used a part of the stamp. I stamped it with Versamark onto watercolor paper and heat embossed it with white embossing powder. I colored the image with Zig Real Brush Pens. The colors are so bright and beautiful! I sponged the background with Distress ink. The label is from the Everyday Labels set.

Here are the sets I used:


I hope you like my creation! This is also my last card for Neat & Tangled so far! I decided to make a little break but maybe I’ll be back at the end of the year! Thanks so much Danielle for your kindness and letting me work with your fabulous stamps!!! <3

Have a wonderful day and thanks to all Neat & Tangled fans for the lovely comments…


1

I Would Travel the World with You, a Fond and Colorful Farewell to Joan Bardee

Friday!  And of we're running a bit behind today, but better late than never.  Really, we just didn't want to have to say goodbye to our guest for this month, Joan Bardee.  We've so enjoyed her work this month, and today is no exception!

Before I share my designs, a very big thanks to Neat & Tangled for inviting me to serve as guest designer for June. It’s been an honor and a treat.
  
Love Neat & Tangled’s Origami Map stamp and die!  The design is so clever, and there are many different ways to use it (emboss, watercolor, paper piece, etc.). For today’s post, I used two techniques – hand stitching and simple die cutting. I hope you like them!

Hand Stitched


The straight lines of this set make it perfect for a little embroidery. If you decide you want to try this, here are a few hints:
  •  Stamp with a pale ink so that the embroidery floss will cover up the stamped image. I used pale gray ink and 2 strands of floss.
  • With a design this complex, poke only a few holes at a time.  Otherwise, you may inadvertently “annex” some of those small islands or join a few continents (just like I did and had to start over).
  • I did not stitch around the tiny islands -- just one stitch; otherwise the paper would have fallen apart.


  • When you are finished stitching, place the stamp image that comes with the set over your stitched image.  This will help you see where you might have stitched in the wrong place, or omitted some stitches. (I took this picture after I had corrected a few of my errors and the map image showed me exactly what my eye couldn’t see on its own.)
  •  If you need to remove a stitch, cut the floss carefully on top of the stamped image and pull the thread out from the back.  You might have to re stitch a few before and after, but it only takes a few mistakes to get the hang of it.


  • Practice stitching on different types of paper.  You want something that can hold up to the stitching. I used Essentials by Ellen Linen cardstock for this card, and it held up very well.
  • Once the stitching was done, I held my breath and die cut the image. The die is a perfect fit and no stitching was harmed! Whew.  It was a risk, but I love the outcome.  (You cannot stitch near the edges of the image after you die cut the image because the border around the image is narrow.)


  • If this amount of stitching seems overwhelming (it took me about 3 hours), you could stitch just the outline of the continents. 
  • Enjoy. All that stitching was relaxing!


Simple Die Cutting

 
Unlike the first card, this one took 5 minutes.  Truth!


Thanks so much to Joan for being our guest this month!!!
5

Stenciling with Perfect Pearls

Hello there!

Mayuri here to share a card using the gorgeous Hexastar Stencil from the May Release!

©Candles in the Garden. May 2016 Neat and Tangled post. Hexastar Stencil and Perfect Pearls.

I love the geometric design of this stencil and can see myself reaching for it again and again to create awesome backgrounds! This card took no time at all to put together - I began by laying the stencil down onto some dark coloured cardstock and stamping all over with the Versamark Ink pad.

©Candles in the Garden. May 2016 Neat and Tangled post. Hexastar Stencil and Perfect Pearls.

I lifted the stencil away and brushed some gold Perfect Pearls over the sticky areas - I didn't mind the unevenness of my stamping (near the edges), as it give the overall look a sense of depth.

©Candles in the Garden. May 2016 Neat and Tangled post. Hexastar Stencil and Perfect Pearls.

I gently wiped any excess Perfect Pearls with a dryer sheet and trimmed the panel down to slightly smaller than my card base. Before foam mounting the panel, I swiped the Versamark Ink pad along all four edges of the card base, and again brush with the Perfect Pearls. This gave me a nice matching border...

©Candles in the Garden. May 2016 Neat and Tangled post. Hexastar Stencil and Perfect Pearls.

I wanted to keep the sentiment simple so that the focal panel could really be the star of this card, so I stamped one from the Origami Map set onto a strip of the same dark cardstock with Versamark, sprinkled with gold embossing powder and heat set. I trimmed the sentiment piece down and foam mounted it to the card front.

©Candles in the Garden. May 2016 Neat and Tangled post. Hexastar Stencil and Perfect Pearls.

To finish, I added a selection of Summer Sun and Gold Mix sequins.

Thanks for stopping by!
5

Wonderful Things

NT 427 3

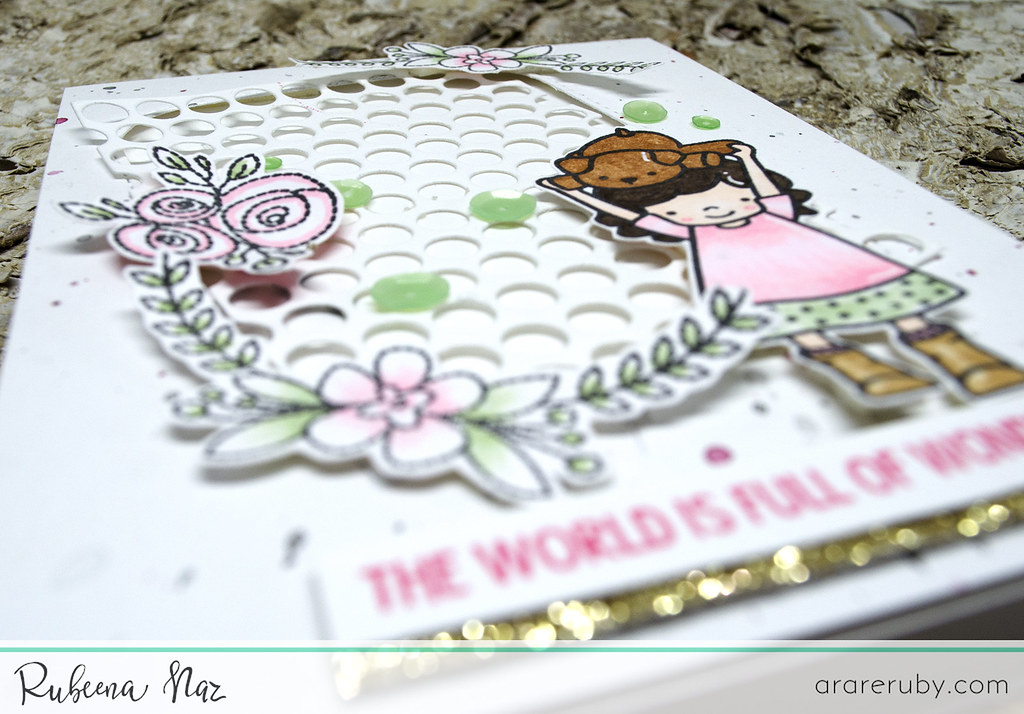
Hello! It's Rubeena, and I'm here to share a guest post with you on the Neat and Tangled Blog today! In my last guest post, I created a card expressing love for the little things in life. For some reason, I ended up with another card that shares the same life perspective. Neat and Tangled products are perfect for motivational and uplifting cards! I used a few different sets to create this white on white look with a touch of color.

  NT 427 1

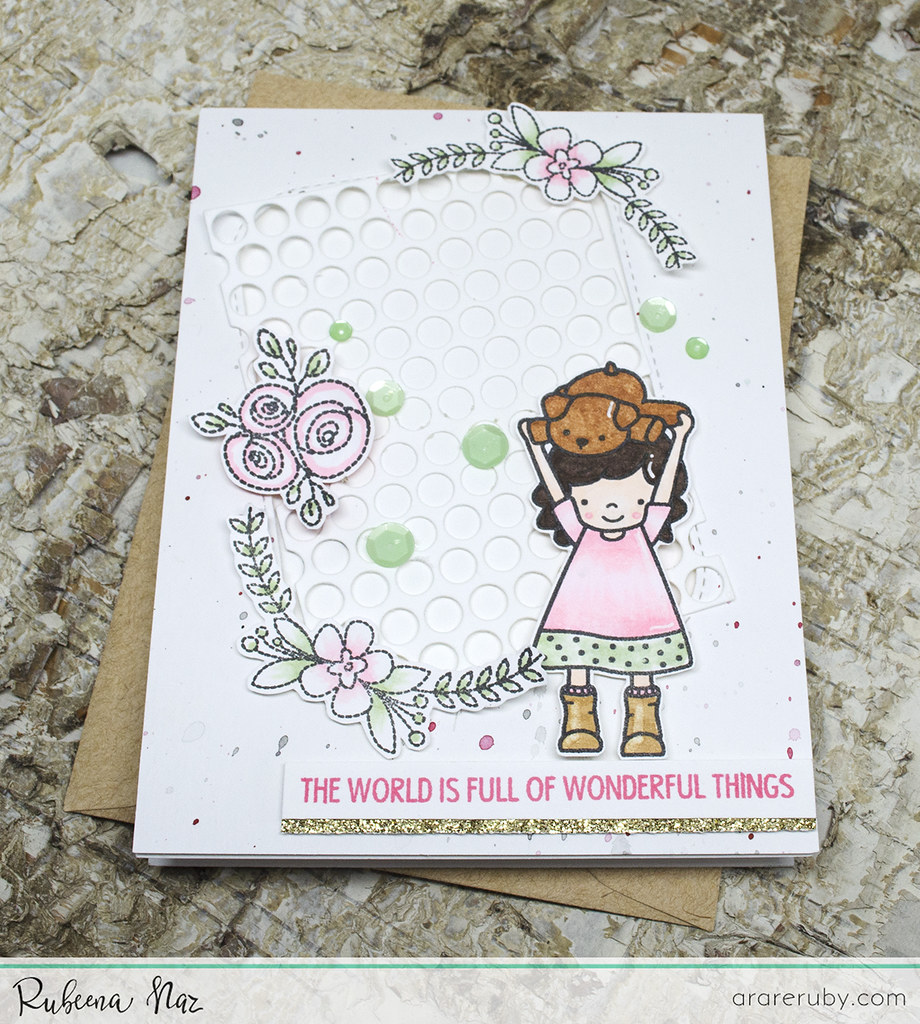
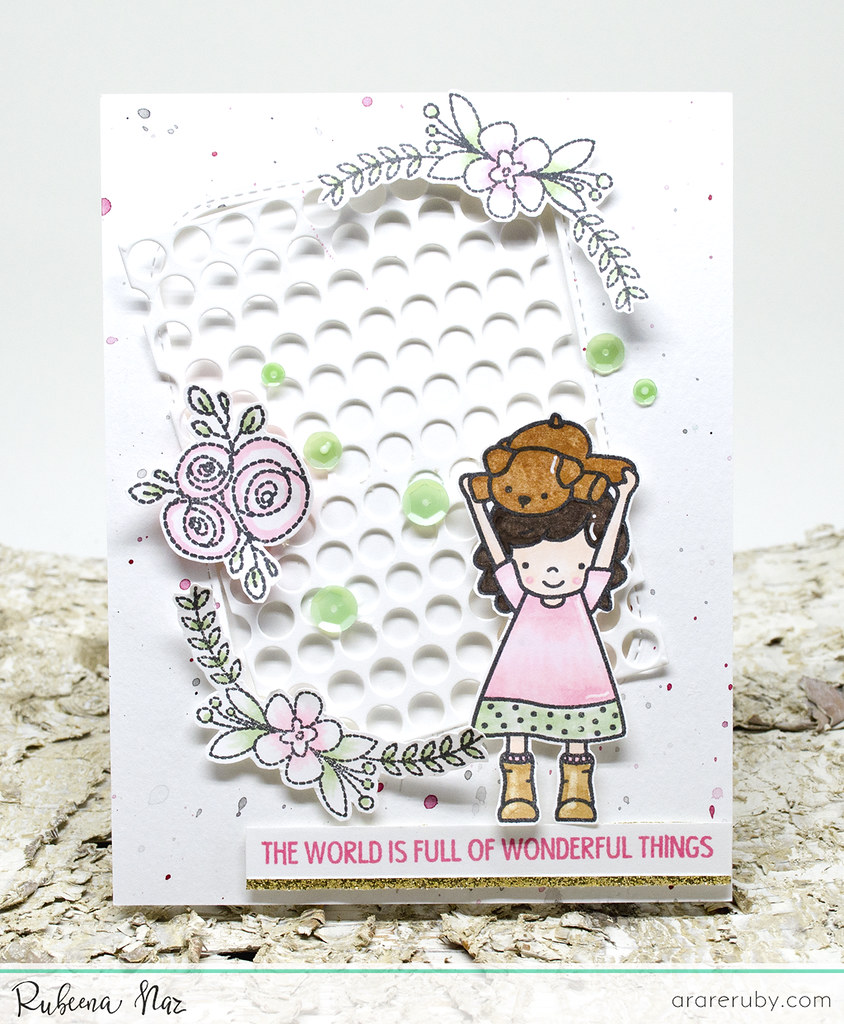
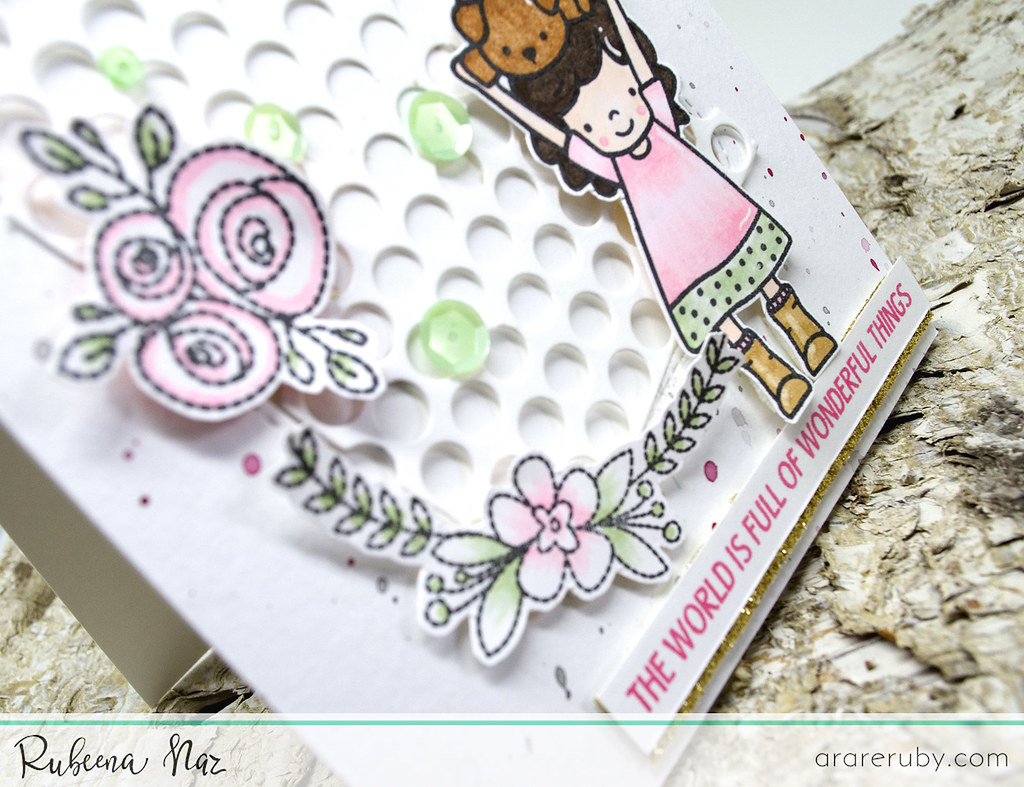
I started with a 4.25" x 5.5" watercolor panel that I covered with pink and black watercolor splatters. I die-cut a rounded rectangle frame diagonally and set aside the inside piece. I added foam tape behind the negative frame and attached it to my A2 folded cardbase. Using separate white card stock, I die-cut the Punchinella Nice and Neat Die, which I attached to the center of the frame (making sure to remove all the circle pieces). This die is so fabulous and unique! Next, I wanted to add some floral images around the die-cut so I stamped and colored images from Hand Stitched. I colored them with light shades using Copic markers and fussy cut them. I arranged them with foam tape around the frame.

  NT 427 2

Next, I stamped the girl with her teddy bear from Better Together and colored with Copic markers. I fussy cut it and added it over the card. The sentiments from all the Neat and Tangled stamp sets are wonderful, but my favorite ones are from Origami Map. I stamped it on a white card stock strip ink pink to coordinate with the colored images. I added a strip of gold glitter cardstock behind it and added it to the bottom of the card. To finish it off, I added some sequins from Mint Mix.

NT 427 4


I hope you enjoyed today's inspiration! Thanks so much for stopping by!

5

Life is Beautiful

N&T Apr 13

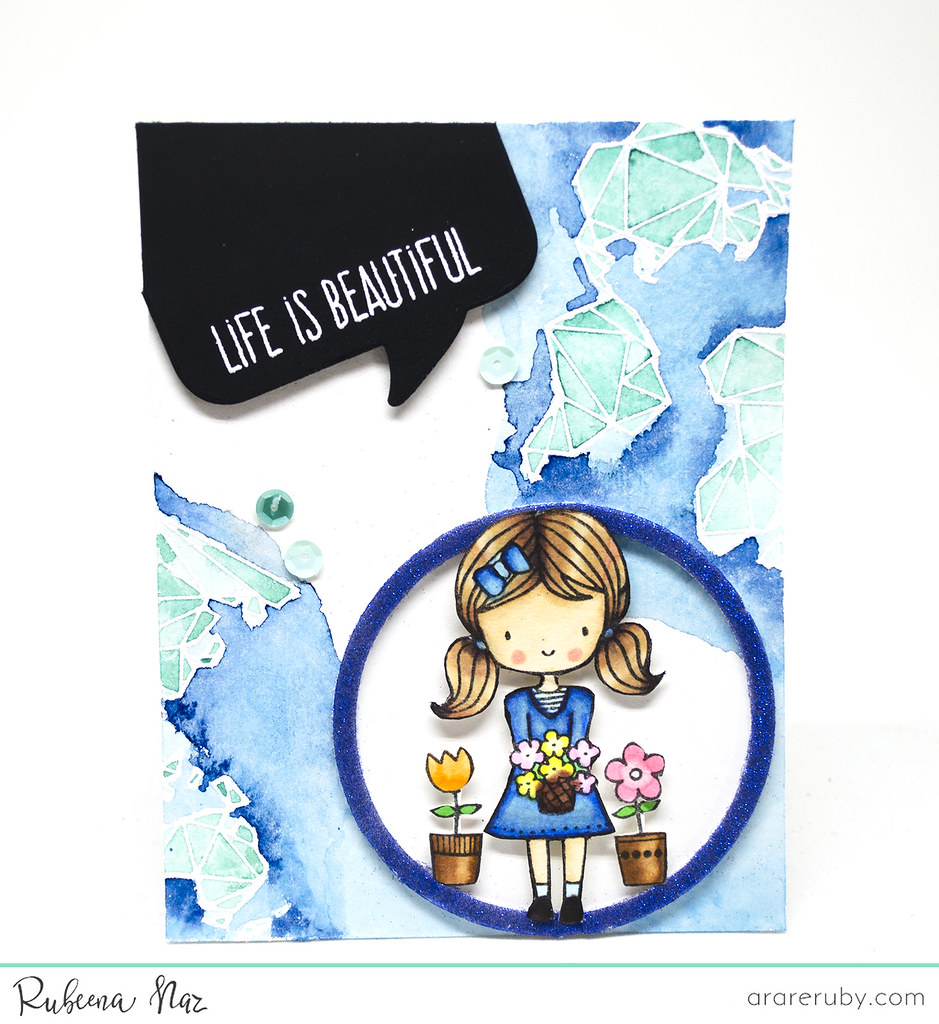
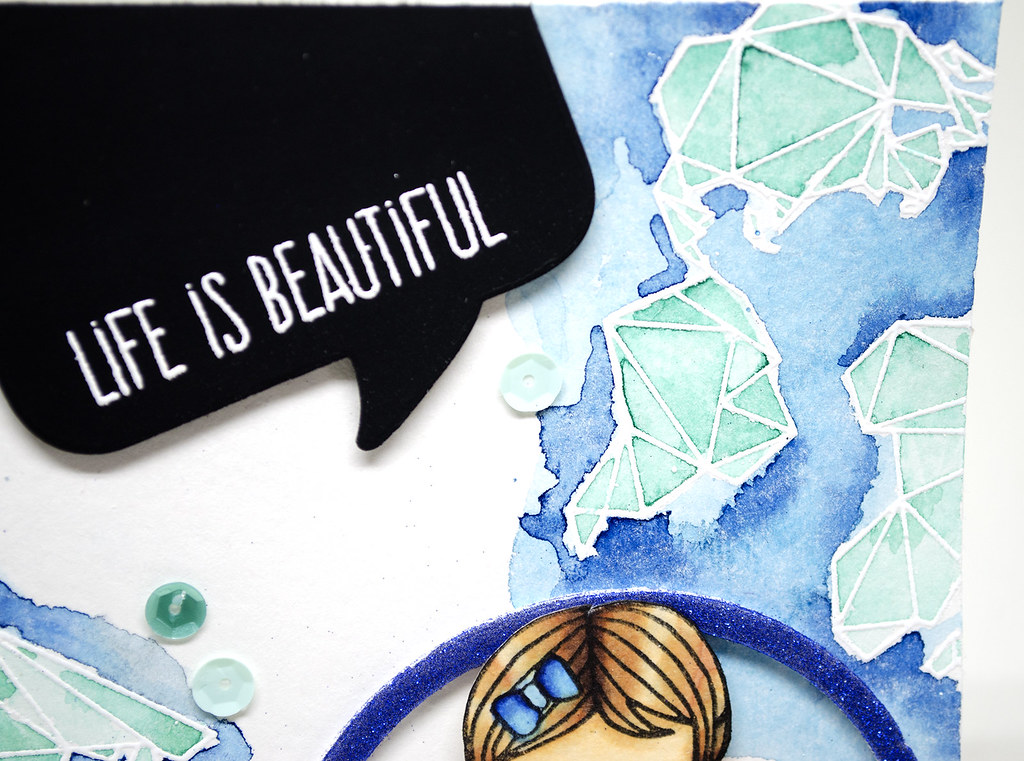
Hello! It's Rubeena, and I'm back to share a guest post with you today. When I craft, I usually just want to make pretty things. However, today's card was inspired by a deep gratitude for the beautiful things in life. I mixed up a few sets to create a collage look. One of my first sets from Neat & Tangled was the Origami Map. I started with a 4.25" x 5.5" watercolor panel that I prepped with some powder to prevent stray embossing powder. I stamped parts of the map in the corners with VersaMark ink and heat embossed with white embossing powder. Then I colored using blue and green watercolor shades.

   N&T Apr 13c

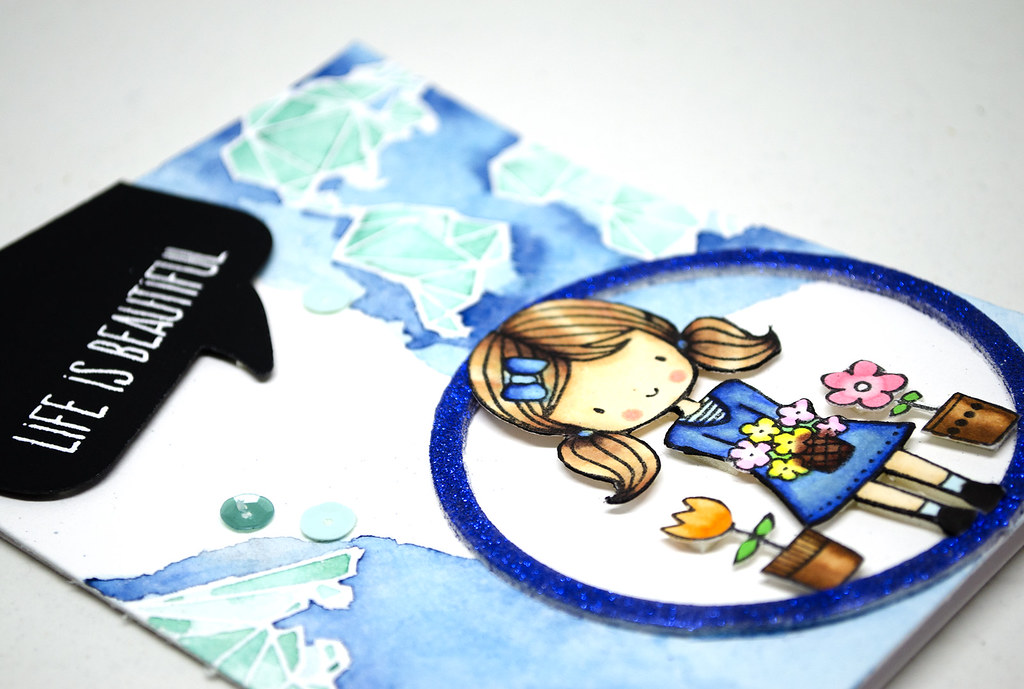
I die-cut black cardstock using A Lot To Say die. Then I stamped the sentiment from Life is Beautiful with VersaMark ink on it and heat embossed with white embossing powder. I arranged it in the upper left corner and trimmed it down before adding it to the colored panel with foam tape.

  N&T Apr 13b

What I wanted this card to convey is joy. I feel quite blessed in my life, and I'm surrounded by good things and experiences in my world. I wanted to use the cute girl from Life is Beautiful, along with a few of the flower pots. I stamped them with a Copic-friendly black ink and colored with Copic markers. I fussy cut them and set them aside. The next part is a bit tricky. I used the Hoop die to cut through double-sided foam. I had tried it with Scor sheets first but forgot to tape one side to cardstock to make it sturdier. The foam worked out better. I removed one side of the sheet so I could sprinkle some blue glitter on it. After removing the excess, I cut off the hoop closure and taped the circle on the card. I added the girl and flower pots using foam tape. Finally, I finished it off with some sequins from Lucy's Little Things Phosphorescence Shaker Mix.
 
Thanks so much for stopping by!
7
Back to Top