Showing posts with label Santa's Wonderland. Show all posts

Grey Cardbase and Circular Dies with Daria Grushina [Part 2]

 Hello dear friends,

Daria here.  Hope you going to have a wonderful weekend and may be some time for crating... As I have a new card to share with you. 

I am here to continue my challenge of using both light grey cardstock and Circular die set. I am curious how many I can make (lol). Join me, if you find this idea interesting and fun and tag us in Social media. 

As about today's project, I wanted to use circles as frames for the critters. I am again playing with Santa's Wonderland stamp set, that is not available any more. But, you may use any critters stamps you have on hand, or may be not even them but flowers, or cupcakes to create for example a birthday card. 

So, I die cut lots o circles, stamped cute images over three of them and then coloured them with simple pencils. At first, I simply wanted to place those over my grey cardstock base, but then, I've decided to add something else. 

I added circles in different sizes and colours and adhered some directly to paper some using foam tape. I followed the rule of irregular numbers in creating colour accents: three blue circles, tree white circles three pink shapes (two circles and a banner).  Each time I am consistent with number of circles behind each image. Although they are all of different sizes, it helps to balance them more equally. 

Sentiment is places over a banner shapes from Skinny Strips die set (my personal all time favourite). Again, you may use any theme for you card and change images and sentiment. Overall, I like the way it tuned out. Hope you do to (wink). 

xoxo, 

Daria.  


31

Grey Cardbase and Circular Dies with Daria Grushina [Part 1]

 Hello-hello awesome people,

Daria here.  Recently, I was organising my cardstock and found a few lists of beautiful light grey cardstock. Surprisingly, it is one of my favourite colours, as it works with everything. 


So, I have decided to challenge myself to make several cards using it. To make it more interesting, I've added to the scheme a Circular die set. This way, it is going to be a little series of cards made using both light grey cardstock and circle dies

Here is the first one. 


I love the idea of using different circles to create a background. I've already made a few cards using this technique to mimic confetti background (you may found them here). 

This time, I am using it to create snow. It is easy and perfect for any winter scene cards. 


I am also playing with our older stamp set to create a little scene. I free cut the slopes to place the North Pole sign from Santa's Wonderland stamp set. 

Unfortunately, this stamp set is not availably any more. But, I also feel guilty not to use great stamps from my stash. And, I thought it would be good to use them anyway in case you already had them. Or may be, you will decide to switch it with something wintery that you already have. 

I heat embossed the sentiment in gold and added a couple of gold sequins.

That's all for today.  Thanks so much for stopping by, and see you next time,

xoxo,

D.

10

Mix your Stamps to create your Holiday Cards with Mindy Baxter


Mix your Stamps to create your Holiday Cards with Mindy Baxter

Hello everyone! It's Mindy from My Creative Scoop and today I'm going to share how simple it is to Mix your Stamps to create your Holiday Cards. 

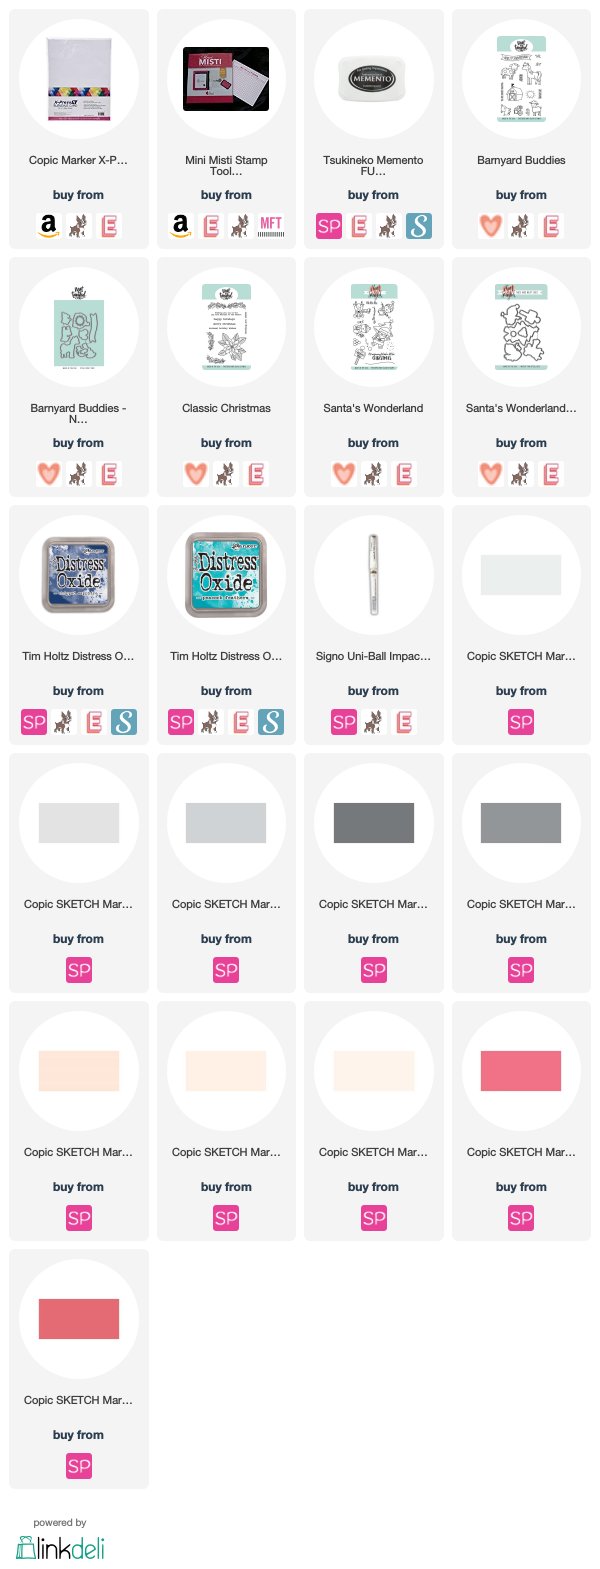
I'm using This adorable little Cow from the Barnyard Buddies Stamp Set, The hat from the Santa's Wonderland Stamp Set and the Sentiment from the Classic Christmas Stamp Set.


I've also used some Distress Oxides to create my Sky. I used Chipped Sapphire and Peacock Feathers. 

Check out the video below so you can see how I have put my card together.

Copic Colors used in video:

N0, N1, N3, N5, N7, E11, E00. E000, R35, R37


I hope you enjoyed my video and post this month. Have a wonderful day!

♥ Mindy
Let’s Connect on Social Media!
1

Copic Coloring with Mindy Baxter - Coloring a Penguin


Hi there, it's Mindy from My Creative Scoop and today I'm sharing a tutorial on how to color this adorable stamp from the Santa's Wonderland Stamp Set.

I stamped my images with Memento Black Ink and Stamped onto my Copic Xpress it Blending Card using my Misti

I used my Hickory Smoke Distress Oxide Ink to create my background and my white gel pen and white ink pad to create my snow. 


All of the penguins are colored with the exact same color combo, minus the hat. Here's a list of the Copics I used.


N0, N1, N3, N5, N9, R32, R30, YR14, YR12
The hat color combos are: BG11, BG13, BG18, R32, R30, E13, YG67, YG63, YG61


I hope you enjoyed my tutorial today. Have a wonderful day!

♥ Mindy

4

The card I made with my husband

Hello!

Intriguing header? Yeah! (I will spill the secret at the end)

It's the Christmas holidays and it's such a family time that I want to add some "family" to my post today. My daughter (11 months) can do nothing without me....so I can do nothing without husband. While he is entertaining Eva, I can make a card, write a post and..... :)  Common problem, right? This card was not an exception.


I decided to use one of my favorite sets, Hello Winter, along with Santa's Wonderland.  I colored this cute little deer and some of the letters. 


After that I decided to add some texture and used Fa La La Simply Stencil for embossing. Hope you can see it on the photo below. 


So what my husband do for this card? 


He came at the final stage and stopped me when I was going to adhere the card on a blue cardstock base and said that it should be pink! I was pretty amazed as he has never helped me before. Hmm I'm not sure that my decision to agree with him was right....what do you think? Pink or blue?

Thanks for being with me today, I really enjoy writing these "closer to you" posts and hope you like reading them!

Hugs and holiday greetings!

6

Two Tags with Daria

Hello-hello Dear Friends!

Daria here, and I have two tags to share with you today.  You never have too many tags right before Christmas. To make those, I took two the most adorable stamp sets: Santa's Wonderland and Get Yeti with coordinating dies (and this one).


The shape of tags is made with Classic Tag 2 die set. I think, I used this set most of all for all my tags and banner shape die-cutting this year. So, I've just took and coloured some of the cute images, die-cut them and then adhered with foam squares to my tags. Pretty simple.


For one tag, I took Woodgrain paper, for another - I used embossing folder of a local (Russian) brand Mimicut, but for similar look you may try Embossing folder from Alexandra Renke - Snowfall.


I've finished the tags with sentiments from the same stamp set: Santa's Wonderland and Get Yeti, added bright ribbon and a couple of bells for some extra festivity.
That's it. Hope you liked that simple ideas and will give them a try.

Thanks so much for stopping by,
Have a wonderful day,
D.


8

reindeer family fun with Elena

Hi there!

Elena here, with a Christmas card that mixes a few sets to create a family of winter deer:


I started out by stamping out my deer. The mama and papa deer are from Oh Deer, and the little one making a tiny snowman is from Santa's Wonderland. I think they all look so cute together!

I colored them all using my favorite brown copic marker trio: E30, E31, and E34. I went back in and added some W5 in the spots that would be most shaded.

I added rolling snowbanks beneath their hooves, using our Stitched Slopes dies.


I added a gingham paper sky and popped up the focal images before creating a frame using 2 rectangle dies.

I stamped out the greeting, from Nativity Play to the bottom of the frame using a crisp black ink. I'm so happy to have this french greeting for all of our teacher cards this year! We live right outside the city of Montreal, and our kids are in a french-immersion program.

I hope you like it! Thanks for stopping by!

♥.

5

Copic Marker Video Tutorial - Coloring a Snowman


Copic Marker Video Tutorial - Coloring a Snowman


Hello everyone, it's Mindy from My Creative Scoop and I'm back with another Copic Marker Video tutorial to share with you.

This month I'm using one of my favorite sets from Neat and Tangled, Santa's Wonderland. I've stamped my image on Copic Xpress it Blending Card using Black Memento Ink.

I cut out a circle using a circle die and used the negative part to sponged the circle onto my card base using my Stormy Sky and Hickory Smoke Distress Oxide Ink pads. Then I took the circle I cut out and trimmed a piece from the top and the bottom in a wavy pattern to create a snow effect. I popped up the 'snow' on some foam dots for some extra dimension.

Now for the coloring. Here's a list of Copic Markers I'm using in the video tutorial.
C0, C2, C4, B000, B00, B95, G82, G85, R35, R37, R39, N5, N1


I hope you found the video tutorial helpful. Please visit me over on my site, My Creative Scoop for more Copic Marker Tutorials, Videos and Online Classes. 

Until next month my friends!

♥ Mindy 

4

Masking Scenes with Guest Designer Ardyth Percy-Robb


Happy Friday!  We're welcoming back our October guest designer Ardyth Percy-Robb today, and wait until you see what she's created, we love the thought and planning and execution of this card!  Here's Ardyth with all the details:

Good morning! It's Ardyth here, and I'm excited to be back with my second post as the October Guest Designer!

Today I've created a fun winter scene using images from 5 different stamp sets (Beary Merry, Get Yeti, Santa's Wonderland, Oh Deer, and Into the Woods), some masking, ink-blending and Copic colouring!

I started by creating a rough 'sketch' of my card on a scrap piece of paper, by stamping the images where I wanted them - no masking, just quick layout planning. I worked out in my mind which images were in front and which were behind and numbered them, in the order I would need to stamp and mask them.


Then I had to cut out all those masks! Once I had that all finished, I stamped the images, in the correct order and placed their masks over top. 

When the scene was completely masked, I created snowdrifts with some post it tape and blue Catherine Pooler ink. Then I blended more ink over the top of the card to create a bright blue sky.

Then came the big reveal - I've been doing it for years, but it's still magic when all the masks come off!

Next was a whole lot of Copic colouring. I kept it simple - a bit of shading for dimension and a limited colour scheme. I added details with a white gel pen and some glitter glue for sparkle!

Here's a video:

6

Tis the Season Hooray with Keeway

Hooray! Tis the season of holiday crafting, my favorite time of year! It's Keeway on the blog today for a little holiday inspiration. Every time a new holiday releases come out, I love to see how they pair with prior year's releases, and without a doubt, the pairing is just absolutely full of cuteness! Today's card features an array of awesome stuff, including Get Yeti, Santa's Wonderland, and Hooray.

I always enjoy starting my projects by stamping and coloring my images. I was really focused on using a lot of strong reds in all my characters. All my images were colored with copic markers and with a little extra detailing with a white gel pen. I then die cut each of them with coordinating dies.

I used a black vertical striped pattern paper for background which added a nice modern look to the design of my card. The signature Neat & Tangled word dies with the bold outlines really helps the sentiment stand out even with such a strong pattern background. I used the Hooray word die with black cardstock for the outline, and white cardstock for the inside word.

To add a little holiday flavor to the sentiment, I reached for the 'tis the season!' words from the Santa's Wonderland stamp set. I heat embossed it onto red cardstock and cut out a fishtail banner freehand with some precision scissors. I adhered the 'hooray' directly onto the background, and all the other pieces with foam tape. And that finishes my project for today. Until next time!

4

Tis the Season!


I have a quick holiday card using Into the WoodsSanta's Wonderland, and the Doily Tag Die. First, I dry embossed the tag die into the front panel. Then I stamped the sentiment and hills using Santa's Wonderland, adding colour to the sky and grass using Copic markers in the pointillism style. I stamped and coloured the animals and their gifts from Into the Woods, with the hedgehog mirror stamped and reverse die cut so he could face the badger.


Please visit my blog for a full supply list. Thanks so much for stopping by!
3

December Special Guest Amy Yang


Hey everyone!  You might recall that a few months ago we had a special contest on Instagram when we celebrated 15,000 followers.  The winner won a guest design gig here at Neat & Tangled.

Today we're very happy to welcome that winner, Amy Yang to the blog.  She'll be sharing with us the next few Tuesdays and we're so excited to have her here!

Here's a little about Amy:

Hello-Amy Yang here! I live on Long Island, New York with my husband Ethan and my two children, Kristen, 14 and Jaden, 10. I started stamping since January of 2016 after coming across card making videos on YouTube. Since then I've been hooked and it's become a huge passion of mine. It's been an incredible journey and I'm so happy to be sharing it with you.

You can follow Amy on her blog or Instagram.

You're going to love the cards Amy put together today.  Here she is to tell you about them:

Thank you Neat & Tangled for having me as your guest for December. For my first project, I made three cards using the adorable images from Santas Wonderland, and the sentiment from Beary Merry.


I stamped, colored the images using copic markers and cut them out. For the background, I stamped the snowy bank on the cards and used masking tape to cover up the area. Using the blending tool I added soft colored distress inks to the cardstocks and spritzed tiny drops of water to remove the colors to make it look like it’s snowing. Once dried, I added more dots with the white gelly roll pen and then stamped the sentiment. To add some shine to the cards I added star dust stickles to the snowy banks and the Christmas lights. Lastly I adhered the colored images to the top of each card.


I also decided to stamp my envelopes with the Please Deliver stamp set to complete my project. I love the way this stamp makes my envelopes look.


Thank you for joining me today, and I'll see you again next Tuesday!
10

November Release Redux Cards by Taheerah

Hey everyone, happy Wednesday! It's Taheerah here today to share some cards featuring the November release!

It seems that my release package wanted to travel the world a bit and got lost in Mexico! I was so sad to miss out on sharing some Release Week projects, but once my replacement package finally arrived I couldn't wait to tear it open and get stuck in! So although I didn't get a chance to join in with the other talented DT ladies, that just means I've got the limelight to share them with you now!


Totally swoon-worthy, right?!

Let's start with the first card:


For this one I used the May Your Holidays Be stamp set and combined it with the girl elf from Elfs And Their Shelf. I threw in an older set too called Happy Ornaments to turn it into a scene!


I cut out the centre of my main ornament and turned it into a fun shaker pocket! And I loved trimming the banner in two so that I could have it loop behind the ornament, and to have that cute little elf perched on it as it swings!


Next up, it was time to take the Scandinavian Prints Christmas set for a spin:


I created my own patterned paper right on my card front, stamping with a non-traditional colour palette!


Little added details for the stars and snowflakes came courtesy of the May Your Holidays Be and Elfs And Their Shelf sets respectively. The sentiment from Santa's Wonderland is the perfect finishing touch!


Speaking of Santa's Wonderland, I really wanted to play with it on its own too, and then I came up with a really cool and unique idea...


I used partial die cutting to create a snowglobe! I die cut most of the circular ornament from the May Your Holidays Be dies, then used the banner from the same die collection to create the base!


I created a fun shaker scene using the penguin, North Pole and snowflakes stamps. It was quite labour intensive to think through and put together, but the end result was so worth it!!


I used the Merry And Bright dies for the sentiment, doubling up my die cuts- one with black on top of gold, and the other reversed! There are so many fun details and lots of dimension in this beauty and I'm so proud of it!


And finally, possibly, my favourite was saved 'til last:


I built a super-fun scene using lots of different sets! Santa's Wonderland, Elfs And Their Shelf, Beary Merry and Into The Woods all feature here, and they go together perfectly!!


I curved the shelf stamp on my acrylic block to make a sled!! Then I got busy piling on the presents and little extras, and coloured everything with colouring pencils. The deer from Into The Woods makes a perfect Rudolph to tow this sled! I masked off all my images after colouring then ink blended my sky over them, having first heat embossed my snowflakes. Some shimmer, glitter and a gold cord tied everything together perfectly. Whoever gets this card is definitely on the Nice list!


I hope you loved these release projects as much as I loved creating them! The November release is probably one of my most favourite to date, with a few of the new products out of stock currently - so make sure you sign up to notifications for your favourites to know when they're back in stock! Thanks for stopping by!
8
Back to Top