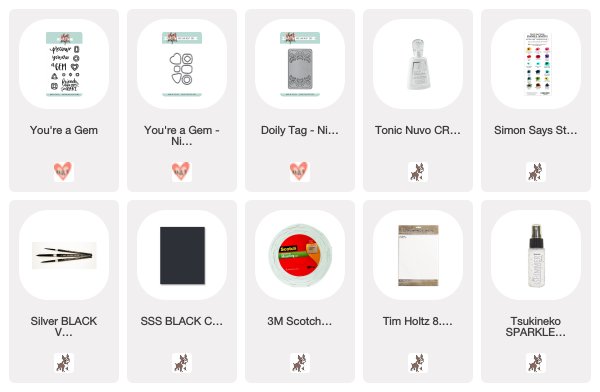
Mayuri here to share a card using the Doily Tag and Hello dies ;-)
This card didn't take too long to put together, especially as I knew I wanted to use up some of my inky panels. I die-cut theDoily Tagshape out of a bright, inky piece, popped out all of the negative bits and pieces and added some foam tape to the back, ready to adhere to my card base.
I noticed that my card base was looking a little bare, so I added some gold paint ink splats for a bit of interest and then foam mounted theDoily Tagto the front. I then die-cut theHellosentiment several times out of white cardstock and stuck them on top of each other to create a thicker embellishment.
I adhered the sentiment on top of theDoily Tagand added some gold sequins to finish.
Hi there! It's Cheiron here with my monthly post. Today I was inspired to make a card inspired by some gift bags I found in the dollar spot at Target. They immediately reminded me of the You're A Gem set, so I picked a few of them up. I thought they would be the perfect gift bags to pass along treats to my crafty friends.
To create the background, I stamped the gems in a pattern on a piece of watercolor paper. Then I colored around all of the gems with a wash of purple. After that was dry, I started to fill in the gems with golds and pinks. Once the gems were dry, I added splatters of the same colors onto the patterned piece to add some interest. Then I sprayed over the entire panel with Tsukineko Sparkle Spray.
I stamped the You Are A Gem sentiment onto the Doily Tag die. I wanted the fun shape of the die, but I did not want it to cover the entire front of the card, so I cut off the edges and added black cardstock underneath to make it pop. To finish the card, I added a few die cut gems. Once everything was adhered, I added a layer of Nuvo Crystal Glaze onto the die cuts to really make them shine.
I love being inspired by everyday items, and it's even better when I find them at a bargain price!
Hey loves! Steph here with a fun little stork/new baby card for you today. :)
I started by using the new Welcome Home stamp set and stamping the stork image in yellow. I topped it with the sentiment "coming soon" from the same set.
Next I die cut the stamped image from the Doily Tag Die in white cardstock. The tag is layered over a distressed piece of pattern paper from the Pink Paislee Cedar Lane Collection and then a strip of striped pattern paper from the same collection.
The tag finished off with a wrap or two of light grey striped bakers twine from American Crafts.
Thank you for stopping by today! See you soon for the July Release! Woo woo! ;)
I have a quick holiday card using Into the Woods, Santa's Wonderland, and the Doily Tag Die. First, I dry embossed the tag die into the front panel. Then I stamped the sentiment and hills using Santa's Wonderland, adding colour to the sky and grass using Copic markers in the pointillism style. I stamped and coloured the animals and their gifts from Into the Woods, with the hedgehog mirror stamped and reverse die cut so he could face the badger.
Please visit my blog for a full supply list. Thanks so much for stopping by!
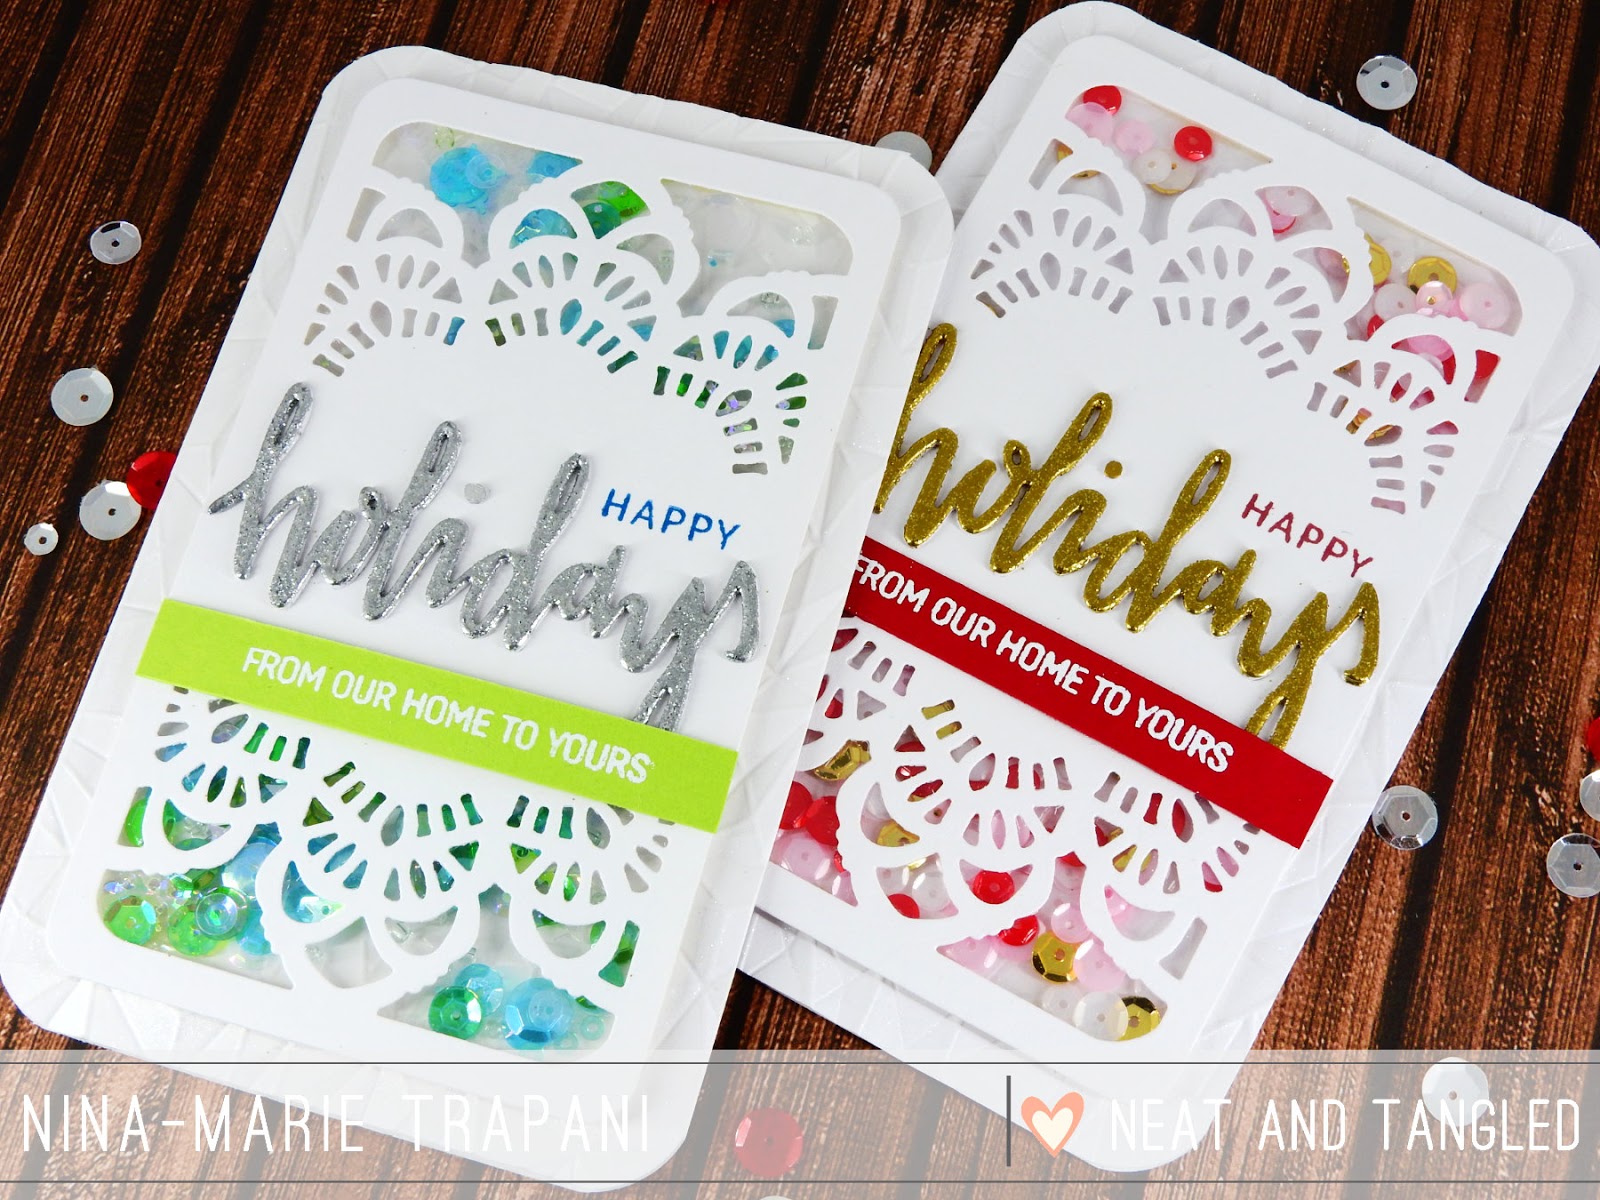
Hello crafty friends, it is Nina-Marie here with you today, sharing a set of cards that are perfect for that special him or her on your Christmas list this year!
Most card designs can be adapted to fit either a feminine or masculine feel, and this set is a great example of how simple that can be.
I love making shaker cards, and our Doily Tag die is a perfect window to put in front of an assortment of pretty sequins, don't you think? I started off by die cutting the tag from white cardstock and applied a piece of acetate behind it to be my window. I then cut small strips of foam tape to place around the outside edges of the doily tag die; this creates the shaker well for all the sequins I place inside.
I popped the shaker up off of a white card base that I embossed with a faceted We R Memory Keepers embossing folder; the texture on the white card adds the right amount of detail without being distracting.
On both cards I die cut the word "holidays" from white cardstock four times and adhered them together to be more dimensional. For some color and sparkle, I heat embossed them with silver and gold embossing powders from Tonic Studio's Nuvo product line. The holidays die cut and the coordinating sentiments are from Neat & Tangled's Happy Holidays stamp and die set.
To fit the two different genders, I used a red and pink color scheme for the feminine card and green and blue for the masculine version.
Finally, I used some Wink of Stella clear glitter and added it over top of the white card base... the extra shimmer is an optional detail but I think it really adds that perfect finish to the card.
I hope this has inspired you to see how easy it is to switch colors around on a card to make it fit for either a guy or a girl! Thanks so much for spending some time with me today and I will see you again very soon!
Here we are on Day 4 of our Cosmo Cricket collaboration week! Each day this week we're sharing projects featuring Cosmo Cricket and Neat & Tangled. We hope that you are enjoying the projects as much as we have been enjoying the products!
Every good collaboration need a couple prizes, right? We've got a great bundle of Cosmo Cricket goodies to share with one of you. Just leave a comment on each post this week and we'll pick a winner and announce them next week.
Cosmo Cricket also has a prize to share, so be sure to stop by and check them out on Facebook and Instagram.
Today Nina-Marie, Taheerah, and Mayuri are sharing with us. First up is Nina-Marie:
Hi friends, it's Nina-Marie here with you, sharing a fun set of cards that feature the gorgeous Cosmo CricketArt Deck papers, along with some of the newest Neat & Tangled stamps and dies!
I created three different cards using the Art Deck papers and I even have a video tutorial for you, showing how I did it! Each card shares the same technique, which is shimmer watercoloring with Distress Inks.
In the video below, I'll be showing you how I created my own shimmer watercolors to paint over the emboss-resist patterns that are printed onto the Art Deck papers.
This first card features this stunning flower, which looks amazing once colored in with the watercolors.
I paired the flower with the new Doily Tag die and a sentiment from the Celebrate stamp set (both new products from Neat & Tangled).
My second card showcases the fun "dream big" constellation-styled sentiment that had a ton of gold dots surrounding it. This immediately made me decide I needed to create a galaxy background for this paper.
I paired this paper with the Scored Shapes dies from Neat & Tangled... the dimension of these stars popping off the galaxy looks fabulous!
My final card features this encouragement quote that has some beautiful gold foiling on some of the letters.
To see how all of these cards came together, be sure to watch the video below! If you enjoy, please give it a big thumbs up and subscribe to our channel for more inspiration! For a complete supply list, please stop by my blog.
Now it's over to Taheerah for a quick and easy card featuring one of the pieces from the Art Deck Papers, paired together with stamps from Painted Hello and Faceted:
Some very quick watercolouring and splatter over the LOVE panel brought it to life, and then I stamped the solid hello sentiment with Versafine ink.
The card base also got some love to match it with the letters. I stamped the base with the large facet stamp from Faceted, heat embossed it with white embossing powder, then watercoloured it with watered down gold mist for a complimentary finish that doesn't distract from the main panel.
But check out that shimmer! :)
And last but not least, Mayuri has a project to share:
The Pixie Paint bottles of coloured powder pack a huge punch and I had so much fun playing with them:
I began by creating a fun background panel - firstly, I spritzed a piece of lightweight watercolour paper with water, then laid down the Geometric Blooms stencil on top before tapping out some of the Harbor coloured Pixie Paint.
The paint reacted beautifully with the stencil and the water - I removed the stencil and spritzed a little more water to move the paint around a bit more, and heat set the panel when I was happy.
I trimmed the panel down and foam mounted to a white card base before stamping the skunk from the Little Stinker set with Versafine Onyx Black ink, all ready to colour in!
I used some ZIG Clean Color Real Brush Pens to colour in the little animal, stamped a sentiment from the same set, trimmed him out and foam mounted him to the card front. To finish off, I added some sequins from the Gold Mix selection.
So much wonderful inspiration today!
Be sure to leave a comment and come back tomorrow for the final day in our collaboration. At the end of the week one lucky commenter will win a Cosmo Cricket prize pack!