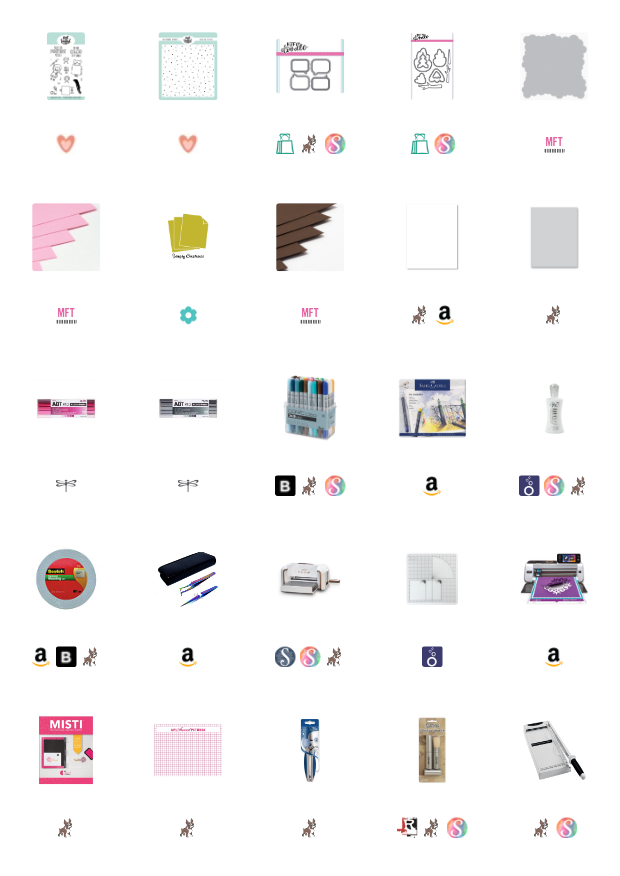
Hello everyone, Koren here, with a card that is sure to bring color to your day! I'm using the Neat & Tangled Paint Night stamp set to create this card. This stamp set, as of the time of writing this post, is both in stock and ON SALE!! Every crafter needs this adorable stamp set and supply is limited.
Background:
To create this background, I masked a nice size square in the upper two thirds of my card panel which is cut to 3 1/2 inches by 4 3/4 inches. I am NOT afraid of white space on a card, in fact I welcome it, so I like to build my scene this way often- leaving lots of white space below the focal parts of the card.
Once the background area was masked off, I used a mini cloud stencil to create some soft pink ink blended clouds. To do this, I used blender brushes and Distress Oxide ink in Picked Raspberry. Not only did I ink the clouds but a also went around the outside of the square to fade into white. Giving the clouds a bit of a highlight.
 |
To create the ground, I used some green cardstock cut to the same basic dimensions of my background square. It really doesn't matter what size background you create. I used a hill edge die from my stash to cut a simple ground. This piece will get popped up using foam tape.
To give the background some life, I took some Cotton Candy cardstock and loaded it into my Original MISTI along with Neat & Tangled's Delicate Dots background stamp. I used the same pink ink as before to stamp some tone on tone dots. I used this beautiful creation to cut out my trees from a tree builder die set I have in my stash. I made two trees one to adhere flat to the background and one to pop up.
Images:
I stamped my image from the Neat & Tangled Paint Night stamp set using black alcohol marker friendly ink onto some heavy-weight white cardstock. I then used some alcohol markers and colored pencils to color this image. Starting first with a base coloring with my markers and then deepening the shadows with the colored pencils. I cut this image out and popped it up using foam tape. I have made a color map listing all of the markers and pencils used to color this image.
Sentiment:
As for the sentiment, I stamped "have a colorful day!" using the same black ink. This time I used a speech bubble die to cut it out. This too was popped up onto the background using foam tape.
The entire panel was added to a size A2 top folding card base.
I hope that I've inspired you to create something today,
Koren


Fabulous colouring on this sweet spring scene.
ReplyDelete