Hello everyone, Koren here, with a project that's a little out of the ordinary for me. Today I'm using the Cactus and Llama dies which are a collaboration between Benzie Design and Neat and Tangled, and are from their March release. I am using them to decorate a small canvas zipper pencil pouch for my 6 year old Niece Ella.
I have created a YouTube video to go along with this project, and it will be linked within this post.
After purchasing a white canvas zipper pouch from my local craft store ON SALE! for $2.00, I was so excited to create this custom pencil bag. My daughter Cailin gave me this idea when she first saw me using these dies to create some stitched critters. Thanks kid for the great idea. Maybe I'll have to make her one next...
I started cutting out all of the pieces needed to create my scene on the side of the zipper bag. I knew I wanted the felt elements to be dimensional, off of the zipper bag and standing out as much as possible. This meant I was going to cut out two layers of felt for each element. I used Benzie Designs, Winter Mint color palette and Taylored Expressions Cobblestone with matching DMC floss to stitch each piece.
For the succulent, I cut two layers and stitched them together much like the others, but before I started stitching, I hot glued a piece of elastic (attached to a small lobster claw clasp), between the two layers. I also threw in one of the flower embellishments from the Cactus stitching die set. I made sure the ornament was completely stitched before tying off the knot and attaching it to the zipper of the canvas bag.
To attach all of the elements to my pouch, I heated up my Surebonder Detail Hot Glue Gun. I applied a generous amount on the backside of each element and adhered it to my scene. I also cut a delicate looking sun from some Papertrey Ink stitching dies to add to the background.
I even hot glued the saddle onto the llama's back. I have found that using hot glue may not be the most secure way to adhere these felt ornaments, but it works for what I was using it for and although over time they may fall off, it's good enough for this. Plus, I always assume that cheap bags like this one won't stand up to a very artistic 6 year old girl for very long anyway. I'm sure I can make her another when needed (insert very sinister smile here).
To make the bag just a little more special, I wanted to add her initials on the backside. I love personalization and when given gifts made only for that one person, it really makes people feel good. So, I used some Papertrey Ink Cross stitch alphabet dies to leave ECW on the underside of the pouch. I used a coordinating floss color to make it all look cohesive.
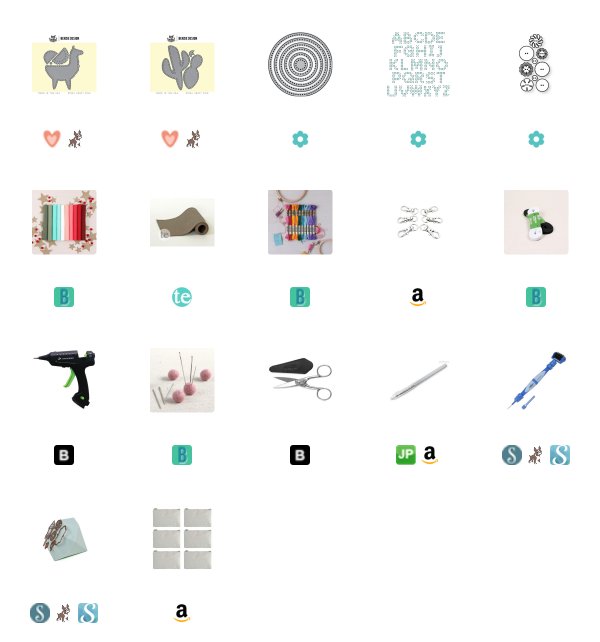
That is it, I hope you enjoyed my project today. A full list of supplies are listed below.
Thank you,
Koren


That's a cool project idea! :)
ReplyDeleteVery beautiful!
ReplyDelete