Hello-hello Awesome People!
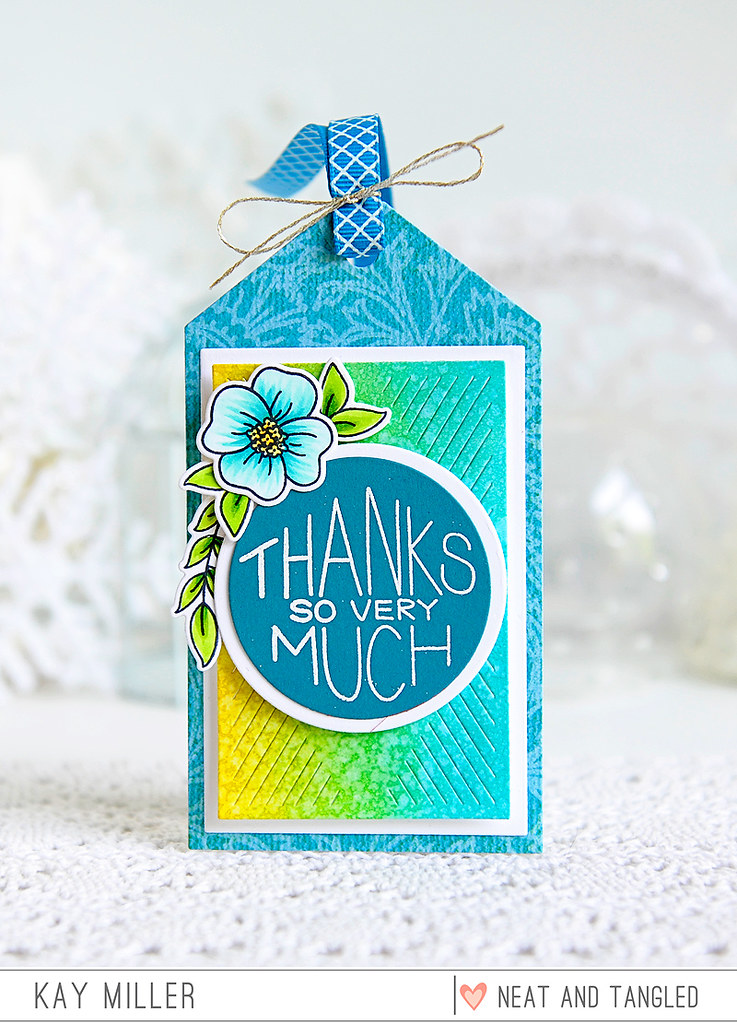
Daria here. Today, I have two cards for you with a focus on sentiment. I wanted to give a sentiment a central role, while keeping integral to the whole carddesign. So, I've decided to place it on a separate shape.

I took sentiments from Moon Magic stamp set and Thanks So Much Stamp set.

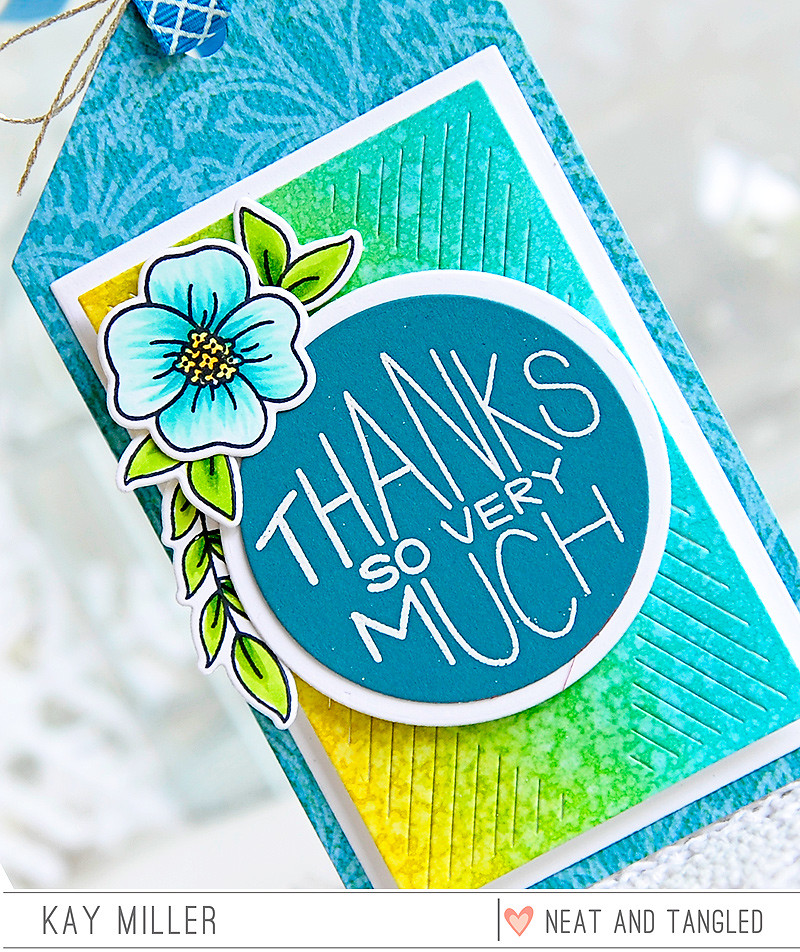
I also used the Circular die set. The biggest circle from the set became a perfect placement for the sentiment. Plus, I die cut a few of the circles from glitter cardstock and used them as embellishments for my projects.

As a supporting image for my cards, I, of course, choose some flowers. Big flower cluster from Grateful Heart stamp set is perfect to surround the panel with a sentiment.

For both of the cards, I used embossing folders: Stripes by Heidi Swapp (discontinued) and Confetti by Mimicut. I like to keep my cards white, and embossing makes them look dimension and interesting while feeling very "clean".

Hope you like these simple ideas and will give them a try.
Daria here. Today, I have two cards for you with a focus on sentiment. I wanted to give a sentiment a central role, while keeping integral to the whole carddesign. So, I've decided to place it on a separate shape.

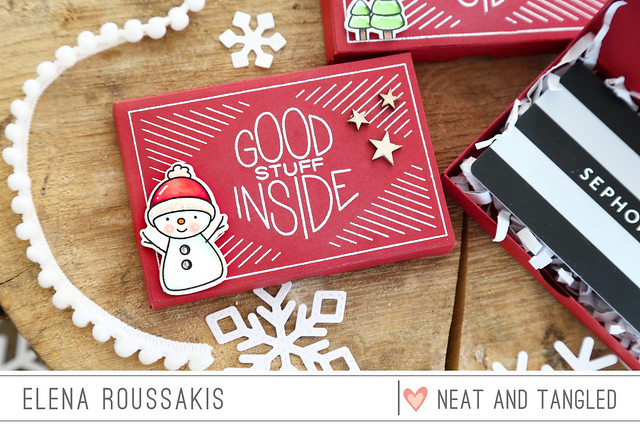
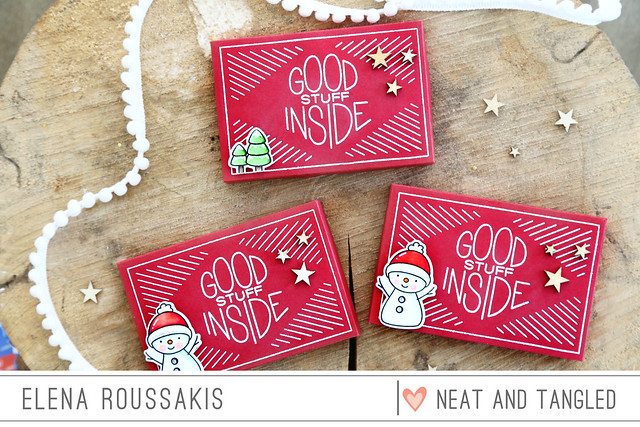
I took sentiments from Moon Magic stamp set and Thanks So Much Stamp set.

I also used the Circular die set. The biggest circle from the set became a perfect placement for the sentiment. Plus, I die cut a few of the circles from glitter cardstock and used them as embellishments for my projects.

As a supporting image for my cards, I, of course, choose some flowers. Big flower cluster from Grateful Heart stamp set is perfect to surround the panel with a sentiment.

For both of the cards, I used embossing folders: Stripes by Heidi Swapp (discontinued) and Confetti by Mimicut. I like to keep my cards white, and embossing makes them look dimension and interesting while feeling very "clean".

Hope you like these simple ideas and will give them a try.
See you back soon,
D.