Showing posts with label mail background. Show all posts

Neon Mail Background with Cheiron

Hi there crafty friends. It's Cheiron here with another monthly post. This month I am using the Mail Background stamp, which just came back into stock in the Neat and Tangled shop, so grab yours while you can! 

I don't know if you are a fan of neon, but I love it so much! I am glad to see some neon pieces trending for fall in some of my favorite shops and was inspired to pull out some neon supplies from my stash to make this quick and easy card. 

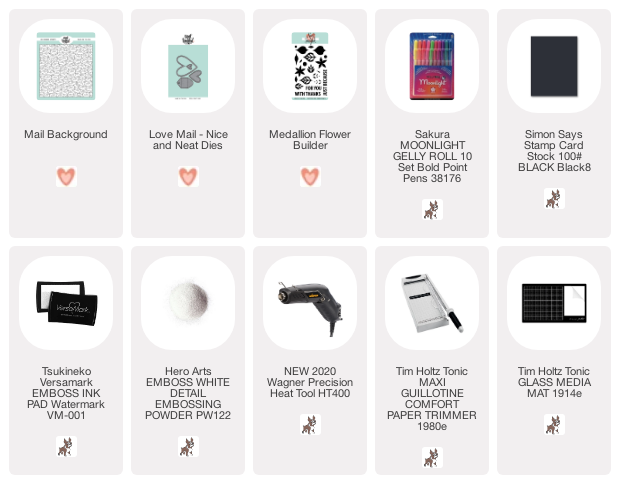
First, I stamped and embossed the Mail Background in white on a black piece of cardstock. Then I used my Gelly Roll Moonlight pens in all my favorite colors to color in the hearts. Once the hearts were dry, I stamped the Just Because sentiment from the Medallion Flower Builder Set onto a strip of white cardstock. I added a few neon envies cut from the Love Mail dies to complete the card. That's it! Super easy and super colorful and ready to send to brighten someone's day! 


SUPPLIES: 

2

Hello Mail Card with Daria Grushina

Hello-hello dear people,

Daria here. Hope your weekend has a good start, as I have a card for you to share in case you plan some time for crafting.   This time, I've decided to play with Mail Background Stamp. It is quite versatile one. It could be both a focal point, or a nice background. You even may cut off small envelopes or your design.


I started with heat-embossing the background in white, then add some color using smushing technique and different distress inks.

When my panel was ready, I took my circle dies from Simon (that's a basic set, you may use any circle die sets you have on hand) and die cut a circle from it. I also made a bigger circle from silver glitter paper and more bigger one from light blue cardstock.  I used our Over The Rainbow Assorted Cardstock Pack.

All these circles made a nice backing for the one with lots of envelopes.  I also decided to use woodgrain embossed paper for the background. But you may skip this step. I glue everything with double-sided tape and foam tape.


To finish the card, I added three little envelopes made from different paper with Love Mail die set. A little banner from Skinny Strips die set and a tiny Hello nicely picks from the lower envelope. The sentiment is from Butterfly Beauties stamp.  Two of three little envelopes are glued with foam squares. It gives more variation in dimension. I just love how cute these little die-cut envelopes. 


That's it, hope you like it and may be will give a try. 
Thanks so much for stopping by, and see you next time,

xoxo,
D.

ps: I also made another background with the same Mail Background Stamp. It is picking on one of the photos. But, I still haven't decided how to finish it up. But I will try to show it next time. 
2

Sending Love with Koren Wiskman


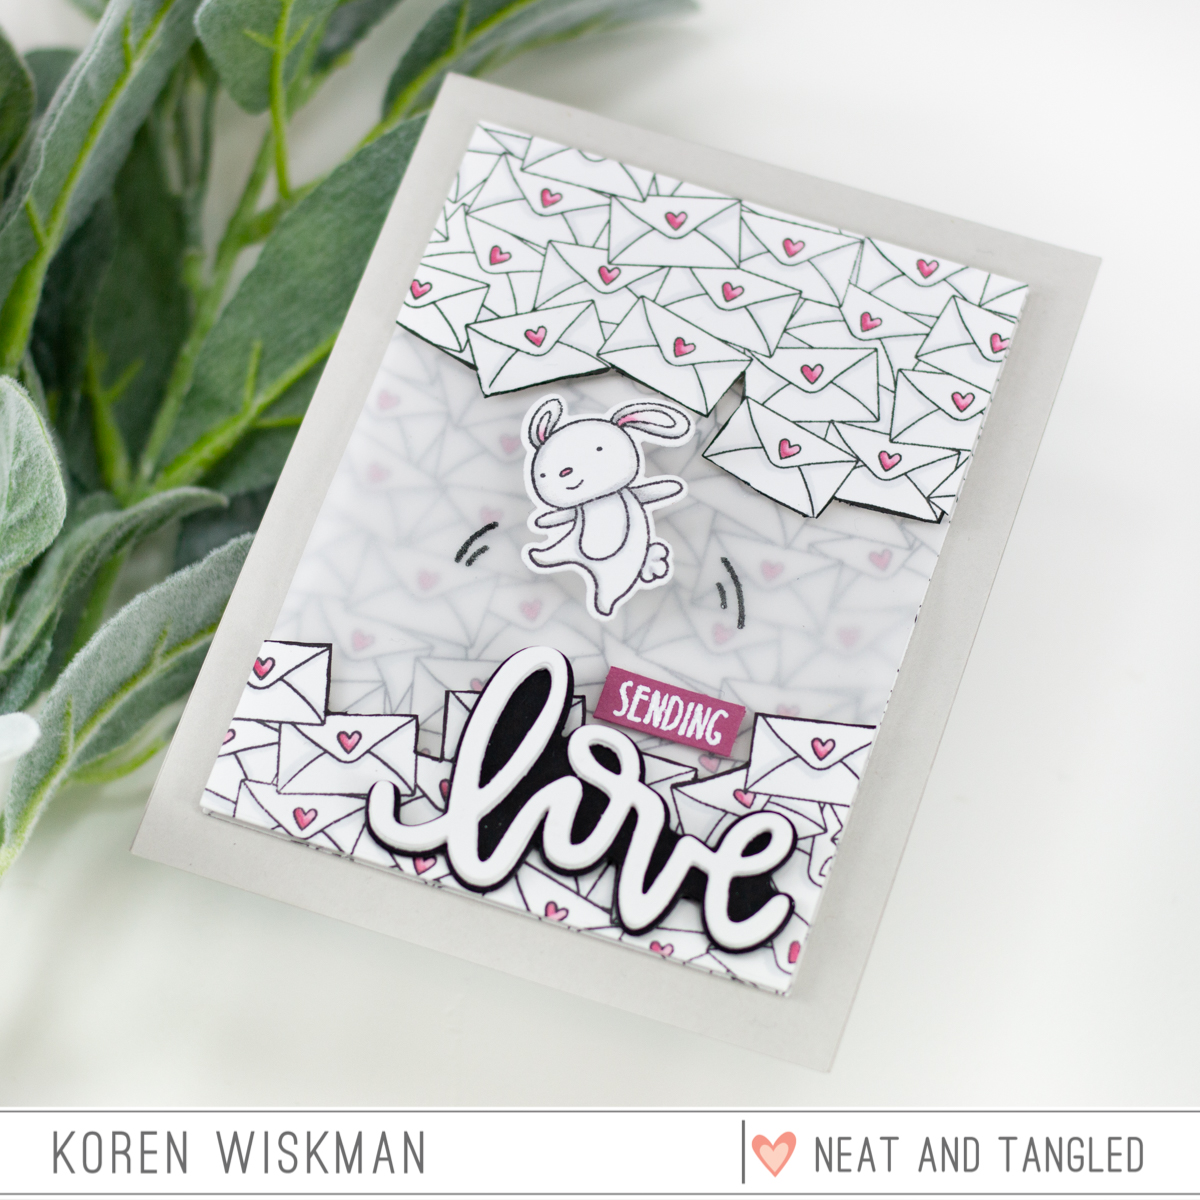
Hello everyone. Koren here today. I have another love card for you. I always say, "love ins't just for February". We should spread love all year long. So that's what I'm doing today, with the Neat & Tangled Mail Background stamp, Love Notes, and Jump for Joy stamp sets.

I started with a piece of Neenah 110 lb. Solar White Classic Crest cardstock cut to size 4 1/4 by 5 1/2. I loaded it and the Neat & Tangled Mail Background stamp into my Original MISTI. I stamped the background onto multiple panels to have extra to cut apart. I then cut the panels down to 3 1/2 by 4 3/4.

I traced with a thick black marker onto the panel that I used to cut the bottom and the top pieces from. I took one background and decided where I wanted to cut to create and interesting background for my focal image to be in. I wanted it to feel like he was jumping, sliding, playing, whatever you think of, inside the pile of love mail.


Once the two parts where traced out, I simply used my scissors to cut them out. I then went back in with the same black marker to brush the edges of the cut out pieces with black ink.

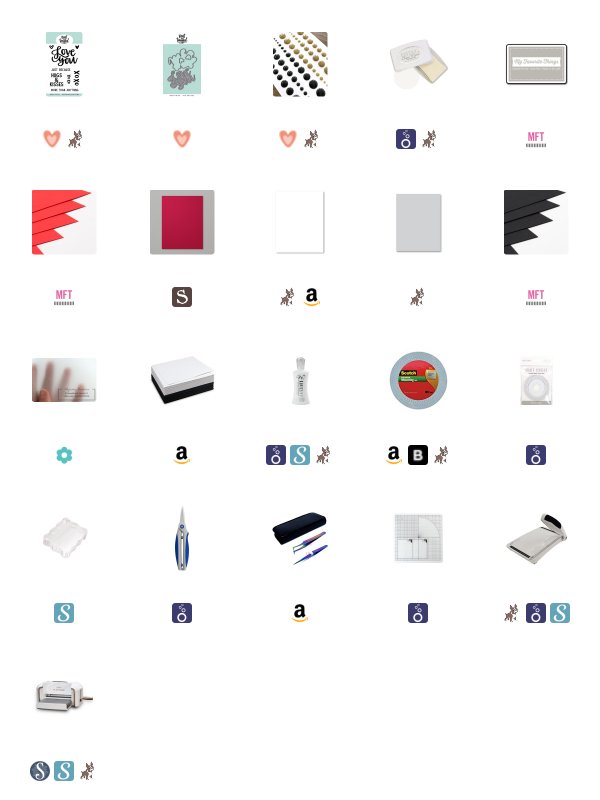
Before adhering the pieces together I used my alcohol markers to color them. I have listed the markers used on this card below in the color map.


To create the background I used one full mail background, then a piece of vellum to dull the intensity of the color. On the vellum piece, I stamped the motion lines onto the vellum layer using black pigment ink and heat embossed it with clear embossing powder. Then I added the top and bottom cut out pieces with foam tape to pop them up.

The sentiment was cut using the "love" die from the Neat & Tangled Love Notes Dies, cut from black and white cardstock. I cut the "love" word die four times and layered them together with liquid adhesive. Then placed them on the black shadow using the same adhesive. The "sending" sub-sentiment was stamped with embossing ink and white heat embossed. I used my paper trimmer to cut it down into a strip.

The bunny was popped up using an action wobble within the action marks previously embossed on the vellum.

I hope that I've inspired you to share some love in a creative way.

Koren

5

Stacked Just Because with Koren Wiskman


Hello everyone. Today I have a cute high-contrast card that brings attention to the details. I'm using the Neat & Tangled Just Because stamp set and coordinating dies, as well as the Mail Background stamp.  I also threw in a little Sophisticated Enamel Dots to finish it off.

To start, I loaded the Mail Background red rubber stamp into my Original MISTI. I do this because I like the security of a stamp positioner when stamping my background stamps. I almost always stamp them twice to get good coverage. The MISTI is my go-to stamp positioner. I stamped it with a light gray hybrid ink that works with alcohol markers. I didn't want the background to be too busy so I wanted to attempt to color this with light lines. I used my alcohol markers to color the hearts read and to lightly shade the areas where the envelopes are just so you can tell that they are back there.

Once the background was colored I trimmed it down to 3 1/2 by 4 3/4.  To subtly increase  the appearance of the background on the card, I cut a piece of vellum to the same dimensions to go over the top of the background. In-person the background is nicely represented, which is kind of hard to capture on camera.


The Just Because stamp set and its coordinating dies are one of my favorites. I love the big bold "love you" word die and it's companion shadow die. Together they fill a card front nicely and it makes my job designing them very easy.

For this card, I wanted to stack the layers of my word die to have striped layers of black and white. I cut the shadow first from black cardstock and then the word die itself. The "love you" is actually made up of three separate sections. The "L" is one section the "ove" is another and then finally "you" is one of its own. I cut the word die five times two from black cardstock and three from white cardstock. Starting with the black base of the shadow I then stacked them in alternating layers white, black, white, black, and finally white on the top. I used liquid adhesive to layer them together allowing a little time for it to dry with an acrylic black resting on top to keep them flat and snuggled nicely together.

The entire word die was then added to the vellum using liquid adhesive. This gave me a great area to add adhesive to the vellum and attach it to the background. To keep the adhesive hidden only add the adhesive behind the word die. This gives it plenty to hold on to and it looks nice.

As for the sub-sentiment "xoxo" I stamped the smaller of the two xoxo's included in the Just Because stamp set onto some bright red cardstock using clear sticky embossing ink. I then heat embossed it using white embossing powder. I cut it down to a strip using my paper trimmer and added it to the card panel using a double layer of foam adhesive. I had to double the foam to get over the height of the stacked word die and nestle it nicely under the "you".


I then cut the two hearts also from the Neat & Tangled Just Because coordinating die set in two shades of red, a light, and a dark red. I thought this would give it a little more interest.

I added a sprinkling of Sophisticated enamel dots in black to really set of the black and white contrast.

I added the card panel to a light gray card base cut to size A2 and scored in top-folding portrait orientation. I used white craft foam and tear tape adhesive to stick it on and give it a little dimension as well.

I hope you like my card project today and that I've inspired you to create using these fun love-themed products from Neat & Tangled.

Koren

1

Rainbow Mail Background with Cheiron

Hello there crafty friends! I hope you are enjoying great weather like I am this week. Today, I have a fun card idea featuring the Mail Background stamp. If you know me, you know I will take the opportunity to add a rainbow to just about anything. For today's card, I used the Mail Background cling stamp colored in a bright rainbow to send some happy mail.


I stamped the Mail Background with Black Versafine ink and then embossed it using clear embossing powder. For me, this makes the watercoloring process super easy and I don't have to worry so much about painting outside of the lines. When the envelopes were dry, I went back in and painted all the tiny hearts in red.


For me, this background speaks for itself. I added the Sending Hugs sentiment from the No Words set that I stamped onto black cardstock and embossed in white.


This would be a great easy card to work on in the summer, especially if you have kiddos at home that love to color too. Just stamp a few panels (and sentiments) for them and let them send out their own happy mail.

SUPPLIES:

3

April Guest Designer | Natasha Valkovskaya

Hey crafty people! I’m back for my last guest post with Neat and Tangled. It’s been an honor and joy to share with you my simple cards.

Today I have two cards featuring Mail Background stamp, which is any cardmaker’s must-have! For my first card, I traced a heart die on a piece of watercolour cardstock and coloured it inside the lines with distress inks.
Then I heat embossed the Mail Background stamp in white over the top. For the sentiment I used one from the Typed Sentiments set, which is currently my favorite sentiment set! Love the typewriter look!
For my next card, I stamped the Mail Background stamp in black Copic friendly ink. Then I die-cut two hearts: one from the stamped piece and another one from a piece of grey cardstock. If you don’t have a heart die you can totally cut out the hearts free-hand, just put two pieces of cardstock together to make sure you get two identical shapes.


Color the tiny hearts with a red Copic marker or any colouring medium for that matter (just make sure your ink will be ok with it). Now, all you have to do is adhere the grey heart to create a shadow and then foam mount the stamped heart a bit offset. Finally add a sentiment from the Typed Sentiments and your card is ready!
Thank you for your time! And thank you, Neat and Tangled for having me! Have a great day and find time for something that makes you happy!
3

April Guest Designer Natasha Valkovskaya

Today I have two cards featuring some of my absolute N&T favorites: Warm Winter Scene cover plate die, Mail Background stamp, Heart Duo stencil and Typed Sentiments.

For my first card, I die cut the Warm Winter Scene from a piece of white cardstock, and trimmed off the bottom row of the houses. These are the cutest houses ever, don’t you think? It’s a winter scene die, but it can be used all year round for so many occasions! I saved the houses for later, as for this card I only needed the negative.

Then I stamped the Mail background stamp on an A2 size panel, and used my distress inks to tone part of the panel that will be covered by the die-cut.  That’s pretty much it. I foam mounted my row of houses and added the sentiment. It’s from Lovely Lotus set and seemed perfect for this card. My second card is again clean and simple. I created the background with the Heart Duo stencil and some distress inks in rainbow colors… of course!

I used the houses I had die-cut for the first card, and adhered them onto foam squares. For the sentiment I used the Typed Sentiments set which is definitely a must-have! So many great sentiments in typewriter font which looks so cool and will fit any style!

Thank you for spending time with me! I hope you like my ideas and are inspired to get crafty! Have a great day and find time for something that makes you happy!
Natasha

3
Back to Top