Showing posts with label laura bassen. Show all posts

Hello from Me to You

Hi there! Laura here and today I have a fun, colorful card to share featuring a couple of Christmas themed stamp sets. Yes, that's right. I used a couple of Christmas stamp sets to create this very non-Christmas-sy card:)Neat & Tangled-Scandinavial Prints Christmas & Journaling Alphas
To create this colorful background pattern I used the solid triangle image from the Scandinavian Prints Christmas stamp set. I stamped it repeatedly using pigment inks. Using a MISTI helped a lot to get consistent spacing & alignment.
Neat & Tangled-Scandinavial Prints Christmas & Journaling Alphas
For the sentiment I used the Journaling Alpha dies and also embossed a coordinating sentiment from Happy Holidays. Here's a video to show you how I created this card.

Don't you just LOVE this colorful, geometric background pattern? Triangle patterns make my world go 'round. That's all for today. Thanks so much for stopping by!
4

On the Strip with Laura

Hi there! Laura here and today I have a clean, simple & stripey project to share featuring the On the Strip stamp set. I just love anything with stripes and this particular stripe is so fun with the "hello" sentiment inside of it.N&T-On the Line
I stamped the stripes with Mama Elephant pigment inks. Using a MISTI along with the Creative Corners helps you to get the perfectly consistent spacing and even angles. The precision of it all just rocks my world:)
N&T-On the Line
The sentiment is from the Out of the Box stamp set. I also added a few Crystal Clear Sequins to finish it off.
N&T-On the Line
Here's a video to show you how I made this card.
Thanks so much for stopping by!
5

Polygon Cover Plate with Laura

Hi there! Laura here and today I have a fun, colorful project to share featuring the Polygon Cover Plate with it's gorgeous geometric design.Neat & Tangled-Polygon Cover Plate
I used distress inks to paint a loose watercolor look onto my background and then ran the whole panel through with the Polygon Cover Plate.
Neat & Tangled-Polygon Cover Plate
For the sentiment I used the Awesome stamps & word die.
Neat & Tangled-Polygon Cover Plate
Here's a video to show you how I created this card.
Thanks so much for stopping by!
9

So Lucky with Laura

Hi there! Laura here and today I have a project to share featuring the So Lucky stamp set & coordinating dies along with the Scalloped stencil.Neat & Tangled-So Lucky
I used four different inks by Simon Says Stamp in Jellybean, Lucky, Maliblue & Scuba with the Scalloped stencil and as well stamping the four leaf clover images from So Lucky.Neat & Tangled-So Lucky
Then I used my We R Memory Keepers Fuse tool to create a full card shaker filled with Neat & Tangled sequins in Peacock Feathers, Emerald, Mint and Ocean BreezeNeat & Tangled-So Lucky
Here's a video to show you how I created my shaker card.
Thanks so much for stopping by!
8

Cottontail Cuties with Laura

Hi there! Laura here and today I have a couple of projects to share featuring the adorable Cottontail Cuties stamp set & coordinating dies.
Neat & Tangled-Cottontail Cuties
The images in this set are so sweet I couldn't stop at just one card. I stamped several images at once using my Mini Misti and colored them in with Copics. Nothing fancy!
Neat & Tangled-Cottontail Cuties
I created a little "hilly" mask by cutting a piece of scrap paper with my craft knife and used it to blend a subtle sky & grounding behind the images.
Neat & Tangled-Cottontail Cuties
I used distress inks for the blending on watercolor cardstock and added a few little flicks of water.
Neat & Tangled-Cottontail Cuties
Then I popped the die cut images up with foam tape, stamped the sentiments and viola! Clean, simple & adorable!
Neat & Tangled-Cottontail Cuties
Here's a video to show you how I created these cards.
Thanks so much for stopping by!
5

Floral Heart Birthday

Hi there! Laura here and today I have a fun birthday card to share featuring the new Floral Heart stamp set along with the coordinating die.Neat & Tangled-Floral Heart
I embossed the Floral Heart image in clear and blended in distress inks for the rainbow color. Then I used the coordinating Floral Heart dies to die cut the image out.Neat & Tangled-Floral Heart
I used the inner Floral Heart die to create a window where I stamped a sentiment from Say Yes to Donuts.Neat & Tangled-Floral Heart
I couldn't resist adding a couple of cutie patootie kiddos from the Say Yes to Donuts set. I love how adorable they look peeping out from the Floral Heart.Neat & Tangled-Floral Heart
Here's a video to show you how I created this card.
Thanks so much for stopping by!
8

Video Team! and a Technique Feature

We've got lots of exciting announcements this week.  Today we want to introduce you to the Neat & Tangled video team.  We know that you guys really enjoy watching videos and seeing the creative process, and this year we're making that a focus with a special team of designers.

First up is Laura Bassen, who is near and dear to our hearts, her cards make us swoon and her videos make us laugh (and sometimes sing).  


Hi my name is Laura Bassen and I am a wife and mother of five busy kids living in central Illinois. I started my blog, Doublestick Heaven, back in 2008. My favorite thing to do is eat chocolate. If there's no chocolate then I'll take some french fries. If I can't have french fries then I like to watch movies at home with the family in sweatpants as long as there's popcorn:) I'm so very grateful for the opportunity to work with such a talented design team and look forward to showcasing their exciting new products.

Blog:  https://laurafadora.wordpress.com
Instagram:  https://www.instagram.com/laurafadora/
YouTube:  https://www.youtube.com/user/laurafadora1

Next Emily Leiphart with her clever and unique way of combining products and creating scenes, we love watching her videos so we can see how it all comes together and her get a peek into her thought process.


I’m thrilled to be returning to the Neat & Tangled design team for a third year! I will primarily be showcasing Neat & Tangled’s fresh and innovative products on video this year and I hope you enjoy my projects. Please follow me on my blog, Instagram feed and YouTube channel for loads of crafty goodness.

Blog: http://leiphartonart.blogspot.com
Instagram: https://www.instagram.com/leiphartonart/
YouTube: https://www.youtube.com/user/leiphartonart

Then there is Kelly Latevola. She was a guest designer for N&T last year, creating a video each week. She's a great colorist and teacher and you're sure to learn new tricks and tips when you watch her work.

I was a Police/Fire/Ems dispatcher for a living but have since moved on to working in the Detective Bureau . Which is wonderful and terrible at the same time. I am married to a wonderful man and we have one little bundle of never ending energy, Nathan, who is 3. Nathan's best friend is our dog Molly who is a boxer/mastiff mix. Between the two of them my house is never clean! Gah! My style of card making is pretty Clean and Simple. I sometimes venture into the Clean and Layered but even then my design isn't very busy. I do love a good one layer card, especially if it's a scene!


Finally, we have Natalie Elphinstone, she does it all - traditional scrapbooking, Project Life, Bible Journaling, cards, and she's got the cutest crafty kids you are likely to make an appearance too.


Hi, I'm Natalie and I live in Melbourne, Australia. I'm the wife to The Trophy Husband and a mum to The Elphie Kids (3 of them to be exact, with a 4th expected next year!) I work full time as an Obstetrician and Gynaecologist, but I also have a deep and abiding passion for paper craft. I think it often becomes my form of relaxation and therapy! I'm a scrapbooker, card-maker, Project-Lifer and bible-journaler who wants to use #allthecolours #allthetime and I currently also design for Sizzix and Jot Magazine. I'm so excited about joining the Neat and Tangled team and can't wait to get started!

Blog: onescrappydoctor.com
Facebook: facebook.com/onescrappydoctor
Instagram: instagram.com/natalieelph
YouTube: youtube.com/user/NatiElphie
Pinterest: pinterest.com/nati

We are so excited to have this team with us this year!

We've got one other announcement.  This year Mayuri, who you all know and love will have a monthly feature here on the blog.


Hello, I'm Mayuri and I'm so excited to be continuing with the Neat & Tangled Design Team for 2016! I'm a Graphic Designer turned Project Manager working in a design agency by day, but becoming an avid crafter by night. My style of card-making ranges from clean and simple through to arty, textural and experimental. The crafting / blogging community has had a huge influence on my card-making - I hope I too can be equally inspiring and encourage you all to get stamping!

Blog:  https://candlesinthegarden.wordpress.com
Instagram:  https://www.instagram.com/flubidoo/

Mayuri is such a wonderful teacher, and this year we wanted to really take advantage of her knowledge and expertise.  She'll be featuring new techniques each month that will help you grow your skillset, and we are thrilled that she is back with us.

That's all the news for today, but swing back by tomorrow, we have more to share!
8

Laura-Scandinavian Prints Christmas

Hi there! Laura here and today I have a colorful and festive holiday project to share featuring the Scandinavian Prints Christmas stamp set.Neat & Tangled-Scandinavian Prints Christmas
I LOVE this set and think there are a million and one ways to create fabulous, geometric patterns and designs with it all year long.
Neat & Tangled-Scandinavian Prints Christmas
I used the three solid "tree" or triangle images and stamped them in a glorious row of rainbow happiness using a combination of pigment & dye inks. I inked up each triangle with two colors to give it that gradient look.
Neat & Tangled-Scandinavian Prints Christmas
I also added some clear sequins from the Frosted Pine Sequin Mix.
Neat & Tangled-Scandinavian Prints Christmas
Here's a video to show you how I made this card.

That's all for today! Thanks so much for stopping by!
6

Time to Celebrate with Laura

Hi there! Laura here and today I have a fun, colorful project featuring the Celebrate die, Celebrate Stamp set & Pentagon Stencil.Neat & Tangled-Celebrate
I created a fun pattern on pattern background by masking "rays" with post-it tape over top of the Pentagon Stencil.
Neat & Tangled-Celebrate
Here's a video to show you how I created this card.
Thanks so much for stopping by!
11

Cosmo Cricket Week - Day 3

Neat & Tangled-Little Stinker

We are already halfway through our Cosmo Cricket collaboration week!  Each day this week we're sharing projects featuring Cosmo Cricket and Neat & Tangled.  We hope that you are enjoying the projects as much as we have been enjoying the products!

Every good collaboration need a couple prizes, right?  We've got a great bundle of Cosmo Cricket goodies to share with one of you.  Just leave a comment on each post this week and we'll pick a winner and announce them next week.

Cosmo Cricket also has a prize to share, so be sure to stop by and check them out on Facebook and Instagram.

Today Laura and Elena are sharing with us.  First up is Laura:

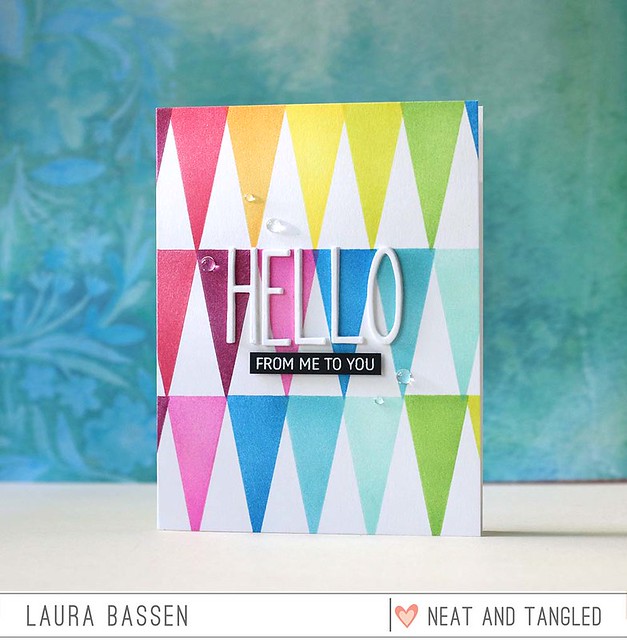
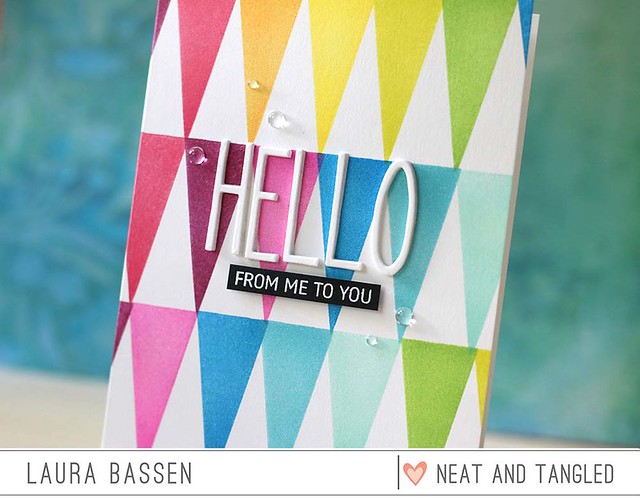
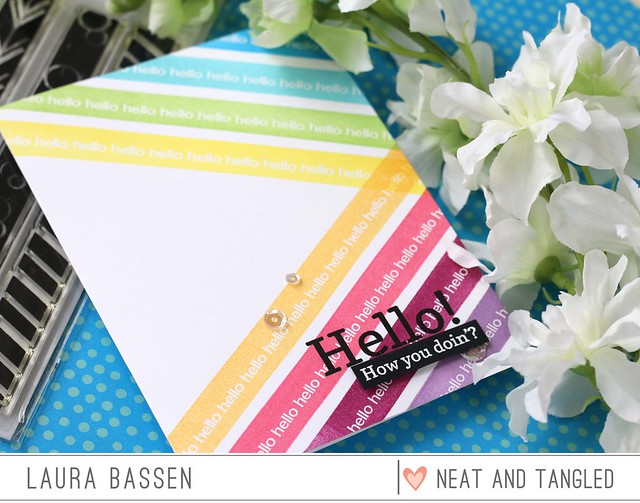
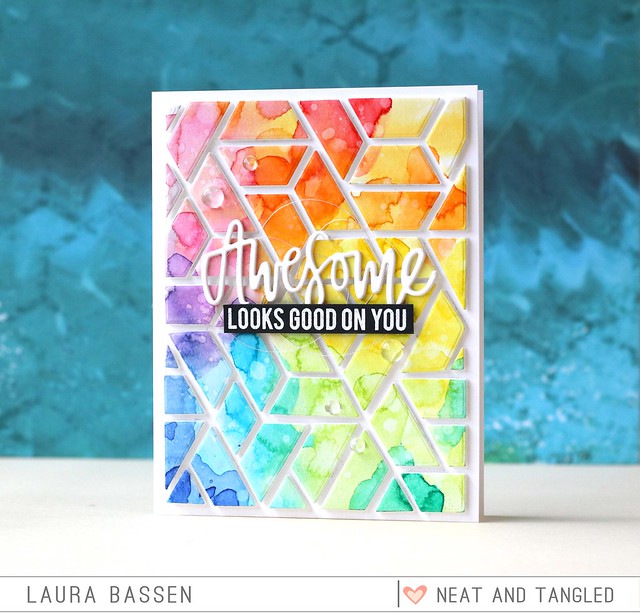
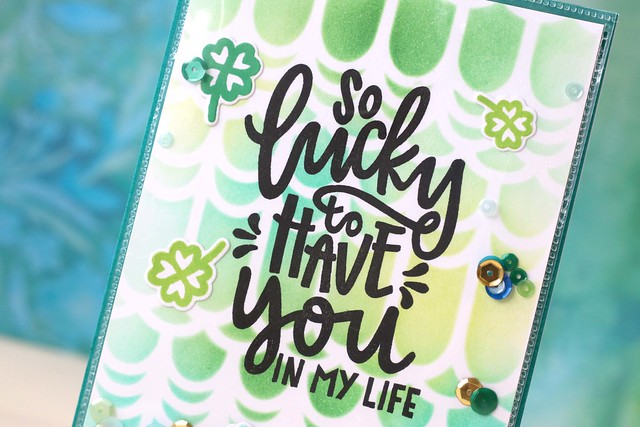
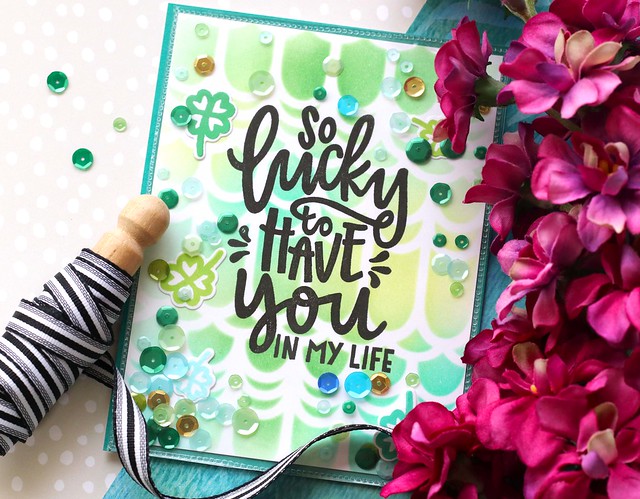
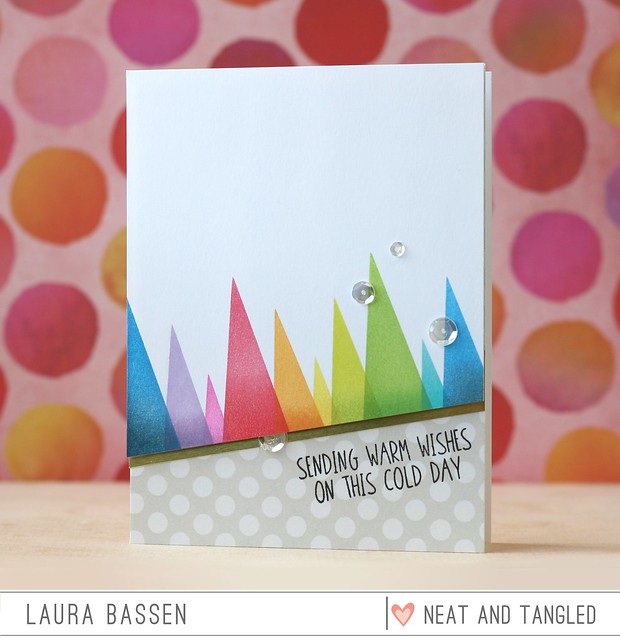
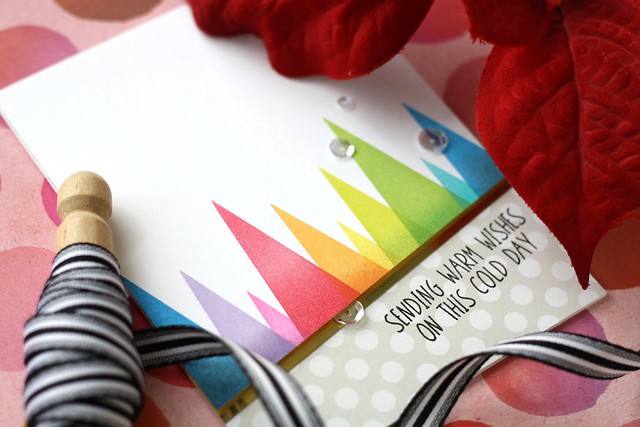
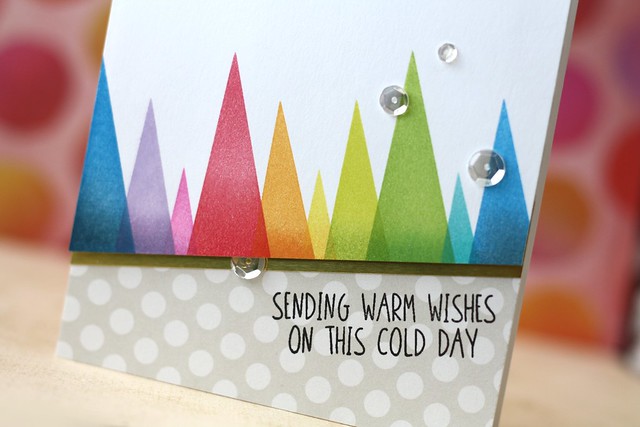
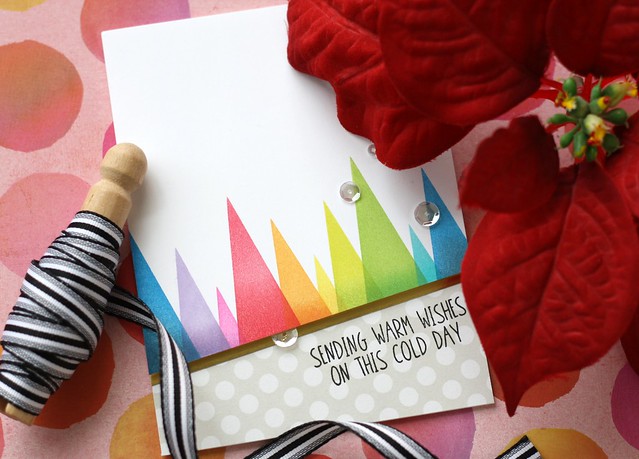
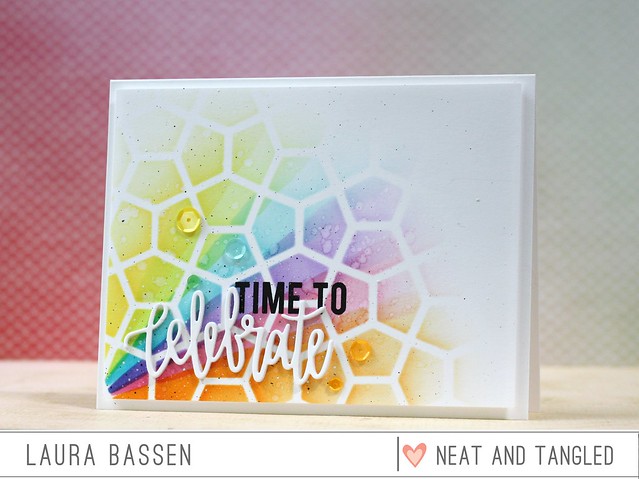
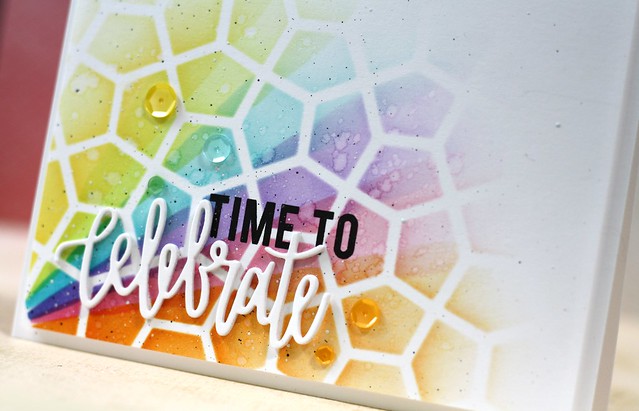
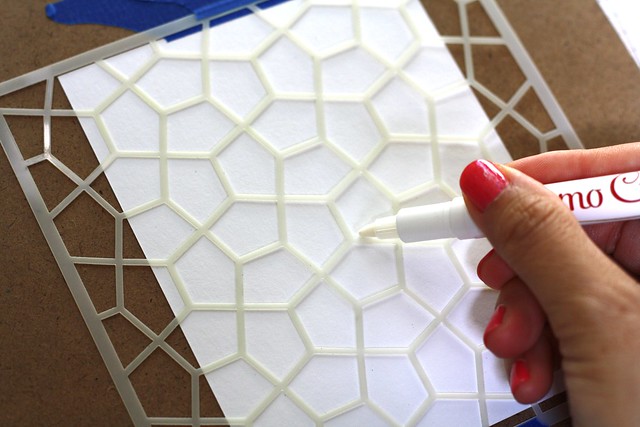
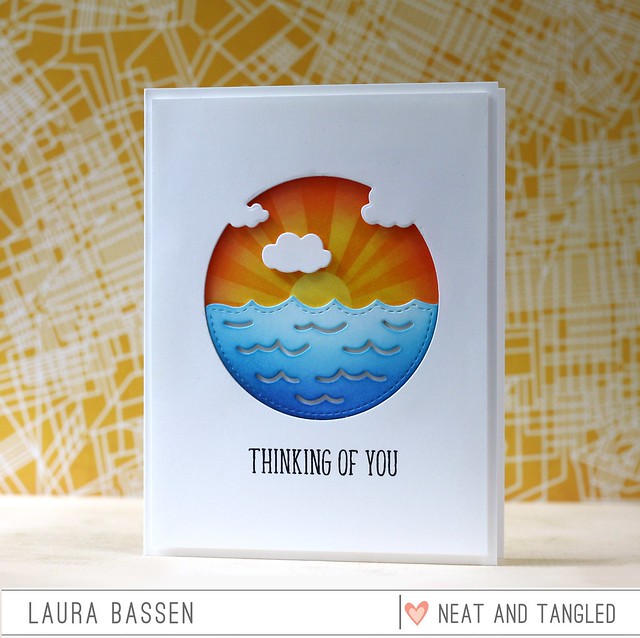
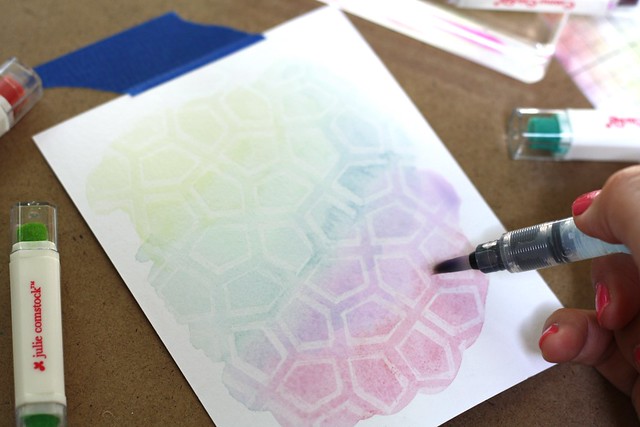
For my card, I used the 
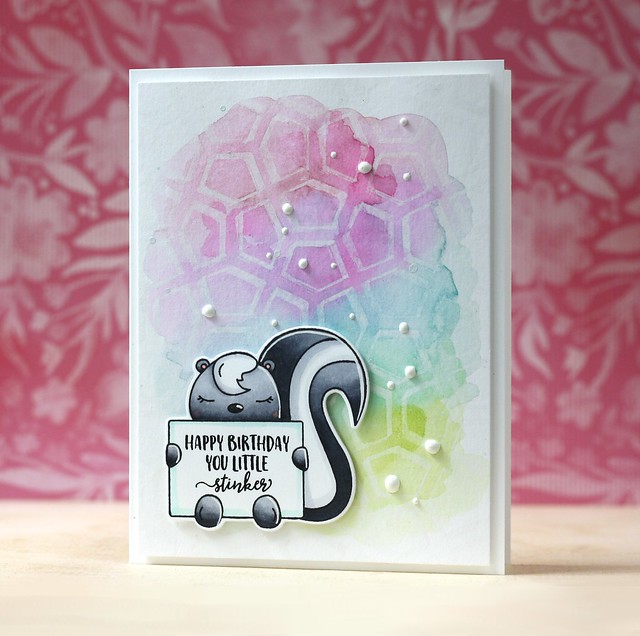
Cosmo Cricket Resist Pen along with the Pentagon stencil for the background, tracing the stencil openings onto watercolor cardstock.

Neat & Tangled/Cosmo Cricket collaboration

Then I used several of the Swatch Sticks to paint over the resist pattern. I dapped the swatch sticks onto an acrylic block and my water brush to pick up the color and control the intensity.

Neat & Tangled/Cosmo Cricket collaboration

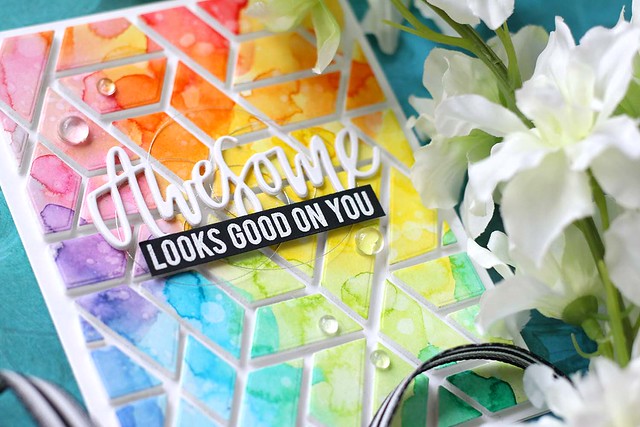
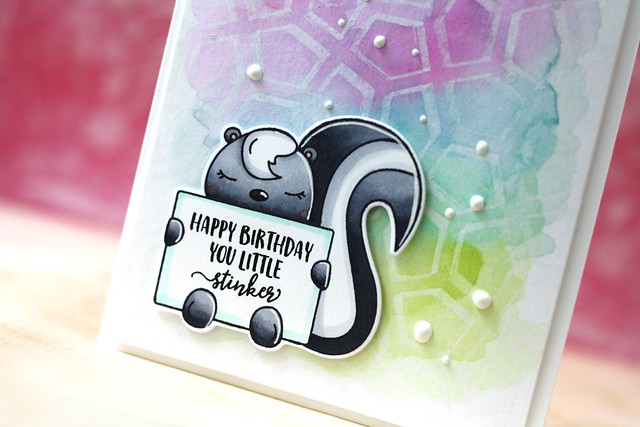
I added this sweet skunk image from Little Stinker along with a few accents using Glacier White enamel accents.


Neat & Tangled-Little Stinker

Next up is Elena:

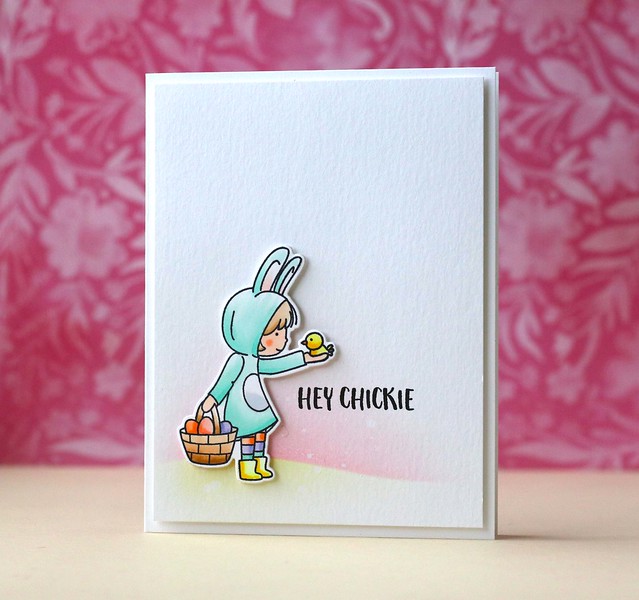
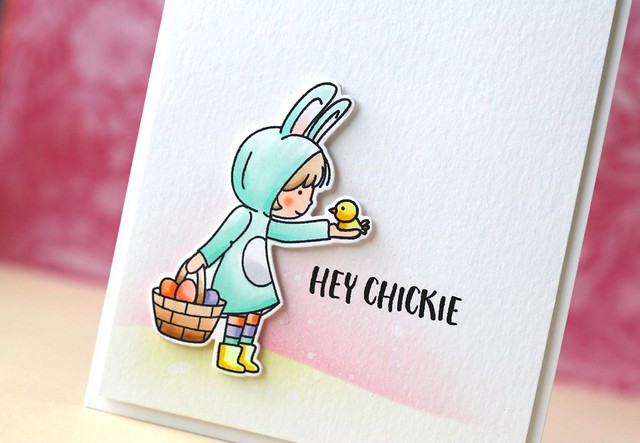
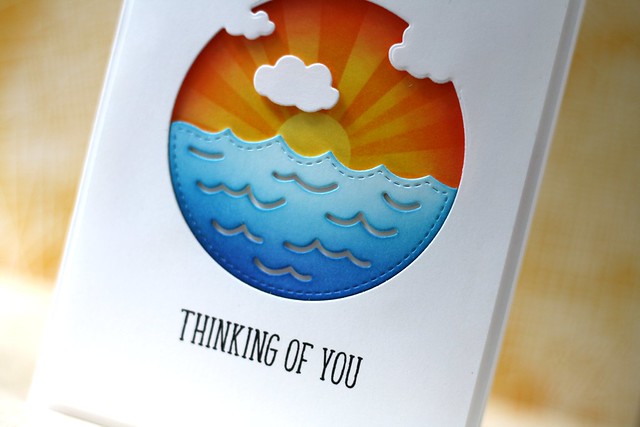
Hi there!  For my first card, I stamped and colored elements from Mermazing and set them against watercolored backdrop. I adore these new products from Cosmo Cricket. They are made for watercoloring dummies like me! 


I used the watercolor brush to spread a little water around, then sprinkled some Pool Pixie Paint onto the piece, and basically my work was done.


I blended out the background a bit and added some flecks of lighter and darker paint to give depth to the scene.

My next projects are a little tag duo. I played around with the Candy Pixie Paint for both. On this tag, I used the Resist Pen to add polka dots to the bottom half of the tag, let it dry, and then watercolored with the Pixie Paint over-top.  When everything was dry, I used a brown pen to add doodly circles around each polka-dot.

I added the little girl image from Better Together, and the new script Celebrate die to finish off the tag.


For my last tag, I did more of the same: doodled polka-dots with the Resist Pen and watercolored over-top with the Candy Pixie Paint. I added the Hooray wreath a little bird (from Kitty's Favorite Things) to finish off.


Be sure to leave a comment and come back tomorrow for more inspiration from our Design Team.  At the end of the week one lucky commenter will win a Cosmo Cricket prize pack!
54

Making Waves with Laura Bassen

Hi there! Laura here and today I have a project to share featuring the Making Waves dies.
Neat & Tangled-Making Waves
I thought it would be fun to do some fancy schmancy masking & ink blending for the sunset. I used post-it tape to mask the rays and a 3/4" circle punch to create a mask for the sun.
Neat & Tangled-Making Waves
The sentiment is from Succulent Journaling Card stamp set. That's all for today! Thanks so much for stopping by!
11

It's Your Day with Laura

Hi there! Laura here and today I'm sharing a project featuring the Big Top Birthday stamp set & coordinating dies as well as the new Journaling Alpha dies.

Neat & Tangled-Big Top Birthday & Journaling Alphas

I die cut four of each letter and stacked them up for dimension. Yes, I said four of each...because I'm crazy like that, and yes, they are in rainbow order, too:)! I also masked off and blended a little bit of Hickory Smoke ink for the ground under the Big Top images.

Neat & Tangled-Big Top Birthday & Journaling Alphas

I colored the images in with Copics and popped them up with foam tape. How about that lion balancing a cupcake on his foot? Circus lion's got some skills:)

Neat & Tangled-Big Top Birthday & Journaling Alphas

Just now realizing that I forgot to add an apostrophe for the word "it's" in the sentiment. Just imaging that it's there, ok? I love that this could be for many different occasions and ages. These Big Top Birthday Images & Journaling Alpha dies are so fun & versatile. Thanks so much for stopping by!


7
Back to Top