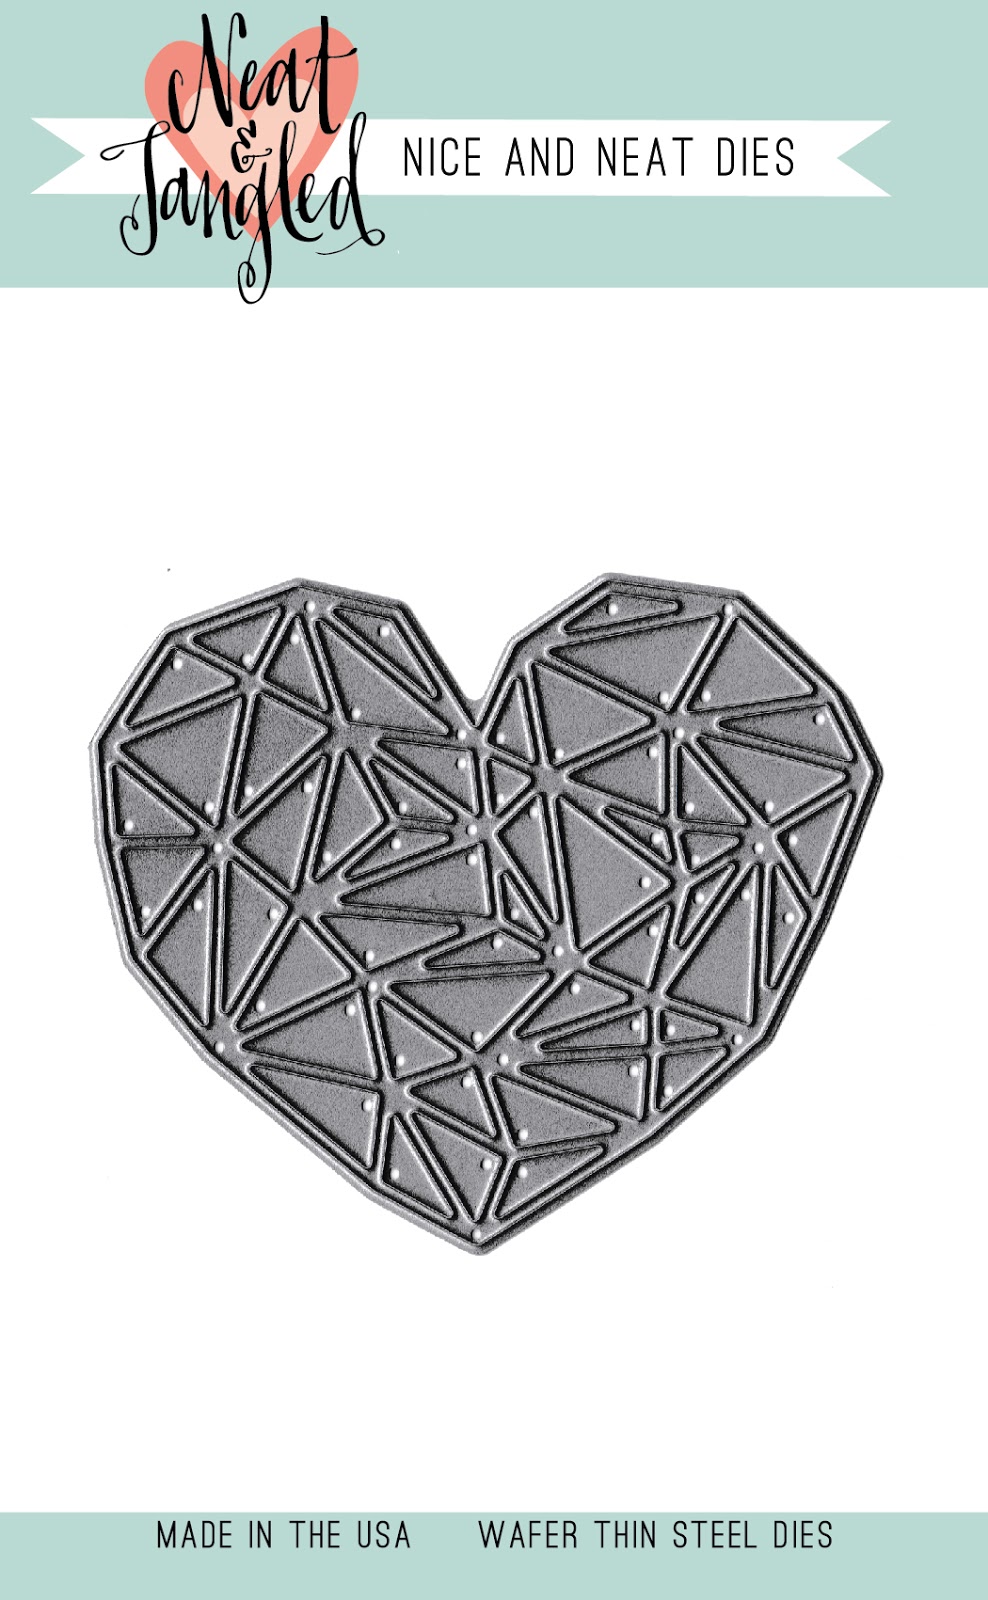
Showing posts with label heart of gold die. Show all posts

Awesome with Sheree Forcier


Happy Friday!  We're welcoming our November guest designer, Sheree Forcier back to the blog today.  She's got another beautiful layout to share with us:

Hello crafty friends!

Today I’m sharing a layout with a background that I created using the fabulous Heart of Gold Die. I love how versatile this die is!


To create this background I used my Big Shot to cut nine hearts from some plain white cardstock, then I cut seven more hearts from a variety of patterned paper scraps that I had in my stash. I tapped all the white pieces out of the white hearts and selected one coloured piece from each coloured heart to insert into each white heart shape.


I love the subtle effect of the white hearts on the white cardstock background with those little pops of colour! To adhere the hearts to the background cardstock I used a sheet of microdots which completely covered the back of each heart with a sticky coating, then I use a little liquid glue behind each coloured piece to stick them into place.

To finish off the background I added some subtle texture with a stitched border and some messy stitching to the edge of three of the hearts.

Once the background was done I was ready to add my photo and other embellishments. The Awesome Die was perfect to use as the title for this page! I chose the same pink patterned paper that I’d used in the background hearts backed with some plain white cardstock and I love how it stands out against the photo.


I stamped “you are so” from the Awesome Stamp Set onto some plain white cardstock and trimmed it down before adding it just above the die cut word.


After selecting a few more stickers, embellishments and some twine from my stash my layout was complete!


If you would like to watch my process you can see my video below:


I had so much fun creating this layout and I hope you’ve enjoyed seeing how it came together. I’ll be back again soon with another project to share!

SUPPLIES | Heart of Gold Die | Awesome Stamp Set | Awesome Die
5

Introducing our November Guest Designer Sheree Forcier


Happy Friday!  We're so excited to introduce you to this month's guest designer, Sheree Forcier.  Sheree has a wonderful crisp and intentional style, and you guys will love how she embraces white space.  We're just thrilled to have her!  Here's Sheree to tell you a little more about herself and her project for this week:

Hello crafty friends! I’m so thrilled to be guest designing with Neat & Tangled this month! Before I share my first project with you I thought I’d tell you a little about myself. I live on the Gold Coast in Queensland, Australia with my husband and three children. I’ve been scrapbooking for around 15 years or so but I also love to create in traveler’s notebooks, pocket page scrapping and cardmaking too. I’ve dabbled in a few other crafts over the years and I crochet almost every day however I think papercrafting will always be my fave!

Today I have a layout to share with you. I love that stamps and dies are not only perfect for cardmaking but scrapbooking too!


The ‘Together’ stamp set and ‘Heart of Gold’ die suited the theme of this page beautifully. I cut the heart out using my Big Shot and plain white cardstock, covered it with Versamark ink then used some Ranger Gold Tinsel embossing power to create a gorgeous shimmery embellishment to use as the feature for the embellishment cluster above my photos.


I used the same embossing powder and Versamark ink to create the ‘Together’ title and used my scissors to fussy cut the word so I could pop it off the page with some foam adhesive.


Once I had my gold glittery pieces ready to use I went ahead and put my layout together. I used black ink to create some ink splatters on my background, some Kaisercraft and Crate Paper scraps across the bottom of the page, then picked out some pretty Crate Paper die cuts and stickers from my stash to create the embellishment cluster around the heart at the top of the page. The little clear butterfly is a really old Heidi Swapp piece that I’ve had for years but still love!

I then chose two more stamps from the Together stamp set to add to the page. I stamped ‘you & me’ under the title, then ‘so happy’ to the right of the gold heart in black ink. The journaling strips and the date stamp were the final touches to finish the layout.


I’ve also filmed a video if you would like to watch my process…

I hope I’ve inspired you to get creative with dies and embossing powder to create your own fun embellishments! Thank you for joining me today and I’ll be back again soon with another project to share.
SUPPLIES: Together Stamp Set | Heart of Gold Die
6

You are the Sprinkles on my Donut with Lexa Levana

Hello everyone! Lexa here today to share a lovey dovey card with adorable images from the Say Yes To Donuts stamp set. I choose two donuts with a boy and a girl peeking, aren't they the cutest?


I stamped all my images with black Versafine ink and watercolor them using Distress Markers. I picked some matching patterned papers and played with the layout for today. I personally think this pink and brown color combination goes really well with the theme, sweet! I die cut the Heart of Gold die in the middle, through the card base, so it created a heart shaped hole.
Inside the card, I layered the outline of geometrical heart on top of the same pink cardstock I used on the fishtail banner. I white embossed the sentiment on a piece of vellum and adhered it with some glossy accents over the heart. That's how I added some texture and dimension to this card.


To finish my card I added some of pretty pink sequins in various sizes. I really hope you like today's card and inspiration. I will see you next week. Thank you so much for stopping by today. I hope you all have an amazing day!
4

July Release projects

Hello there! Mayuri here to share some cards for the July Release - there's a great selection from this month's release, and I've experimented with a few techniques that I hope will inspire you! I've seen the watercolour trend showing up more in more in the card making world, and so I wanted to try a technique using Distress Inks and water.

For this first card, I stamped the shapes from Hello You in Picked Raspberry, Festive Berries, Shaded Lilac, Peacock Feathers and Salty Ocean all over a panel of white cardstock. I left a blank space in the centre for the sentiment.

©Candles in the Garden. Neat and Tangled July 2016 Release.

I then took a damp brush and went over the stamped areas with water, sometimes using a light touch and sometimes slightly heavier. I liked how quickly the water seemed to dry in some areas, allowing me add more colour and more water to create a sense of movement.

©Candles in the Garden. Neat and Tangled July 2016 Release.

I heat set the panel and then stamped the large sentiment from the same set with Versamark Onyx Black ink in the centre. I trimmed the panel down to the same size as my card base and adhered it straight down.

©Candles in the Garden. Neat and Tangled July 2016 Release.

I added a few sequins and some gold splatters to finish up. For my second card, I took the speech bubble die from Square Thoughts and die-cut it several times from a panel of white cardstock.

©Candles in the Garden. Neat and Tangled July 2016 Release.

I held on to all the centre pieces that get cut out with the die so that I could adhere them all back in place. First, I took an inky panel from my stash and adhered it down to a white card base, and then I foam mounted the die-cut panel in place.

©Candles in the Garden. Neat and Tangled July 2016 Release.

I also die-cut the fractal heart shape using the Heart of Gold die and adhered that to the front of the card. The sentiment comes from the matching Square Thoughts stamp set and was white heat embossed onto a strip of black cardstock before being foam mounted to the front.

©Candles in the Garden. Neat and Tangled July 2016 Release.

For my last card, I took the Geometric Blooms stencil, laid it onto a panel of white cardstock and swiped through some embossing paste. While the stencil was still in place, I also spritzed some Funky Fuschia Dylusions Ink spray.

©Candles in the Garden. Neat and Tangled July 2016 Release.

I removed the stencil and set the panel aside to dry while I worked on the focal element. I stamped the cat from Kitty's Favorite Things onto a piece of white cardstock and coloured him in with Copic markers.

©Candles in the Garden. Neat and Tangled July 2016 Release.

After my embossed panel had dried, I trimmed it down and foam mounted it to a card base. I die-cut the cat out using the matching die and also foam mounted it to the card front. I had added a little slit beneath his right paw so that I could tuck the sentiment banner underneath.

©Candles in the Garden. Neat and Tangled July 2016 Release.

The sentiment banner was die-cut using the die from Kitty's Favorite Things and a sentiment from Succulent Journaling Card was heat embossed in white. To finish, I added a few gold sequins.

Thanks for looking!

:-)
4

woodsy valentines with Elena

Hi there!

Elena here, with a few woodsy valentine's day cards.


As soon as I got my copy of Lumberjack Love in the mail, I knew I wanted to pair it with our Heart of Gold die. I just love that die! I die-cut the whole thing out of white card twice, and used copic markers to color the base layers, with all of its pieces. I love the richness you get from coloring the white paper, as opposed to just cutting the layer from a colored cardstock.

The little lumberjack and his deer were stamped, colored and die-cut and placed on either side. I rubbed some light blue ink around the edges of the layer they sit on, to make them pop and to bring out the red of the heart even more.


My second card features the lumberjack and his adorable wingman (ha!) I did some masking to stamp the trees in layers behind the lumberjack, but the bear was stamped and fussy cut to sit on top of the scene. That way, I get a lot of dimension in the scene, but the only bulk comes from the little bear.

I hope you like my cards today! Thanks for stopping by!

♥.

6

January Guest Designer: Dana Fleckenstein

Hi friends! Happy Friday! I'm excited to introduce our guest designer for January, Dana Fleckenstein of Pixels & Glue!  She is crazy talented and she is going to knock your socks off :)
________________________________________

Hello everyone, it's Dana here from pixelsandglue.com. I'm so happy to be guest designing for Neat & Tangled this month! For my first project, I used the fabulous Heart of Gold die to inspire your Valentine's crafts. 
I tend to keep my designs fairly simple and often use bold colors and texture to create interest and the Heart of Gold die fit that bill perfectly. To create this look, you start out with die-cutting two hearts, one from lavender and another from hot pink cardstock. Use a craft pick to pop out all the little triangles from the lavender heart, then add some dots of liquid glue  on the back of the die cut and layered it over the pink heart. Heat emboss a sentiment with Versamark Watermark ink and silver embossing powder on a strip of vellum cardstock and glue it on top of the hearts. While everything is set aside to dry, cut a strip of pattern paper (size: 5.5 x 3.5 inches) and adhere it to your card base. Attach the layered hearts to the card base off center and decorate it with rhinestones. 
My tip if you want to recreate this look: When you layer the die-cuts, only put a little glue in the center. This way you're able to curl the paper up on the edges and create more dimension without the need of foam dots. 

Thanks so much for joining me today!
Dana

7

From Me to You


I can't believe that 2015 is wrapping up!  Where has the year gone?  I'm back with a quick card trio that I'll use for Happy New Year cards:


During the holidays, we're all busy trying to get a ton of stuff done so why not make things a bit easier?  I'm a big fan of purchasing ready made bases.  This really does makes things quick for me.  For today's trio, I die cut the Heart of Gold with gold glitter cardstock.

heart of gold

I wanted to add a simple sentiment so I used the From Me To You from the Happy Holidays stamp set.

happy holidays

I love using the unexpected pop of green for the sentiment.  


Thanks so much for stoppin' by today...and happy Eve to New Years Eve!


24

Hello, Heart of Gold!

Hello friends!

Danielle here, I had shared this card over on the Butterfly Reflections blog earlier this week, but thought I'd post it here too incase you missed it! I am so excited to be guesting with them this month!  

For this card I used Heart of Gold stamp set, Heart of Gold die, and Everyday Labels. For the specific details head on over HERE!


Hope you're having a great week!
Danielle
8

Neat and Tangled 3rd Birthday Blog Hop Day 5!

Hi friends! 

It is the 5th and final day of our weeklong Birthday Blog Hop! We've been having so much fun! I am so glad you are enjoying all our guest, the giveaways, and fun!  If you missed the first day of our hop, head over HERE, day 2 is HERE,  day 3 is HERE,  and day 4 HERE.

Amy is kicking off today's festivities!
_ _ _ _ _ _ _ _ _ _ 

Hey, it's Amy T here with a couple cards using the NEW Heart of Gold stamps and coordinating Nice & Neat Die.  

First up is a super clean & crisp design.  The Heart of Gold has been stamped with Ranger Archival Black ink and then watercolored:


The label happened to match perfectly, the sentiment is from the Life is Beautiful set.

My second card makes my gold loving heart happy:


The NEW Heart of Gold Nice and Neat die is WONDERFUL...I ran it through fairly thick glitter cardstock so instead of running it through again, I left it so that the pieces were intact.  I managed to do some minimal folding so that in real life, there is tons of 'movement' in that piece!

_ _ _ _ _ _ _ _ _ _ 

Your next stop on the hop is Yoonsun Hur!

And today's full hop order:
Neat and Tangled Blog(you are here)

Thank you all SO MUCH for helping us celebrate Neat and Tangled's birthday!  Your excitement was  beyond my wildest dreams!  I hope you were inspired!

Have a great weekend!

Birthday Blog Hop giveaway winners will be announced tomorrow!

xo
Danielle
123

Neat and Tangled 3rd Birthday Blog Hop Day 1!


Hi friends!

This week is a VERY special week! It is our 3rd birthday!  It is so hard to believe that it has already been 3 years since we opened our doors, the time has flown by!

To celebrate we have a week long blog hop with some of our very best friends - I know you're going to have a blast!

We are having some BIG GIVEAWAYS

(1) $100 Gift Certificate to the Neat and Tangled shop chosen from commenters along hop
(2) $50 Gift Certificates to the Neat and Tangled shop chosen from commenters along hop
A surprise giveaway on our Instagram page
A surprise giveaway on our Facebook page

To enter to win be sure to leave comments all along the hop all week long!

In addition to all the fun of the hop, we are having a surprise release! We've got 2 new stamp sets, 2 new dies, and 7 new colors of Lucy's Shaker Mixes! All products are available NOW in the shop!
Happiest Birthday 4x6 Stamp Set
Heart of Gold 3x4 Stamp Set
Heart of Gold - Nice and Neat Die

Seeing Stars - Nice and Neat Dies
Lucy's Little Things: Champagne
Lucy's Little Things: Chocolate Truffle
Lucy's Little Things: Delphinium
Lucy's Little Things: Just Peachie
Lucy's Little Things: Lipstick
Lucy's Little Things: Pretty Pansy 
Lucy's Little Things: Rainforest

Gorgeous huh?!

Your next stop on the hop today is Lisa Spangler!  Don't forget to leave comments all along the way!

Thank you for celebrating with us!

If you get lost or want to start over here is today's full hop order:

See you tomorrow!

xo
Danielle


297
Back to Top