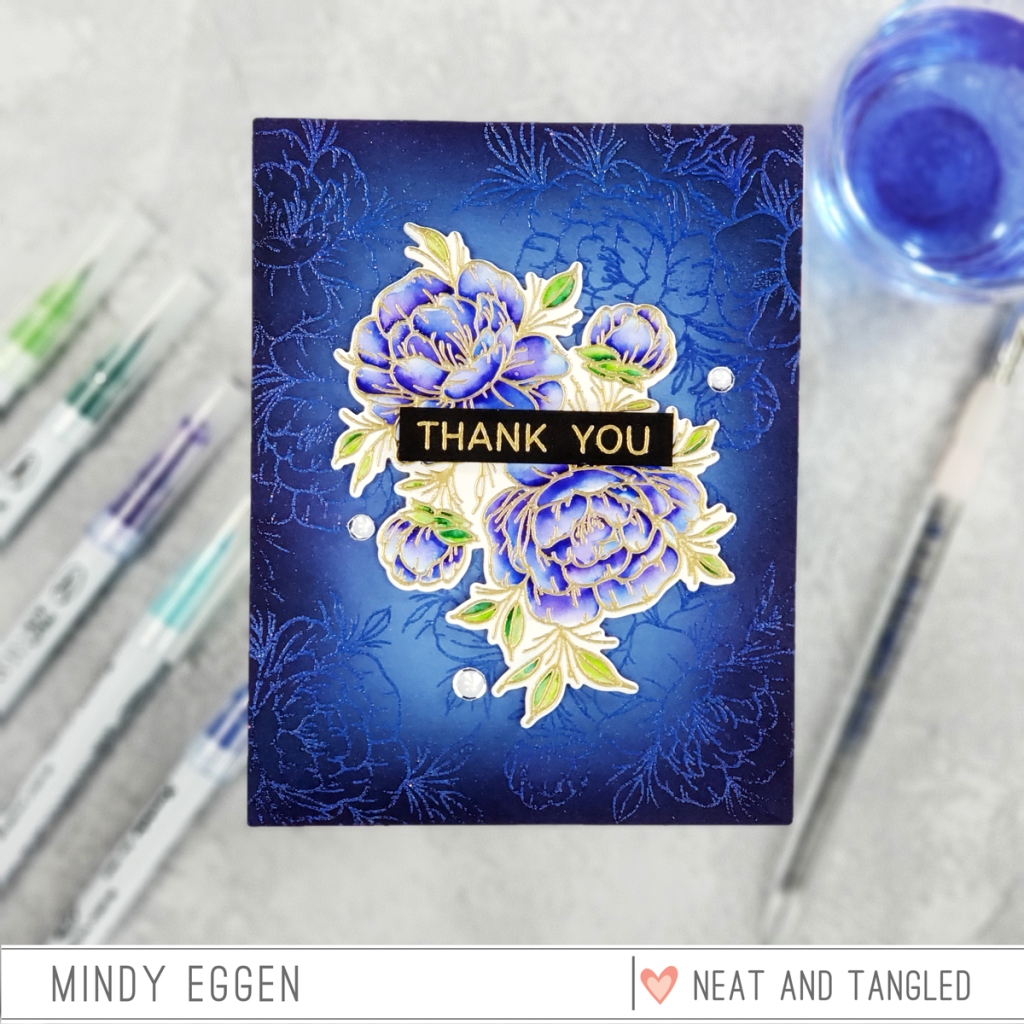
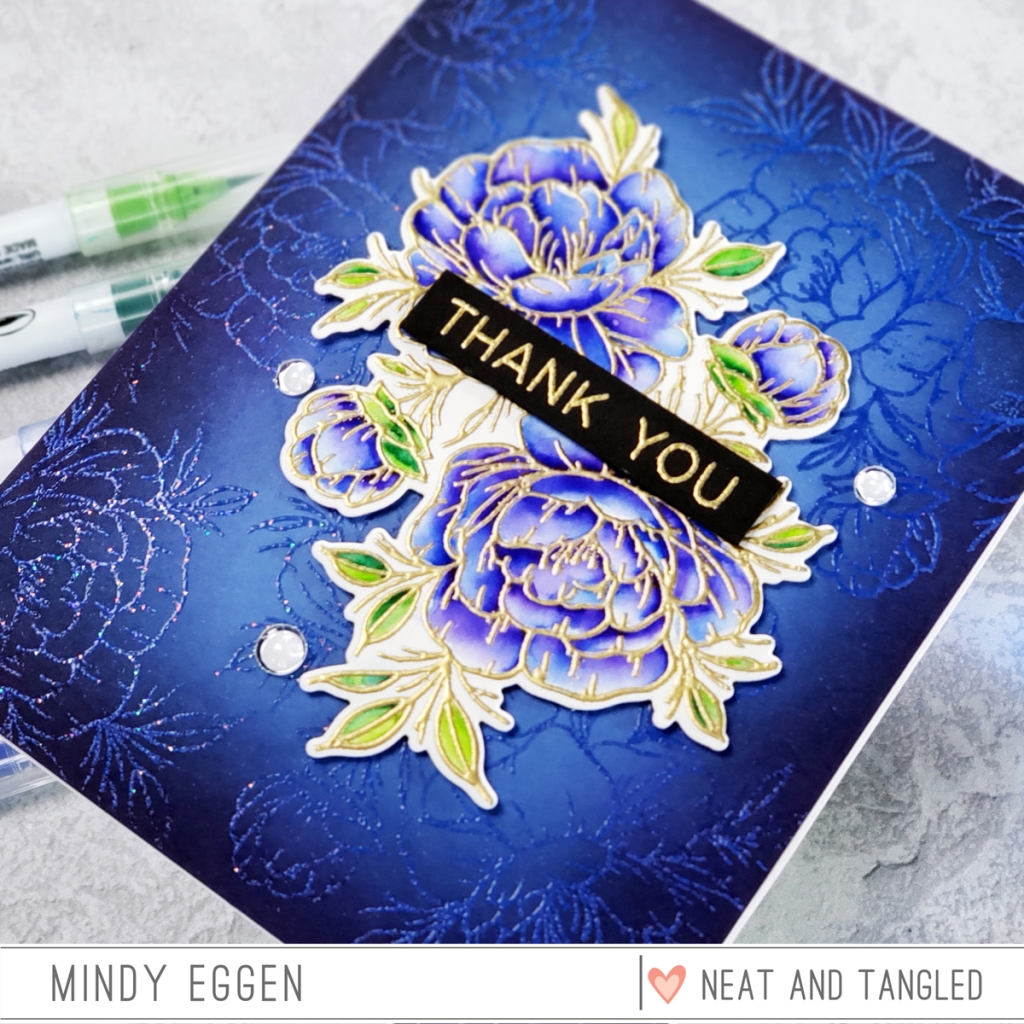
Welcome back everyone! Today I'm sharing inspiration using the Grateful Heart stamp set from Neat & Tangled. This is an absolutely beautiful image and is great to add color to using any coloring medium. Today I'll be using my Zig Clean Color Real Brush Markers to do a little watercoloring.
To start off, I'm going to stamp my image onto Bristol Smooth card stock with Clear Embossing Ink. Then I will sprinkle on Gilded Embossing Powder and heat set with my Wagner Heat Tool.
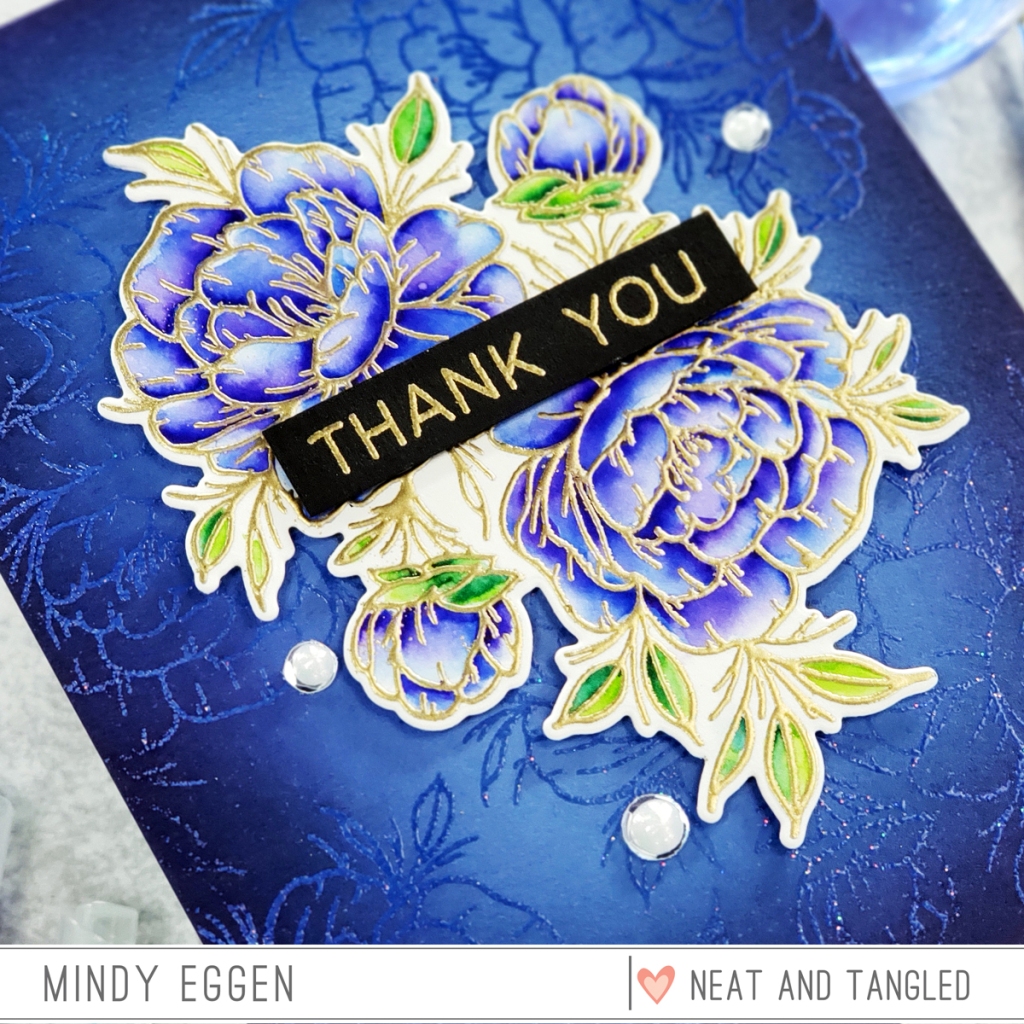
I start coloring my image by taking the No. 036 Light Blue Zig Marker and just adding some color down to the image. Then I will wet my paint brush and spread that around. This will apply a very soft blue to the image. I like to start with a super soft color as it just helps me visually. It may disappear as I work on the rest of my colors into the image and that's ok.
Next, I'm going to add No. 030 Blue to the flowers. I am just putting this where I would put shadows areas with my copic markers. This is really dark color so I don't need to add a lot. Then I'll wet my paint brush a tad and drag that color out. I usually go back and forth with my water and dabbing off on a towel so that I still have a light area to my petals.
Once that layer is dry, I'm going to bring in the No. 084 Deep Violet. This is super super dark so I don't need a lot. I'll just add little spots of it in and repeat the process of dragging it out. I call this my galaxy combination because as I mix the colors together it reminds me of a galaxy.
For the leaves, I will use No. 041 Light Green and No. 400 Marine Green. After the panel is good and dry, I will line up the coordinating die, hold in place with purple tape and run through my Spellbinders Platinum machine.
For my background, I used the same large image from the Grateful Heart set. With a comfort block, I will ink it up with embossing ink and stamp this image around my panel of Lapis card stock. Then I sprinkle on Sparkle Embossing Powder and heat set.
To draw the eye in towards where my focal point where be, I ink blend Navy Ink around the edges of the card stock with a Life Changing Blender Brush.
To finish up the card, I add foam tape to the back of my image and attach to the card front. The sentiment, also attached with foam tape, is heat embossed in Gilded Embossing Powder onto Pitch Black card stock and trimmed down to a thin strip. I used the Crystal Clear Sequins around my image, attaching with liquid glue and topping off with Cloud 9 Dream Drops.
I'm sure you've seen similar cards from me before but they are therapeutic to make and really grabs attention. Hope you enjoyed today's inspiration!
SUPPLIES
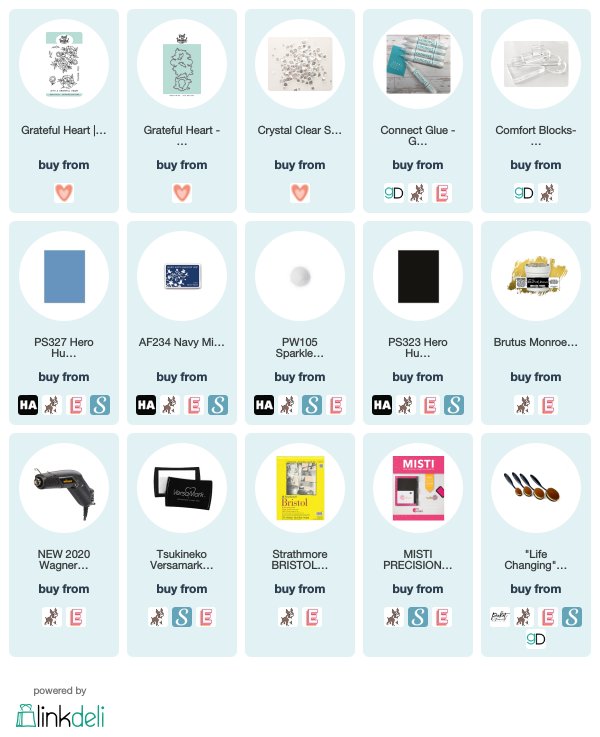
Below you will find links to the products used. Click the icon to start shopping. Compensated Affiliate links are used at no additional cost to you. Your support helps me to keep bringing you new projects and videos. Thank you!
Lately I've been all about pushing my self to do different things because sometimes I feel like I get a crafty rut. One of the things I think contributes to that is that I don't usually use different mediums.
With that said today there isn't a drop of copic ink to be found on my card.
And I still like it!
I haven't used my Zig Clean Color markers in probably like 6 months. In fact I had to search around my craft room because I couldn't remember exactly where I had left them. The big reason I don't typically use them is because I struggle with the shading. It's never dark enough for me. Then I said to myself, "Kelly, it's never gonna be if you don't practice."
So that's what I did :)
I used the zigs for all of the coloring including the background. Taking my time and being willing to add extra layers made a ton of difference for me. Also, it's all about the water. These things love water so I found if I used as little as possible I got much better results.
You can see all the painting and the rest of the card too in the video below.
Most of my struggles had to do with a lack of patience on my part. I need to work on accepting that each medium has something different to offer. I could never get those beautiful color blends with copic markers and I absolutely adore them. The way the water mixes the colors just isn't something you can recreate!
Thank you so much for dropping by!
Supplies:
Affiliate links are used
MERRY KISSES - NICE AND NEAT DIES
Shop at: SSS | NT
Mayuri here to share a card using a stencil, a die and a stamp set!
I began by creating a colourful background using the Cubic stencil and some ZIG Clean Color Real Brush Pens. I simple laid the stencil down onto a piece of white cardstock, coloured through the stencil and onto the card with the brush pens, and then liberally spritzed with water!
Too much water can result in a muddy mess, but not enough water means the colours don't blend - either way, add the amount of water you feel most comfortable with! I removed the stencil and the heat set the panel quickly before trimming it down to the size of my card base.
I adhered the panel straight down to my card based and moved onto the sentiment. I die-cut the diamond shape using the diamond shaped die from Gift Card Box Die Additions and then stamped a sentiment from the Thanks So Much set. I brushed some gold ink all the way around the edges of the die-cut piece before foam mounting to the card front.
To finish, I embellished with a mixture of sequins.