Showing posts with label Nuvo. Show all posts

Nuvo Dream Drops & Stencils


Welcome everyone! It's Mindy and today I'm sharing something a little new to me and that is using Nuvo Dream Drops with Stencils.

Now this technique was actually something a fellow design team member, Carly, had done and I just had to give it a try.


I started by spraying the back of my Geometric Circles Stencil from Neat & Tangled with Pixie Spray. This is a temporary adhesive that you can put on your stencil and provides a light tack to hold the stencil in place on your card stock. In comes in super handy for intricate stencils like this one.


I attached the stencil in place on black card stock and then started adding on some Nuvo Dream Drops in Love Potion. Taking a Tonic Spatula, I started spreading it across my stencil, just like I would glimmer paste.


It's amazing what this product looks like on black card stock! I have the bottle in my picture and you can see it's a light pink but once it's on black card stock, it turns like an iridescent purple. It's stunning in person!

Once I spread it out evenly, I remove the stencil and allow some time dry. After it was dry, which I may have helped along with my heat tool, I trimmed down to 3 3/4" x 5" and added to a white notecard with foam tape.


I die cut the Awesome word die once from Pixie Dust card stock and twice from white card stock. Then layered together with liquid glue. I added to the bottom half of my card with liquid glue as well.

The small sentiment that I heat embossed in white onto black card stock comes from the stamp set Mommy, Daddy and Me. I trimmed down to a thin strip and added to my card front with a tape runner.

Seriously, how stunning is this?! I'm blown away by the results ! I hope you'll give this a try.

Affiliate links are used at no additional cost to you.


3

Video Tutorial - Coloring Hair using Copic Markers with Mindy Baxter


Hi there everyone! It's Mindy from My Creative Scoop, and I have another Copic Marker Tutorial to share with you all!  I am using the stamp set Mermazing and also it's coordinating Mermazing Nice and Neat Dies. I just had to pair this mermaid up with the new Hello Summer Stamp Set and Hello Summer Die Set. I seriously cannot get enough of these layering script dies. I LOVE them! 

One of the most popular questions I get asked when coloring with Copic is coloring hair. So many people struggle coloring hair and I think it's one of the funnest parts to color. The trick to coloring hair is, to leave white in between the the strands so you can have natural looking highlights. 


In the video I'm showing you the simplest way to color blonde hair and still getting so much texture -- and it literally takes me just a few minutes. Of course you can spend a little longer on your hair and get a 'neater' look if that's the look you're going for -- but quick and easy is always great, too. Plus, it's way less intimidating! 

I'm coloring using E40, E41, E42 E43 and E44. You can do this exactly the way I'm coloring using ANY coordinating color combo. I also have tons of Hair Tutorials over on My Creative Scoop, that you can check out!


The background was super fun to make, I'm using my Neat and Tangled Hexastar Stencil and Nuvo Plum Glitter Paste!

I hope you enjoyed this months video. Have a great day!

Mindy

2

His & Her Holiday Cards with Nina-Marie


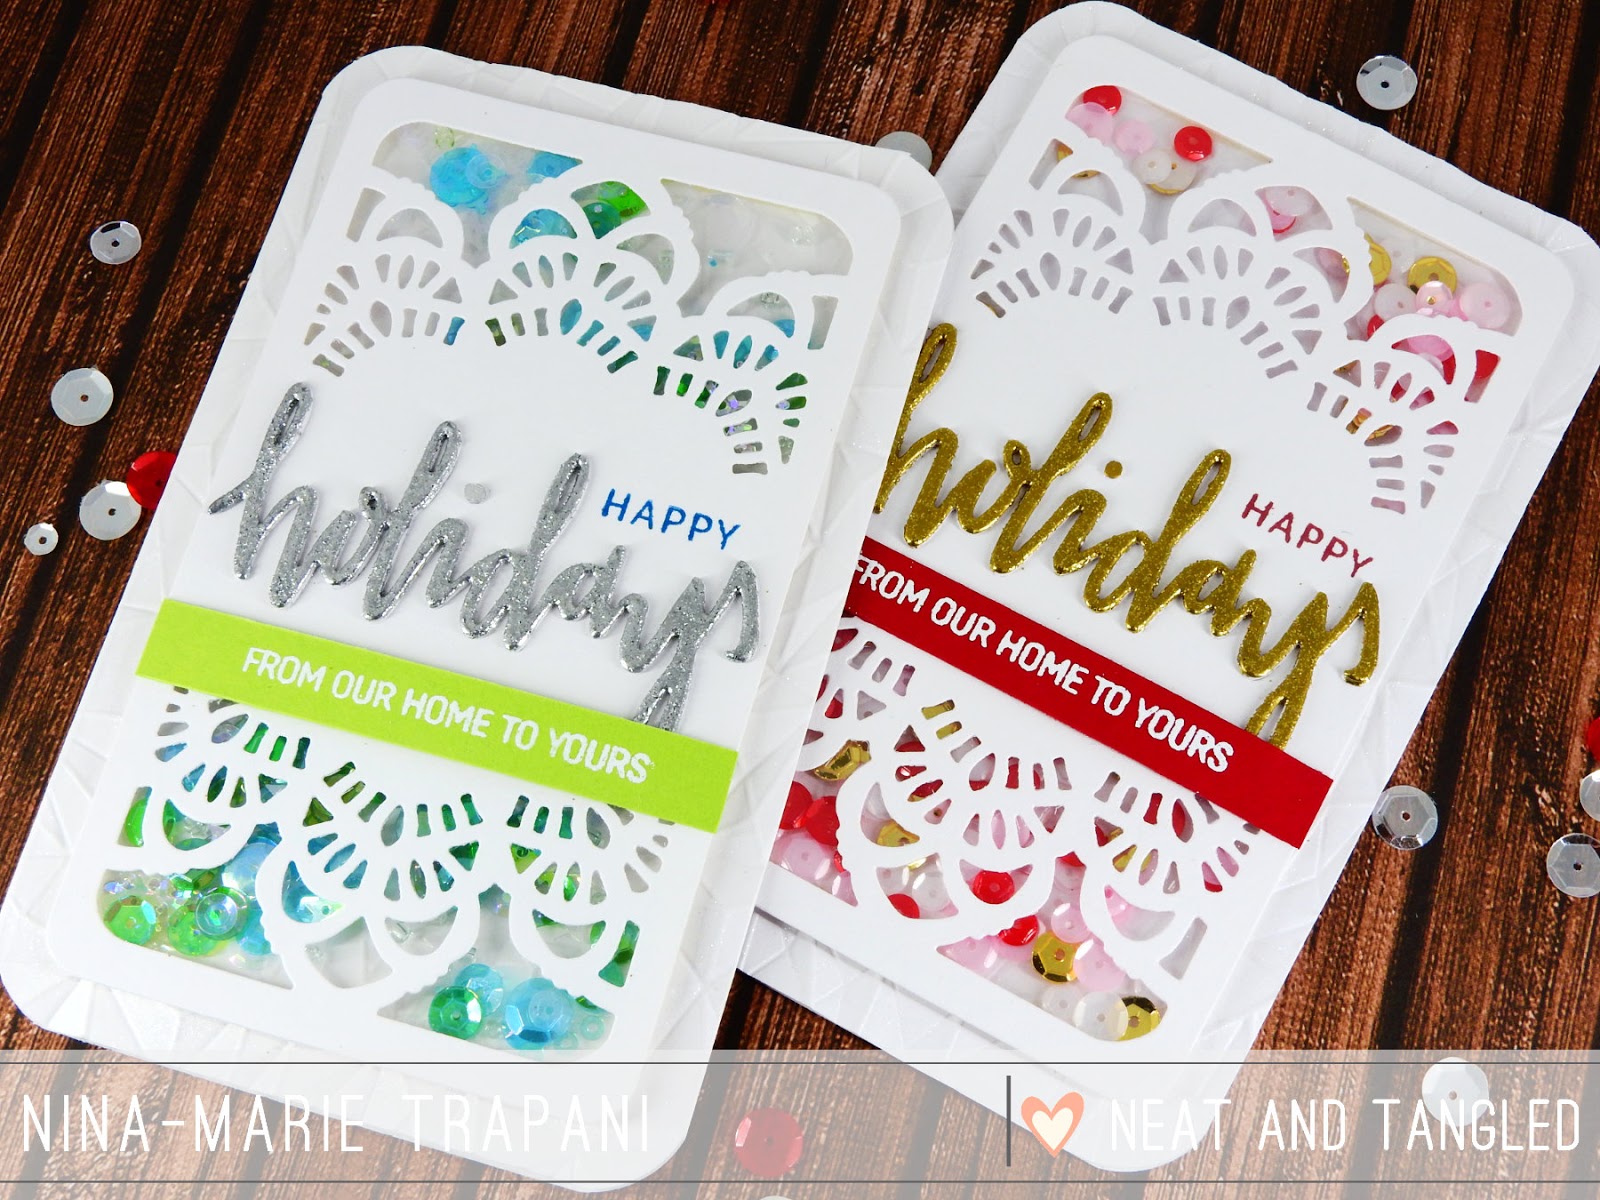
Hello crafty friends, it is Nina-Marie here with you today, sharing a set of cards that are perfect for that special him or her on your Christmas list this year!

Most card designs can be adapted to fit either a feminine or masculine feel, and this set is a great example of how simple that can be.

I love making shaker cards, and our Doily Tag die is a perfect window to put in front of an assortment of pretty sequins, don't you think? I started off by die cutting the tag from white cardstock and applied a piece of acetate behind it to be my window. I then cut small strips of foam tape to place around the outside edges of the doily tag die; this creates the shaker well for all the sequins I place inside.

The sequins I used for the shaker are from the Phosphorescence and Caribbean Dream mixes from Lucy's Cards, and also the Full of Love mix and Gold sequins from Neat & Tangled.

I popped the shaker up off of a white card base that I embossed with a faceted We R Memory Keepers
embossing folder; the texture on the white card adds the right amount of detail without being distracting.


On both cards I die cut the word "holidays" from white cardstock four times and adhered them together to be more dimensional. For some color and sparkle, I heat embossed them with silver and gold embossing powders from Tonic Studio's Nuvo product line. The holidays die cut and the coordinating sentiments are from Neat & Tangled's Happy Holidays stamp and die set.

To fit the two different genders, I used a red and pink color scheme for the feminine card and green and blue for the masculine version.


Finally, I used some Wink of Stella clear glitter and added it over top of the white card base... the extra shimmer is an optional detail but I think it really adds that perfect finish to the card.


I hope this has inspired you to see how easy it is to switch colors around on a card to make it fit for either a guy or a girl! Thanks so much for spending some time with me today and I will see you again very soon!

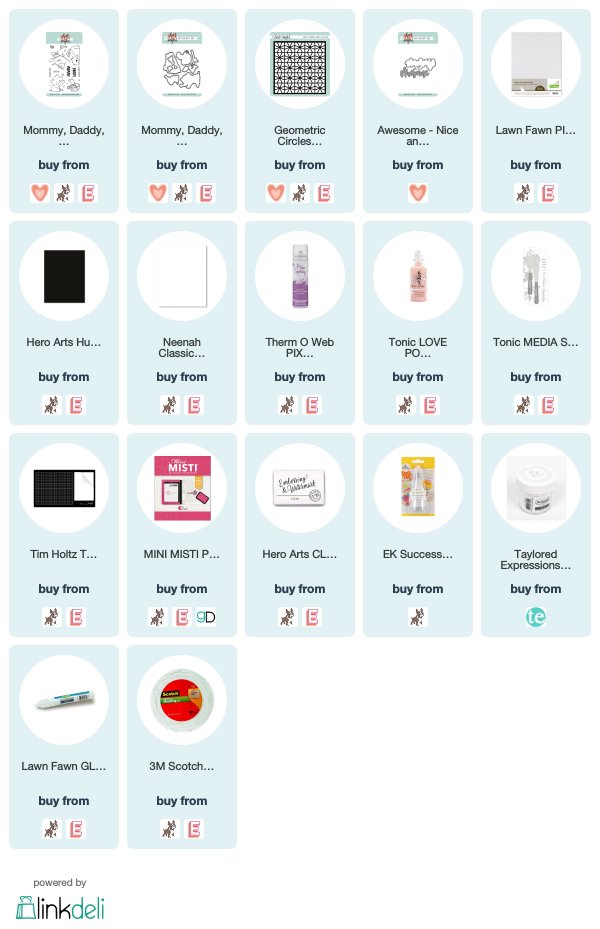
SUPPLIES


10
Back to Top