Showing posts with label Cheiron Brandon. Show all posts

Neon Mail Background with Cheiron

Hi there crafty friends. It's Cheiron here with another monthly post. This month I am using the Mail Background stamp, which just came back into stock in the Neat and Tangled shop, so grab yours while you can! 

I don't know if you are a fan of neon, but I love it so much! I am glad to see some neon pieces trending for fall in some of my favorite shops and was inspired to pull out some neon supplies from my stash to make this quick and easy card. 

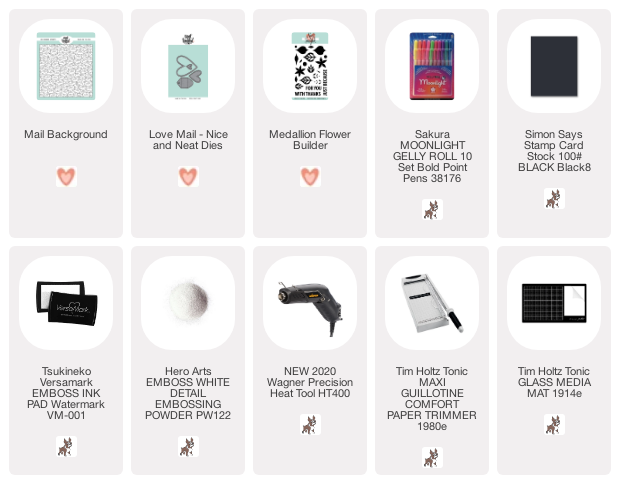
First, I stamped and embossed the Mail Background in white on a black piece of cardstock. Then I used my Gelly Roll Moonlight pens in all my favorite colors to color in the hearts. Once the hearts were dry, I stamped the Just Because sentiment from the Medallion Flower Builder Set onto a strip of white cardstock. I added a few neon envies cut from the Love Mail dies to complete the card. That's it! Super easy and super colorful and ready to send to brighten someone's day! 


SUPPLIES: 

2

Grateful Heart Thank You with Cheiron


Hi there crafty friends, it's Cheiron here and today I have a card for you using the Grateful Heart stamps and dies. It's a quick and easy card, with some quick Copic coloring on the flowers and a Distress Ink panel as the background.


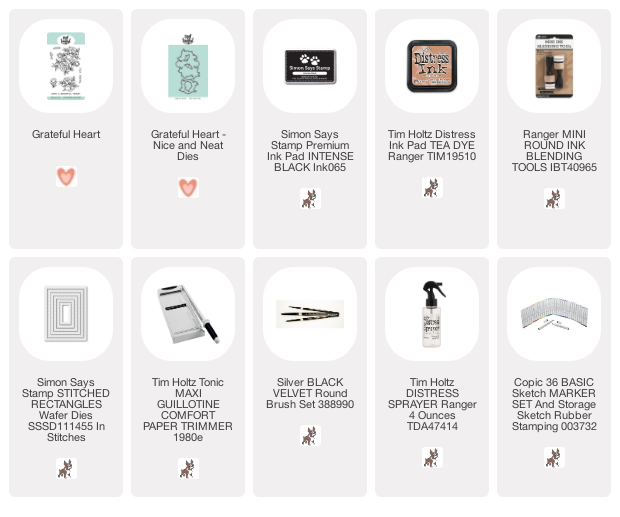
I blended Tea Dye Distress Ink onto a panel of Distress Watercolor cardstock, and also splattered some Tea Dye Ink mixed with water onto the panel. Once it was dry, I stamped the sentiment.

I stamped the flowers onto a piece of Neenah cardstock and colored them in with Copic markers, then adhered them to the panel with foam tape. Super quick and easy and reminded myself that coloring and cutting a ton of these flowers would be great to have on hand for future cards!


SUPPLIES:
1

Rainbow Medallion Flower Builder with Cheiron Brandon


Hi there crafty friends! It's Cheiron here and today I have a card for you using one of my favorite sets, the Flower Medallion Builder (that is on sale!! right now) and my favorite rainbow colors of Distress Inks.

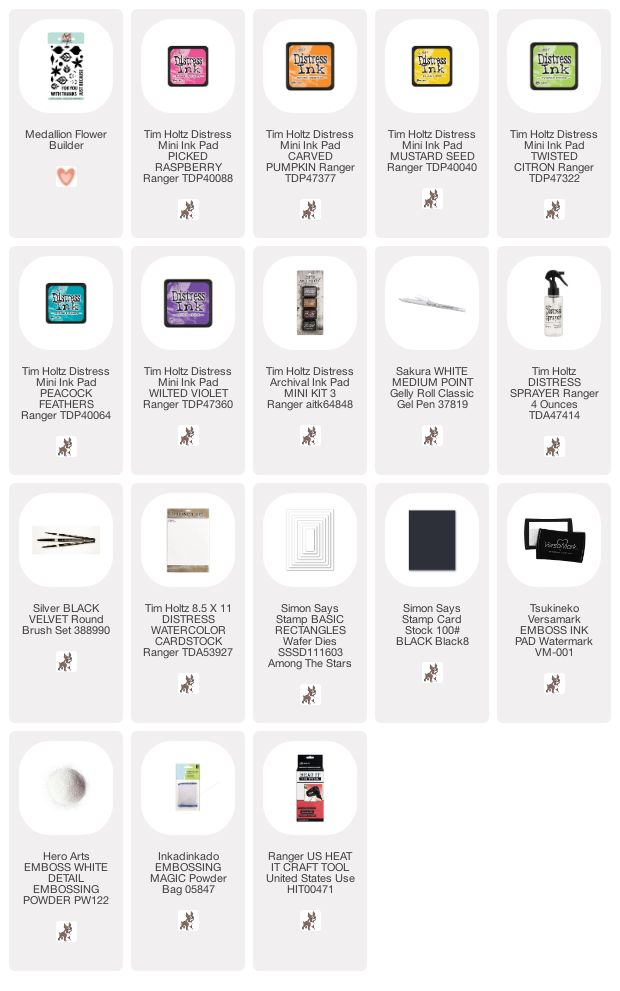
I love making repeat patterns with with stamps, I find it super meditative and I hope you will try it out and see for yourself :) To make this card, stamp your center and small points in Distress Archival Ink onto Distress Watercolor cardstock. I am using Archival Inks for this part because the ink is waterproof and you don't want these center points to react with the water when you spray the colored petals. Stamp the petals around the center points in rainbow order, cleaning your stamp between each color, and go around until you have completed the rainbow twice.


Once you have completed stamping the rainbow of petals, lightly spray around the stamped petals with a Distress Sprayer filled with water and the ink will begin to react with water. Go slow at first, and add more water as needed. I used a Ranger Heat It tool to speed up the drying time. 


Once the petals have reacted to your liking, add some splatter around each petal. I did this by pressing the inks onto my glass mat and picking them up with a paint brush. I splattered each color next to the same color petals. I dried the splatter with the heat tool as well.


To complete this card, I added foam tape to the back of the watercolor panel and mounted it onto a white card base. I stamped the 'just because' sentiment from the set onto a black strip of cardstock and heat embossed it in white. As a last step, I added some dots with a white gel pen to the the dots in the center.


Hope you enjoyed this card and the fun, watery splatter look!!

SUPPLIES:

2

Hello You with Hearts with Cheiron Brandon

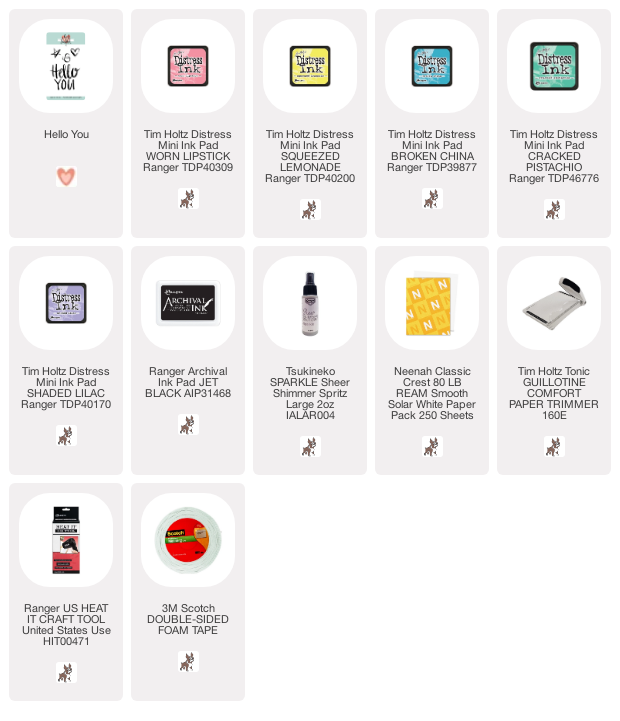
Hi there crafty friends, it's Cheiron here with a fun little Hello You card filled with love! Today, I revisited a classic Neat and Tangled set, Hello You (which is now on sale with a bunch of other amazing stamps while they last).  I took the heart from the set and stamped in over and over in different colors of Distress Ink to make a background panel. I don't know about you, but this kind of stamping is so relaxing for me.


I worked my way from the left to the right side of the panel in rainbow order (of course) and then spritzed the entire panel with some Tsukineko Shimmer Spray in Sparkle and dried the panel with a Ranger heat tool.


Once the panel was dry, I put it in a stamp positioner and stamped the Hello You greeting in Jet Black Archival Ink. A fun a simple card and an easy way to send a hello card with a lot of heart. There are some other shapes in this set too (stars, bubbles) so you could mix it up and have different color combos for anyone on your list :)


SUPPLIES: 
11

Floral Frame Opaque Watercoloring with Cheiron


Hi there crafty friends! It's Cheiron here and I wanted to share this fun Floral Frame Birthday card with you. I have had some colored watercolor paper in my stash for a while now and never opened it. For today's card, I used a piece of grey watercolor paper and opaque watercolor paints.


I cut the watercolor panel to 4 x 5 1/4 and stamped and embossed the Floral Frame with Gold Embossing powder.  Then I stamped the sentiment and heat embossed it in White Embossing powder.  I colored in the leaves and flowers with opaque Zig Kuretake watercolors. I also decided to color the inside parts of the geometric shape in an apricot color to give it a real springlike feel.


Once the image was dry, I cut a mask of the stamped image and placed it over the top and added splatter in white, gold, pink and purple (to match the flowers) leaving the inside of the image clean.
To finish my card, I cut an A2 card base from Neenah solar white. I also cut an Apricot cardstock panel to 4 1/8 x 5 3/8 and adhered it to the card base. Once that was done, I adhered the watercolored panel to the card.


SUPPLIES: 
0

Heat Embossed Calathea Print Card with Cheiron


Hi there crafty friends, it's Cheiron here and today I have a fun Calathea patterned card for you featuring multiple colors (and some multiple layers) of heat embossing. I have not used my Calathea set in a long time, and I thought it would be fun to use it to make a pattern in non traditional colors.
For this card, I used a panel of the light pink card stock from the Over the Rainbow Cardstock pack.
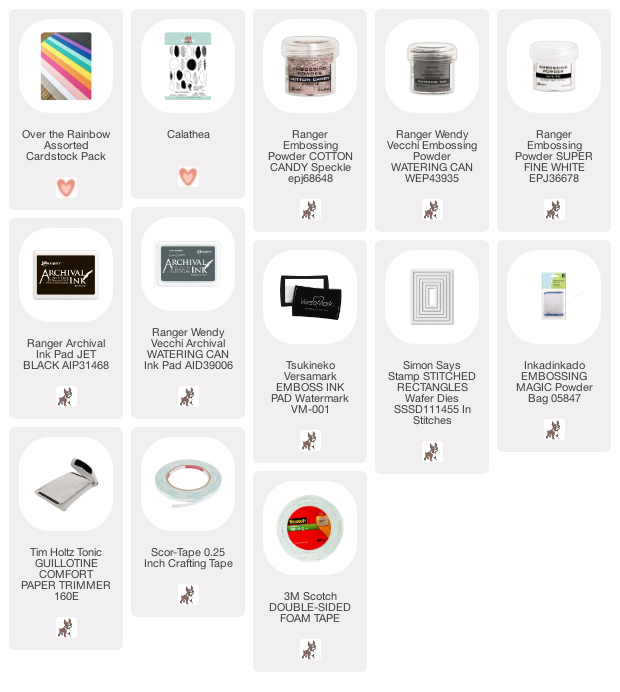
I stamped the leaves in black and grey ink and embossed some of them in white to create the first layer of my pattern.


Once I filled the panel with the a pattern of the big leaves, I added layers of embossing powder in Watering Can, White and Cotton Candy Speckle on top of the solid leaves. To do the embossing, I went over the entire panel with an Embossing magic pouch and embossed each color separately. So I embossed all the leaves I wanted white, then heat set them. Then I did the same thing for the grey and heat set them, then embossed the pink. It does take a bit of time to do each layer, but I think the end result is work the effort, and gives it a totally different look than the green leaves we normally see.


I definitely dove into my stash for this one, and used some of those fun colored embossing powders that I forgot about! I hope you will take some of your favorite layering stamps and try this out for yourself using your favorite colors.

SUPPLIES:

1

Good Vibes Only with Cheiron


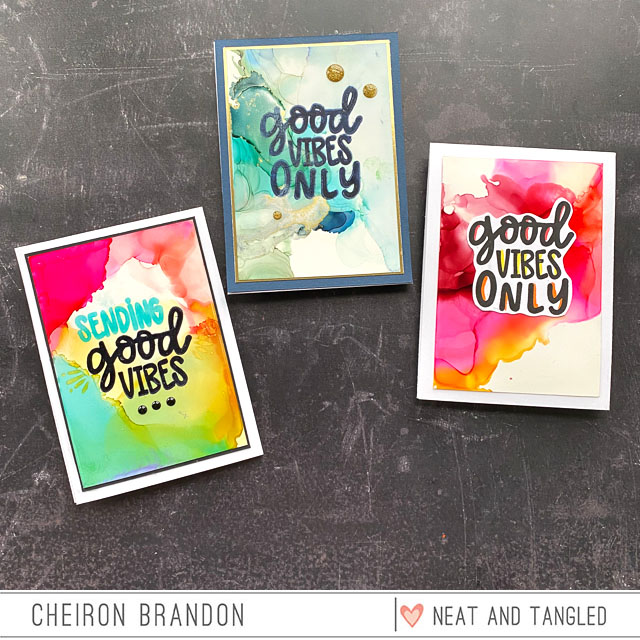
Hi crafty friends! It's Cheiron here, hope you are all keeping healthy and safe. I have been working from home the past two weeks and cooking A LOT 😉I've also been cleaning and organizing in my studio a bit each day, and while I've been going through my stamps, I've pulled out a few sets I have not used in a while, so I can show them some love. Today I have a trio of cards that I made using Alcohol Ink backgrounds. I've been experimenting with them a ton this week, and love trying out different color combos. I've combined these backgrounds with one of my favorite Neat and Tangled sets of all time, Good Vibes. For me, this sentiment says it all - it can be for an occasion (thinking of you, under the weather) or no occasion at all. All I know is we could all probably use some good vibes right about now!


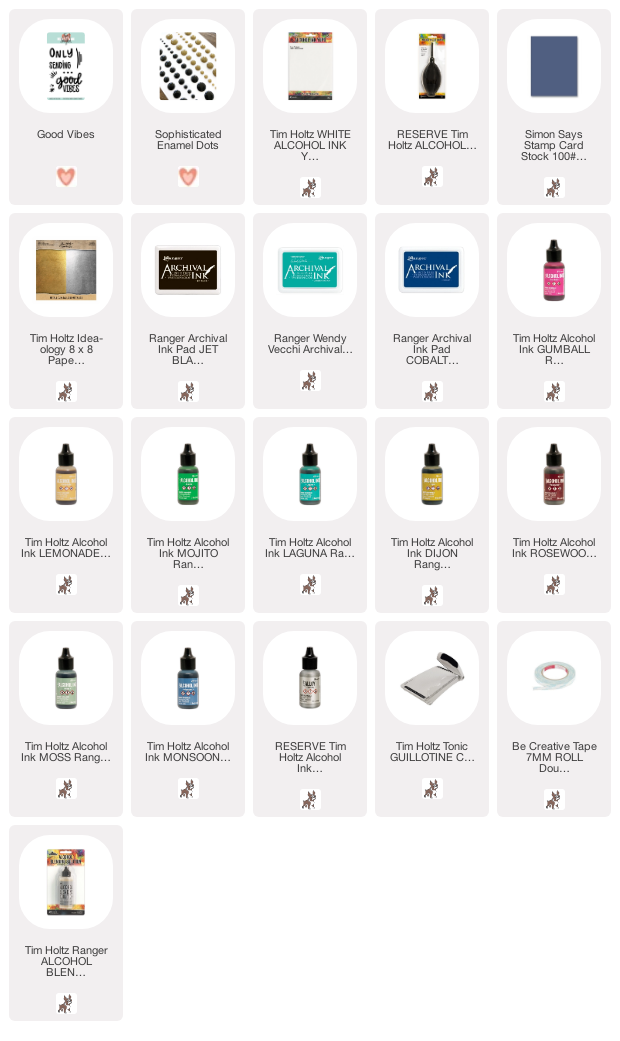
To make these cards, I cut sheets of 5 x7 Ranger Yupo paper in half (3 1/2 x 5) and created a bunch of backgrounds. The finished size of these cards is 4 x 5 1/2. For the first card, I created a very light Alcohol Ink Background that covered the entire panel using Gumball, Lemonade, Mojito and Laguna Alcohol Inks. I put the inks on my glass mat, added some Alcohol Ink Blending Solution and swiped the panel through. Once the panel was dry, I stamped the 'sending' in Garden Patina Archival Ink and the 'good vibes' with Jet Black Archival Ink. I mounted the panel onto a black mat, then onto a white card then added 3 Sophisticated Enamel Dots to the bottom of the card.

For my second card, I wanted to leave some white space. I started by putting some blending solution directly on my Yupo paper then added Alcohol Inks one at a time and using an Alcohol Ink Air Blower before adding the next color. I used Dijon, Gumball and Rosewood for this one. I stamped and fussy cut the sentiment and added some coordinating colors to the letters with a waterbrush.

This last one is probably my favorite of the set. I used the same technique as the second card, using Moss, Monsoon, and Laguna Alcohol Inks, using the Air Blower in between each color add and the Foundry Alloy which I feel is a wonderful mix of silver and gold. I stamped the sentiment in Cobalt Archival Ink, mounted it onto some gold cardstock, then onto Soft Navy cardstock and added a few Sophisticated Enamel Dots.

These types of cards would be easy to replicate with any colorful backgrounds- Distress Ink, watercoloring, pattern stamping...I hope you give it a try and get some Good Vibes of your own in the mail!

SUPPLIES: 
3

Lucky to Know You with Cheiron Brandon


Happy St. Patty's Day crafty friends! Its Cheiron here today with a super quick and easy way to create a big batch of colorful St. Patty's Day cards. You could also simply switch up the background colors (and leave out the shamrock) for an all occasion card as well. To create my card today, I used the So Lucky stamp set. I stamped and embossed the sentiment onto a watercolor panel using Black Versafine Ink and Clear Fine Detail Embossing Powder.


I painted over the sentiment with a watery wash of Daniel Smith watercolors in Green Gold, Green Apatite Genuine, and Olive Green. When it was dry, I splattered the panel with a watery wash of Interference Gold. Once the panel was completely dry, I stamped the shamrock using Mowed Lawn Distress Oxide.


This is a super easy card to recreate and make multiples of, especially if you stamp and emboss all of the panels in advance. You could even make a bunch and let your kiddos paint watercolor on them! Hope you enjoyed this quick and easy card, wishing you all a bit of luck today : )

SUPPLIES: 
1

This is Just a Phase with Cheiron

Hi there crafty friends! It's Cheiron here with a quick and easy card using the Moon Magic stampset. I love the moon phases in this set and thought it would be fun to create a background with them. To create this card I prepped a panel of Dark Navy card stock with an embossing magic pouch. Then I stamped the moon image repeatedly on the panel and embossed it with Gold embossing powder. I made sure to vary the placement of the full moon as I stamped the image.

Once the background was completed, I stamped the sentiment onto a small strip of card stock and embossed it. I also wanted to have a "moon" shape on my card, so I cut one of the circles from the Circular dies, pressed it into embossing ink and embossed it in gold and added both the moon and the strip on top of it with foam tape. 

This is such a fun and easy card to make and a great way to stretch stamps you already have in your collection.  I hope to make a few more of these (maybe in different colors) using the rest of the phrases in the set. I hope this inspires you to make some Moon Magic of your own!


SUPPLIES:
2

Hello Beautiful Galaxy Sky with Cheiron


Hi there crafty friends! Today I have a sweet and easy card for you featuring the Dream Big stamps and dies. Adding this set to a galaxy background makes it so easy to create a scene with this adorable girl on her magical swan and a few puffy clouds. I wanted to give her a magical night time sky, so I created a fun galaxy background for her.


To create this background, I used my favorite Daniel Smith watercolors. I put down a watercolor wash of Opera Pink, Rose of Ultramarine and Imperial Purple onto wet paper and let it dry. I find to create these backgrounds its best to work in layers. Once it was dry, I added in my blues using Phthalo Green (Blue Shade) and Indigo and let it dry again. I went back and slowly added in more layers, making the outer edges darker each time.


To create the stars, I splattered over the piece with a combination of Hero Arts Liquid Watercolor in White and Glimmer Metallic Ink and Rose Gold. Once it was dry, I added my stamped and die cut pieces. I stamped the sentiment onto a strip of Azalea cardstock and embossed it in white. If you have been wanting to make some galaxy backgrounds a try, I hope you will try out this color combo for yourself! It's one of my favorites so far and the perfect backdrop for so many scenes :) 


SUPPLIES: 
4

Fall Floral Frame with Cheiron


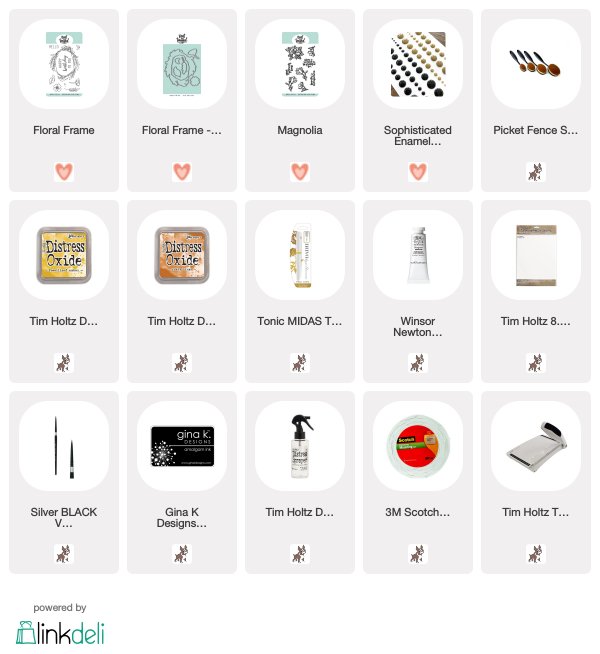
Hi there crafty friends! It's Cheiron here and today I have a simple card for you using the Floral Frame stamps and dies in a palette perfect for fall. To create my card today, I did some ink blending on the background using a Blender Brush and Fossilized Amber and Rusty Hinge Distress Oxides. Then I added some splatter in the same colors, plus white gouache and gold (from my Tonic Midas Touch pen).


Once my background panel was dry, I stamped the sentiment from the Magnolia stamp set, which I think is just perfect to go with the fall theme. I colored the Floral Frame stamps in with some fall colors of Copics and added some gold Sophisticated Enamel Dots to give the card a finished look. I love how easy it is to change the entire look of this stamp by simply choosing a different color palette!


SUPPLIES:

2

Galaxy Background Cards with Cheiron

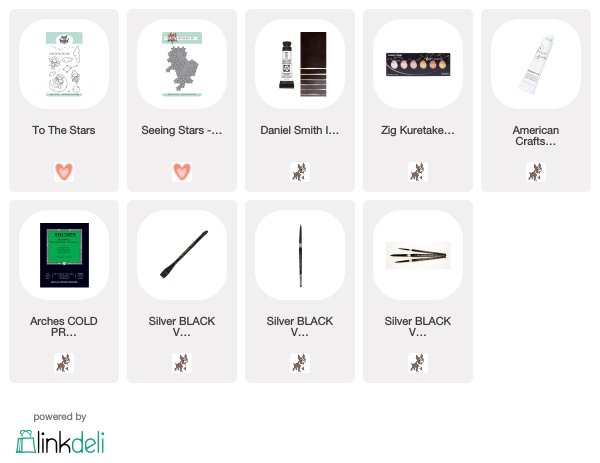
Hi there crafty friends, it's Cheiron here with a fun watercolor post for you. A few weekends ago I took a fun class to learn how to paint Galaxy Backgrounds. I wasn't too happy with my first try, but used it as a learning experience to make a few more by practicing my painting skills and getting a bit better each time. Today I have a simple card for you featuring a piece of the first Galaxy Background I created. I painted it large on a 9 x12 piece of watercolor paper, then cut it up so I could make a few cards from it. 


To complete the card was really simple. I added some stars cut with the Seeing Stars die that were cut from Gold Foil Cardstock and a simple sentiment from the To The Stars stamp set. These backgrounds would be great with the clouds, the constellation or any of the other adorable critters in this set.


I saved the other panels and will turn them into cards too. This type of simple card is great when you really want the technique to stand out. It's the perfect way to send a piece of your "art" to a friend.


SUPPLIES:

2
Back to Top