Stretch Your Stamps With Carly Tee

I love finding ways to stretch my stamps to get more from my cardmaking supplies! And I find a good way to get more from a stamp is to actually use less of it, LOL!

Here's what I mean...Slow And Steady is a great stamp for a belated birthday card but it also makes a lovey card by stamping off the edge so just Mr. Sloth is on the card (sorry Mr. Turtle).
I also did some masking to omit the flag he's holding. I call it "lazy girl masking"...I just place some low-tack tape on the actual stamp, covering what I don't want before inking. Then I ink it up, remove the tape and stamp.

To complete my card, I added some glittered hearts made from cardstock inked pink with glimmer paste on top. And a layered die cut sentiment with 3 die cuts adhered together & Glossy Accents on top.

Thanks so much for stopping by!
Carly

Supplies:
Slow And Steady stamps
Love You dies
Purple Tape
Heart dies
Solar White cardstock
Party Dress ink
New Moon ink
Copic Markers RV10, RV21, BG10, BG11, BG32 and BG13
3

JUNE 2019 GUEST DESIGNER | KARIN Ã…KESDOTTER

Hi Everyone!

Karin from PeppermintPatty’s Papercraft here. Today I'm back with my last post as guest designer for Neat and Tangled. I have had so much fun playing with Danielle's wonderful goodies. Thank you sooo much for having me!  These cards are  made with my top favorite N&T stamp sets ever - the My Favorite Nut set - Just so super adorable and perfect for so many different occasions (on my desk is actually a half ready Christmas Card made with this set !!!!)


For my first card I started by creating a sunray bg by using post-it notes and distress ink. The clouds are from the To The Stars set. I then simply cut a window through my panel and added some colored and die cut images. 
Last but not least I'm sharing a fast CAS design! I stamped and colored the large image from My Favorite Nut, and added it to a window panel to complete the card!
Have a great day! Hugs, 
Karin

4

Little Texture Play with Daria

Hello-hello Dear Friends,

Daria here.  I am so happy to have time to play with the products that I love. Initially, I wanted to make something with Llama Stitching Dies and felt.... But, something went completely different, lol.


While all my felt was on the table, I've decided to unite different textures of felt, paper, and gold glitter paper on one card. For the background, I again used Modern Graphics paper pack from Julie Ebersole. I took Triangle Pattern Builder die set and die cut triangles from coloured cardstock, coral felt and a glitter paper. To make open glitter triangle, I placed triangle dies one inside the other and die cut together with one run. Sentiment is from Just Because stamp set. All the triangles are foam mounted. Here is what I ended up with.


I also think these triangles will look super cool with just different colours of felt.


I am a lover of very clean and minimalist cards. That is my try on it. Pattern paper, coloured cardstock and a tiny stripe of coral felt. Sentiment is from Celebrate stamp set. I finish it up with a glitter heart made with a die from Love You dies set.


I like this color combo so much, that I plan to play with it more...

Thanks so much for stopping by, hope you've liked those ideas and will give them a try.
Have a wonderful day,
D.
3

Rainbow Mail Background with Cheiron

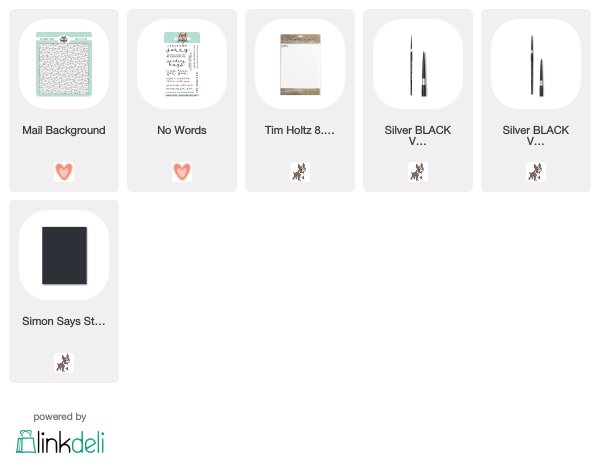
Hello there crafty friends! I hope you are enjoying great weather like I am this week. Today, I have a fun card idea featuring the Mail Background stamp. If you know me, you know I will take the opportunity to add a rainbow to just about anything. For today's card, I used the Mail Background cling stamp colored in a bright rainbow to send some happy mail.


I stamped the Mail Background with Black Versafine ink and then embossed it using clear embossing powder. For me, this makes the watercoloring process super easy and I don't have to worry so much about painting outside of the lines. When the envelopes were dry, I went back in and painted all the tiny hearts in red.


For me, this background speaks for itself. I added the Sending Hugs sentiment from the No Words set that I stamped onto black cardstock and embossed in white.


This would be a great easy card to work on in the summer, especially if you have kiddos at home that love to color too. Just stamp a few panels (and sentiments) for them and let them send out their own happy mail.

SUPPLIES:

3

Watercoloring a World of Heart


Hello everyone. Koren here again with another super simple card project. Today I am playing with the Neat & Tangled Origami Map stamp set. I have always loved prints of world maps, they have  an amazing effect on me. I will stop and stare at a map and think about all of the places that I have been, or want to visit some day, and how these places were discovered. I also like to see where my friends live that are so far away, the maps somehow make them feel closer. One way to share love with those people is to send them a handmade card to let them know that you are thinking of them, no matter how far the distance between you. 

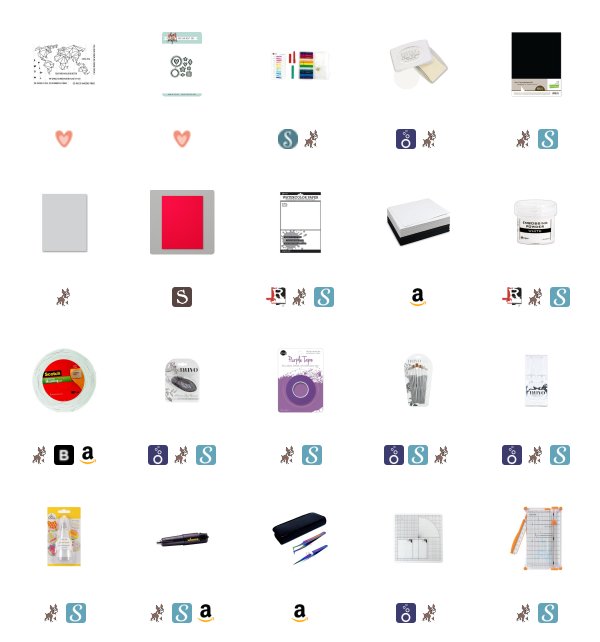
I started with a piece of Ranger watercolor paper cut to 3 1/2 by 4 3/4. I loaded it into my stamp positioner along with the map image from the Origami Map stamp set.  I stamped it onto the panel, trying to align the map as best I could in the center of the panel. I inked it up with Nuvo Clear Mark embossing ink and heat embossed it with Ranger White embossing powder.  


To add the color I used Jane Davenport’s Colorsticks by Spellbinders. These watercolors come in a container much like a lipstick. I simply added a bit of color to my glass mat and sprayed it with water. I used my Nuvo paint brush in size 9 to mix the color on my mat and bring it to my paper. I used a rainbow of color. If you search watercolor map on google. you will be sure to find some amazing inspiration for this look. I took some inspiration from a photo that I saw and tried to replicate similar areas of color. This doesn’t really matter because these watercolors blend nicely together, no matter where you put them. I just wanted to make sure that I used them all while still keeping the individual continents generally represented on the map.  I think it turned out great. 

I added some white craft foam to the back of this panel using Nuvo Maxi Tape Runner adhesive. Then I affixed it to a Simon Says Stamp Fog card base the same way. 

For a sentiment, I stamped the “ my world is brighter because of you” in the same clear embossing ink and heat embossed it as well. I stamped it onto a Lawn Fawn black licorice cardstock and used my Fiskars wire guide paper trimmer to trim it down into a strip. I popped it up onto the panel using Scotch 3M foam adhesive. 


To add a touch of personalization, I cut two tiny hearts from the Little Bits die set also by Neat & Tangled. I cut them from Stampin’ Up! Poppy Parade cardstock and adhered them using Nuvo Deluxe Liquid adhesive.  I placed one where I live on the east coast of the United States and the other right in the middle of Austrailia. 

I hope you enjoyed my card project for today and I hope I inspired you to create your own world of heart. Don’t pay any attention to the fact that I don’t know enough about Austrailia to have placed the heart in an inhabitable part of that great country. I’m just pretending my friends live in the dessert in the bush like Crocodile Dundee. Don’t eat Vegemite, it’s terrible, no matter what they tell you. 

Koren 


3
Back to Top