Showing posts with label rainbow card. Show all posts

Rainbow Medallion Flower Builder with Cheiron Brandon


Hi there crafty friends! It's Cheiron here and today I have a card for you using one of my favorite sets, the Flower Medallion Builder (that is on sale!! right now) and my favorite rainbow colors of Distress Inks.

I love making repeat patterns with with stamps, I find it super meditative and I hope you will try it out and see for yourself :) To make this card, stamp your center and small points in Distress Archival Ink onto Distress Watercolor cardstock. I am using Archival Inks for this part because the ink is waterproof and you don't want these center points to react with the water when you spray the colored petals. Stamp the petals around the center points in rainbow order, cleaning your stamp between each color, and go around until you have completed the rainbow twice.


Once you have completed stamping the rainbow of petals, lightly spray around the stamped petals with a Distress Sprayer filled with water and the ink will begin to react with water. Go slow at first, and add more water as needed. I used a Ranger Heat It tool to speed up the drying time. 


Once the petals have reacted to your liking, add some splatter around each petal. I did this by pressing the inks onto my glass mat and picking them up with a paint brush. I splattered each color next to the same color petals. I dried the splatter with the heat tool as well.


To complete this card, I added foam tape to the back of the watercolor panel and mounted it onto a white card base. I stamped the 'just because' sentiment from the set onto a black strip of cardstock and heat embossed it in white. As a last step, I added some dots with a white gel pen to the the dots in the center.


Hope you enjoyed this card and the fun, watery splatter look!!
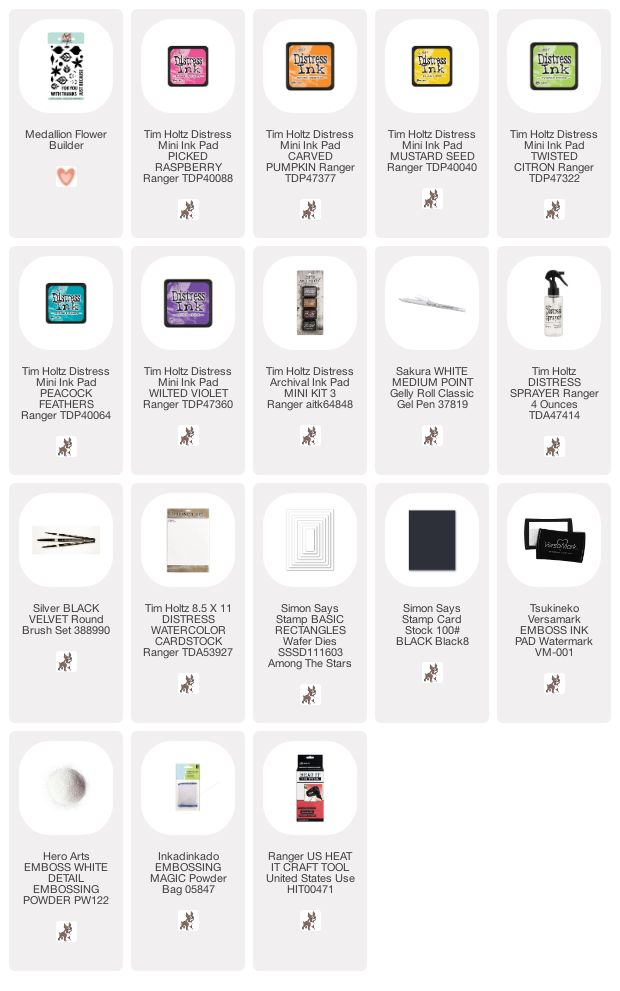
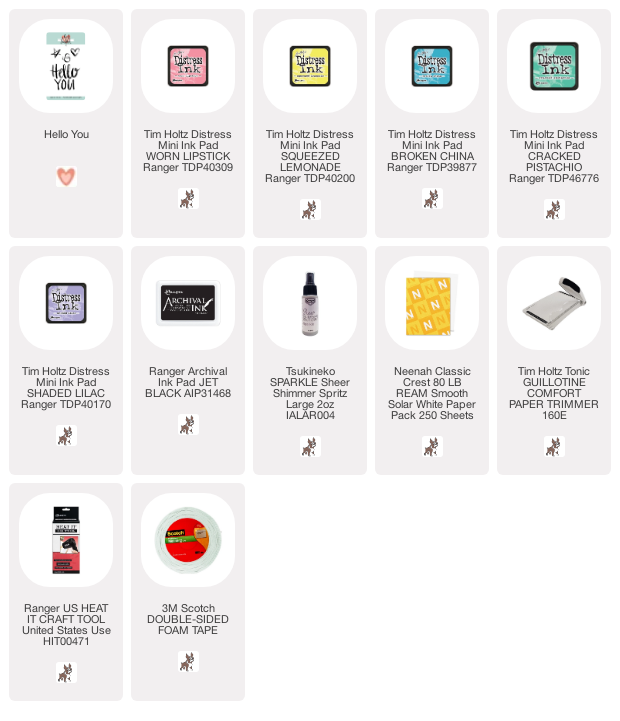
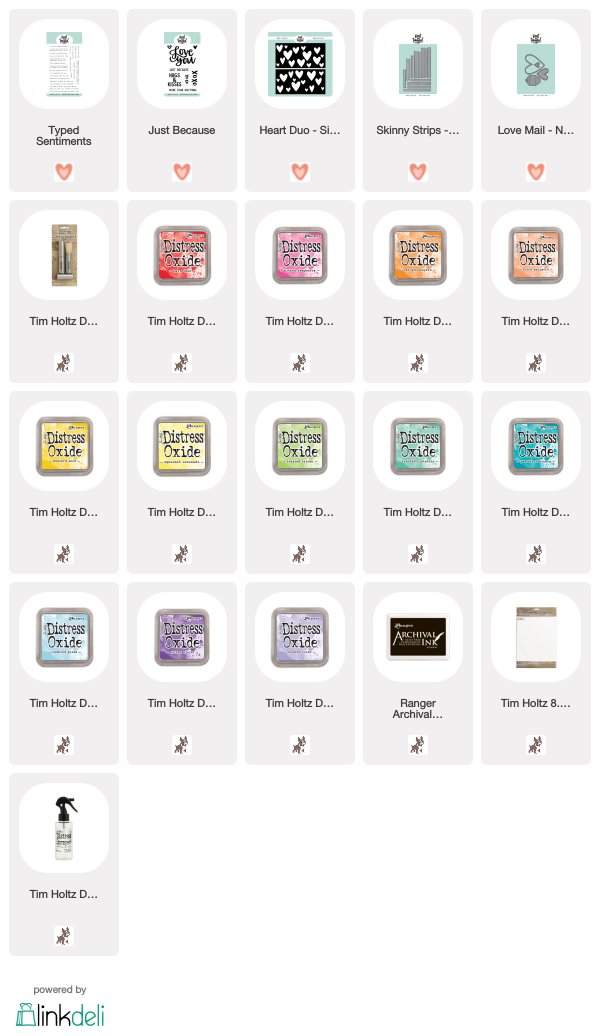
SUPPLIES:

2

Hello You with Hearts with Cheiron Brandon

Hi there crafty friends, it's Cheiron here with a fun little Hello You card filled with love! Today, I revisited a classic Neat and Tangled set, Hello You (which is now on sale with a bunch of other amazing stamps while they last).  I took the heart from the set and stamped in over and over in different colors of Distress Ink to make a background panel. I don't know about you, but this kind of stamping is so relaxing for me.


I worked my way from the left to the right side of the panel in rainbow order (of course) and then spritzed the entire panel with some Tsukineko Shimmer Spray in Sparkle and dried the panel with a Ranger heat tool.


Once the panel was dry, I put it in a stamp positioner and stamped the Hello You greeting in Jet Black Archival Ink. A fun a simple card and an easy way to send a hello card with a lot of heart. There are some other shapes in this set too (stars, bubbles) so you could mix it up and have different color combos for anyone on your list :)


SUPPLIES: 
11

Rainbow Mail Background with Cheiron

Hello there crafty friends! I hope you are enjoying great weather like I am this week. Today, I have a fun card idea featuring the Mail Background stamp. If you know me, you know I will take the opportunity to add a rainbow to just about anything. For today's card, I used the Mail Background cling stamp colored in a bright rainbow to send some happy mail.


I stamped the Mail Background with Black Versafine ink and then embossed it using clear embossing powder. For me, this makes the watercoloring process super easy and I don't have to worry so much about painting outside of the lines. When the envelopes were dry, I went back in and painted all the tiny hearts in red.


For me, this background speaks for itself. I added the Sending Hugs sentiment from the No Words set that I stamped onto black cardstock and embossed in white.


This would be a great easy card to work on in the summer, especially if you have kiddos at home that love to color too. Just stamp a few panels (and sentiments) for them and let them send out their own happy mail.

SUPPLIES:

3

XOXO Love You Rainbow Hearts with Cheiron


Hi there crafty friends, it's Cheiron here with a card using one of my favorite techniques using the Heart Duo stencils, Distress Oxides and Distress Blending Brushes to create a soft rainbow heart background filled with hugs and kisses....I stenciled the hearts in all my favorite Distress Oxide colors. Once the hearts were stenciled in, I gave them a "spritz" with my Distress Sprayer and blotted the panel with a paper towel to created the water spots and give added dimension.


After I stenciled the hearts, I used the small XOXO from the Just Because set to give a little more interest. I stamped the XOXO in the same colors of Distress Oxides over the hearts (these inks stamp beautifully, even with small sentiments). I added two hearts from the Love Mail dies and the I love you from the Typed Sentiments onto a Skinny Strips banner.


Hope you liked the look of this colorful background! It sure makes me happy. I'd love to hear what kind of backgrounds are your favorites to make :)

SUPPLIES:
5

Easy rainbow summer cards + alcohol markers with Bibi


Hello everyone! It is Bibi here,  today I'm sharing creative ways to stretch out your crafty supplies while I walk you through the process of making a couple of  easy, colourful and fun summer cards.

I used Hello Summer die, Night Paint Stamp Set Dimensional Triangles cover plate die from the latest Neat and Tangled release and one of my fav ever: Origami Map die .

Here is the Video.


As you can see in the video I also used Nuvo Creative Pens -  Alcohol Markers with dual tip. I used their broad tip to create a striped pattern on a piece of bristol board paper and I only used the markers to add colours to other images and die cuts on these cards.


This is the first card I'm making the video and I think it is perfect to send encouragement. 


For this card, I trimmed a portion of the large die cut produced by Dimensional Triangles Cover plate die and I made a kite.

The girl image is from Night Paint Stamp Set. In the original image, she has a brush in her hand. I cut it off so it seems like she is holding the kite.

That's all for today!

Many hugs  and happy crafting

x

Bibi

Supplies

3

Wishing You Love (and Rainbows)


Hi there! It's Cheiron here with my last card of the year. I wanted to use one of my favorite holiday greetings along with some rainbow colors to send some cheer to all of you. This card is perfect for anyone during the holiday season.


To create the background of this card, I cut a piece of Distress Watercolor cardstock with the largest of the Scalloped dies. Then I inked it up with foam blending tools and Distress Oxides in every color of the rainbow and spritzed it with water.  After that, I stamped the sentiment from the Wishing You Love stamp set with Versafine Onyx Black ink and embossed it with clear embossing powder.


I stamped the tiny heart with Picked Raspberry Distress Oxide and embossed that with clear embossing powder as well. When I was all done, I cut the inside of the panel with a stitched rectangle die and then layered the outside of the frame onto my black card base, followed by a piece of glitter paper just a bit larger then my stitched rectangle (with foam tape on the back), then added my stitched rectangle die on top. I had actually meant to line up the die and frame just as I had cut them, but when I put the pieces on the table, the outside colors were the opposite of what was inside. I liked the contrast, so I just went with it!


This card would be easy to replicate if you did a bunch of the panels at once, then stamped and cut and assembled.

Hope you enjoyed this walkthrough of my card. Wishing you all Joy, Warmth and Love this season and all the best for 2018!
6
Back to Top