
Happy December!
It’s Jean sharing a Holiday Memories Album project. Whether you plan to document
the December holidays on a daily basis or only the month’s key events, there
are lots of Neat &Tangled stamp sets with which you can create original 3” x
4” filler cards. I’m sharing cards I created, along with a bit about my Holiday
Album.

Approach to project:
I’m focusing on time-honored traditions with my Holiday pocket-page album, rather
than documenting December on a daily basis. While my sons are now “grown,” we still
have traditional events that I photograph and journal about during the
holidays. With those traditions in mind, which include watching a local parade,
decorating our tree, visiting a local nursery to see their poinsettia “tree,”
and sitting down to our Christmas dinner, I created album insert cards using
sentiments and images from several Neat &Tangled stamp sets.
Album Foundation:
I wanted to keep this album simple, which for me means limiting the number of
embellishments I use and picking a color scheme that’s easy for me to mix and
match. I’m using the Simple Stories SN@P! binder with their photo protector
inserts, along with patterned papers from Echo Park’s ’Tis the Season.

Creating the Cards:
I cut my 3” x 4” cards with the Lawn Fawn Stitched Journaling card die from
Stampin’ Up cardstock, which I already owned in shades of green and red that
matched the Echo Park papers. I heat-embossed the Neat &Tangled sentiments
and images with Hero Arts white embossing powder. I really like the look of the
white embossing on the solid cardstock. For the journaling cards, I heat-embossed
the tops of lined Project Life cards with Hero Arts silver embossing powder and
Stampin’ Up powder.
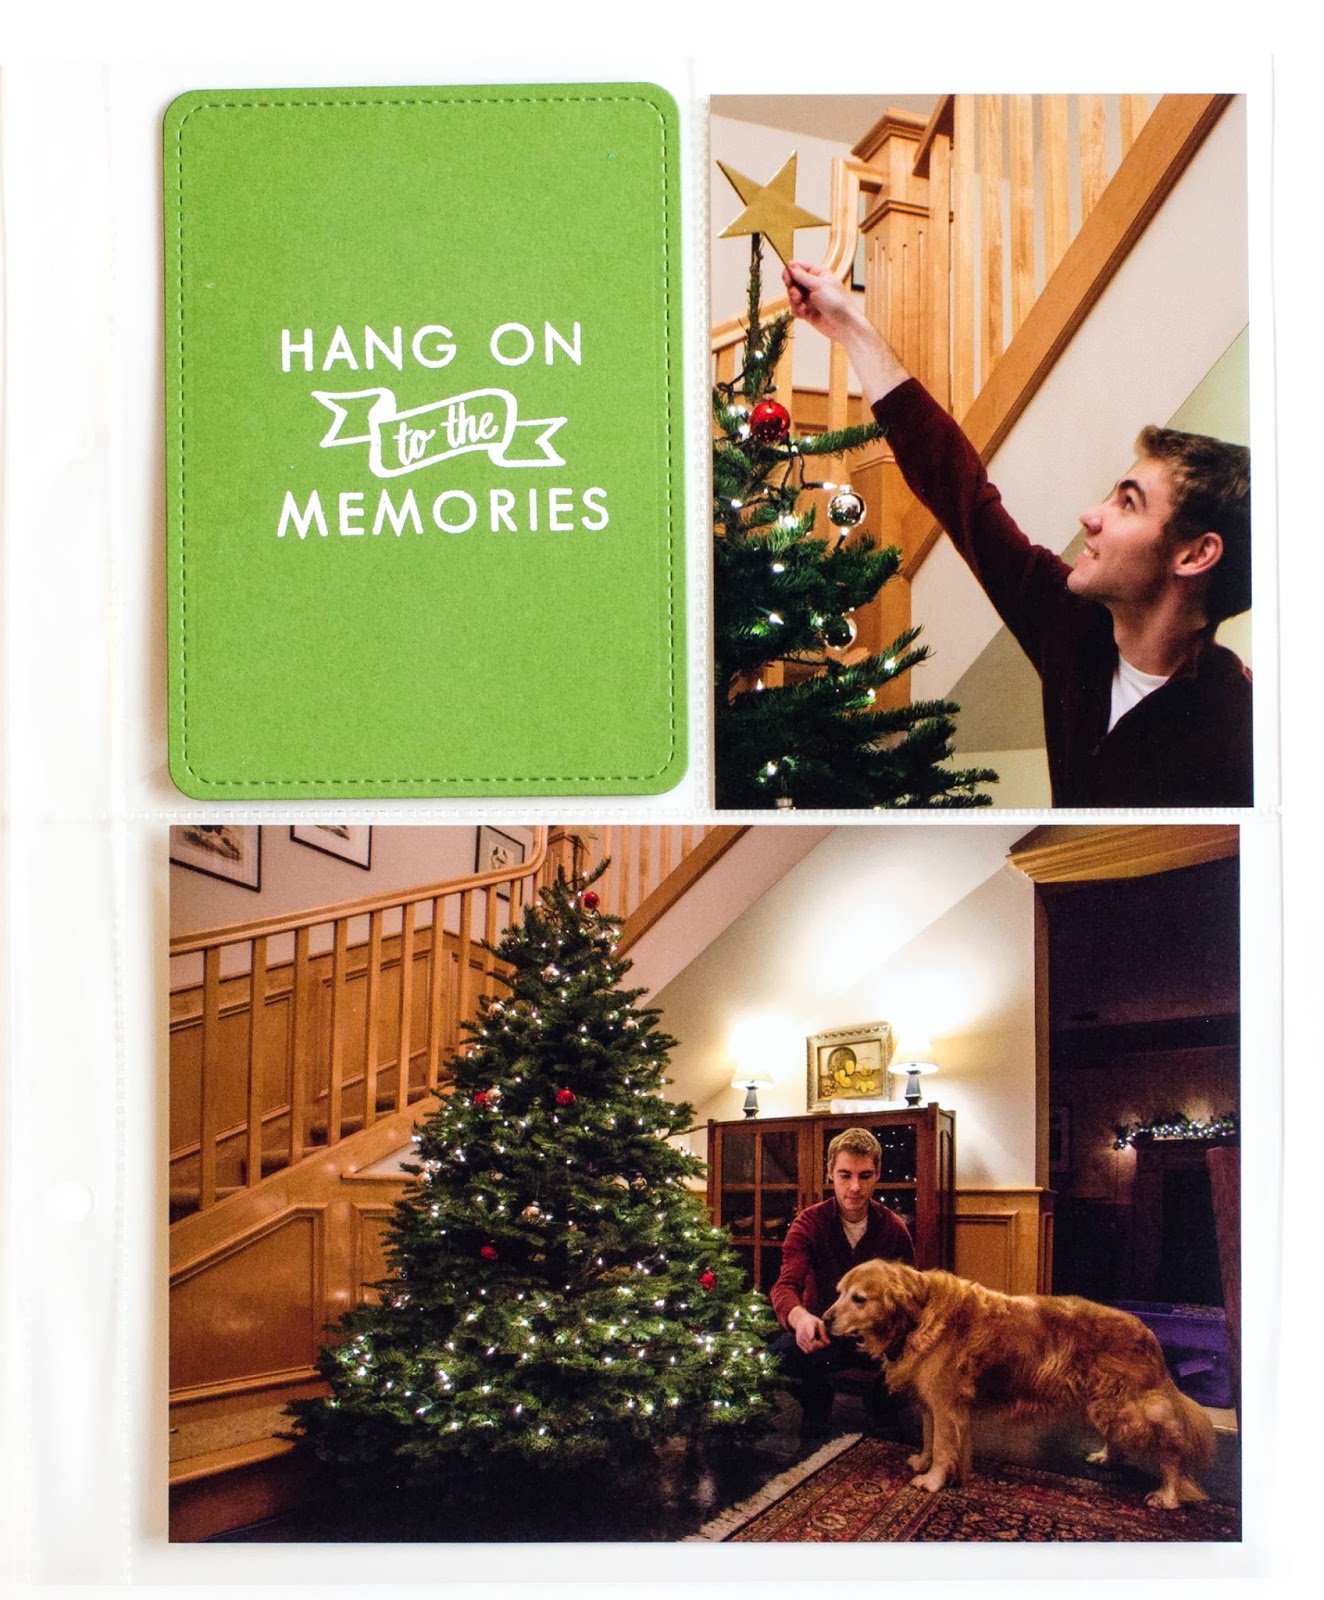
Here’s a look at a few of my page spreads. I'm using photos from last year’s December album for illustrative purposes. The Neat &Tangled stamp set(s) used to create the filler card(s) are listed below each spread.

Neat &Tangled Merry
and Bright


Neat &Tangled Santa’s
Tags


ADDITIONAL EMBELLISHMENTS: It’s easy to add embellishments to the filler cards, such as sequins, die cuts, washi tape and wood veneer pieces.
The idea is to make your project work for you and your family.
Because I tend to overthink things, I appreciate having certain decisions made
ahead of time. That way I can focus on capturing the memories through my photos
and journaling, rather than worry about details that ultimately won’t be
memorable. The absolute last thing I worry about is the cover. In fact, I might
not even embellish the cover, as the interior pages matter the most
to me. But that’s me.
Have you made a December Holidays album before? What’s your strategy? Have you created your own filler cards?


