Showing posts with label maple leaves journaling card. Show all posts

Thankful Autumn with Kay


Hello! I'm here to share a card with you that I did with some fun Neat & Tangled products! I know, I know, it's another fall card. I figure if people can make Christmas cards all year, then I can make fall cards all year too :) Besides, it seems like Christmas sneaks up on us so fast, that Fall kind of gets squished out and left behind. Can't have that now!


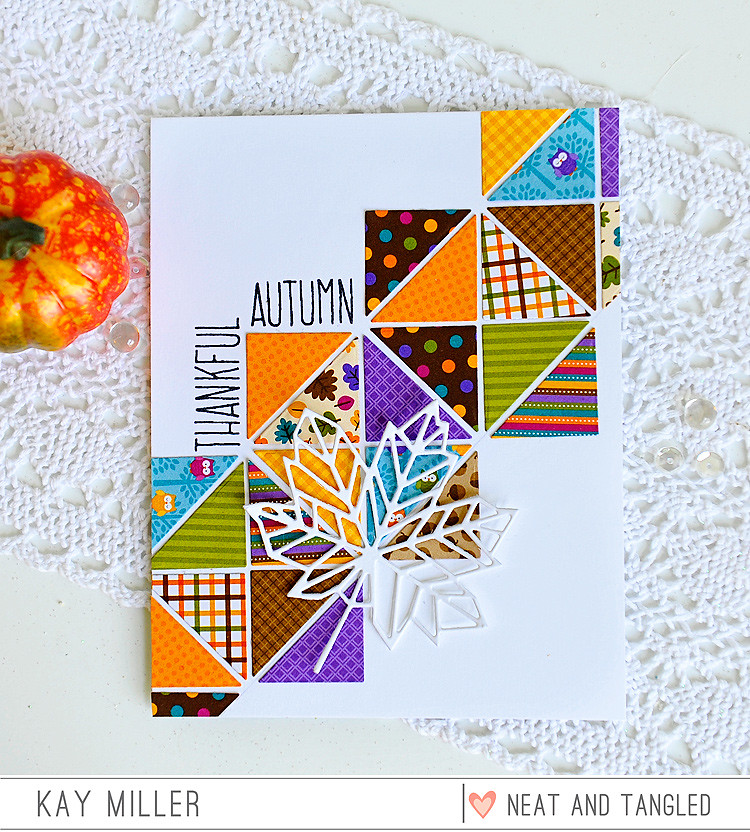
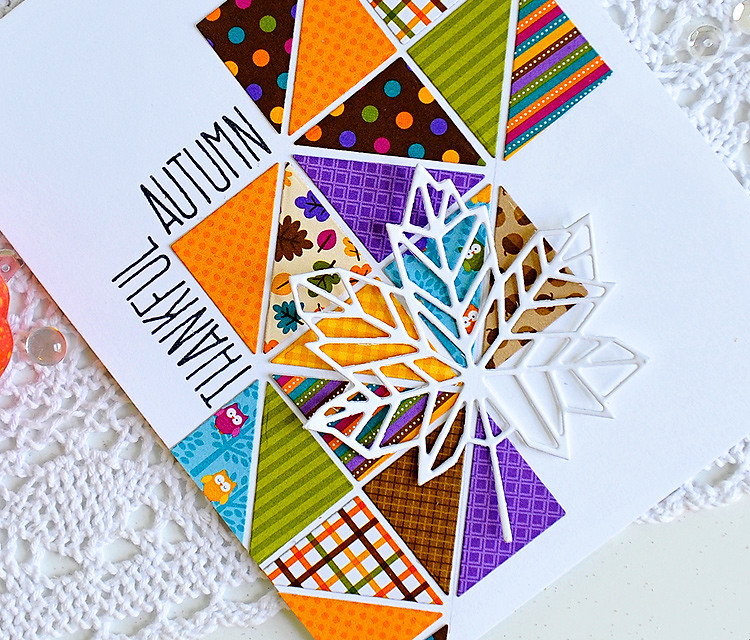
For this card, I'm using the Triangle Patterned Builder dies, Maple Leaves Journaling Card, and Maple Thanks. The paper is from Doodle Bug Design.


I started by cutting  a lot of the smallest triangles from the Triangle Pattern Builder Dies,  out of the fall colored patterned papers. I then drew a diagonal line across my white card base, and started piecing my quilt design. Once I had one row down against the line, lining up the other pieces by eye was a chinch!


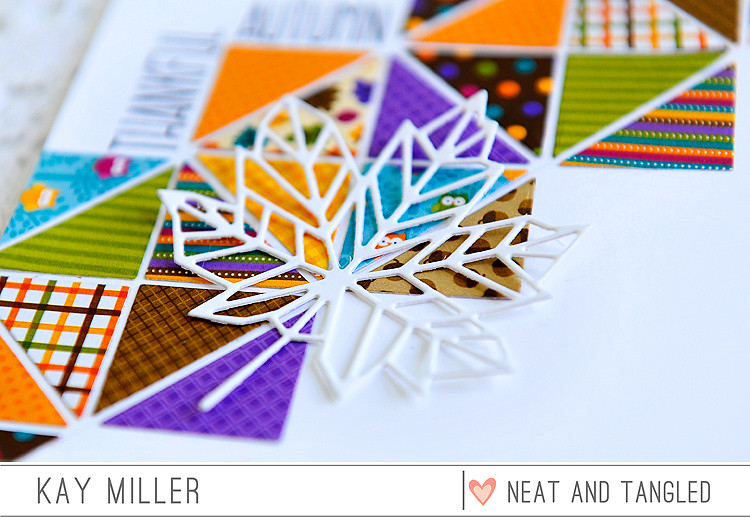
After I got all of my pieces glued down, I stamped the sentiments from the Maple Leaves Journaling card along the edges of some of the squares. Then I cut the Maple Thanks die out of white card stock and glued that down at an angle.

Thank you so much for stopping by today! I hope you have enjoyed my card!

Kay :)


6

Maple Leaves Journaling Card

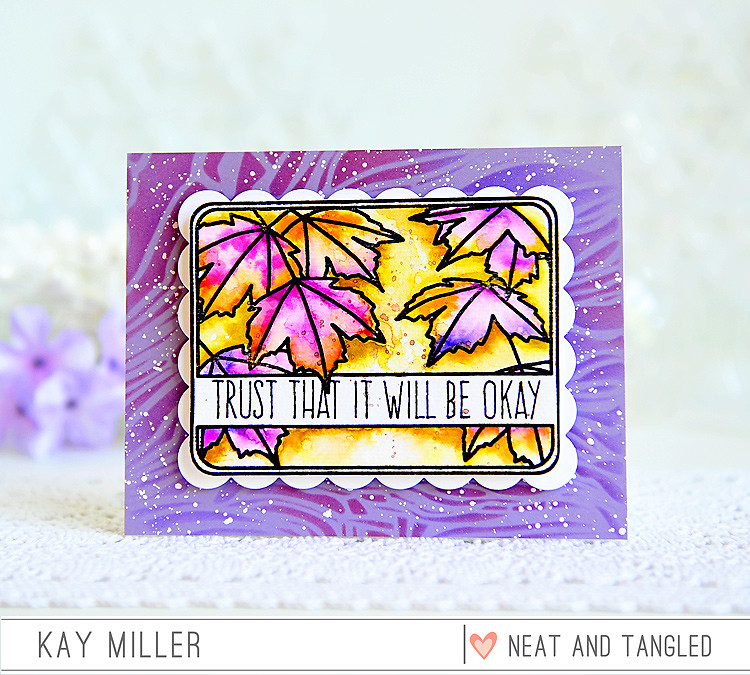
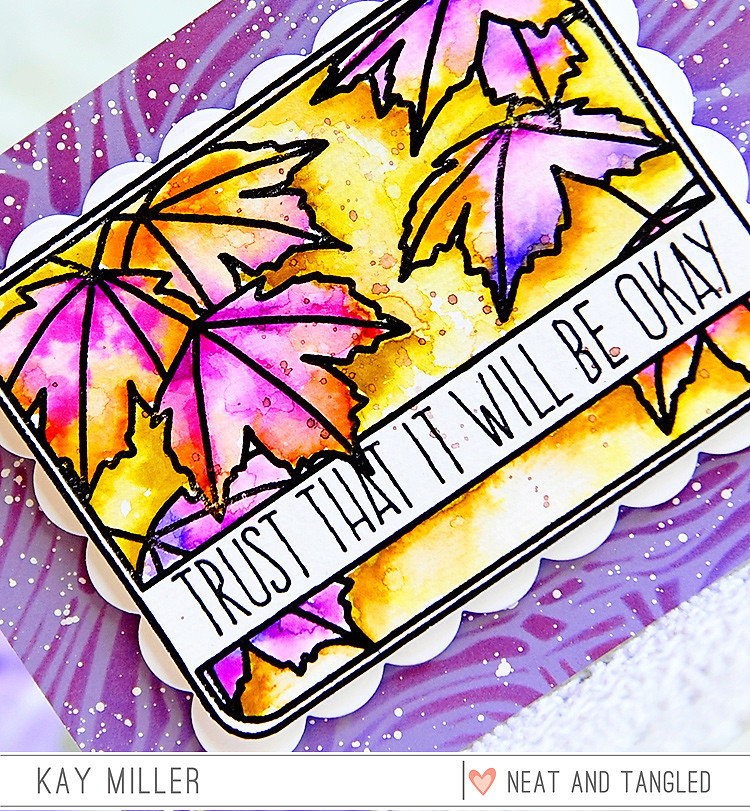
Hi there! Kay here, and I have a card to share with you today using The Maple Leaves Journaling Card, Scalloped Dies and Rice Paddies Stencil.

I know it is not fall yet, but I love this stamp and wanted to play with it so bad! And Fall will be here before you know it and I will be ready ;)


My background was created with the Rice Paddies stencil. I used purple card stock and Worn Lipstick and Wilted Violet  distress ink. I then splattered that with some white acrylic paint.


I stamped the Maple Leaves Journaling Card onto watercolor paper with permanent black ink and watercolored them with Zig Clear Color Brush markers.


I then cut out the middle Scalloped frame from the Scalloped Dies and mounted that onto my background with foam tape. I cut out the Maple Leaves Journaling card and mounted that with foam tape as well.

I hope you have enjoyed my card today! Have a great week and thanks for stopping by!

Kay :)


3

Cherish Fall Card by Taheerah

Hey everyone, happy Wednesday! It's Taheerah here today to share a seasonal card that is full of the joys of Autumn!

I have been seeing lots of Autumn-themed colours and cards recently, and with the turn in weather I felt compelled to create something that embraces the Season! Rushing in to help me were the Maple Leaves Journaling Card stamp set and the co-ordinating die!

Here's what I came up with:


I just love that mix of oranges, browns and greens! I can almost hear the leaves rustling!


I started by die cutting the journaling card and then watercoloured it with a mix of Distress Stain and Distress Inks. I splattered on some gold mist and some brown ink to really jazz it up!


Once I''d dried the journaling card with my heat tool I stamped it with the co-ordinating stamp set. Such a gorgeous design! I built the sentiment with stamps from the set, and then added that cute little heart from Lumberjack Love to accent it.


I backed the journaling card with some patterned paper so that it peeked out from behind the leaves, then adhered it to my splattered card base. See those little leaves peeking out from the journaling card? I die cut the Hooray die from the same patterned paper, snipped it apart, and added the pieces to finish of my design!


I hope you loved this card as much as I loved creating it! Maybe you've been inspired to create something reminiscent of the season too! Thanks for stopping by!

Supplies:
3

Neat & Tangled / Hemptique Collaboration, Week 1


Hey everyone!  We're excited to be teaming with Hemptique this month!  While you are probably familiar with their very popular twine, they also have a number of other products that we'll be featuring this month including hemp paper and bookmarks.

Each Tuesday this month design team members will showcase projects that combine Neat & Tangled and Hemptique products.  Be sure to leave comments on these posts as we'll pick a lucky commenter to win a Hemptique prize pack at the end of the month.

Today Nina-Marie, Emily, and Miriam are sharing their creations.  First up is Nina-Marie:

Hi everyone! I'm sharing what I call a "watercolor collage", using stamps and dies from Neat and Tangled, as well as products from Hemptique.


Hemptique has some beautiful handmade papers available in their store, which I have used here on this card. I love the rough texture of this paper; much like watercolor paper, but a lot softer in feel.

I stamped images from the My Heart Sings Neat & Tangled set onto the paper with Versafine Black Onyx ink; I also gold stamped my sentiment using the Paris stamp set (also by Neat & Tangled) and Delicata Golden Glitz ink.

For watercoloring, I used Tim Holtz distress inks; Spun Sugar, Worn Lipstick and Picked Raspberry. I also watercolored some hearts and added a bit of shimmer using a Wink of Stella glitter brush.


I decorated my panel using a mixture of sequins and beads from Lucy's Little Things and Neat & Tangled; I also tied a length of hemp around the bottom portion of the panel and adhered a gold, wooden heart on top. The wood heart was created by die cutting a piece of wood veneer with a heart die from Neat & Tangled (included in the Hand Stitched die set); I colored it gold by smooshing it into my Delicata Golden Glitz ink pad.

To finish things off, I layered my watercolored panel onto a pink striped card base with some yellow pattern paper.

Next we have Emily:


Hi, everyone!  I've been a long-time fan of their hemp cord and have it in so many colours! I love the vibrant colours and quality of the cord.


For my card, I created a cute little scene using Better Together stamps and coordinating dies. I also used the Turkey Talk dies to create a speech bubble shaker. I created an anchor for the scene by looping black Hemptique cord, twisting it a couple of times and adhering it to the front panel with a tiny attacher.


Both the card base and front panel are scored along all four edges. There are a lot of details in my card but I've kept the layout clean and simple. Please visit my blog for a full supply list. :)

Finally, Miriam has a pair of cards to share:


Hi guys!  I was so excited to receive some hemp paper to try in my package.  It's a beautiful paper with a wonderful texture, and I wanted to see how it would work with my dies.

I used the Gardenia Blooms Journaling Card die, and I was really happy with how well the paper held up since it's a little bit softer than regular cardstock.  I also loved how well the embossed lines show on the paper.

To create some textural contrast, I also cut the card from some insulation pink cardstock.  Leaving the pieces intact (in the insulation pink cut), I colored the inlaid pieces with Copics and then transferred them into my hemp paper die cut.


I stamped the sentiment, from the Gardenia Blooms Journaling Card stamp set, and then adhered it to the card over a cardstock and then vellum mat.  I love how the vellum softens everything.

Then I figured I would put all those negative pieces from my hemp paper die cut to good use.  I inlaid them into a steel gray cut, adding a sentiment from the Maple Leaves Journaling Card stamp set.


I love the dramatic look and again the contrast between the regular cardstock and the hemp paper.  This one is super CAS, just popped up on my base.


Hope you all enjoyed today's projects.  We'll be back next Tuesday with another set of projects featuring Hemptique as well as another chance to win!  If you don't already, be sure to like Hemptique's Facebook page and tell them we sent you.  There just might be a giveaway over there towards the end of the month.  ;)
26

Maple Leaves in the Spring


Hey everyone!  Miriam here today to share a couple Maple Leaves cards with you.

When I designed the Maple Leaves Journaling Card set and die, I was definitely thinking about Fall, but with Spring in the air, I thought I would revisit them to show how versatile they are.

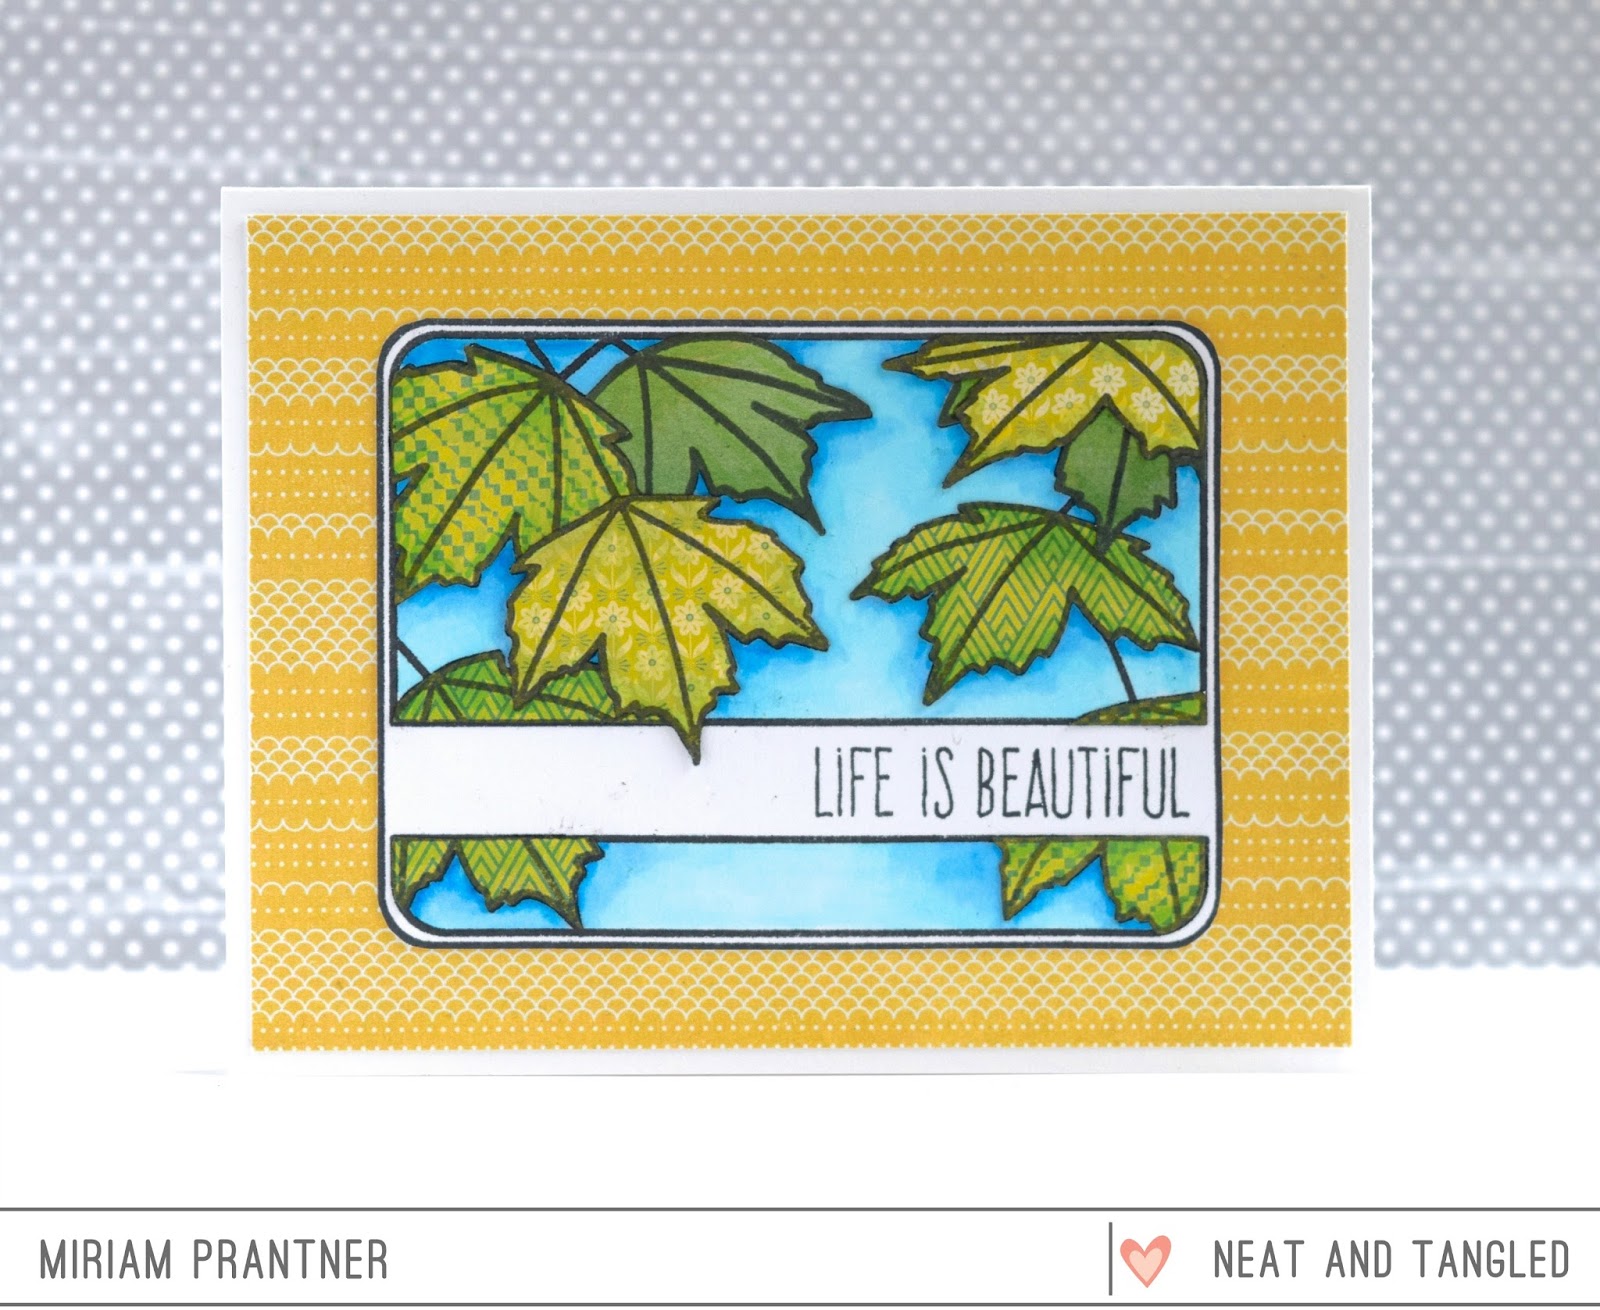
For my first card, I'm highlighting the stamp set.  I first stamped the image on some white cardstock, and then colored in the background with some Copic markers.

Then I pulled out an older BasicGrey 6x6 pad, Vivienne, and selected four green/yellow-green papers to use to piece the leaves.  I added a bit of shading/coloring to each of the pieced leaves using Copics.


The sentiment is from the Neat & Tangled's Life is Beautiful stamp set.


This next card highlights the die.  It was cut from watercolor paper, and then colored with Distress Markers, actually just two of them, one for the green and one for the blue, and a water brush.  After the initial layer of color on the leaves, I went in and added some highlights with the marker which weren't blended out for some extra texture and to keep some of the color very rich and vibrant.


The Maple Leaves die is a really unique one, which has a combination of cuts and debossing.  When I adhered the die, I left the portions that are cut unadhered, but didn't pop them out like I've done in the past.  It gives the piece a little bit of subtle dimension, but it's still nice and flat for mailing.

That's all for me today.  Hope you've gotten some new ideas on how to take your fall themed products for spring!

3
Back to Top