Showing posts with label gold. Show all posts

So Much To Be Grateful For


Hi there crafty friends! It's Cheiron here, and for my post this month I wanted to create a background that was a little more on the artsy side for my pink magnolias.  I created this background using a few of my favorite mediums and added some texture too.  I will walk you through how this card came together.


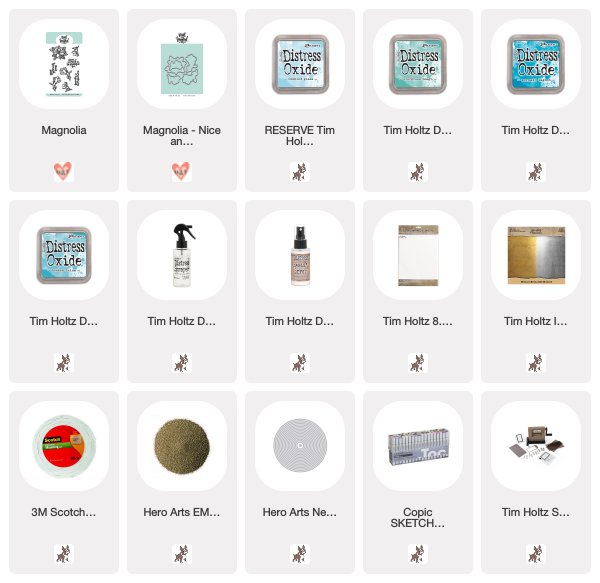
To begin, I put some Distress Oxides on my craft mat and sprayed them with water, running the paper through the ink several times, drying the layers with a heat tool. I used Evergreen Bough, Tumbled Glass, Mermaid Lagoon and Broken China Distress Oxides.


WORDS OF WARNING: when using Distress Resist Spray, put your surface/paper that you are spraying on into an old box and spray it ONLY in the box...this stuff is like liquid glue and it can and will stick to everything it touches!!! Don't spray it on your craft table or anywhere else!!!

Once the panel was dry, I put it into a box and sprayed Distress Resist Spray onto it. Then I added gold embossing powder, shook off the excess and used an embossing tool to heat set it.

Once the embossing was done, I mounted the panel onto a piece of gold paper, then onto a black card. I colored and cut the flowers and I embossed the sentiment onto black cardstock and cut it with a circle die and added it to my card.

I know this is not the soft, elegant floral that you may be used to, but I love the texture and hope the recipient will too.  Hope you will try out some of these fun inky, texture filled backgrounds for yourself!


SUPPLIES: 


4

Happy Happy Birthday

Hi there! It's Cheiron here with my monthly post. Today I have a fun birthday card featuring the Balloon Duo Stencils. For this card, I wanted to keep the colors simple with some fun and elegant pink and gold balloons and lots of sparkle.


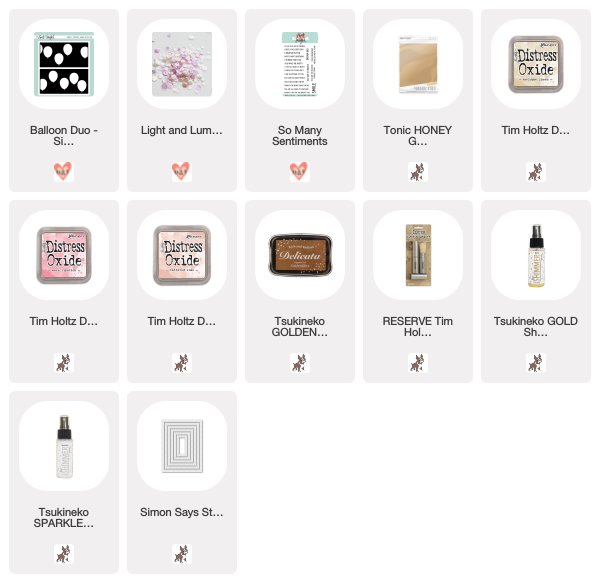
I inked through the Balloon Duo Stencils with Tattered Rose and Antique Linen Distress Oxides, then I used a Tim Holtz Distress Blending Brush to create shading on the edges of the balloons with Warm Lipstick Distress Oxide and Delicata gold ink. Then I misted the entire panel with Sparkle Sheer Shimmer Spritz and gave it a light splatter of Gold Shimmer Spritz using a paintbrush to create small drops. Once it was dry, I added a bunch of Light and Luminous Sequins.


I stamped and embossed the sentiment from the So Many Sentiments set with white embossing powder to complete the card.


SUPPLIES:
9

Joyful Christmas Cards and Stamp Surgery Tips by Taheerah

Hey everyone, happy Tuesday! It's Taheerah here today to share a couple of Christmas cards created with the help of some stamp surgery!

First up, let's check out the cards!


Don't they look awesome?! I bet you can't tell where the stamp surgery took place! *wink*


Usually I am the *last* person to resort to stamp surgery. Those poor stamps! I almost always opt for selective inking and/or masking instead. But in some circumstances stamp surgery is the quickest or best option. I came across such a scenario when I was using the Bible Journaling and Christmas Journaling stamp sets.


I had the word 'JOY' from the Christmas Journaling set, but I also wanted to spell out 'TO THE WORLD' - and those stamps don't exist! So I decided to take a look at the words that did exist in the sets and do a little stamp surgery to create what I needed!


I noticed I had a 'WORD' stamp which was just one letter away from being 'WORLD'. I worked out that by doing some stamp surgery on it and on the 'LIFE' word, I could put together the word 'WORLD' and be able to stamp it all in one go! If I had used selective inking or masking then I could have still put the word together, but it would have taken longer to do, and might not have lined up properly. I also worked out that I could get the 'TO' from the word 'TODAY' and 'THE' from the 'THY' and 'LIFE' stamps.

So far so good!


What I didn't bank on was that there were subtle differences in the sizing of the words in this set! So the 'E' from 'LIFE' was too big to go with the 'TH' from 'THY'! So I had to resort to a little more surgery, this time with a stamp from the Christmas Journaling set!


The 'E' from 'EARTH' was the right size - hooray!

Here are both cards again:


Some other notes about how these cards came together. I really wanted the wording to be the attention grabber for the cards, so I decided that the only other embellishment would be the three watercolour stripes down the front, in different metallic shades. These were my abstract interpretation of The Three Kings - neat huh?


I did my watercolouring first, using a mix of different diluted shimmer sprays for my metallics. I then mixed a little glue and glitter together and smeared it over the stripes, to add an extra subtle layer of glitz, then finally stamped my sentiments. I was able to line up all my stamps in my Mini MISTI and stamp them all in one go with perfect placement - go MISTI! I just love the end results!


Stamp Surgery Tips

So I promised you a couple of tips for successful stamp surgery, right? Here we go!
  1. Use a decent pair of scissors when cutting your stamps apart. The last thing you need is to botch the cut because the blades aren't cutting the photopolymer well!
  2. Ink up your stamps with black ink first! This might be a little messy (you can stamp them off slightly before cutting if you like), but this tip is a great one to help you see exactly where the stamping surface is - and where your blades should avoid! Especially important with intricate designs or when elements of the design are close together, like these letters were!
  3. Take the stamp between your fingers and bend it in on itself, with the stamping area on the outside. This will bend the design apart a bit so you can get your scissors into the tighter areas more easily!

I hope these cards and tips have helped to take some of the fear out of stamp surgery - and helped you to see how you can stretch your stamps and create with limited supplies! I'd love to hear what you think about this! Thanks for stopping by!

Supplies:
6

A Trio of March Release Cards by Taheerah

Hey everyone, happy Wednesday! It's Taheerah here today to share some cards featuring the March release!

The wicked postman held my release package captive earlier this month so I didn't get a chance to join in with the other talented DT ladies - but that just means I've got the limelight to share them with you now!

Let's start with the first card:


For this one I used one of the irregular circles from Scandinavian Prints to create an irregular polka dot background! I used Distress Inks and Distress Stain to give it a watercoloured, almost ombre look.


I combined it with the starburst from Scandinavian Prints and a sentiment from Better Together for a bold, fun hello!


Next up, a sweet card featuring Itty Bitty Welcoming Committee!


I decided to watercolour *outside* of the image, using a mix of pale pink and gold. It's a fun change of pace to show that you don't always have to colour!


I stamped out just the banner again then trimmed out the banner pieces and adhered them on top for some dimension. I did the same to add that cute pink bow! I couldn't resist using another sentiment from Better Together too!


Last but not least, probably my favourite of the trio:


I loved combining several products for this one! I used the Hexastar Cover Plate to impress my background, and added a piece of vellum die cut with the Punchinella die. The flowers were created with Scandinavian Prints, using the accompanying Scandinavian Prints dies to cut the flower heads.


I customised my sentiment by adding the 'extra' - I think this card deserves to go to someone extraordinary!


I hope you loved these release projects as much as I loved creating them! The March release seems to have been uber-popular, with many of the new products out of stock currently - so make sure you sign up to notifications for your favourites to know when they're back in stock! Thanks for stopping by!

Supplies:
5
Back to Top