Hello there!
Mayuri here to share a card using the Hooray Nice and Neat die!
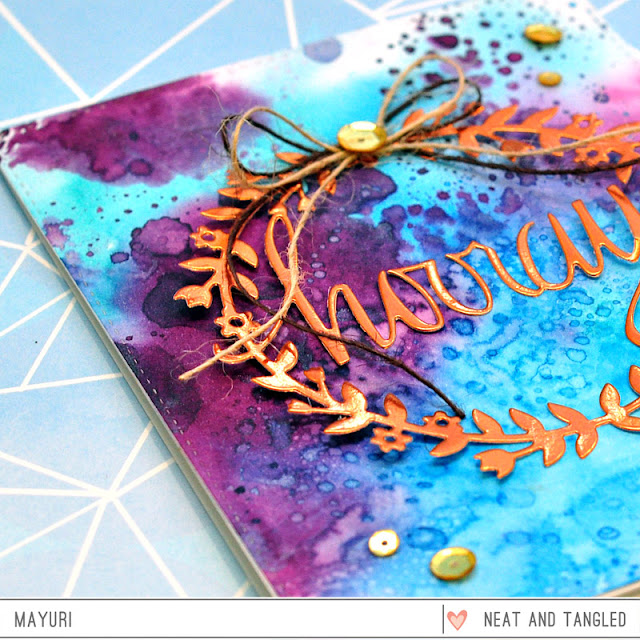
I used an inky panel from my stash as the backdrop to this super cute die-cut - I thought the copper foil card stock offset beautifully against the blues and purples ;-)
I adhered the inky panel down to a white card base, and then added small dots of glue to the top, middle and bottom of the die-cut piece before adhering that down too.
For a bit of interest, I added a couple of twine bows to the centre of the die-cut piece and sprinkled a few gold sequins to finish up!
Thanks for stopping by!
2
Mayuri here to share a card using the Hooray Nice and Neat die!
I used an inky panel from my stash as the backdrop to this super cute die-cut - I thought the copper foil card stock offset beautifully against the blues and purples ;-)
I adhered the inky panel down to a white card base, and then added small dots of glue to the top, middle and bottom of the die-cut piece before adhering that down too.
For a bit of interest, I added a couple of twine bows to the centre of the die-cut piece and sprinkled a few gold sequins to finish up!
Thanks for stopping by!


