Showing posts with label Triangle Pattern Builder. Show all posts

Little Texture Play with Daria

Hello-hello Dear Friends,

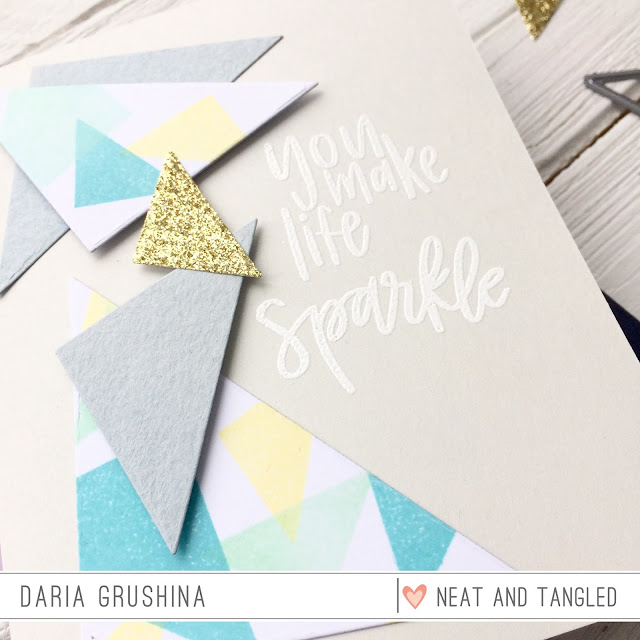
Daria here.  I am so happy to have time to play with the products that I love. Initially, I wanted to make something with Llama Stitching Dies and felt.... But, something went completely different, lol.


While all my felt was on the table, I've decided to unite different textures of felt, paper, and gold glitter paper on one card. For the background, I again used Modern Graphics paper pack from Julie Ebersole. I took Triangle Pattern Builder die set and die cut triangles from coloured cardstock, coral felt and a glitter paper. To make open glitter triangle, I placed triangle dies one inside the other and die cut together with one run. Sentiment is from Just Because stamp set. All the triangles are foam mounted. Here is what I ended up with.


I also think these triangles will look super cool with just different colours of felt.


I am a lover of very clean and minimalist cards. That is my try on it. Pattern paper, coloured cardstock and a tiny stripe of coral felt. Sentiment is from Celebrate stamp set. I finish it up with a glitter heart made with a die from Love You dies set.


I like this color combo so much, that I plan to play with it more...

Thanks so much for stopping by, hope you've liked those ideas and will give them a try.
Have a wonderful day,
D.
3

Triangle Builder with Kath Stewart


It's the last Friday of the month which is always a little sad for us because it means we have to say goodbye to our guest designer for the month, Kath Stewart.  We know you're going to love today's inventive card.  Here's Kath with the details:

Hi Everyone, I’m back with my last project as the September Guest Designer. I would just like to say a huge thank you to Danielle and Miriam from Neat And Tangled for inviting me and giving me the opportunity to play with their fabulous projects. I can’t believe this is my last week but isn’t it the case that time passes quickly when you’re having fun.

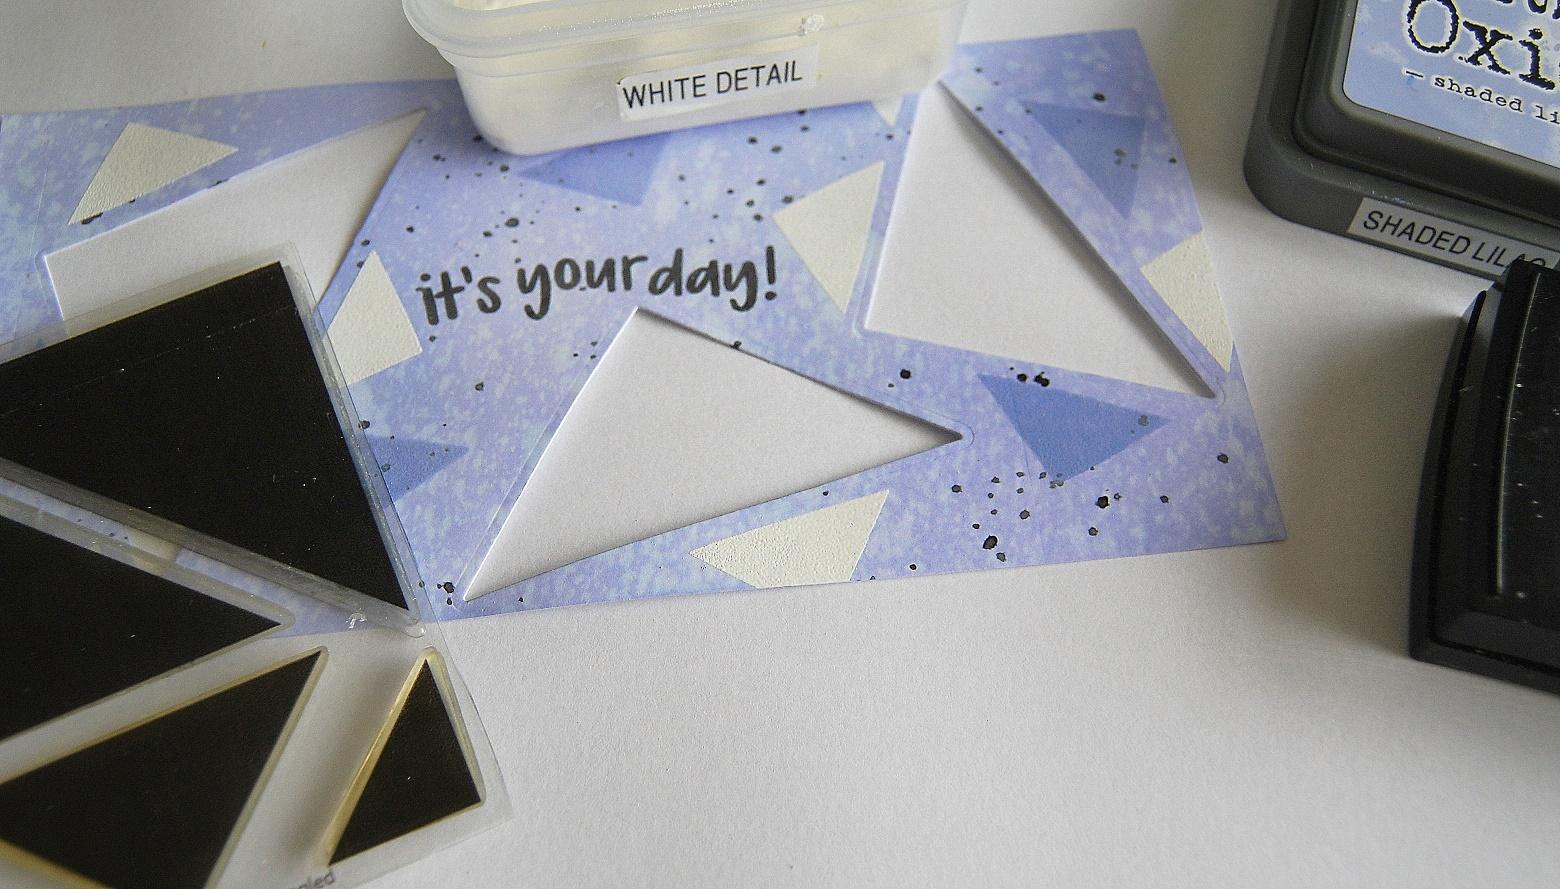
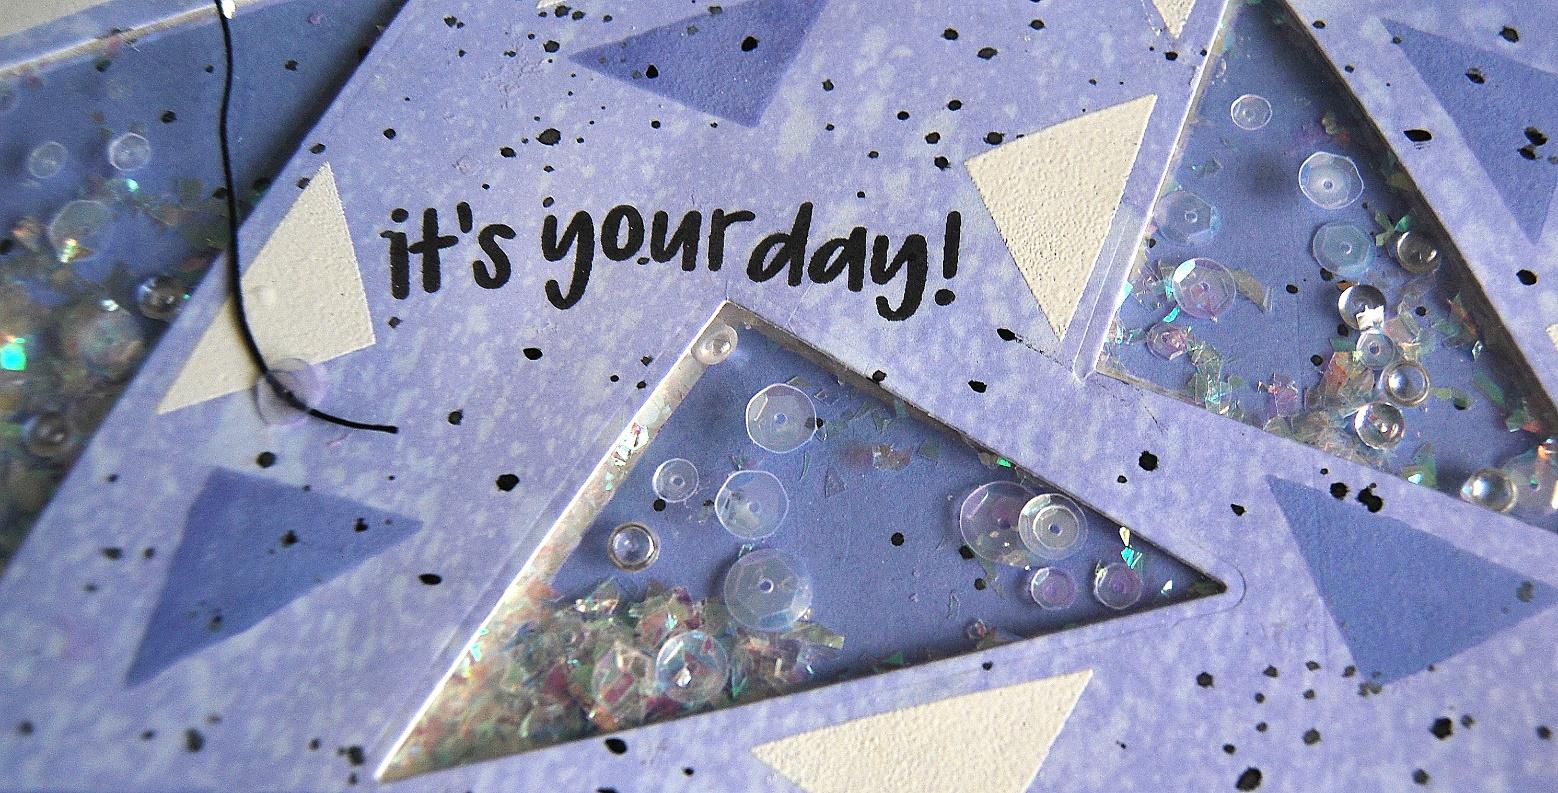
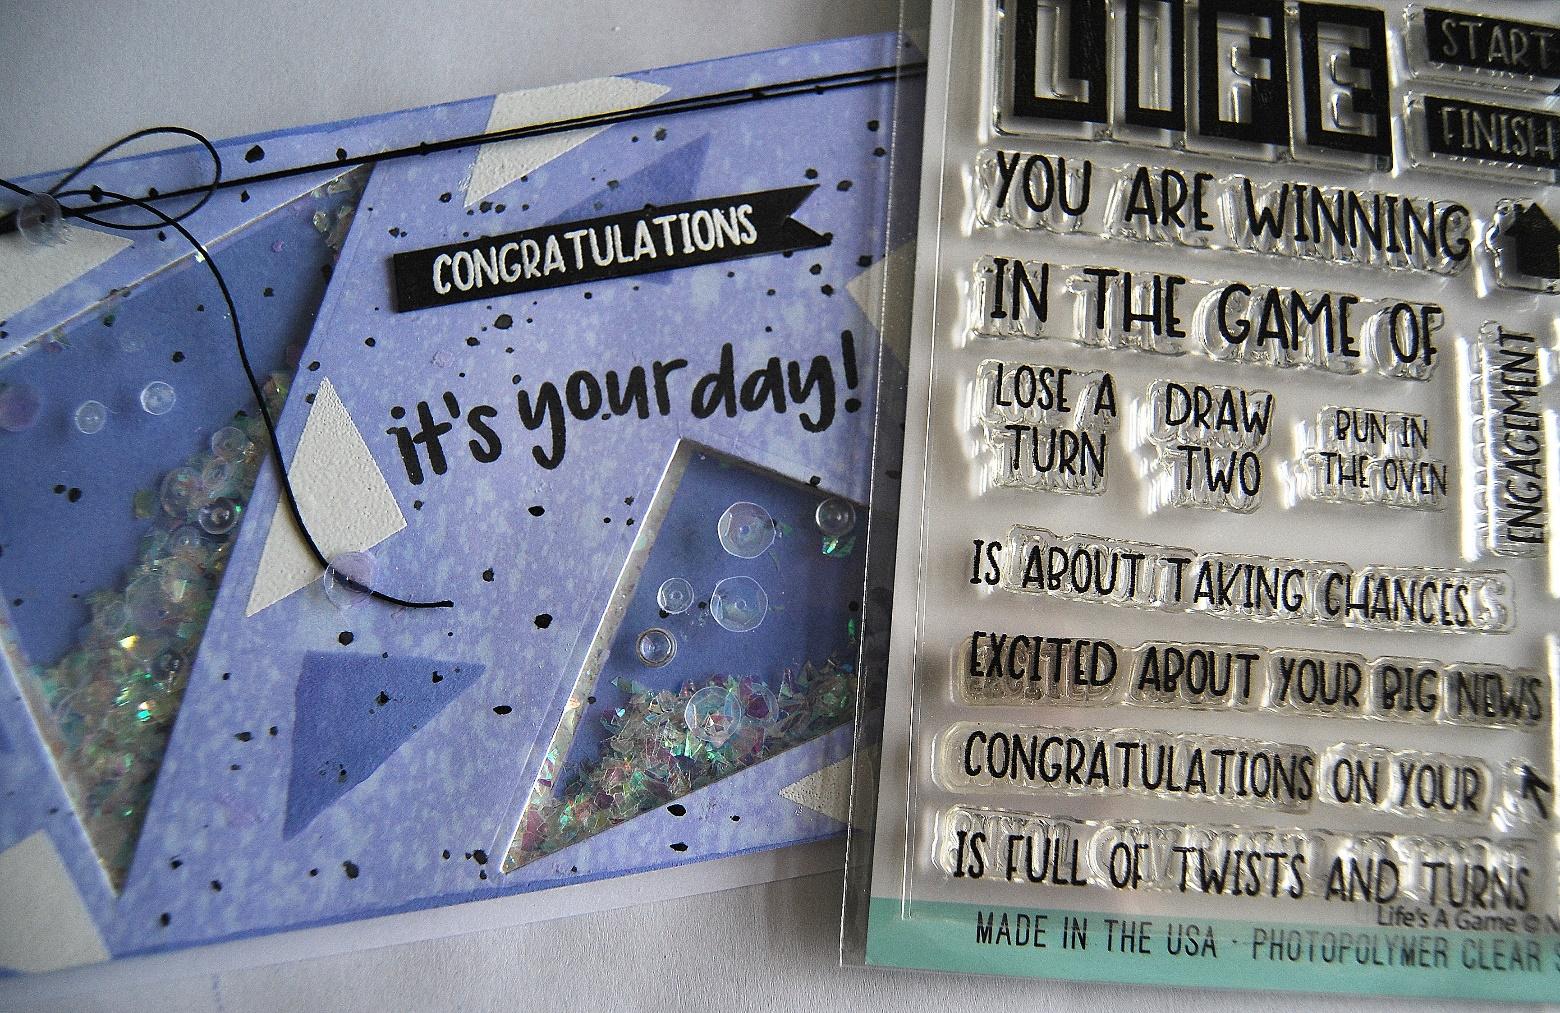
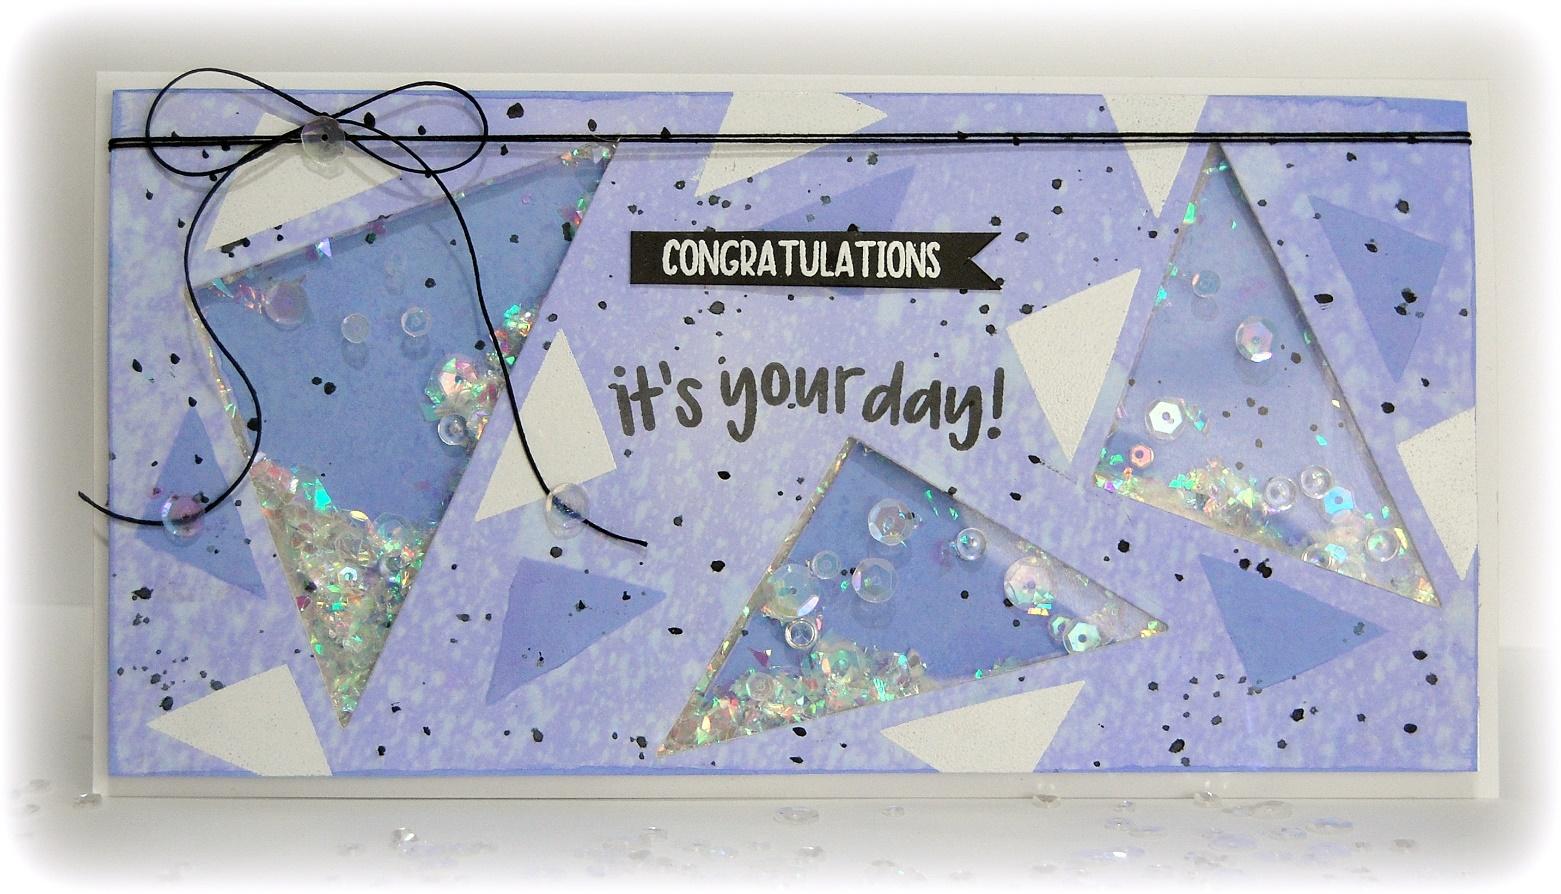
I’m sharing a shaker card using the Triangle Pattern Builder stamp set and matching set of Nice And Neat dies along with the Hooray and Life’s A Game stamp sets to create the sentiments.


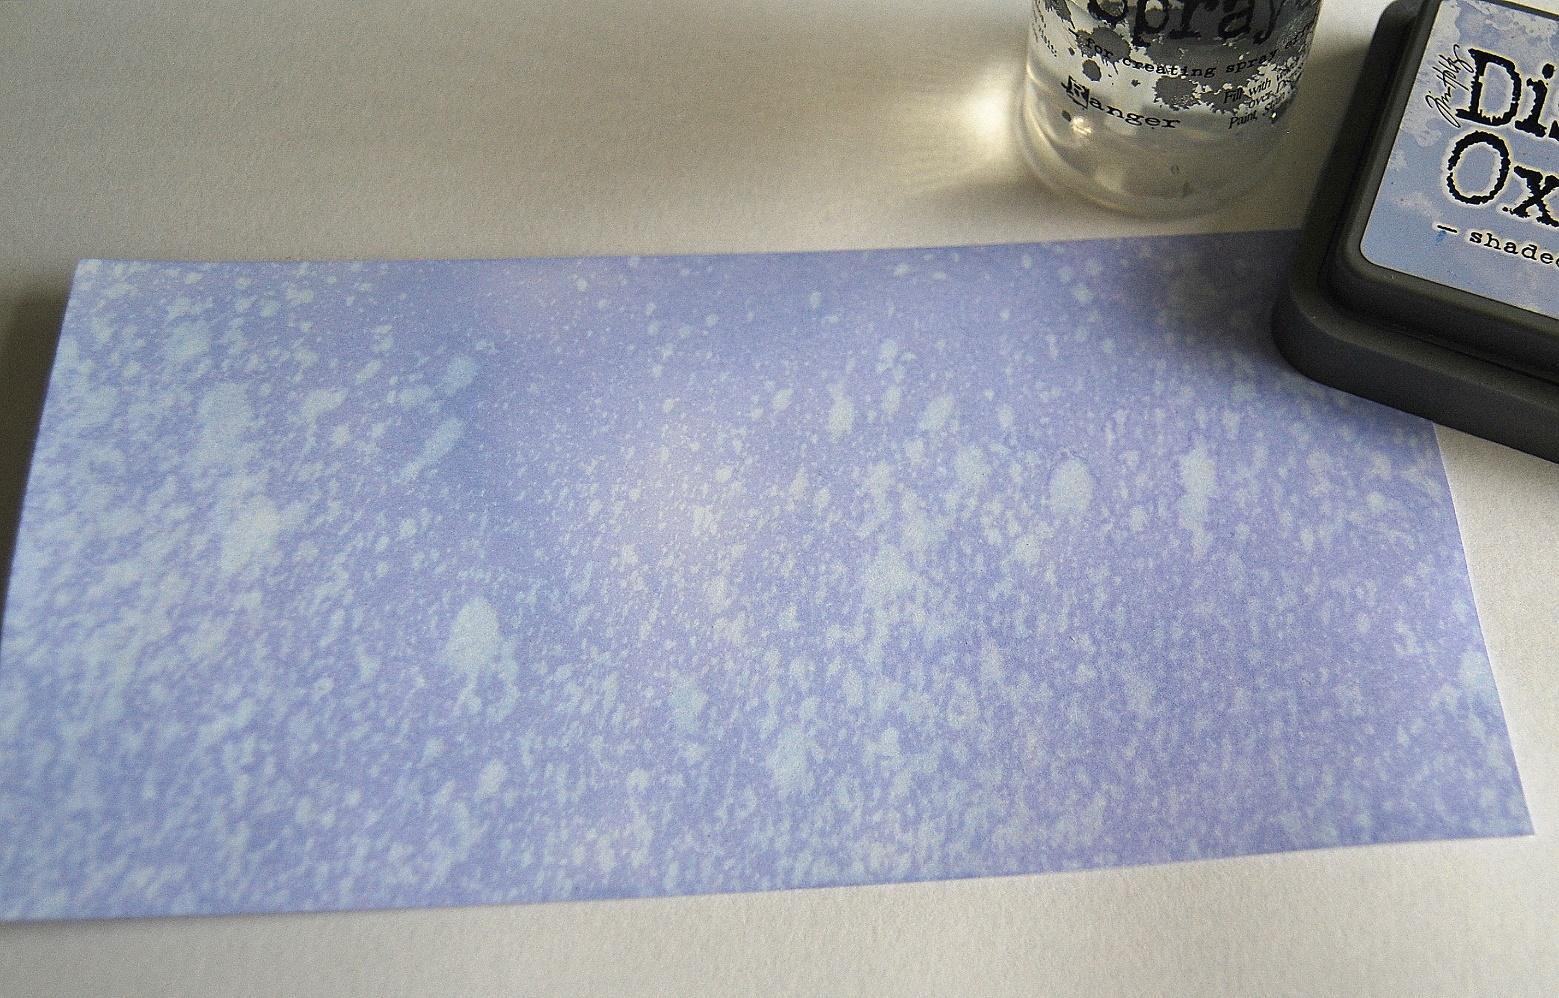
I trimmed Distress Watercolor card to measure 4” x 8”, coloured with Shaded Lilac Distress Oxide ink using a mini round blending tool, spritzed with water and blotted with a paper towel.


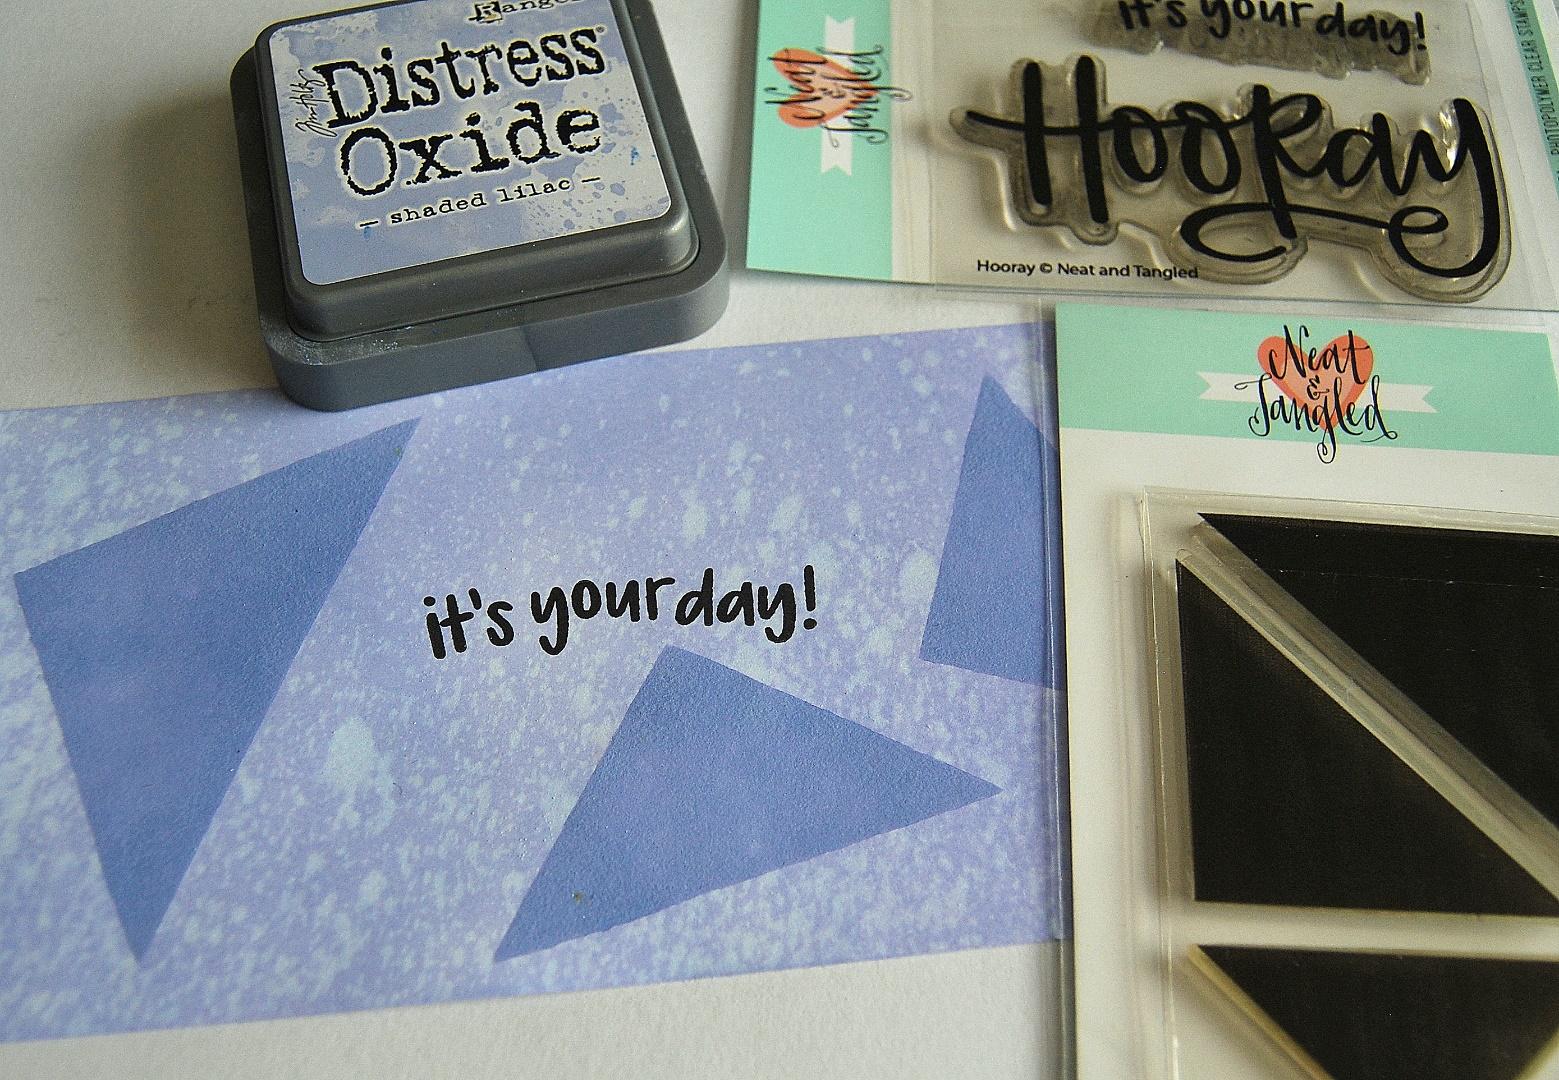
I inked the triangle images with the Shaded Lilac ink pad and stamped randomly on the background. I stamped the sentiment from the Hooray stamp set inked with Black Soot Archival ink.


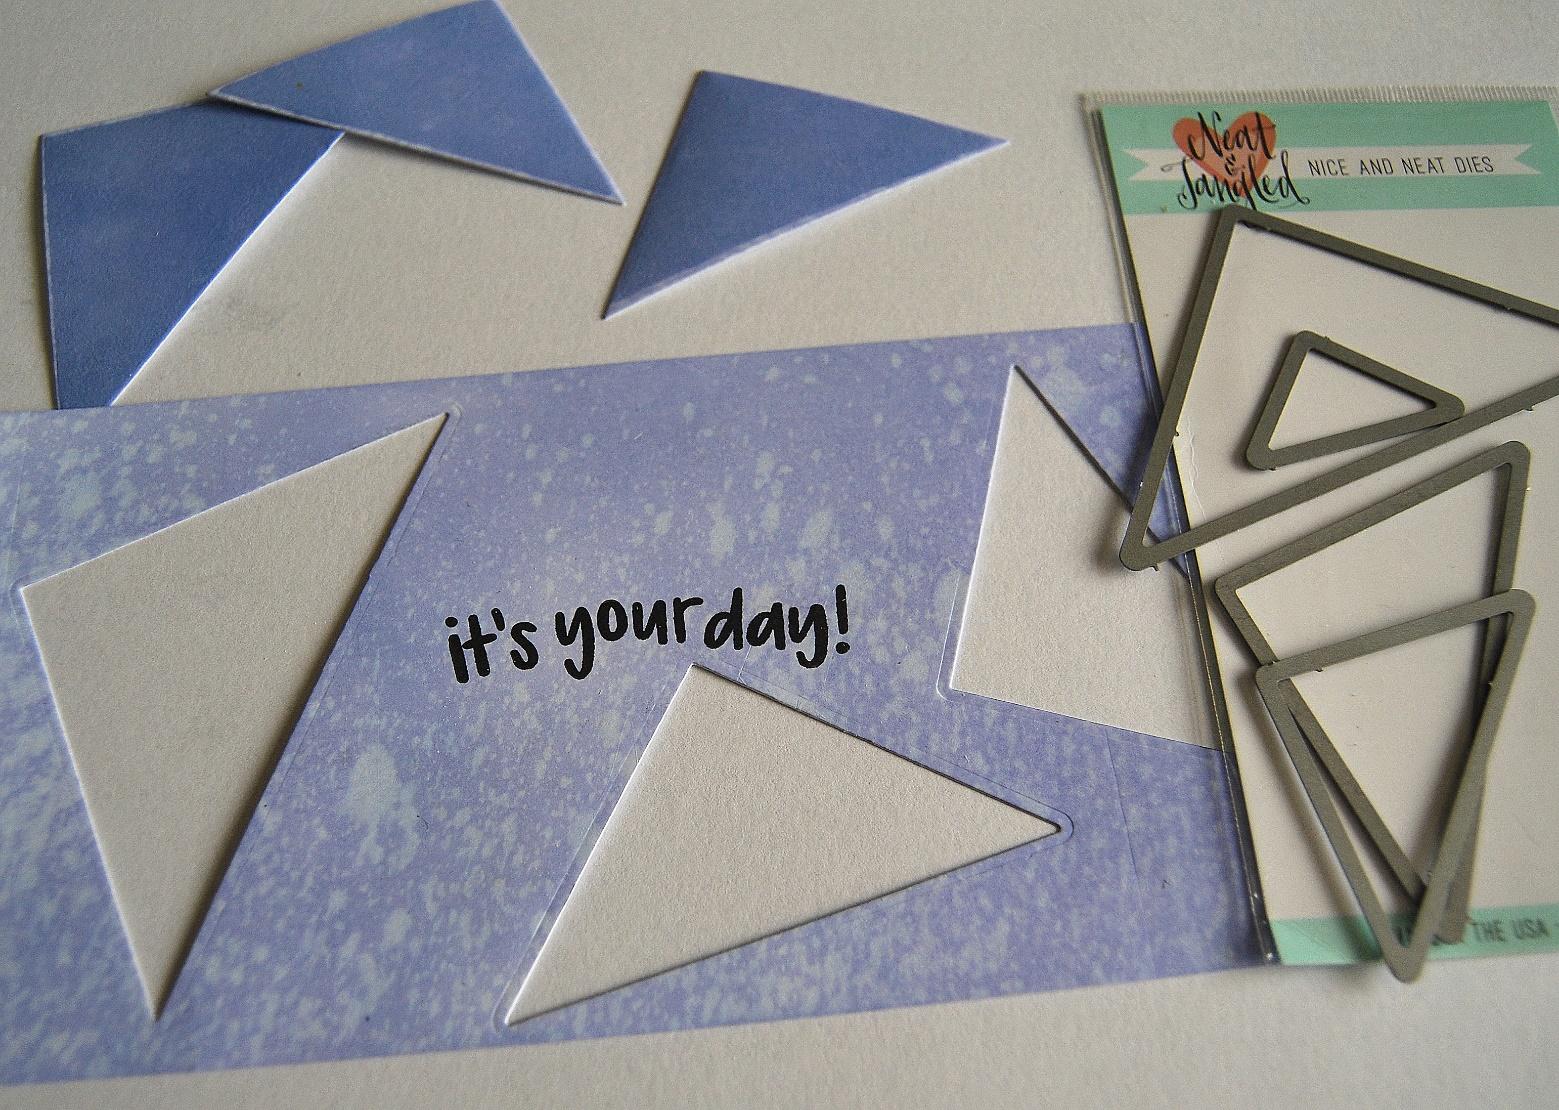
I positioned the dies over the stamped triangles and die cut the shaker apertures.


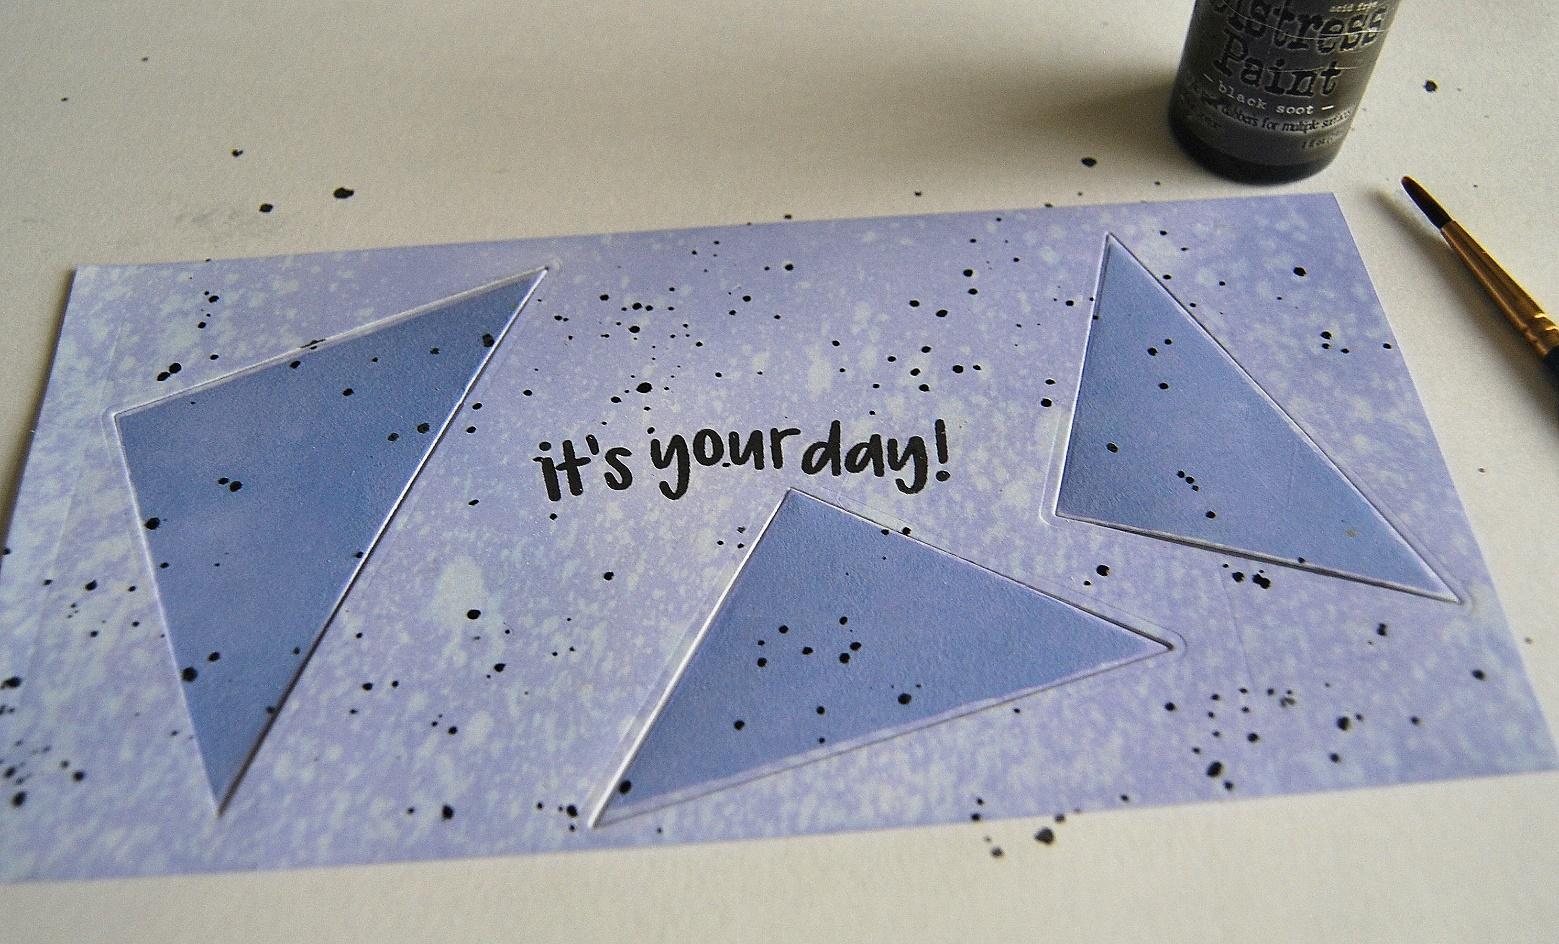
I placed the die cut triangles back in the spaces and added splatters using Black Soot Distress Paint.


I stamped the smaller triangle images inked with Shaded Lilac Distress Oxide ink and dried with a heat tool. I then stamped the same triangle image with Versamark and heat embossed with Ranger Superfine White Embossing Powder.


I added a panel of acetate to the back of the card, added sequins and confetti from my stash and 3D foam tape around each aperture.


I fixed additional sequins to the front of the panel and wound black thread around the top and tied in a bow. I stamped the sentiment from Life’s A Game stamp set on to black card, heat embossed with Ranger Superfine White Embossing Powder and trimmed on to a banner. I fixed the panel to a white 4.1/4” x 8.1/4” card blank


Thank you so much to everyone who has taken the time to leave lovely kind comments on the projects I made using Neat and Tangled products.

Happy Crafting, hugs Kath xxx
4

Rubeena's Crafting Anniversary Blog Hop Day Two!


Hello friends, Danielle here! Welcome to Rubeena's Crafting Anniversary 2-Day Blog Hop! You should have arrived from Nina's blog. This hop is epic with more than 60 guests and over $600 in sponsored prizes! Not only are we celebrating four years since Rubeena first discovered cardmaking but also crafting in general. This industry is made up of wonderful individuals who are creative, inspirational, kind, and incredibly supportive! Hop along so you can learn about why we create and how much joy it brings us! For details on day one of the hop, you can visit this post.

My card today just about sums up why I love to craft - good vibes only! When I am in my craft room, being creative, I feel nothing but joy! Beautiful colors, fun stamps, clever dies - there is no limit to what I can create.  Crafting allows me to be free. It's a great form of meditation for me, often bringing a sense of calm to an otherwise crazy day, quieting my mind. And because of crafting I have met some of my very best friends!

For this card, I stamped the large triangle from our Triangle Pattern Builder stamp set repeatedly in a variety of Distress Ink Oxide colors, and then spritzed lightly with water.  While that was drying, I stamped our Good Vibes sentiment, and cut it out. To adhere I used some foam adhesive, and then finished it off with some Clear Mix sequins


I hope this card brings little brightness to your day :)

I'm so happy Rubeena invited me to hop along for such a wonderful celebration! Now keep on moving - your next stop is Cheiron!


The full hop order for today:

In celebration of this anniversary, Rubeena has several amazing sponsors. Winners will be randomly selected from comments left on all the blogs. The winners will be announced by Wednesday, September 5 on this page. Winners will have up to 2 weeks to contact Rubeena at ararerubycrafts@gmail.com to claim their prizes.

GIVEAWAY!
We are also doing a giveaway here! Leave a comment on this post to be entered to win our Triangle Pattern Builder stamp set, Good Vibes stamp set, and Clear Mix sequins! Winner will be announced September 2nd! 
145

Happy Anniversary

Hello there!

Mayuri here to share a card using the Triangle Pattern Builder and Art Deco sets;-)

©Candles in the Garden. Neat and Tangled July 2017 - Triangle Pattern Builder

For this card, I changed up the colour palette to something more muted and combined it with a favourite technique of mine - rotational stamping. Whenever I do this, I always try to put some guidelines down for when I actually stamp the image.

©Candles in the Garden. Neat and Tangled July 2017 - Triangle Pattern Builder

This helps with the end result, but you can always try to go by eye instead for a less measured look! I took the largest triangle from the set and began stamping it in the four ink colours I'd chosen onto a white card base, ensuring one impression overlapped the next. This creates the additional colours in between ;-)

©Candles in the Garden. Neat and Tangled July 2017 - Triangle Pattern Builder

I used a MISTI tool for the stamping, though a large acrylic block would also work. Once I'd completed the stamping, I erased the guidelines and stamped a sentiment from the Art Deco set with onyx black Versafine ink.

©Candles in the Garden. Neat and Tangled July 2017 - Triangle Pattern Builder

I set the card base aside and die-cut a circle out of a panel of white cardstock and foam mounted to the card front, revealing the stamped triangles and sentiment through the aperture.

©Candles in the Garden. Neat and Tangled July 2017 - Triangle Pattern Builder

To finish, I adhered a few sequins from the Sherbert Mix and the Fairy Garden Mix.

Thanks for stopping by!
3

Thankful Autumn with Kay


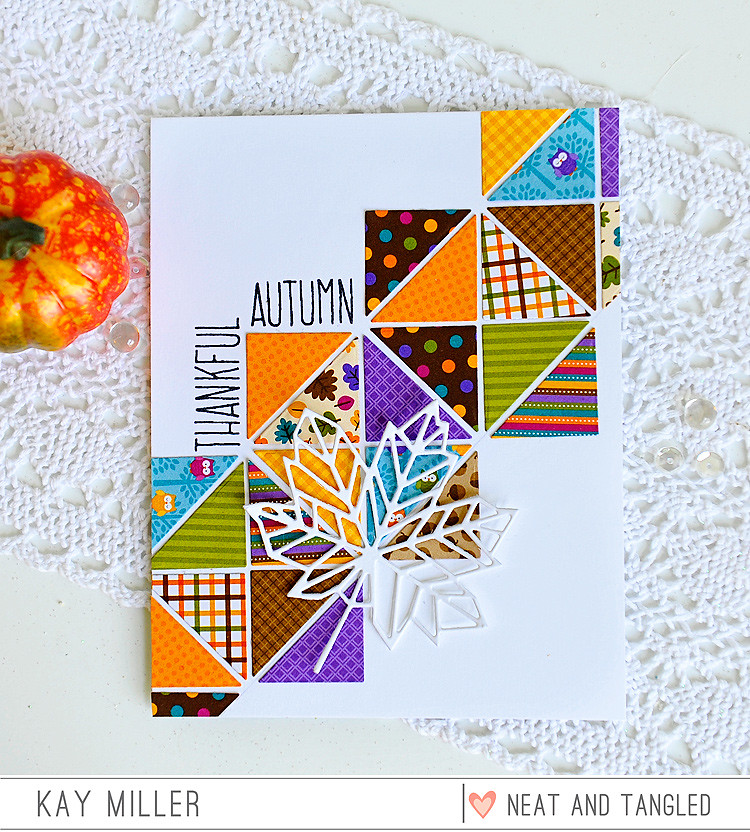
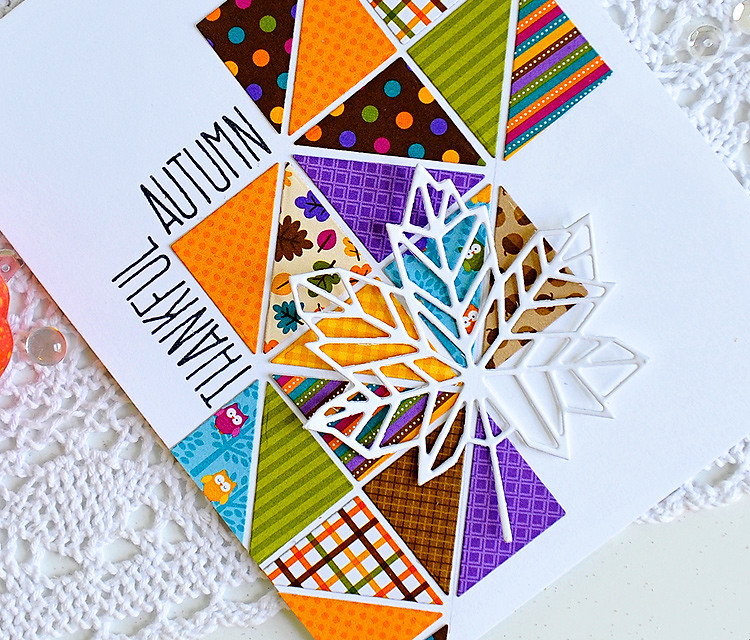
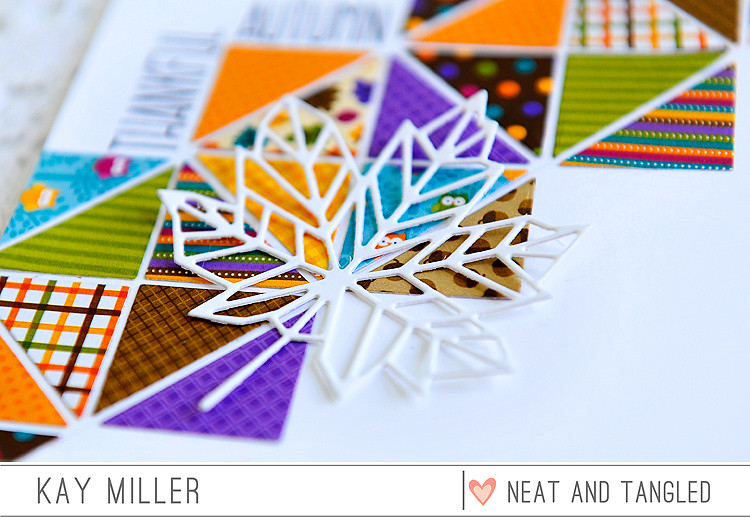
Hello! I'm here to share a card with you that I did with some fun Neat & Tangled products! I know, I know, it's another fall card. I figure if people can make Christmas cards all year, then I can make fall cards all year too :) Besides, it seems like Christmas sneaks up on us so fast, that Fall kind of gets squished out and left behind. Can't have that now!


For this card, I'm using the Triangle Patterned Builder diesMaple Leaves Journaling Card, and Maple Thanks. The paper is from Doodle Bug Design.


I started by cutting  a lot of the smallest triangles from the Triangle Pattern Builder Dies,  out of the fall colored patterned papers. I then drew a diagonal line across my white card base, and started piecing my quilt design. Once I had one row down against the line, lining up the other pieces by eye was a chinch!


After I got all of my pieces glued down, I stamped the sentiments from the Maple Leaves Journaling card along the edges of some of the squares. Then I cut the Maple Thanks die out of white card stock and glued that down at an angle.

Thank you so much for stopping by today! I hope you have enjoyed my card!

Kay :)


6

You are amazing

Hello there!

Mayuri here to share a card using the Triangle Pattern Builder and Art Deco sets;-)

©Candles in the Garden. Neat and Tangled June 2017 - Triangle Pattern Builder

There are so many different ways you could use the Triangle Pattern Builder set, and I opted to go for a simple, geometric look for my background panel. I began by choosing a colour palette, ranging from a light blue through to a dark purple.

©Candles in the Garden. Neat and Tangled June 2017 - Triangle Pattern Builder

Starting with the lightest shade of ink (light blue), I stamped the largest triangle from the set onto a panel of white cardstock. Then I took a slightly darker shade (cyan) and a slightly smaller triangle image from the set, and stamped over the first impressions.

©Candles in the Garden. Neat and Tangled June 2017 - Triangle Pattern Builder

I repeated this step a couple more times, each time with a darker shade of ink and a smaller triangle - the end result was definitely worth the effort, however, I felt like it needed another layer...so I stamped the large background image from Art Deco on top of the whole pattern in the light blue shade of ink.

©Candles in the Garden. Neat and Tangled June 2017 - Triangle Pattern Builder

I trimmed the panel down to the same size as my card base and the stamped part of the sentiment onto it with black dye ink. The rest of the sentiment was stamped onto a strip of black cardstock with Versamark ink, sprinkled with white embossing powder and heat set.

©Candles in the Garden. Neat and Tangled June 2017 - Triangle Pattern Builder

To finish, I adhered the panel down to a card base and foam mounted the heat embossed sentiment to the front, along with a few sequins from the Fairy Garden Mix and the Ocean Waves Mix.

Thanks for stopping by!
6

May 2017 Release Week Day 1: Magical Day + Triangle Pattern Builder + Giveaway

Hello friends!

It's our favorite week of the month- release week! Welcome to day 1 of our May 2017 release! This month we have some amazing products for you - stencils, sequins, stamps, and dies! All new products will be available on Friday, May 5th at 8am EST. Be sure to stop by here everyday this week for lots of fun, inspiration, and giveaways!

First up today we have Magical Day. A 3x4 set illustrated by Elena Roussakis. With her signature style, this whimsical beauty is sure to be a fast favorite!
Today we also have a great set from Danielle Walls to help you get back to basics!  Triangle Pattern Builder is a 3x4 stamp set with 4 different sized solid triangle stamps. There are also coordinating dies - perfect for letting your imagination run wild! Endless options for creating custom patterns, or adding finishing touches to a project!
We also have our new Fairy Garden Sequin Mix.  A magical mix of lavender, blush, and spring green, along with a beautiful iridescent sequin. A mix of 4mm, 6mm, and 8mm sizes in all colors. 
And a new 6x6 stencil, Swirly Twirly, designed by Miriam Prantner. A great weave pattern - perfect for creating backgrounds and adding interest!

And now for some inspiration! Be sure to head to each design team members blogs for details by clicking on the photos, and for a chance to win a $25 gift certificate! One person will be chosen from among comments on the design team members blogs!


So much inspiration! Now how about a giveaway?


Would you like to win the new Magical Day and Triangle Pattern Builder products? To enter:

1. Be a follower and leave a comment! 
2. Follow us on Facebook and share about release with your friends! (leave another comment)
3. Follow Neat and Tangled on Twitter and tweet about our release, use @neatandtangled! (leave another comment)
4. Follow Neat and Tangled on Instagram and repost about our release! Use #neatandtangledrelease (leave another comment)

See you back here tomorrow for even more fun!


SaveSave
SaveSaveSaveSaveSaveSaveSaveSaveSaveSave
SaveSave
108
Back to Top