Showing posts with label Interactive. Show all posts

Sending Love with Koren Wiskman


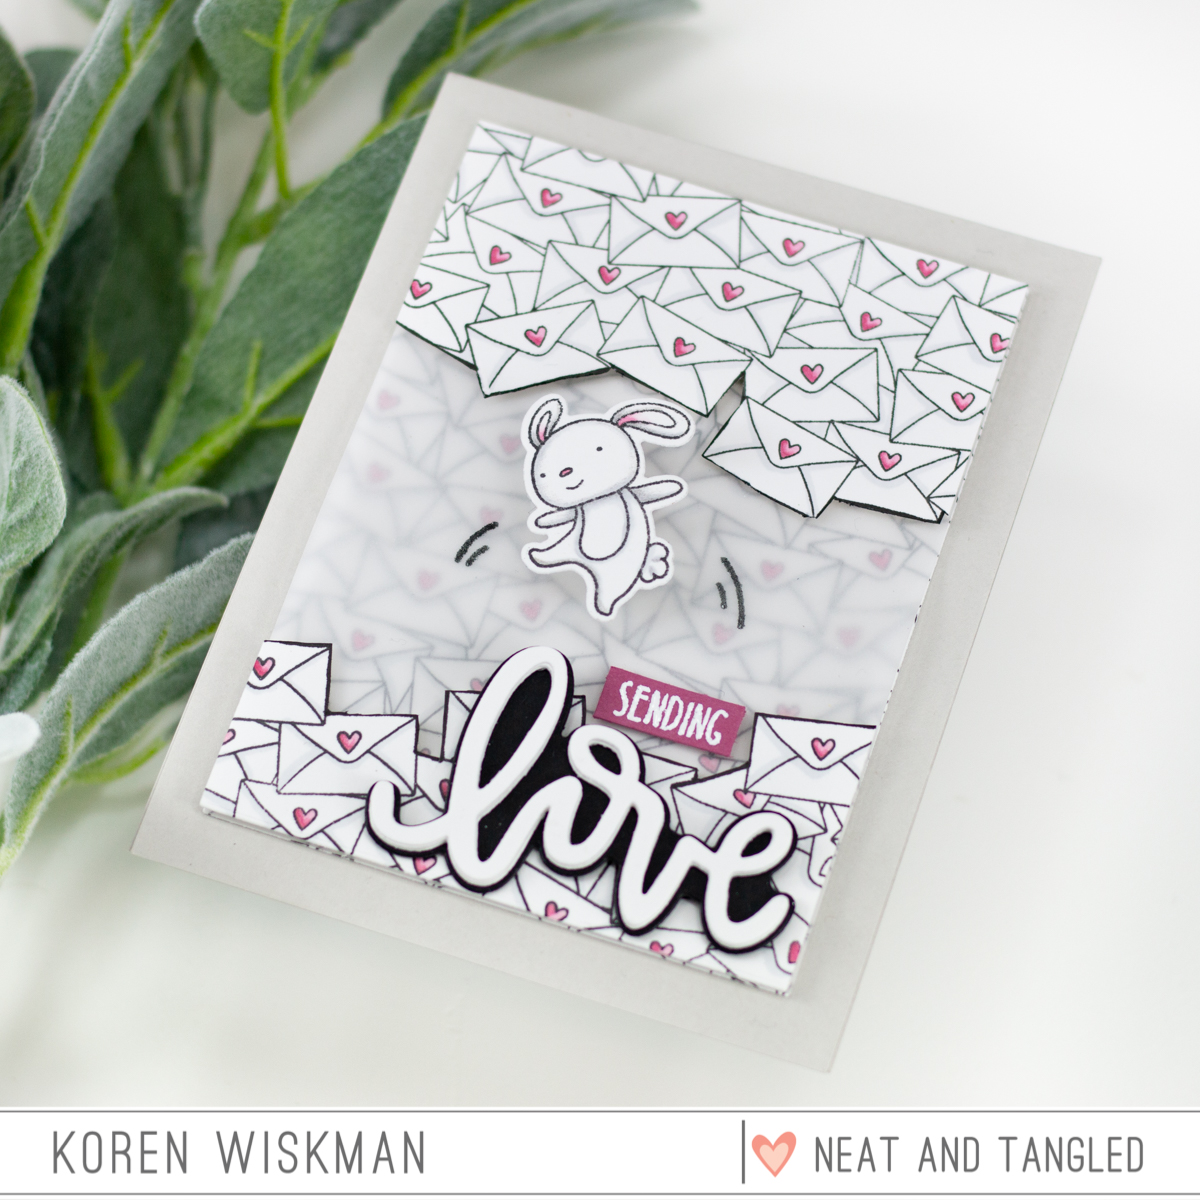
Hello everyone. Koren here today. I have another love card for you. I always say, "love ins't just for February". We should spread love all year long. So that's what I'm doing today, with the Neat & Tangled Mail Background stamp, Love Notes, and Jump for Joy stamp sets.

I started with a piece of Neenah 110 lb. Solar White Classic Crest cardstock cut to size 4 1/4 by 5 1/2. I loaded it and the Neat & Tangled Mail Background stamp into my Original MISTI. I stamped the background onto multiple panels to have extra to cut apart. I then cut the panels down to 3 1/2 by 4 3/4.

I traced with a thick black marker onto the panel that I used to cut the bottom and the top pieces from. I took one background and decided where I wanted to cut to create and interesting background for my focal image to be in. I wanted it to feel like he was jumping, sliding, playing, whatever you think of, inside the pile of love mail.

Once the two parts where traced out, I simply used my scissors to cut them out. I then went back in with the same black marker to brush the edges of the cut out pieces with black ink.

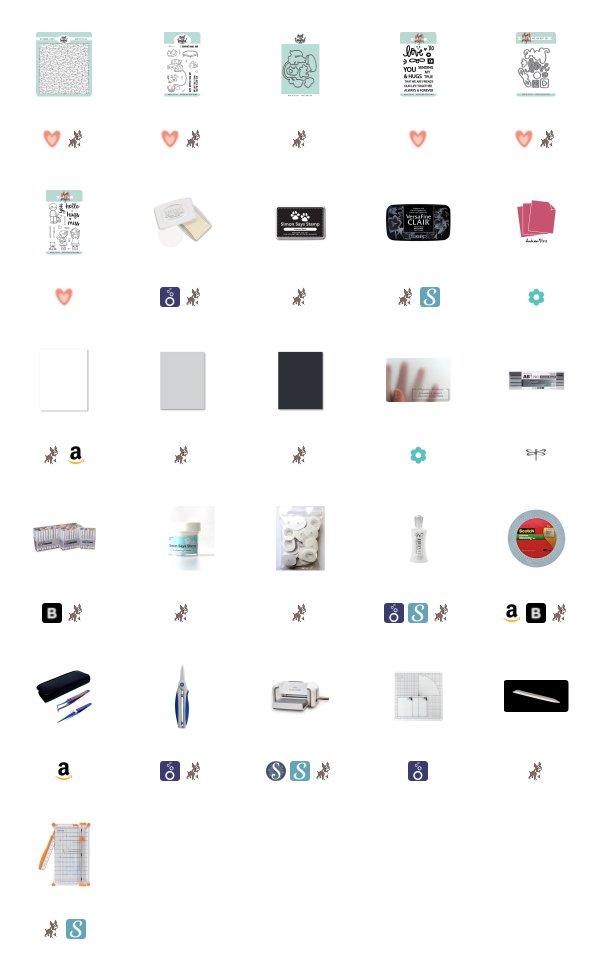
Before adhering the pieces together I used my alcohol markers to color them. I have listed the markers used on this card below in the color map.


To create the background I used one full mail background, then a piece of vellum to dull the intensity of the color. On the vellum piece, I stamped the motion lines onto the vellum layer using black pigment ink and heat embossed it with clear embossing powder. Then I added the top and bottom cut out pieces with foam tape to pop them up.

The sentiment was cut using the "love" die from the Neat & Tangled Love Notes Dies, cut from black and white cardstock. I cut the "love" word die four times and layered them together with liquid adhesive. Then placed them on the black shadow using the same adhesive. The "sending" sub-sentiment was stamped with embossing ink and white heat embossed. I used my paper trimmer to cut it down into a strip.

The bunny was popped up using an action wobble within the action marks previously embossed on the vellum.

I hope that I've inspired you to share some love in a creative way.

Koren

5

Jump For Joy with Action Wobbles

Action Wobbles are little, self-adhesive plastic springs for paper-crafting projects and they pair perfectly with the Neat & Tangled Jump For Joy set!

How fun is it to add a little interactive movement to these adorable jumping critters?! After coloring and die cutting my critters, I mounted them to a card with the trampoline stamped off the edge. For the bunny & hedgehog I used foam tape and for the little squirrel, I used a mini action wobble.

A few tips for using Action Wobbles...
  • Reinforce the die cut you want to wobble with a few extra layers. For my little blue squirrel, I adhered 2 plain cardstock die cuts to my colored squirrel to add strength and keep the edges from getting roughed up when wobbling.
  • Trim the edges of the wobble spring to fit die cuts. That blue squirrel is a little guy so I cut the spring down just a bit before adhering.
  • I have the best results putting the "thin" plastic side of the wobble to my die cut and the "thick" plastic to my card. It seems to shake a little more that way. Just make sure to press that wobble onto the card and secure that adhesive before wobbling.


Thanks so much for stopping by! Crafty hugs!
Carly

Supplies:
Copic Markers R21, R22, E11, E13, E35, E37, E47, C1, C3, C4, B0000, B000, B00, B01, B02, BV00, BV02, BV04 and BV08

4

Interactive Maze Card | VIDEO | Natalie Elphinstone

Who else saw the Maze Die from the latest release and thought it would make an awesome slider card? That was my first instinct - I just wasn't sure how to make it a reality to begin with. But with a little bit of happy fiddling and playing around with ideas I came up with a version that will work.


I say 'a version' because I imagine there are plenty of ways to do this, and probably more professional ways than what I'm going to show you. LOL! But it does work, and I love that I can now get my little mice to move around the maze as though they were chasing each other, or looking for one another.


I especially love that when these mice (from the Schoolhouse stamp set) finally find one another it looks as though they're giving each other a High Five! It's a bit of a fun interactive spin on a Valentine's Day card don't you think?


My video today will take you through all the steps necessary to make this card interactive and you'll have those mice sliding all over the place before you know it!


Supplies Used: 

Neat and Tangled Maze Die
Neat and Tangled A-Mazing Stamp Set
Neat and Tangled Schoolhouse Stamp Set
14

Interactive Light-Up Nebula Card with Chibitronics by Taheerah

Hey everyone, happy Monday! It's Taheerah here today to share a super-awesome card with a fun light-up feature!

We've been sharing some fun ideas lately using Chibitronics products, and I couldn't wait to get in on the act! For those of you who aren't familiar with them, Chibitronics are a great company who produce easy-to-use circuits kits that allow you to add a fun light-up element to your cards! It might sound a little technical, but honestly there's nothing to it!

I really wanted to create something with a space feel where the stars could light up! And I really wanted the stars to twinkle too. So in addition to the Chibitronics Chibi Lights LED Circuit Starter Kit I also invested in the Circuit Stickers Effects Pack to create a truly awesome card!

Here's what I came up with:

Light-Up Nebula Card by Taheerah Atchia

Got to say the Astrophysicist in me is geeking out heavily over this card!

Light-Up Nebula Card by Taheerah Atchia

I started by creating my front panel, watercolouring a nebula based on the famous Helix Nebula!

Helix Nebula - Infrared

Can you see the similarities?!

Light-Up Nebula Card by Taheerah Atchia

Once I'd got my depiction the way I wanted, I die cut 5 of the largest/brightest stars from the panel, using the Lucky Stars dies. I adhered some vellum behind the negative spaces to diffuse the light. Next I wanted to add a sentiment, so I pulled out my Sparkle and Shine set and heat embossed the 'Shine Bright' sentiment in white.

Light-Up Nebula Card by Taheerah Atchia

Next it was time to build the circuit! I watched a couple of videos to get an idea of how to set it all up, and there's a great tutorial on the Chibitronics blog for using the Effects stickers, so I used those together to design my circuit. I positioned the battery in the centre of my card so that pressing the sentiment would cause the stars to light up!

Light-Up Nebula Card Circuit - Switch Closing by Taheerah Atchia

Here's are some photos of the 'inner workings' of the card showing the circuit and battery housing.

Light-Up Nebula Card Circuit - Switch Open by Taheerah Atchia

And here's a short video showing that twinkling action! Isn't this card so fun?!


I hope you love this card as much as I loved creating it! If so let me know by leaving a comment below! Thanks so much for stopping by!

Supplies:
14

Interactive Card - We've Moved!

Hello everyone! Nina here to share a fun interactive card.


I used the staff from "My Heart Sings" set to make my fence :) Just draw lines as shown and cut out.


The sentiment was created with my label maker :)


Cut a slot for your sentiment strip:


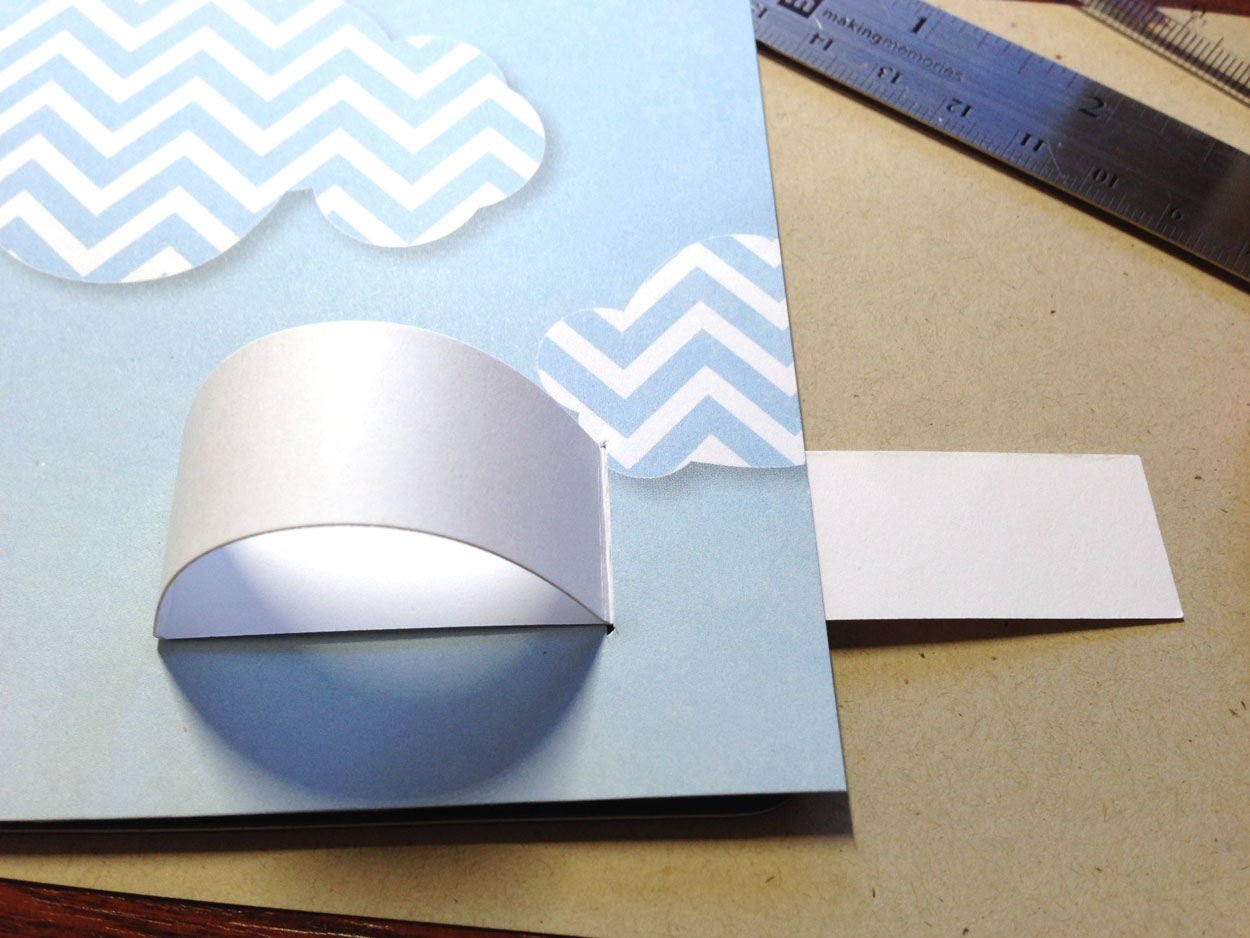
Cut paper to 3/4" x 7-1/2", score at 1/2" and 3"; fold as shown. Put adhesive on the 1/2" part and insert into the slot.


You will get something like this:


Then cover the strip with the fence and house that you created and you are done! The house stamp is from "Sweet Home", tree from "Little Bear", and the little bee is from "Fresh Blooms". All paper pieced.


I hope that you enjoyed today's post and will give an interactive card a try! Happy crafting!


6
Back to Top