Showing posts with label seeing stars die. Show all posts

Nativity Diorama Shadow Box Cards with Bibi | Video Post


Hello from Scotland,  it's Bibi Cameron and today I have loads of pictures and ideas to create extra cute diorama/shadow box cards using beautiful Neat and Tangled supplies from the latest releases.

 I  used  "Nativity Play", "Angel Wings" and "Oh dear" stamp and die sets by Neat and Tangled.I also used Seeing Starts dies and  Card Front Designs die set.

All the cards in this post are 1"depth.

In the video below I'm sharing the card making process, some tips and a formula to create this kind of cards in any size. 


As I mentioned in the video. I  used  300 grams and 240 grams paper to make these cards. 

I thought that 300 grams paper could be to thick for this projects but you can make your own mind about what kind of paper you would prefer to use after watching my video. I'm still not sure what it is the best.  I'm Ok with 300grams but I  found easier to work with 240 grams or 270 grams paper for this kind of project. Just because the thick cardstock is very stubborn!

For the card above I used 240 grams paper. 

The front of this car measures 6"x6" inches and the card folded measures 7" width so that the envelope was customized to fit a 6"x7" inches card.  I used an envelope punch board to make the envelope. it only takes 30 secs. 

This is my fav card size to create a nativity scene with images from Nativity Play and Angel Wings. I just feel I  have more room to lay out elements.

I added colours to all the images in this post using Ciao Copic Markers ( Set B) and I added shimmer with a Nuvo Shimmer Pen.


You won't have any trouble to fit the cards inside the envelopes. They will be just a bit bulky I think that using 300 grams paper for cards that will be mailed could be a better option.


Here you can see how the card lay flat on the envelope and yes! This card is big. I love it!


Here is a card that will fit a C6 American standard envelope. Folded it measures 5-1/2 " x 4-1/4" inches. However, to fit the angels and Balthazar the card might need a larger envelope so I used a UK British standard C6 envelope but this was only because some of the die cuts are out of the frame.

I used 300 grams cardstock to make this card. The 3rd layer of cardstock is made out of 240 grams cardstock.


Below another card idea, the layout is not vertical but horizontal also using 300 grams.

 You don't need to do anything different to put this card together, just turn around the paper and stick your images as they fit better or in any orientation.


I also used Cubic Simply  Stencil  and Distress Oxide Inks to add interest to front  panels of the cards.
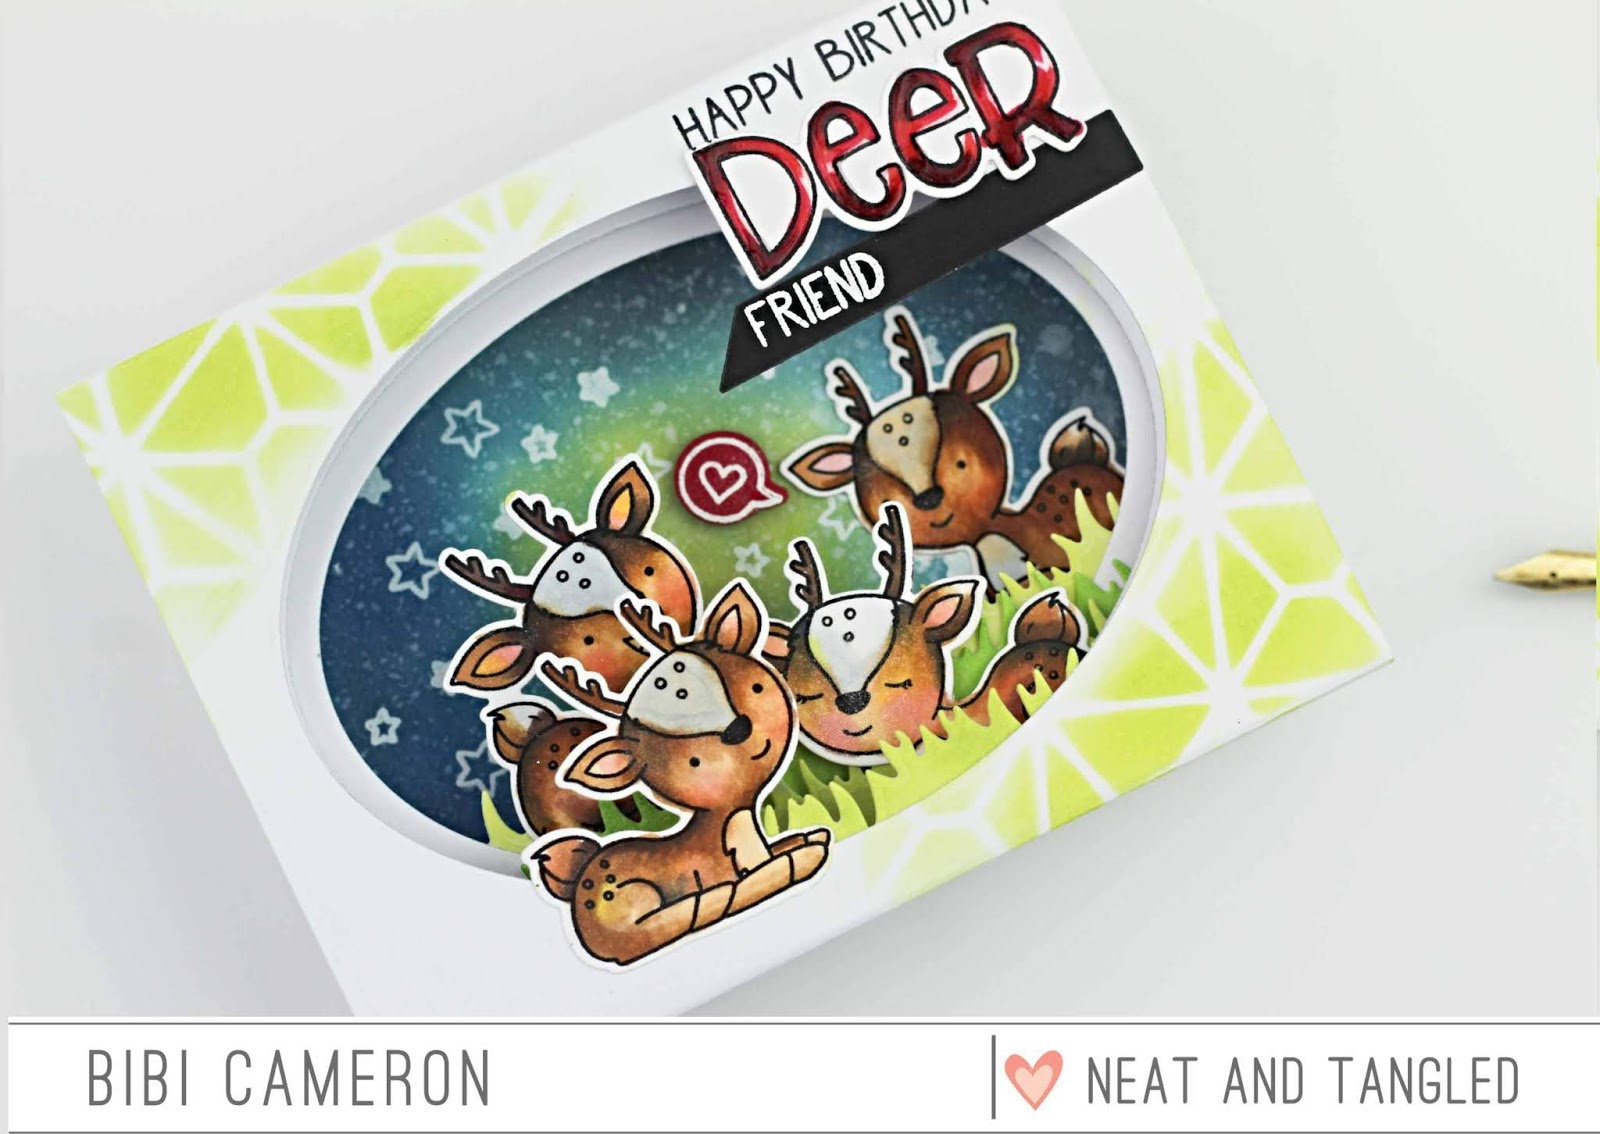


The front if this card measures 5-1/2 " x 4-1/4" inches and folded it measures 5-1/2 " x  5-1/4" inches. 

It will fit in a 6"x6"  envelope or you can customize envelope to perfect size using an envelope punch board.


So here is the formula for a 4 layers Shadow Box  Card - Diorama Card

FRONT AND BACK PANELS PAPER SIZE
  • WIDTH: 
To calculate the width of the paper you need to add the envelope / or card front width + desired box depth.

If you want your shadowbox to be  1"  deep you need to score the paper 1" from both ends. If you want a slim shadow box card e/g.  1/2"inch you should apply formula above and score the paper 1/2" from both sides.

  • LENGHT:  
For a square or rectangular card, you can choose your desired length...  any length is ok but keeping proportions.


  • INSIDE PANELS OR INSERTS SIZE
When you add layers of paper into your shadowbox,  the walls of your box became thicker and thicker so that the inserts should be slightly narrower and when you adhere them into your card they will keep straight and they won't bend inside so that the card will fold flat.

Off course,  this is not something  I read in a book.  It is just my own personal formula to make the job easy. Although I have to accept that I can easily skip any of the steps and my cards will be wonky..  it is fine tho.. perfection and handmade sometimes are not a good match :) lol.

 The inside panels or inserts pieces do not need to have the same width and depth than the exterior box but they can have the same length as the box if you want to. I like it that way but depending on what you are planning to do you can do different staff with shorter inserts... e.g. add stripes of grass, clouds etc into your cards.

1. To calculate the size of  the insert that goes behind the front panel  you need the next formula:

 Envelope /card front width  - minus  1/8" inches
To calculate where to score folding lines at both ends of your panels, you need to divide the depth of your box by two  (2). 

2. To calculate the size of a second panel behind the front panel of the box you need the next formula:

Envelope / or card front width -   minus 1/2 of the box depth  measurement  -  minus 1/8" inches
To calculate where to score the folding lines at the end of your panels you need to divide the depth of your box by four 4.

I explain all this a bit better in the video . Soundss a bit confusing but that's the math to create a perfectly shaped shadowbox or diorama card.


Make sure to watch my video.. available here!

happy crafting!
x
Bibi 
7

Neat & Tangled / Tonic Collaboration - Day 3

It's time for Day 3 of our collaboration with Tonic USA!  Each day this week we will be sharing projects featuring N&T and Tonic products on both the Neat & Tangled and Tonic USA blogs, there are also two big prizes to be won.

Here at Neat & Tangled we'll be selecting one lucky comment from our collaboration blog posts to receive a $75 credit to spend at Tonic. AND, Tonic will select a commenter from their blog to win a $75 credit to the Neat & Tangled store.

Today Cheiron and Nancy are sharing with us.  First we have Cheiron:


My card today uses everything sparkly and metallic! I started off by cutting a piece of watercolor cardstock backed with adhesive foam using the Geometric Circles Cover Plate die. Then I colored over the panel using my Dual Ended Blender Brush to apply Embellishment Mousse in Mother of PearlIndian Gold and Fresh Copper to create my background starting with the lightest color around the outside and the darker colors inside. This mousse is so easy to blend! 


Then I cut out the Seeing Stars die and embossed it with the Gold Enchantment Glitter Embossing Powder. This is probably one of the sparkliest gold embossing powders I have ever used. I also had a piece of paper that was cut with the Embellishment Circles die and I covered it with Radiant Gold Gilding Flakes and added that on top of the stars to give another layer of dimension. 


Once those layers were adhered, I cut the Hooray die from another piece of paper that I colored with Fresh Copper Embellishment Mousse and added it to the Hooray outline that was cut from white cardstock. Once all the layers were glued down, I added some Nuvo drops in Copper Penny. I sure hope I know someone celebrating something soon, because I can't wait to give them this card!

Next up is Nancy:

Let's get messy with some Nuvo Embellishment Mousse by Tonic Studios! To create this card I used the Punchinella Steel Die to create a mask. Then I dipped into the Aquamarine Mousse and started spreading this beautiful frosting up at the top of the card. Next, I used the Spring Green Mousse at the bottom and overlapped the colors creating a beautiful transition shade in the center.


The Embellishment Mousse is very light and easy to spread. It cleans up really well too. I love that you can mix colors to create different shades.


The Prehistoric Pals Stamp Set was perfect for this textured background. The dino images were watercolored and placed on foam to give them a little lift. Don't forget to give your embellishment mousse some time to dry. It's pretty quick to dry and was ready to go after 15 minutes.


Try the Nuvo Embellishment Mousse and Punchinella Steel Die to create texture backgrounds with a splash of color!

Don't forget to leave a comment here to be entered to win a $75 credit to the Tonic store, and then head over to the Tonic USA blog to see what their team created.  We'll be back tomorrow with more inspiration for you!
46

Die-Cut Layering with Daria

Hello Dears,

Daria here. Thanks for joining us today. I have a couple of cards to share with you.

I really like to mix and match papers different in shade and texture. I think it adds so much to the depth and overall design.  So today, I am playing with die-cutting and layering different die-cut elements over each other to create dimension and interest on my cards.


For my first card, I used Seeing Stars Nice and Neat Die. As it is one big die, it took me no time at all to make all the different die-cuts from dark blue, vellum and glitter cardstock.


One of the five layers on this card made with dry embossing the Seeing Stars Nice and Neat Die onto the card-base. I've also made a few separate stars from Etc. Paper - wood-like paper sheets. Sentiment comes from my another favorite - Scandinavian Prints Stamp Set.


For my second project, I've took coordinating dies for Medallion Flower Builder set. I think, I can use it over and over again, and each time the result would be different.


I die-cut lots of flower petals, again from different types of paper: white, light blue, vellum, glitter and wood-like paper from Etc. Papers. Then, I put them on a burlap string across the card, adhering some of them in strategic spots for more stability. It took some time, but I really like the way it turned out.


I heat embossed the sentiment from the Medallion Flower Builder set in white.  It looks very contrast on a darker card base, but coordinates with white flower petals on the top of the card.


Hope you liked these ideas and will give them a try :) Thanks so much for stopping by!

Hugs,
Daria.

Neat&Tangled products used: 
Medallion Flower Builder Stamp Set
Medallion Flower Builder Nice and Neat Dies 
Seeing Stars Nice and Neat Die
Scandinavian Prints Stamp Set
6

Awesome with Guest Designer Laurie Willison

Hey there! It's Laurie here with another card using the most awesome set from Neat and Tangled! It's called just that....Awesome!


To create this card, I added some black striped washi to the card base. Next, I took a piece of vellum and added in the watercolored Seeing Stars die. I also heat embossed the "looks good on you" in white embossing power. I die cut the back layer of the awesome die in gold card stock and then added in an ink blended awesome on top. (This makes me want to start singing Everything is Awesome from the Lego Movie....) Last, I took the awesome sentiment and added it to the vellum with some foam tape for dimension. To adhere the vellum to the card front, I took a piece of card stock with a "window cut out of it and used it as a mask for the back of the vellum and then sprayed spray adhesive just inside that window. Using the adhesive this way lets the middle of the vellum sick down to the card front and lets the edges lift up for a layered look.


So that is it for today! I hope you enjoyed my card and I hope your day is awesome! Are you singing the lego movie song now? :) See you soon!
4

Neat & Tangled / We R Memory Keepers Finale

Hello everyone!  We hope you have enjoyed our weeklong We R Memory Keepers feature.  It's been a pleasure working with their line of DIY party products!  Today we are ending things in style, Sveta has prepared a bright and adorable party ensemble.  You are going to love it!

I'm so glad to join this unique and fun collaboration week of Neat & Tangled with WMRK!

I prepared something unusual for me: kids party decorations. As I do not have my own children yet, I invited my friend and she brought not only two lovely kids but very tasty cupcakes! Woohoo!


First, I made pinatas.  I used the star pinatas, the ocean and blossom fringe tapes.


I made one of the stars for a boy and one for a girl, and used our newest Big Top Birthday stamp set and Big Top Birthday Nice and Neat dies to decorate them.


Special tinsels pull tabs are also available in WMRK collection, as well as confetti for filling.


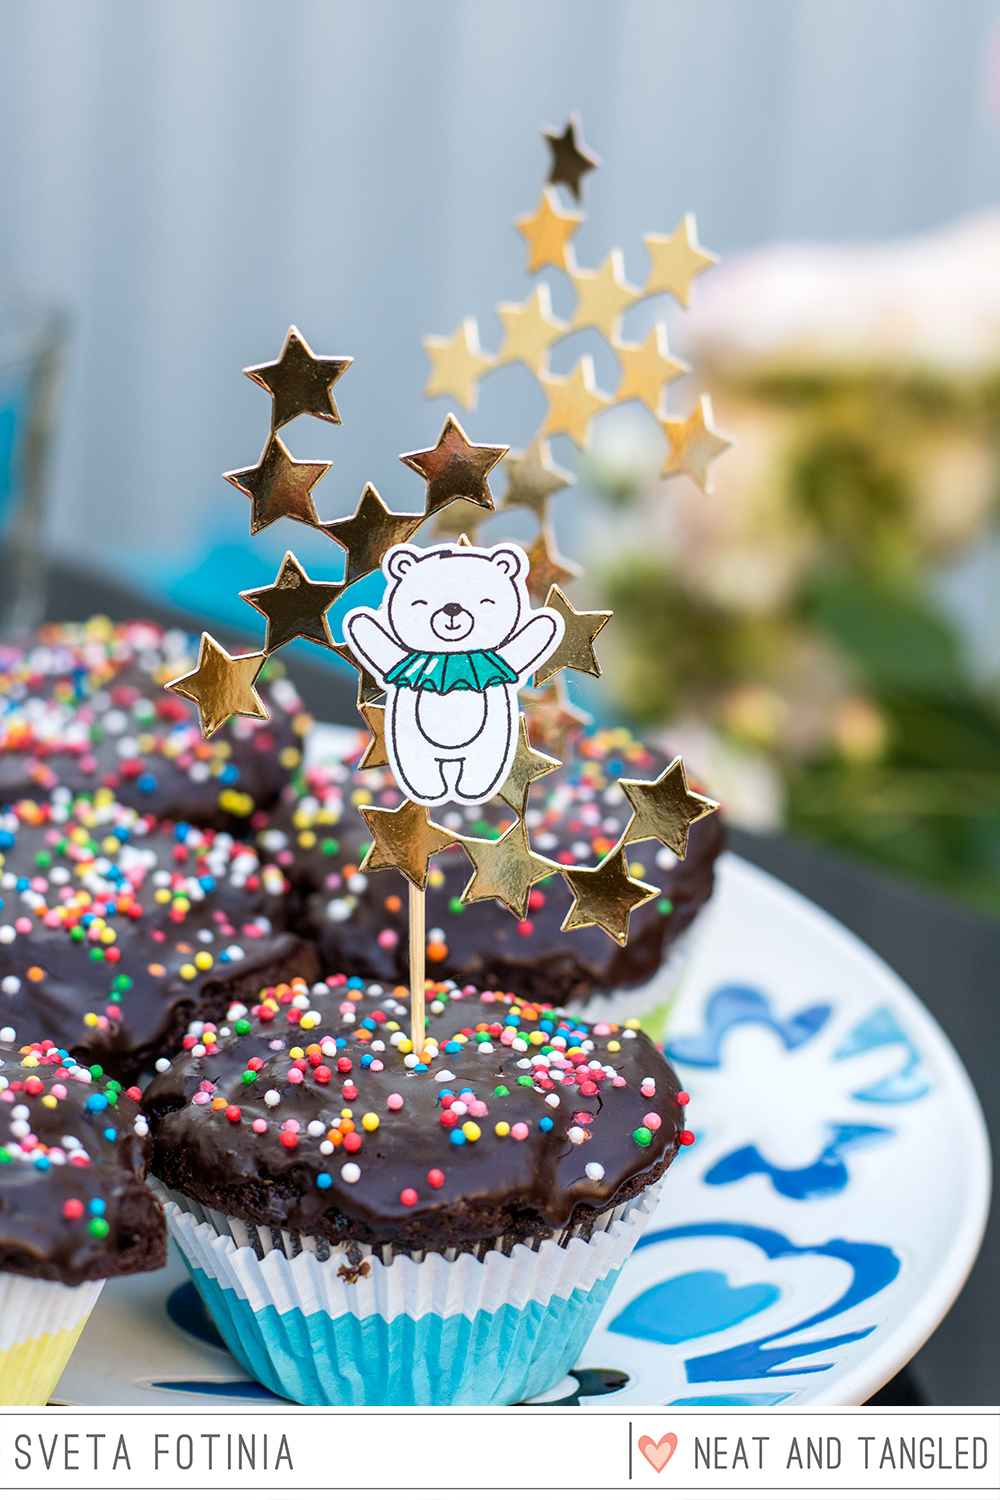
For the toppers I used a lion and a bear from the same Big Top Birthday set along with the Seeing stars Nice and Neat die for a background.


 I'm so happy how it turned up:stars, circus and bright colors came together to make some fun for children! Even my cat General was interested with tinsels and wanted to grab some candies :)


Hope you enjoyed our collaboration this week, and huge thanks to We R Memory Keepers for sending us so many great goodies to play with!
10

Neat & Tangled / Hemptique Collaboration, Week 2


It's Week 2 of our collaboration with Hemptique this month!  While you are probably familiar with their very popular twine, they also have a number of other products that we'll be featuring this month including hemp paper and bookmarks.

Each Tuesday this month design team members will showcase projects that combine Neat & Tangled and Hemptique products.  Be sure to leave comments on these posts as we'll pick a lucky commenter to win a Hemptique prize pack at the end of the month.

Today it's Daria's turn:

For today's post, I have decided to play with Hemptique paper. Love its texture and softness - very unique. So I took our Seeing Stars die and try to make a sky for wishing many dreams over lots of stars :) Thanks to the Hemptique hand-made paper, stars turned fluffy and dimensional.


The sentiment from Dreams stamp became a perfect addition to the idea of this card.  That is my life motto; I do believe that all the dreams always do come true :)


To see how it all came together watch the video below :)

We'll be back next Tuesday with some more projects featuring Hemptique as well as another chance to win!  If you don't already, be sure to like Hemptique's Facebook page and tell them we sent you.  There just might be a giveaway over there towards the end of the month.  ;)

23

Happy HELLOween!


Hello!!!

I didn't plan to make a Halloween card at all, but when I took the Hello There die out, this card created itself!  :) I like to play with words and this combination was just perfect for the upcoming holiday. I chose a non-traditional color scheme, mostly white with a touch of black and...pink!

For the background I used the Seeing Stars die which is covered with glitter, real stars have to shine!  I also I added the funny skull and bat from the Creepy Cute stamp set. 

I placed my sentiment on the A Lot to Say die cut.

How do you feel about light and girlish Halloween? :)
8

Neat and Tangled 3rd Birthday Blog Hop Day 2!


Hi friends!

This week is a VERY special week! It is our 3rd birthday! To celebrate we have a week long blog hop with some of our very best friends - I know you're going to have a blast! If you missed the first day of our hop, head over HERE.

We are having some BIG GIVEAWAYS

(1) $100 Gift Certificate to the Neat and Tangled shop chosen from commenters along hop
(2) $50 Gift Certificates to the Neat and Tangled shop chosen from commenters along hop
surprise giveaway on our Instagram page
surprise giveaway on our Facebook page

To enter to win be sure to leave comments all along the hop all week long!

In addition to all the fun of the hop, we are having a surprise release! We've got 2 new stamp sets, 2 new dies, and 7 new colors of Lucy's Shaker Mixes! All products are available NOW in the shop!

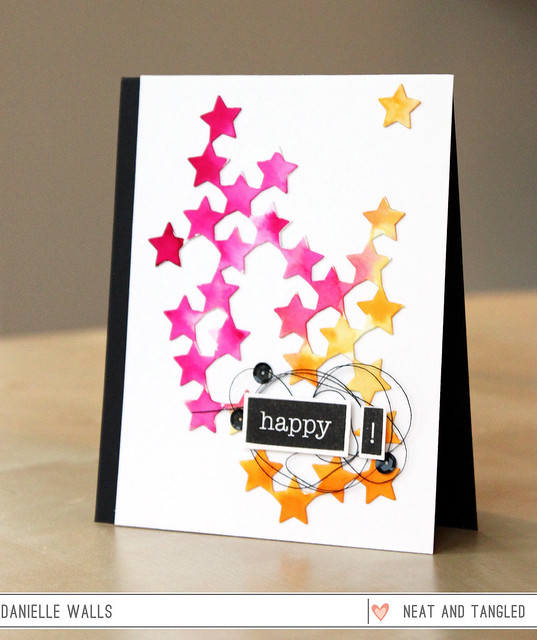
For today I made a card using our new Seeing Stars die.  It makes it so easy to create a really fun background!  For mine I just did some fun watercoloring, and adhered it to my card.  I added the sentiment from Everyday Labels, some embroidery floss, and a few black sequins to finish it off!
3rd Birthday Hop


Your next stop on the hop is Jennifer McGuire!

And if you get lost or want to start from the beginning, here is the full hop order for today:

See you back here tomorrow for more fun!
Danielle

217

Neat and Tangled 3rd Birthday Blog Hop Day 1!


Hi friends!

This week is a VERY special week! It is our 3rd birthday!  It is so hard to believe that it has already been 3 years since we opened our doors, the time has flown by!

To celebrate we have a week long blog hop with some of our very best friends - I know you're going to have a blast!

We are having some BIG GIVEAWAYS

(1) $100 Gift Certificate to the Neat and Tangled shop chosen from commenters along hop
(2) $50 Gift Certificates to the Neat and Tangled shop chosen from commenters along hop
A surprise giveaway on our Instagram page
A surprise giveaway on our Facebook page

To enter to win be sure to leave comments all along the hop all week long!

In addition to all the fun of the hop, we are having a surprise release! We've got 2 new stamp sets, 2 new dies, and 7 new colors of Lucy's Shaker Mixes! All products are available NOW in the shop!
Happiest Birthday 4x6 Stamp Set
Heart of Gold 3x4 Stamp Set
Heart of Gold - Nice and Neat Die

Seeing Stars - Nice and Neat Dies
Lucy's Little Things: Champagne
Lucy's Little Things: Chocolate Truffle
Lucy's Little Things: Delphinium
Lucy's Little Things: Just Peachie
Lucy's Little Things: Lipstick
Lucy's Little Things: Pretty Pansy 
Lucy's Little Things: Rainforest

Gorgeous huh?!

Your next stop on the hop today is Lisa Spangler!  Don't forget to leave comments all along the way!

Thank you for celebrating with us!

If you get lost or want to start over here is today's full hop order:

See you tomorrow!

xo
Danielle


297
Back to Top