Showing posts with label box die. Show all posts

I Go Nuts for You!

Hi there! It's Cheiron here with my first blog post. I just love the My Favorite Nut set from the most recent release and I love combining new sets with products I already have. 


What would be a better Valentine for these adorable little squirrels that an entire BOX of nuts??? 

I die cut a bunch of the acorns and cut a box from the box die and just filled it on up.

Some of the nuts were just glued right into the box and the others with layered with some foam tape to give it a dimensional look. Once they were all fastened in, I gave them a quick touch of shine with a Wink of Stella pen. Hope you enjoyed this very special squirrel Valentine!

Thanks for stopping by!
SaveSave
8

Very Merry Christmas with Amy Yang


Our 15K instagram winner Amy Yang is back today with her final project.  We've so enjoyed having her with us this month, and we know you guys have too.  Here's Amy with all the details:

Hello there! Amy here with my final post as a special guest for December. Before I start, I'd like to thank Neat and Tangled for this great opportunity. I loved working with your products and enjoyed this experience.

Today I have for you a Christmas card using the Box Die, Beary Merry stamp set and the coordinating Beary Merry Nice And Neat Dies.


I started by die cutting the box using white cardstock. I love how this box added interest and dimension to my card. I used the star cluster from Beary Merry and stamped it using versamark ink. Afterwards, I embossed it using white powder. I used mermaid lagoon distressink and applied it to the front of the box as well as the inside. I then stamped and colored my images on white cardstock with copic markers and die cut them with coordinating dies. 


On the bear’s scarf, I used white gelly roll pen to add some lines to give it a knitted look. Then I had him hold the mug, took the other images and placed them inside the box using double sided tape.


At this point I decided to use Kraft paper as the front panel of my card. I used the sentiment “have a very merry christmas" and embossed it with white powder. I adhered the box and the bear to the front of the card. I added two layers of foam tape to the bear so that he can be in the front of the box. To finish, I added some sequins from Ocean Waves Sequin Mix.

Thank you for stopping by!

Thanks again to Amy for all the inspiration she shared with us this month!  Be sure to follow Amy on her blog or Instagram, you won't be disappointed!  And if you aren't yet, make sure you follow us as well @neatandtangled.  You never know when another guest designer spot might be up for grabs!  ;)
6

Happier than...


Hi ya!  It's Amy here with a card that was so much fun to make!  I managed to add six Neat & Tangled products, do you spy them?  I'll start on the bottom and make my way to the top!

First of all, I'm smitten with plaid and I'm not afraid to mix 'n match.  I created my bottom panel using the Scalloped die set.  The Classic Tag 1 is a must have.  Its a great versatile design.  I actually made mine a smidge longer but just diecutting another couple inches of the bottom of the tag and adhering the pieces together.  The box Nice and Neat die is so much fun and super easily to put together!  Kitty's Favorite Things is adorable, don't you agree?  Surprise!  She's holding the Santa mug from the Beary Merry set!


I'm a big fan of my Zig Clean Color Markers...that's how I colored the Kitty and the mug.  Check out the interior of the card:


The new Happier Than set always has me chuckling....


scalloped dies

classic tag 1

box nice and neat die

Kitty's favorite things


Thanks so much for stoppin' by!!!!

8

Box Full of Holiday Happiness with Daria

Hi Dears,

Daria here. For today's project, I've decided to play with  just released Berry Merry stamp set (it is simply adorable) and with all time favorite - Box die. At first, I wanted to fill the box with different ornaments from Happy Ornaments stamp set, but then decided to add all kinds of images.


For me, Holiday happiness is also about decorating the tree and digging into a box full of old ornaments that we have from my grandma and from the times when I was very young... 


I started by stamping some images from Beary Merry Stamp Set. I made the simpliest coloring possible with just one color. I think the black and white stamping plus one color gives this card a more modern look. You  may choose any color you like to put some accents. But I really loved the new Lime green Sequins and wanted to use those on my card.


For my sentiment, I used the same stamp set and stamped in Versafine Onyx Black ink. It is the best ink for sentiments and detailed images.

Here is a video on how fast and simple this card is, hope you can check it out :)


That's finishes up my card for today. Hope you liked it and got into a holiday crafting mood.

Thanks for stopping by and have a great day!
Daria.

Neat&Tangled Products used:
Box - Nice and Neat die
Beary Merry Stamp Set
Beary Merry - Nice and Neat dies
Crystal Clear Mix Sequins
Lime Sequins Mix

9

Design Team Addition: Introducing Keeway Tsao!

Hello friends!

I am here today with an exciting announcement! Our design team is growing!

Please give a warm welcome to Keeway Tsao! I am such a fan of her work - constantly inspired by her creations and I know you will be too!

Hello there! My name is Keeway Tsao and I live in sunny California with my sweetheart. Crafting has been my passion and getaway into creativity. I have loved coloring for as long as I can remember, and always carry something to color wherever I go! I'm not really sure how to describe my style, but I can tell you that I craft how I feel! I love to let the products inspire me and just pour my heart into my work. Cardmaking is my happiness and I'm grateful to be able to share it with all of you.


Be sure to leave her a warm welcome!
7

You Warm My Heart


Hello Neat & Tangled Fans!  It's Amy with a non-traditional Valentine's Day Card!  I believe a majority of people think of hearts along with pink + red = Valentine's Day. 


Some of you know that I'm a huge coffee fan so what better Valentine's Day card...but one that has coffee!  The Coffee Cups from Perfect Blend have been combined with the very popular Box Nice & Neat Die.  

I love mixing up non-traditional colors for occasions.  How about you?

Thanks so much for stoppin' by!

perfect blend stamp set

perfect blend nice & neat dies

box
box nice & neat die

15

Gift Card in a Box


Hi!  Miriam today with a quick and easy card to make your holiday gift giving a little easier.

Can you believe that Christmas is only a month and a half away?

I'm trying to get a jumpstart on things.  We generally give our teachers a gift card along with something little for Christmas.  Since I'm already feeling a little pressured for time I wanted to create a card that is special, but easily reproducible.

Enter the Box die.


Seriously so simple, cut/assemble the die, two sheets of patterned paper, a stamped sentiment (from the Out of the Box set), slip in the gift card and you're done!


In terms of assembling the box die, when I'm putting a critter of some tissue paper of other 'stuffing' in the card I'll adhere the tabs around the back of the card.  This gives the box a little more depth/space inside for the contents.  For a card like this where I'm slipping in something nice and flat, I fold the tabs and adhere them to the inside of the box.  I would use either liquid adhesive (the kind where you press the applicator down to release the blue liquid, my favorite is CTMH Bonding Memories adhesive) or some of that really sticky red line tape.


The box is also the perfect size for slipping in a check or some cash if that's the stage of life your kids have reached.  Mine are not yet there.  They spent a great deal of time researching the Target toy catalogue over the weekend.....

Thanks so much for stopping by!
7

No tricks All treats!


Hey all, it's Amy here!  I had so much fun putting this card together:


I love how the September Release set, BOOed, works well with Creepy Cute <-- love that name!  I used the single cobweb and heat embossed them on the box flaps.  The sentiment, No Tricks All Treats fits perfectly on the box.  The bat, cloud and moon are from Creepy Cute.

I stamped the envelope leaving room to address the card and adhere the postage....who wouldn't love to see that in their mailbox?

I hope you have a great week!


boo
BOOed

creepy
creepy cute

box
box nice + neat die

24

xxx happy birthday xxx


Hello, it's Amy here with a birthday card:


My goal is to design more birthday cards over the next several weeks.  I never seem to have any on hand, my go-to card designs are hello'ish.

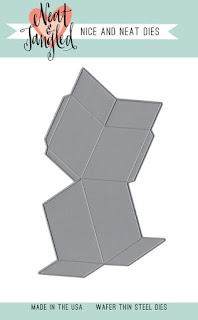
This one incorporates the new Hand Stitched stamp and coordinating Nice + Neat Dies!  The speech bubble is from the Out of the Box stamp set.  One of my all time favorite Nice + Neat die has to be the Box one.

stamps:  hand stitched, out of the box  nice  + neat dies:  hand stitched, box and graduated stripes coverplate

Lots of die-cutting so I'm linking up to the Little Tangles Challenge:


hand stitched
hand stitched

hand stitched nice and neat dies


box die
box nice and neat die

graduated stripes
graduated stripes coverplate

out of the box
out of the box

Remember, if you come across a product that is out of stock, make sure you click on the E-mail me icon!


23

Neat & Tangled / Freckled Fawn Collaboration Day 5

Can you believe it's our last day with Freckled Fawn?  We hope you have been inspired this week, we have loved working with Freckled Fawn this week!

Both blogs have been sharing projects all week.  Be sure to check back each day and leave comments as there are prizes up for grabs.  Freckled Fawn is giving away a June OHDEERME Embellishment Kit on their blog and Neat & Tangled is giving away a $25 credit from one of the comments left this week.

Taheerah's card:


I used Planner Blocks (the square made of two solid rectangles) and created an ombre/striped background, then adhered some wood chips from the June OHDEERME kit, and a white glitter resin cloud.


I finished with a partially inked sentiment from the Sparkle and Shine set. Love this fun, cheery Summery card!

Amy's card:


I made a tall skinny card (3.5 x 5.5 inches).  Check out the fun Freckled Fawn Wood Chips ❘ Birthday Shapes.  I thought that cupcake would be so fun popping out of the Nice and Neat Box die.  The word bubble and sentiment are from the coordinating Out of the Box stamp set.  I finished off the sentiment bubble with a Freckled Fawn Star Paper Clip.

I even decorated the interior of the card:


The tape and sticker are from the Freckled Fawn November kit.    Sadly, I see that it is now sold out but be sure to check out the other FABulous kits that are still available!

Be sure to leave comments on all our collaboration posts this week.  We'll leave commenting open through Sunday evening and post a winner on Monday. 

And don't forget to head on over to the Freckled Fawn Blog to see what their team created.  You won't be disappointed!
27

Celebrating Emily Leiphart Video Blog Hop!

Hello friends, Danielle here!

Our very own design team member, Emily Leiphart, has reached some great milestones - 100 Videos and 2500 Subscribers on her YouTube Channel.  To celebrate we are having a video blog hop over on YouTube! 

There are lots of great sponsors offering up some awesome prizes! To be entered to win you have to subscribe and comment on the YouTube videos along the hop!  You can go to the Neat and Tangled YouTube channel HERE or start at Emily's channel HERE.


I made a card using Falling Hearts for the background, and the Box Die.  For the banner and sentiment I used the banner from Creepy Cute Shadow + Sentiments, and the "happy birthday" from Gifts for You.  Watch the video below to see how it all came together :)


Don't forget - to be entered to win you have to comment on the video over on our YouTube page HERE!

Congrats, Emily! :)
8

Fun with the Box Die


Hey everyone, Miriam here today to share a couple quick Box Die cards with you.

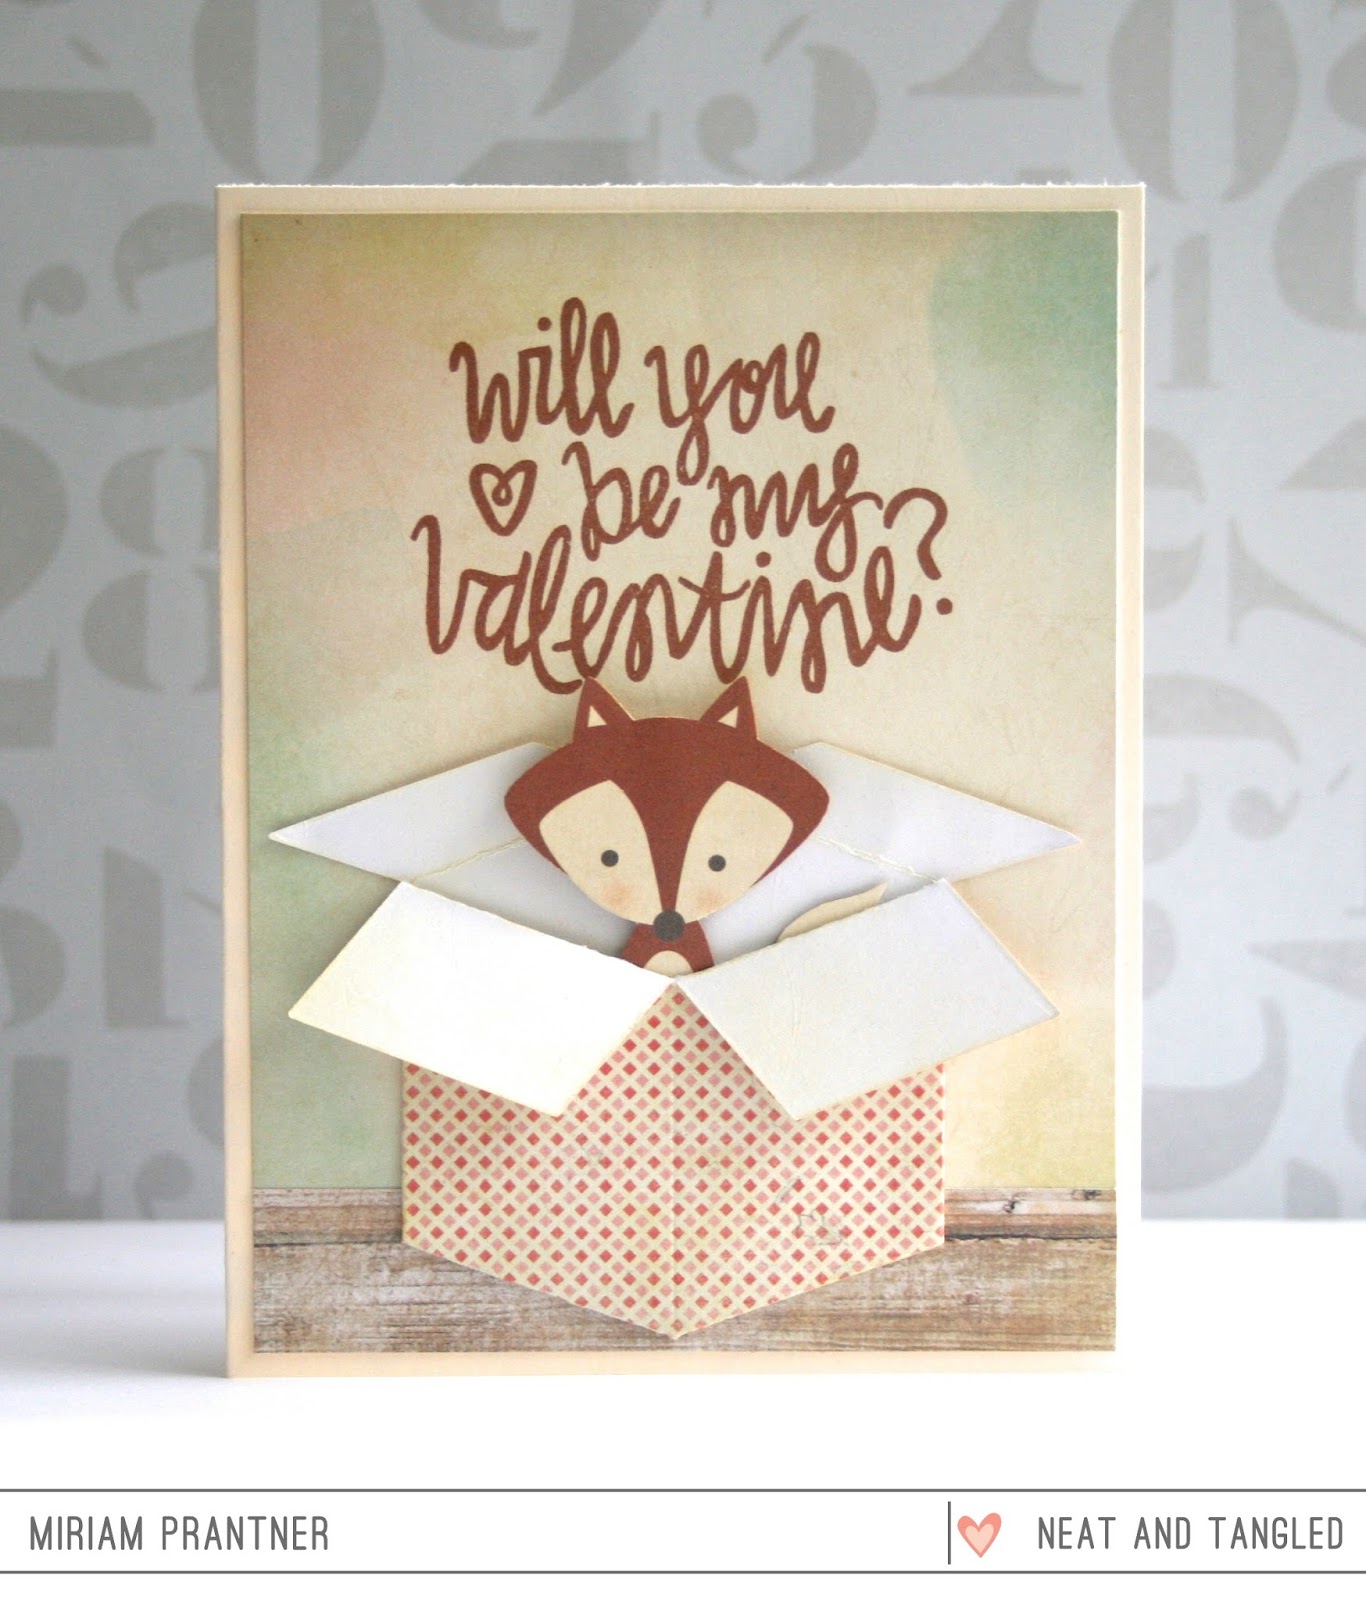
For this first card, I wanted to create a Valentine's Day card.  I was originally going to use a critter sticker, but of course I couldn't find it, and if could see my craft room you would know why.  I did however, locate this cute little fox who was fussy cut from a paper in the Simple Stories Sweater Weather collection.


The patterned paper I used for the box was one sided, so I added a little distressing to the inside of the box with Antique Linen Distress Ink to soften the white a bit.

The sentiment is from the new Be My Valentine set.


For my second card I wanted to use the box in a different way, and create the idea of things spilling out of the box, in this case sequins.

I first put together the box, and adhered it to the card base with foam adhesive.  Once that was done, I stamped and embossed the sentiment, from Party Dots.

Then it was just a matter of adhering the sequins.  I used a combination of the Crystal Clear, Gold, and Black.


So fun to create!  I know lots of you have been waiting on the Box Die, and it's going to be back in stock this week.

One final tip, Scor-Tape is a great adhesive to use with this die, and I've used it on other cards, but for these I used CTMH Bonding Memories adhesive.  You can get similar adhesives in your craft store.  It's the type with a foam applicator tip where you press down on it to release the blue liquid adhesive.  It was quick and easy and worked like a charm, you don't need a lot, and it dries quickly.

Thanks for stopping by, have a great day!


18
Back to Top