Showing posts with label Scandinavian Prints Christmas. Show all posts

Black and Gold Scandinavian Prints Christmas with Cheiron


Hi there crafty friends! Just when you think you are done with your holiday cards, there is always one person you think of to make a card for. That is what always happens to me this time of year. Today, I thought I'd share one of my favorite quick and easy ways to add a couple more cards to your holiday card stash in just a few minutes.

Today, I am going with a little bit of a non-traditional (but still festive) color palette of black and gold. To create these cards, I cut a piece of 8 1/2 X 11 Neenah Solar White card stock into 4 panels, and cut them out with the rectangle from the Card Front Designs dies to give the panel a finished look.


Once the panels were cut, I  took out some of my favorite stamps from the Scandinavian Prints Christmas set. I stamped a sentiment onto the bottom of each panel. Then, I created a tiny scene on each one, mixing the stamped images in black and gold with some cut images from different black and gold printed and glitter papers using the Scandinavian Prints Christmas Dies. When the panels were complete, I adhered each of them to a white card base using foam tape.


It is so easy to make these types of quick and easy cards with any combo of small stamps, dies and sentiments. I always figure when I have all the stamps and dies out on my table, that I should create more than one.

Wishing you all a very Merry Christmas and all the best for 2019!

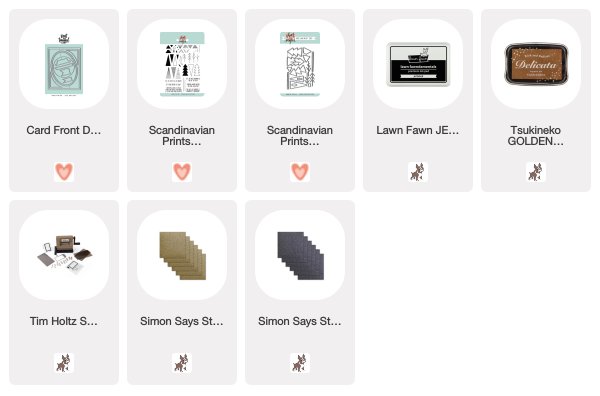
SUPPLIES: 

6

Cheery Rainbow Christmas with Guest Designer Meghan Peterson

It's the last Friday of the month, which unfortunately means that we're saying goodbye to this month's guest designer Meghan Peterson. It's been a pleasure having her this month, and you're going to love her last project. Here's Meghan with all the details:

Good morning all! Today is my final day at Neat & Tangled as their Guest Designer for this month. It has been such an honor to be a part of this, and thank you all for joining me!


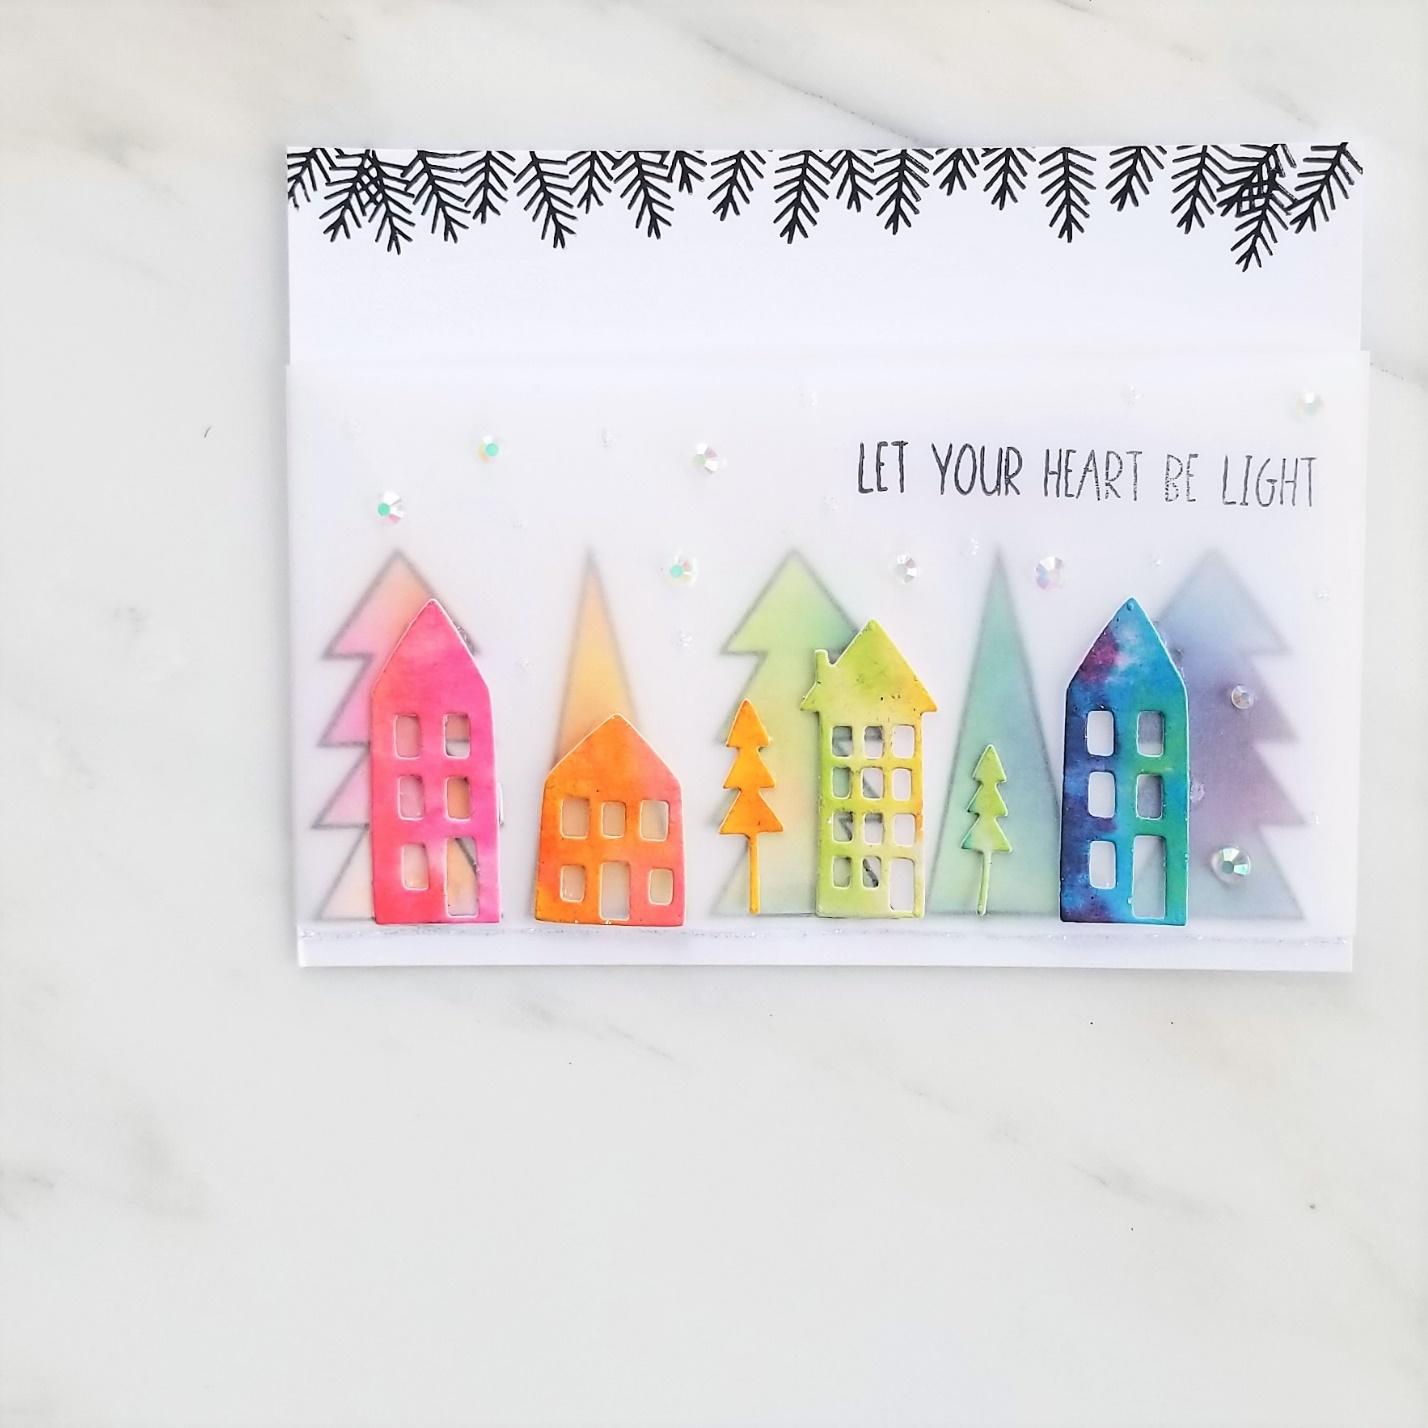
Today I decided that since Christmas is less than a month away (when did that happen??), I would make a true Christmas card. However, I wanted to try it with a twist and to make a rainbow Christmas card. I was skeptical about how it might turn out, but I actually really like the cheery feel of this card.

I started by taking a watercolor paper panel, the size of an A2 card and cut it in half, hot dog style (or vertically if you’d like to be technical ☺). I took my distress inks and smeared the rainbow colors I wanted onto a craft sheet (acetate or shrink wrap would work for this also). I then took one half of my watercolor paper, and smeared heavily and richly my distress inks in rainbow order. I added water to emphasize the watercolor look, and made sure to put the colors closely together so you would get multiple colors in each tree. I put this aside to try.


I then took the second half of my watercolor paper and diluted the colors still on my craft sheet with more water, and added more water as I applied them, in the same rainbow order, but not with the exact same color ratio as my first panel. This variance will only add to our piece. After I had a pale watercolor rainbow, I let that try as well.

As they dried, I took my card panel (not watercolor paper), and added sparkly snow falling from the sky, partially using the snow stamp from Neat and Tangled, and then added in more dots where I wanted. I debated heavily with myself about adding color to the top portion as well, but decided I wanted my rainbows to be the color focus and left the top part completely white (unless you count the iridescent sparkle).


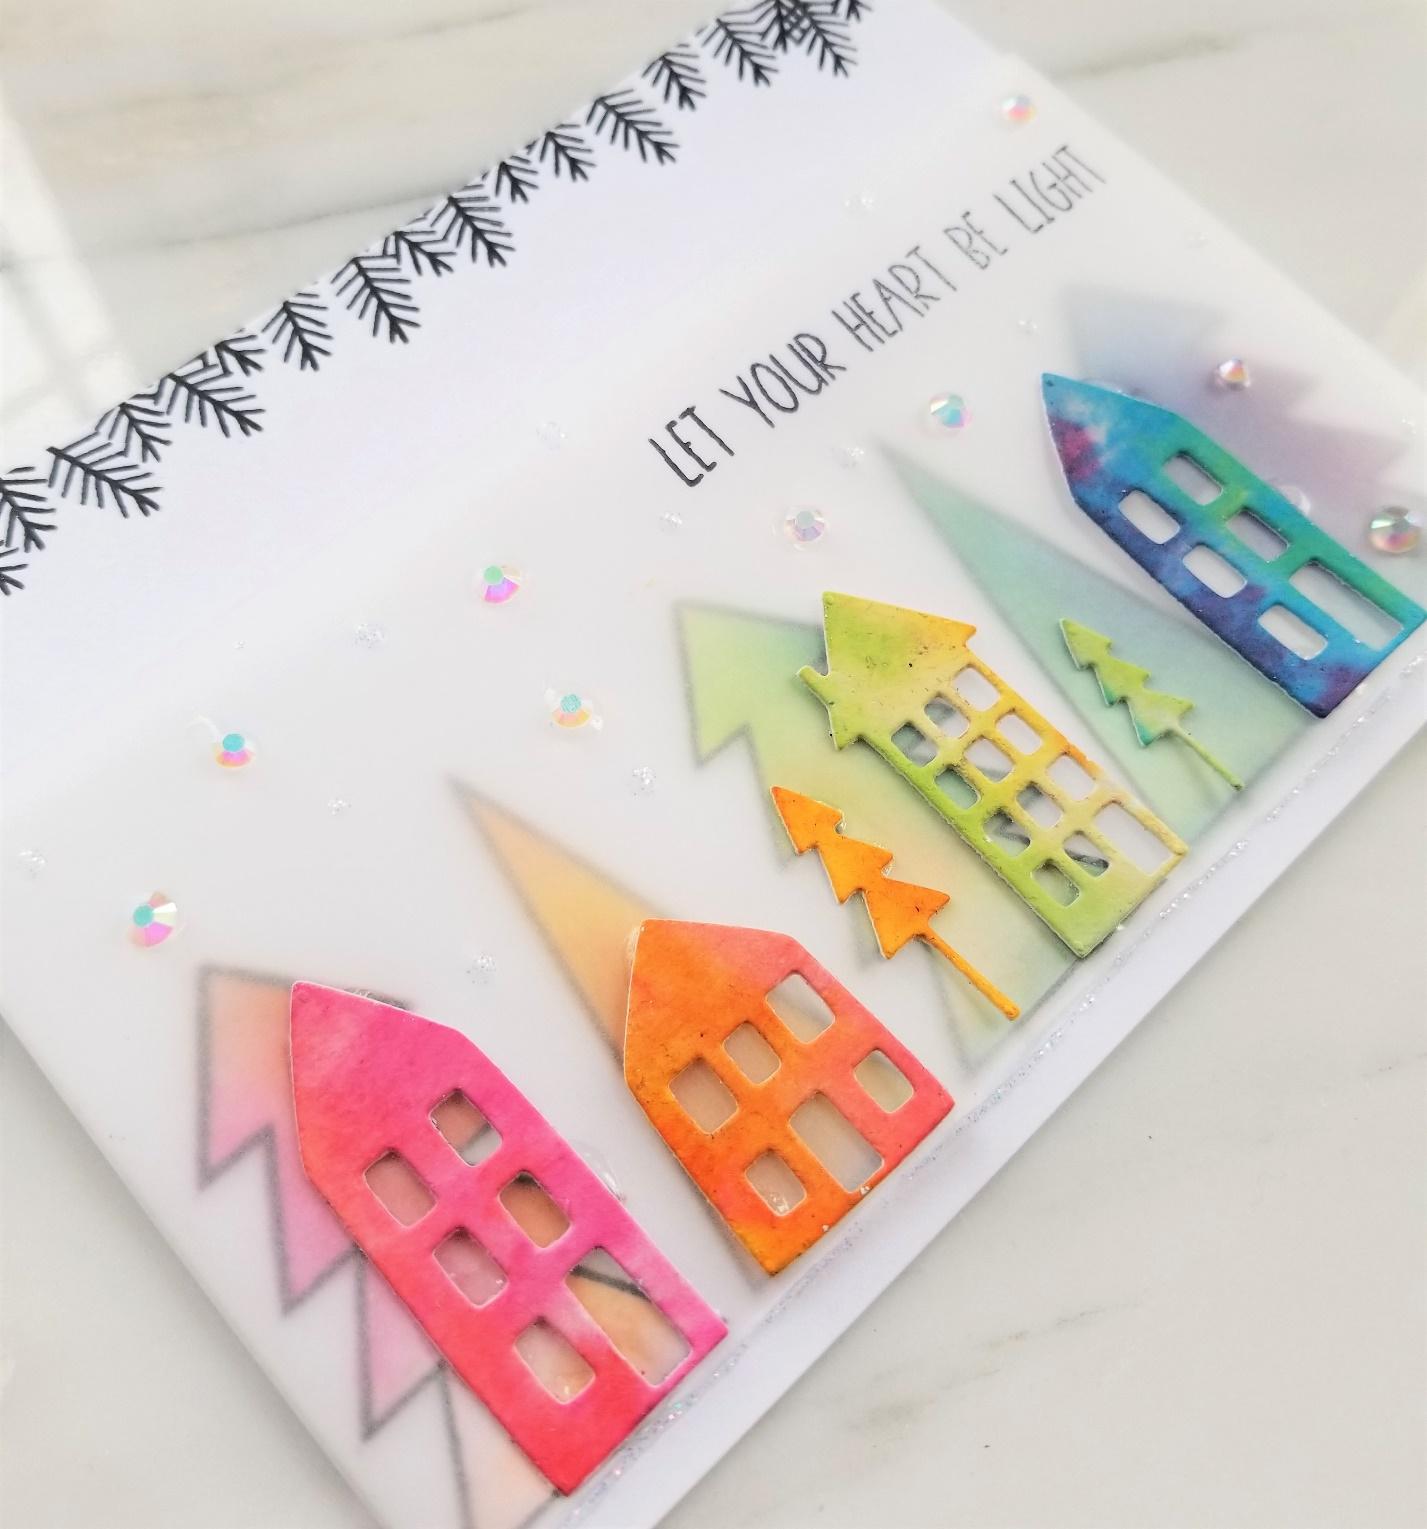
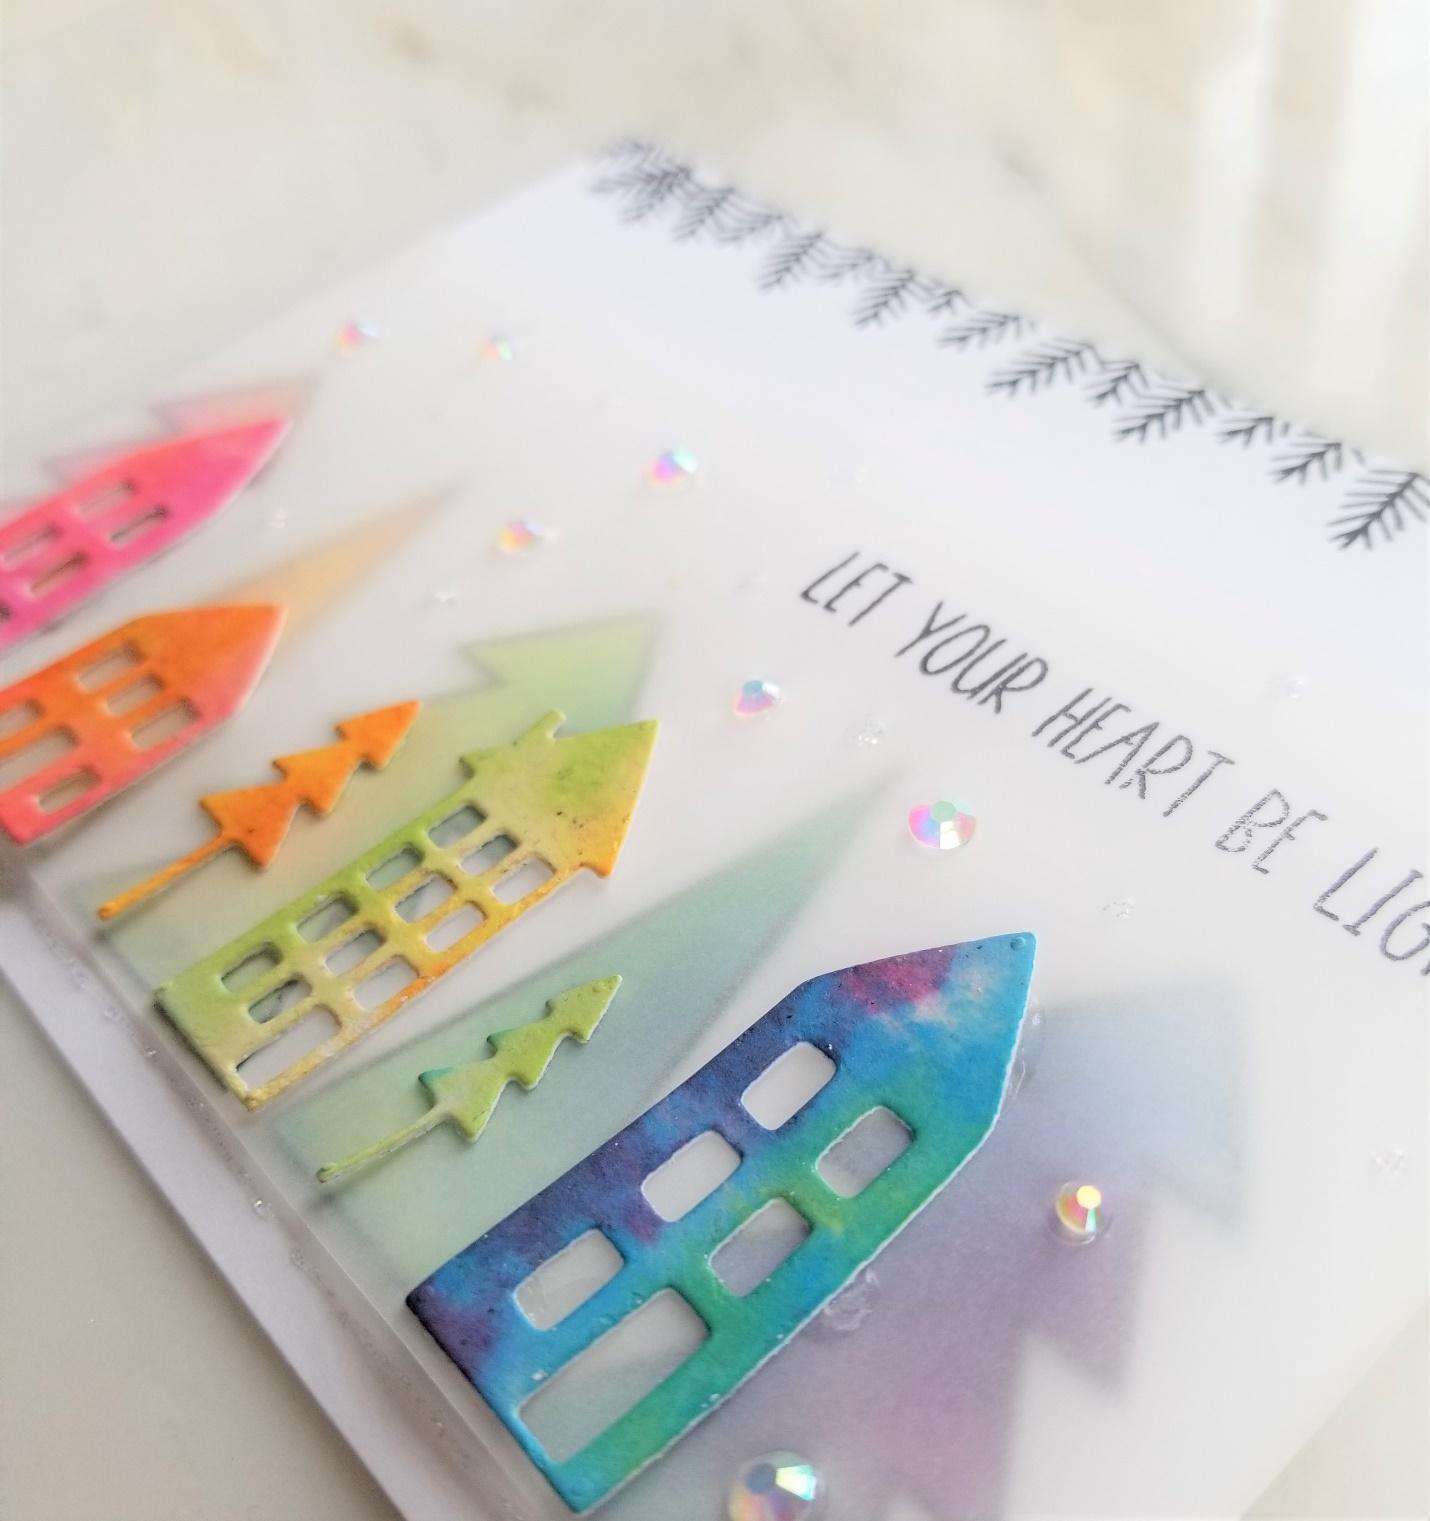
I then die cut my trees (Scandinavian Prints Christmas) and my houses (Warm Winter Scene Cover Plate) from my dried watercolor panels. On the trees, I stamped the black detail stamps for a fresh contrast to the colorful watercolor. I then built up my neighborhood along the bottom with my pale trees in the background behind some vellum and my Christmas village houses in the front.

I stamped my sentiment in black ink over the houses (Scandinavian Prints Christmas), and then some tree branches from . This gives a modern looking card that is still bright and cheery. I’m thrilled with out in turned out.

Thanks so much again for joining me, and I hope you are all having a wonderful holiday season.

Xoxo

Meghan
9

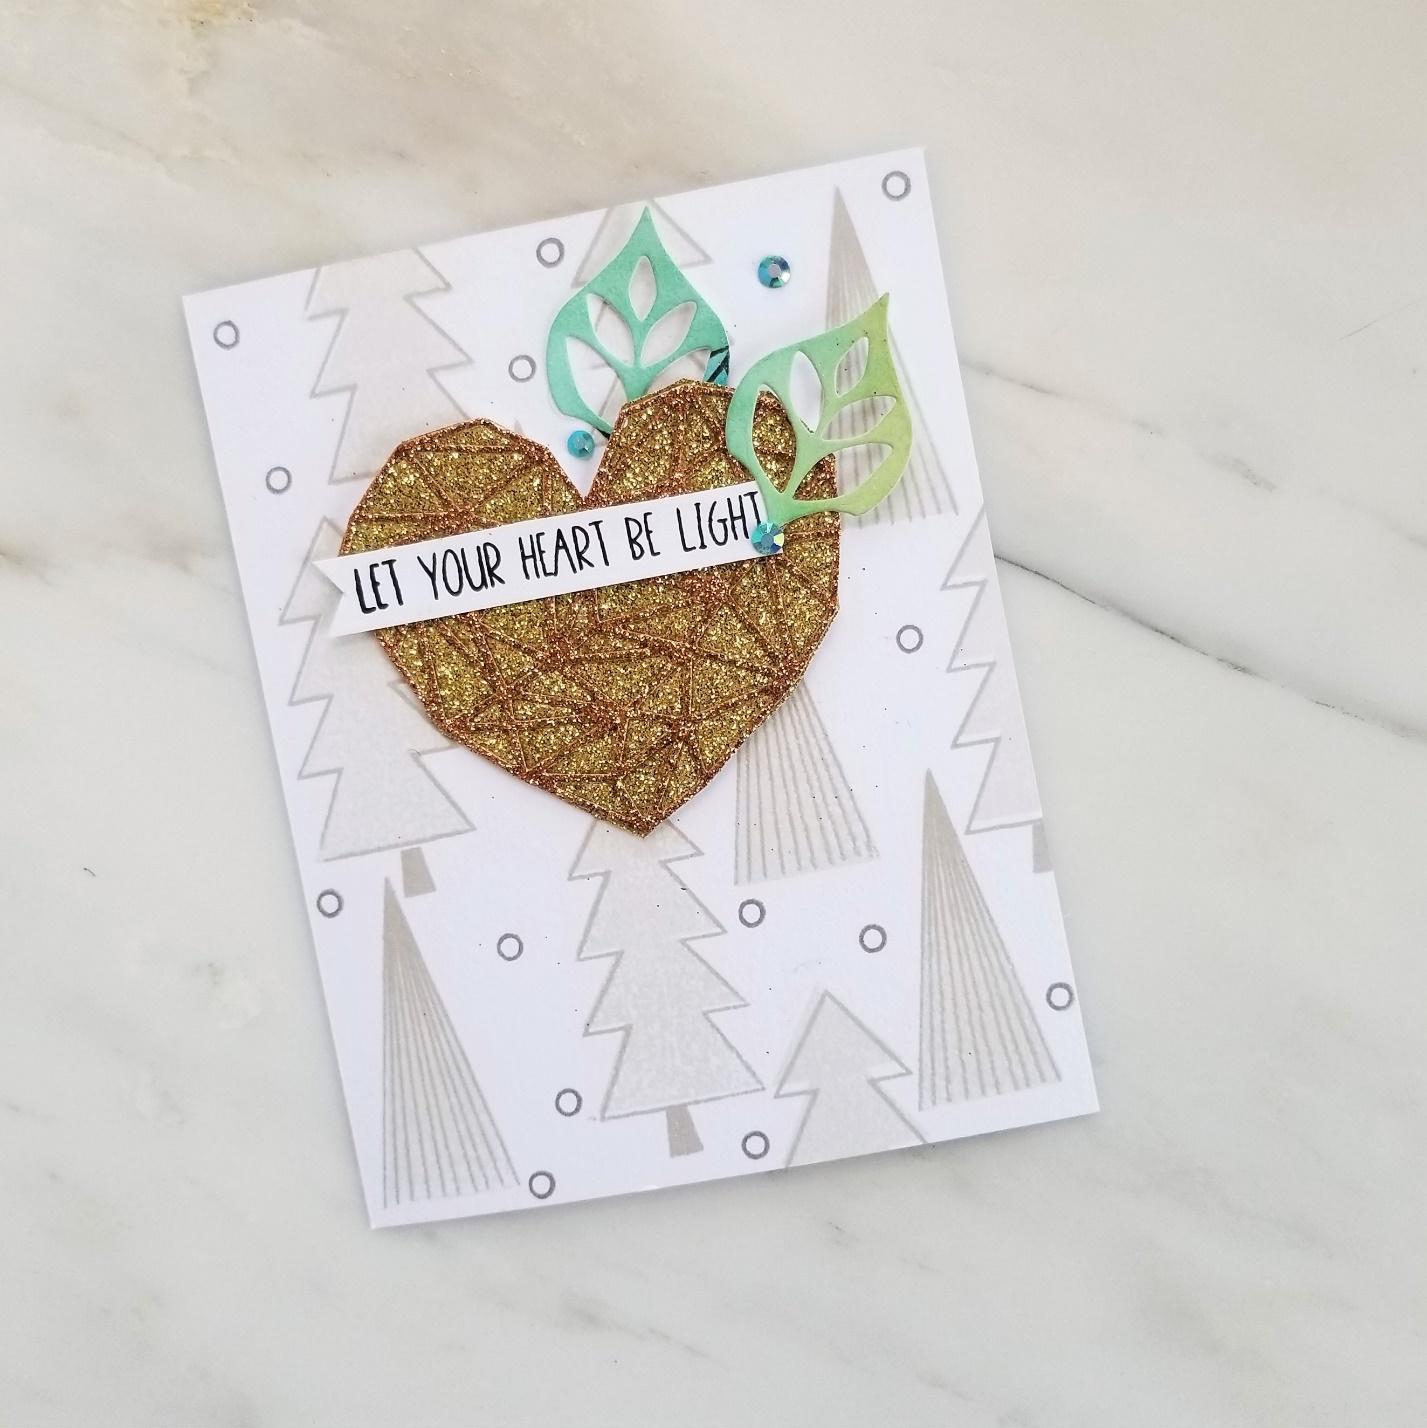
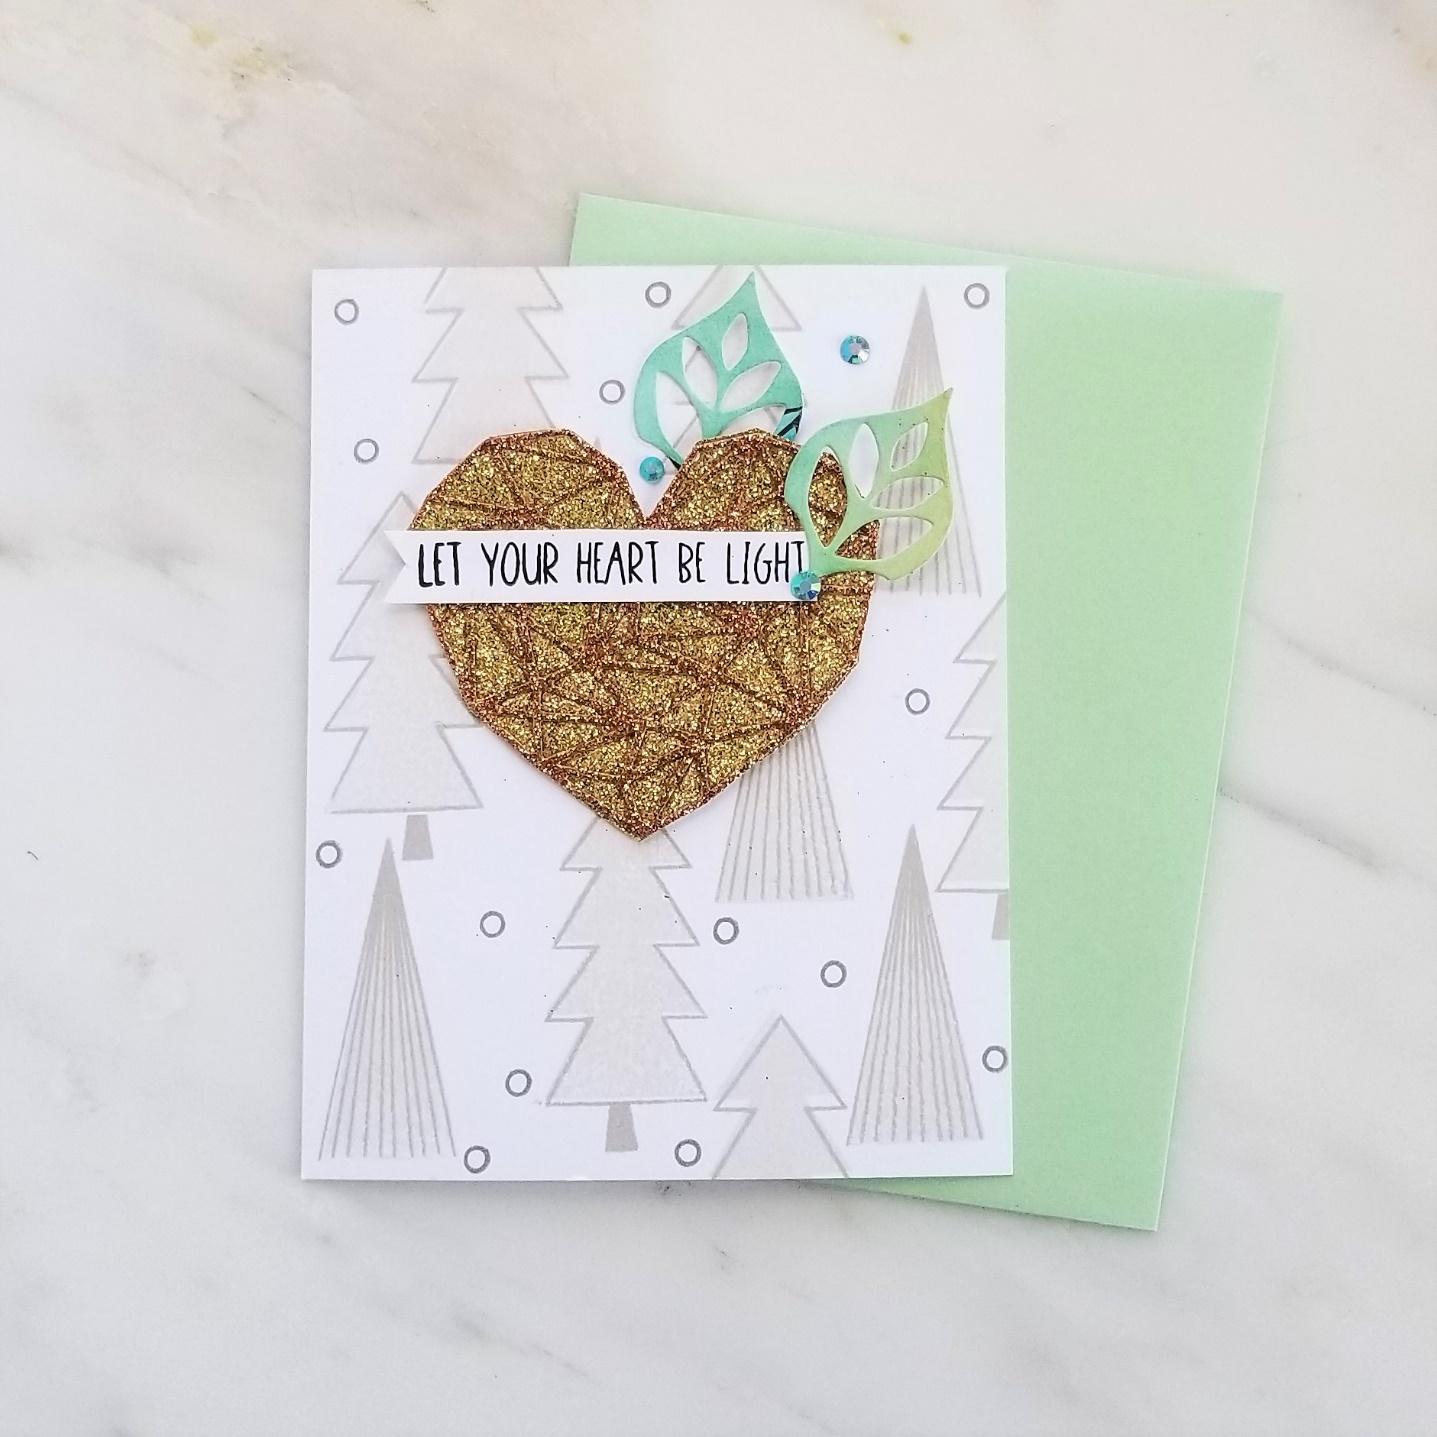
Let Your Heart be Light with November Guest Designer Meghan Peterson


Good morning friends! It is Friday once again and I have the pleasure of being on Neat & Tangled’s blog again this week as November’s Guest Designer. This week I decided to make a more Christmas-y card than my first winter-themed card.

I used one of my favorite holidays stamp sets again Scandinavian Christmas Tree. Last week I just used a sentiment but today I’m using the layering Christmas tree stamps to create that Nordic Christmas look. As they are our background instead of our focal point, I used light gray inks to fill in our background with trees. Using the lightest inks, I stamped two different solid tree images around my panel to fill up as much space as possible. Then a slightly darker ink was used to stamp the details for the trees. Then a third darker ink was used for the open circles to fill in the space and emulate snow falling through the trees.


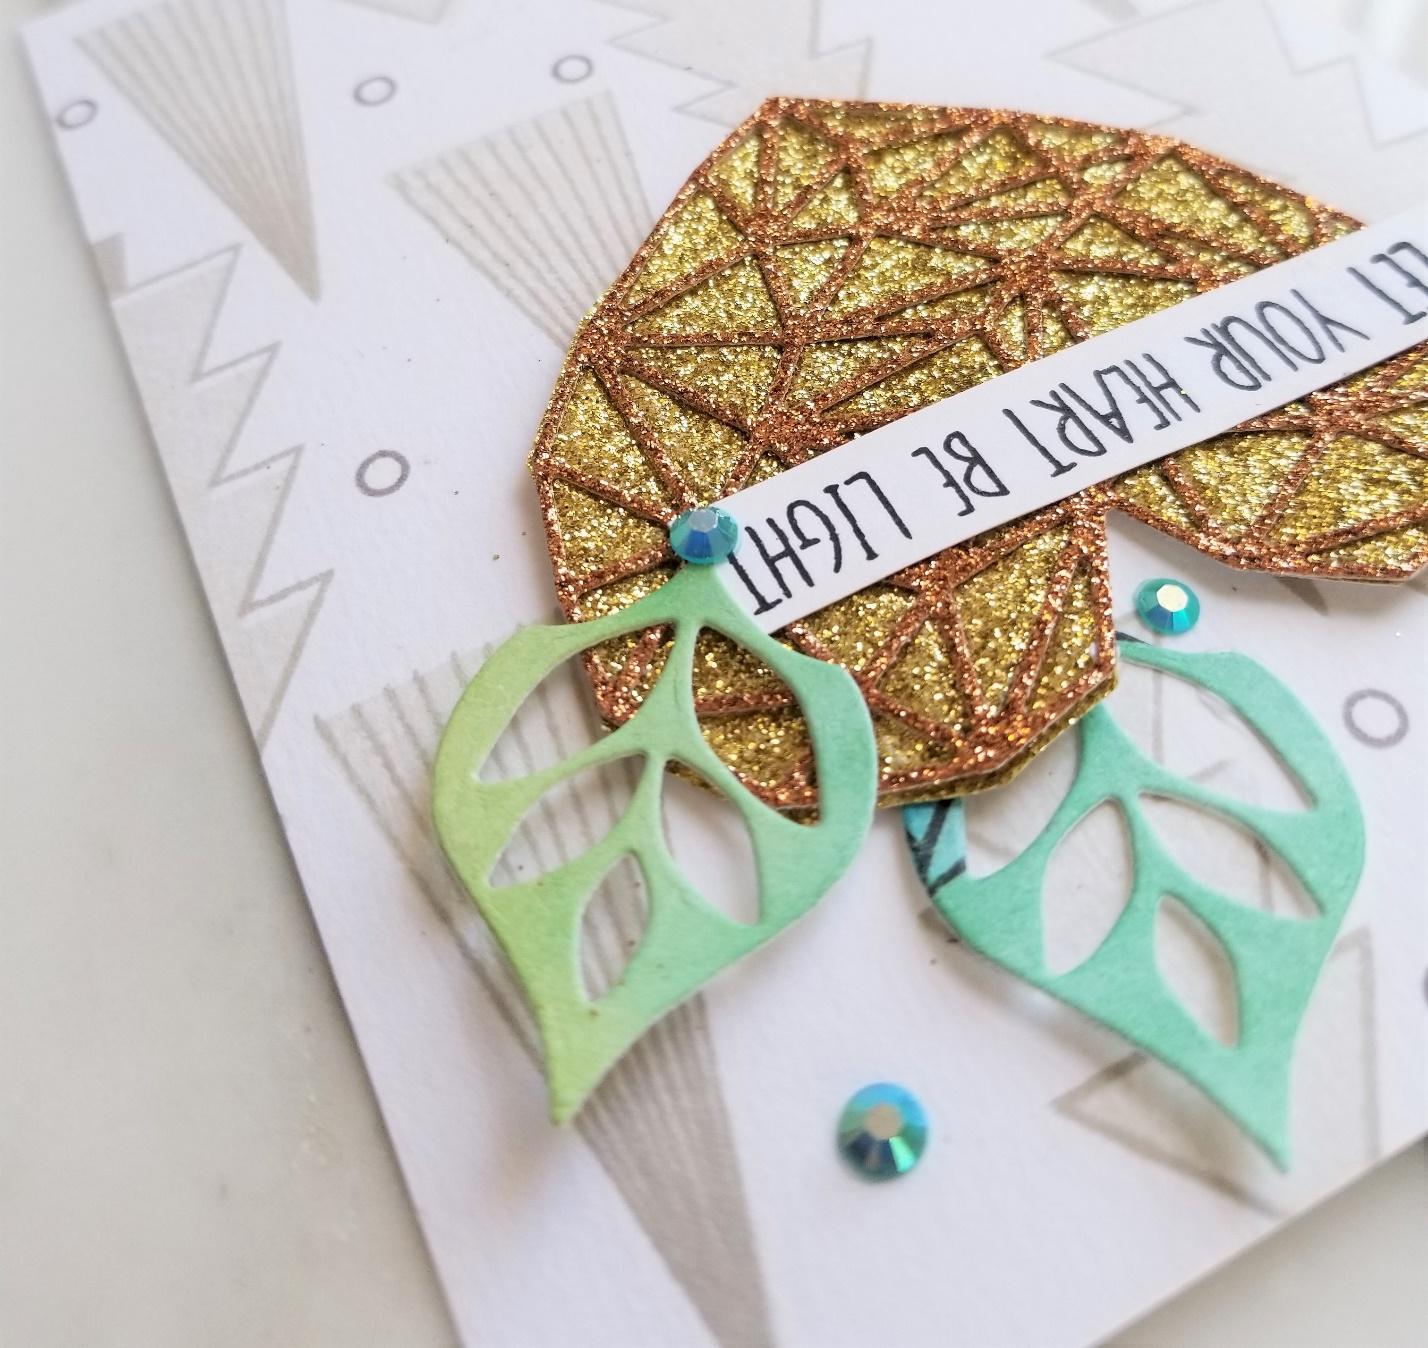
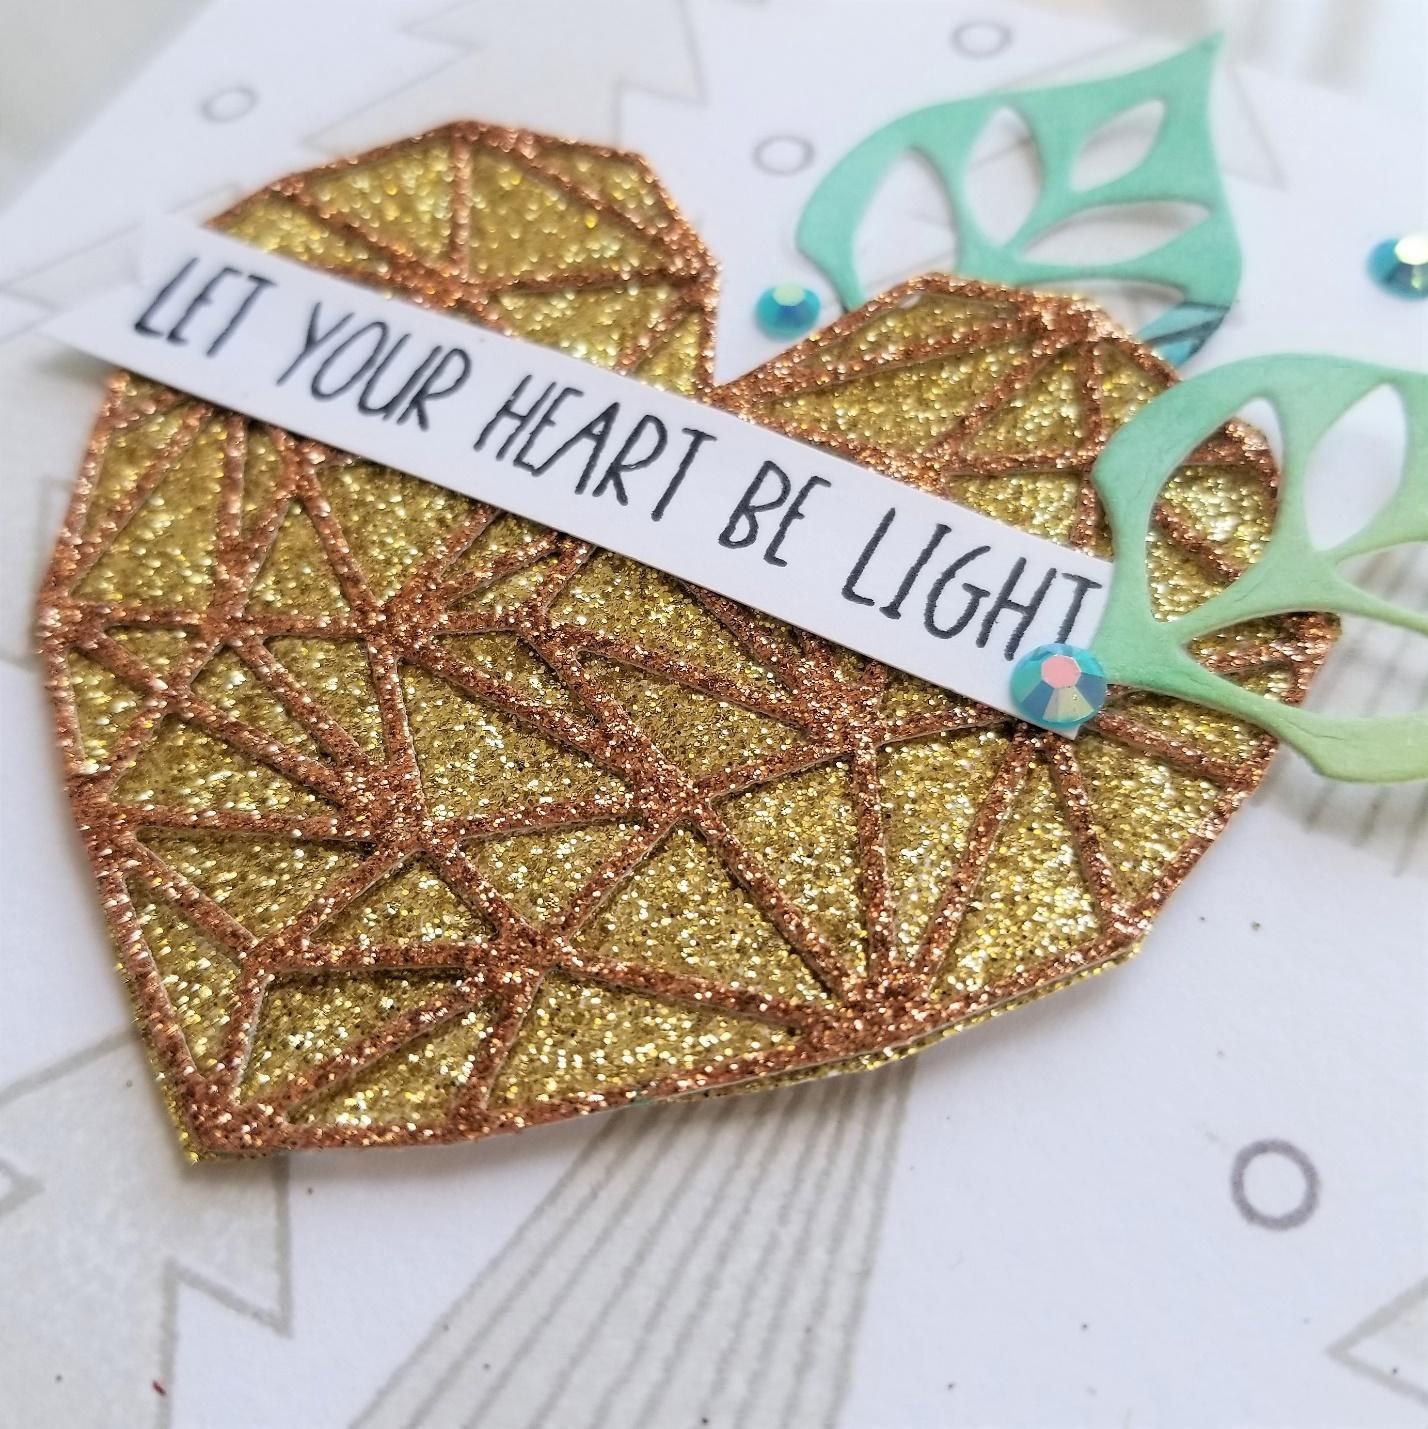
With our neutral background done, it’s time for our focal point. I absolutely adore the Heart of Gold Nice and Neat Die. I wanted to create a two-toned glitter heart for the top center of our panel. First I dry-embossed the heart on gold glitter card stock. Then using the outside impression of the die, I cut out the heart so I had a solid gold heart with the pattern embossed into it. Then I die cut completely the heart from copper glitter cardstock. Using medium matte glue I glued the copper heart onto the solid heart, to give a two-toned heart with texture and dimension.


I glued this heart on to my panel making sure to leave the top edges of the heart unglued. This allowed me to die cut some leaves from the Medallion Flower Builder Nice and Neat Dies and glue them on top and behind our heart. These green/blue leaves give a pop of color and more interest to our focal point. In these leaves I added our sentiment strip, using our Christmas tree stamp set to the top of our heart. I added a few blue/green gemstones for a bit more pop of color and texture, and this card is complete!


Thanks so much for stopping by today, I hope you have a great week ahead and we’ll see you next week!

Xoxo
Meghan
3

Introducing Our November Guest Designer - Meghan Peterson


Happy Friday!  Today we're introducing our November guest designer, Meghan Peterson.  Meghan has a beautiful, colorful style, and she's a master with watercolor.  You guys are in for a treat this month!  Here's a little more about Meghan as well as her first project:

Hello! My name is Meghan Peterson and I am so so excited to be a Guest Designer for Neat & Tangled this month. I decided my photo should include my favorite winter coat as it is officially November :). I've recently moved to the Northwest where my boyfriend is attending law school. I work full time in an office but my true passion is all things creative, and card-making is at the top of that list. I've been making cards since I could use a glue stick and would deliver them via tricycle to my friends who were sad or sick or I just wanted them to know I loved them, and i still hold that philosophy today. I found this community 2 years ago and haven't looked back. The absolute kindness and joy and empathy and talent is amazing, and Neat & Tangled defines all of those things. Thanks for reading!

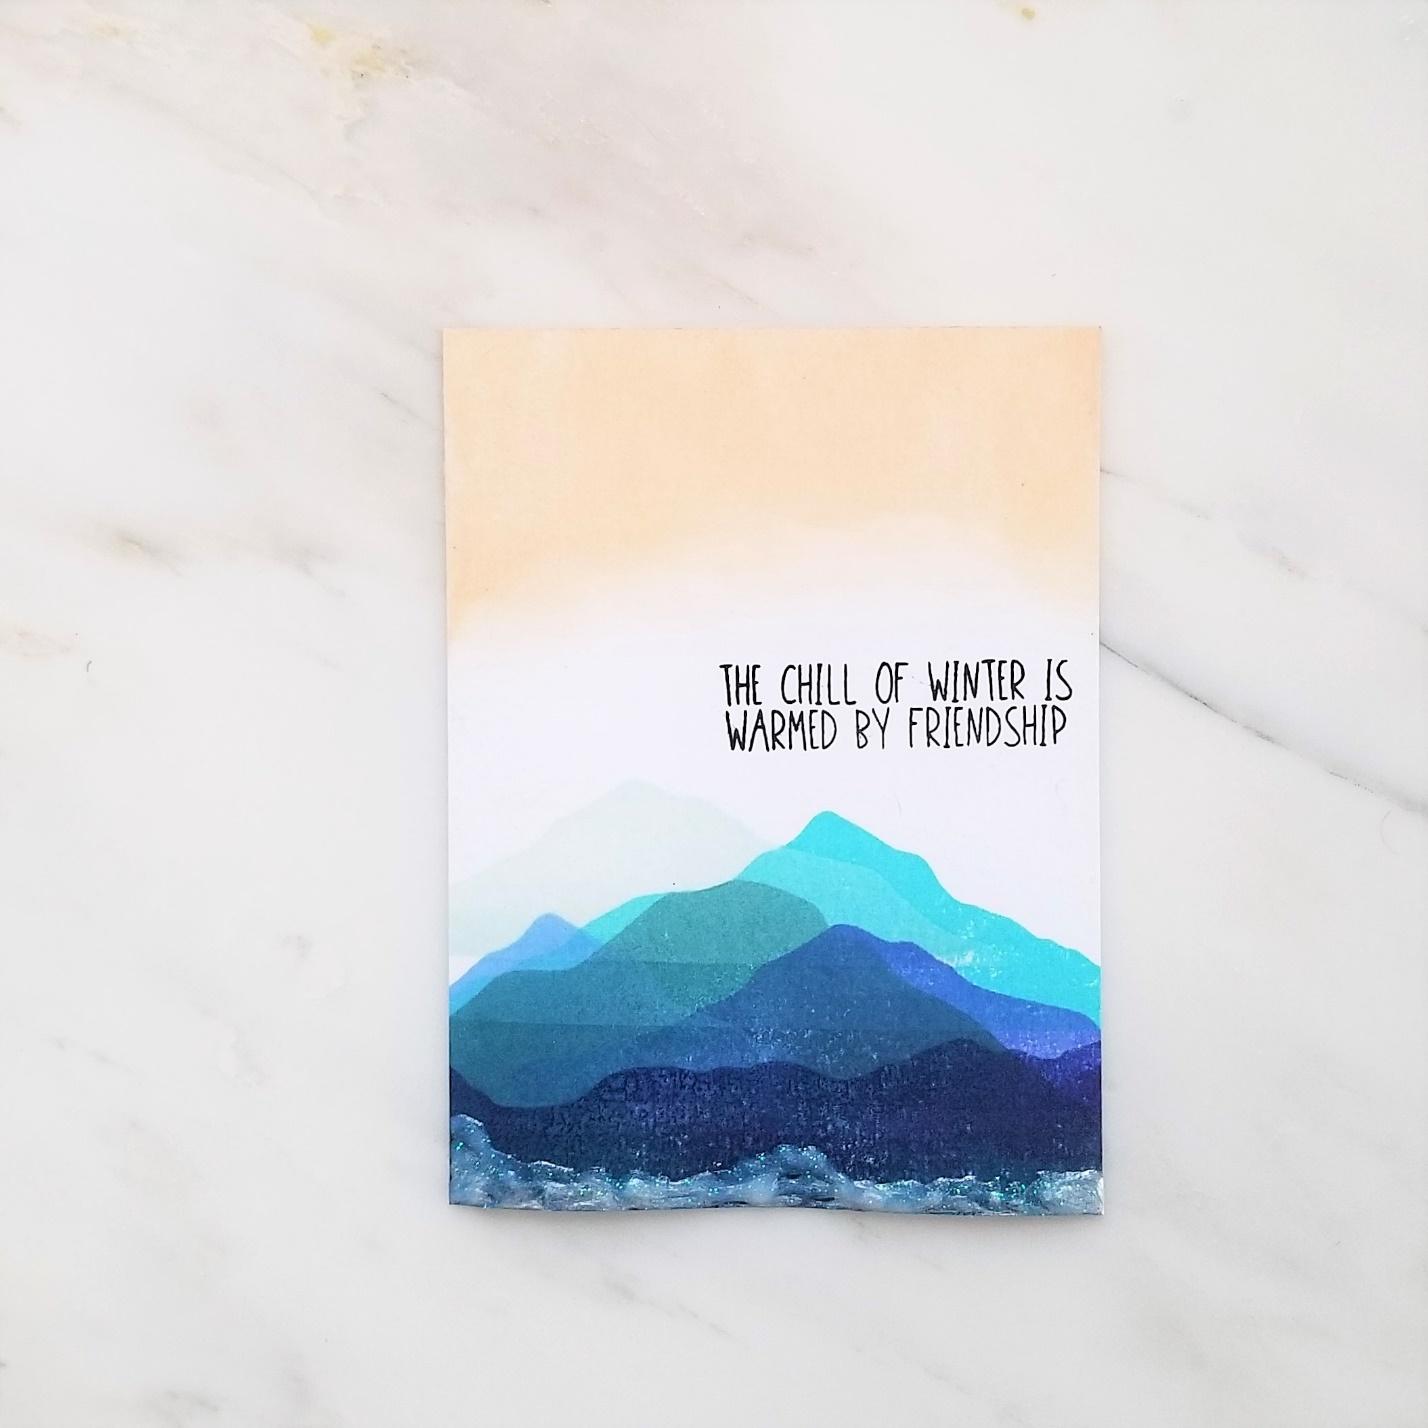
For my first Guest Designer post, I wanted to do some soft wintery colors as we move into November, before I get into some Christmas cards. I tried to make it simple and classy, and I think I have achieved it with this one!
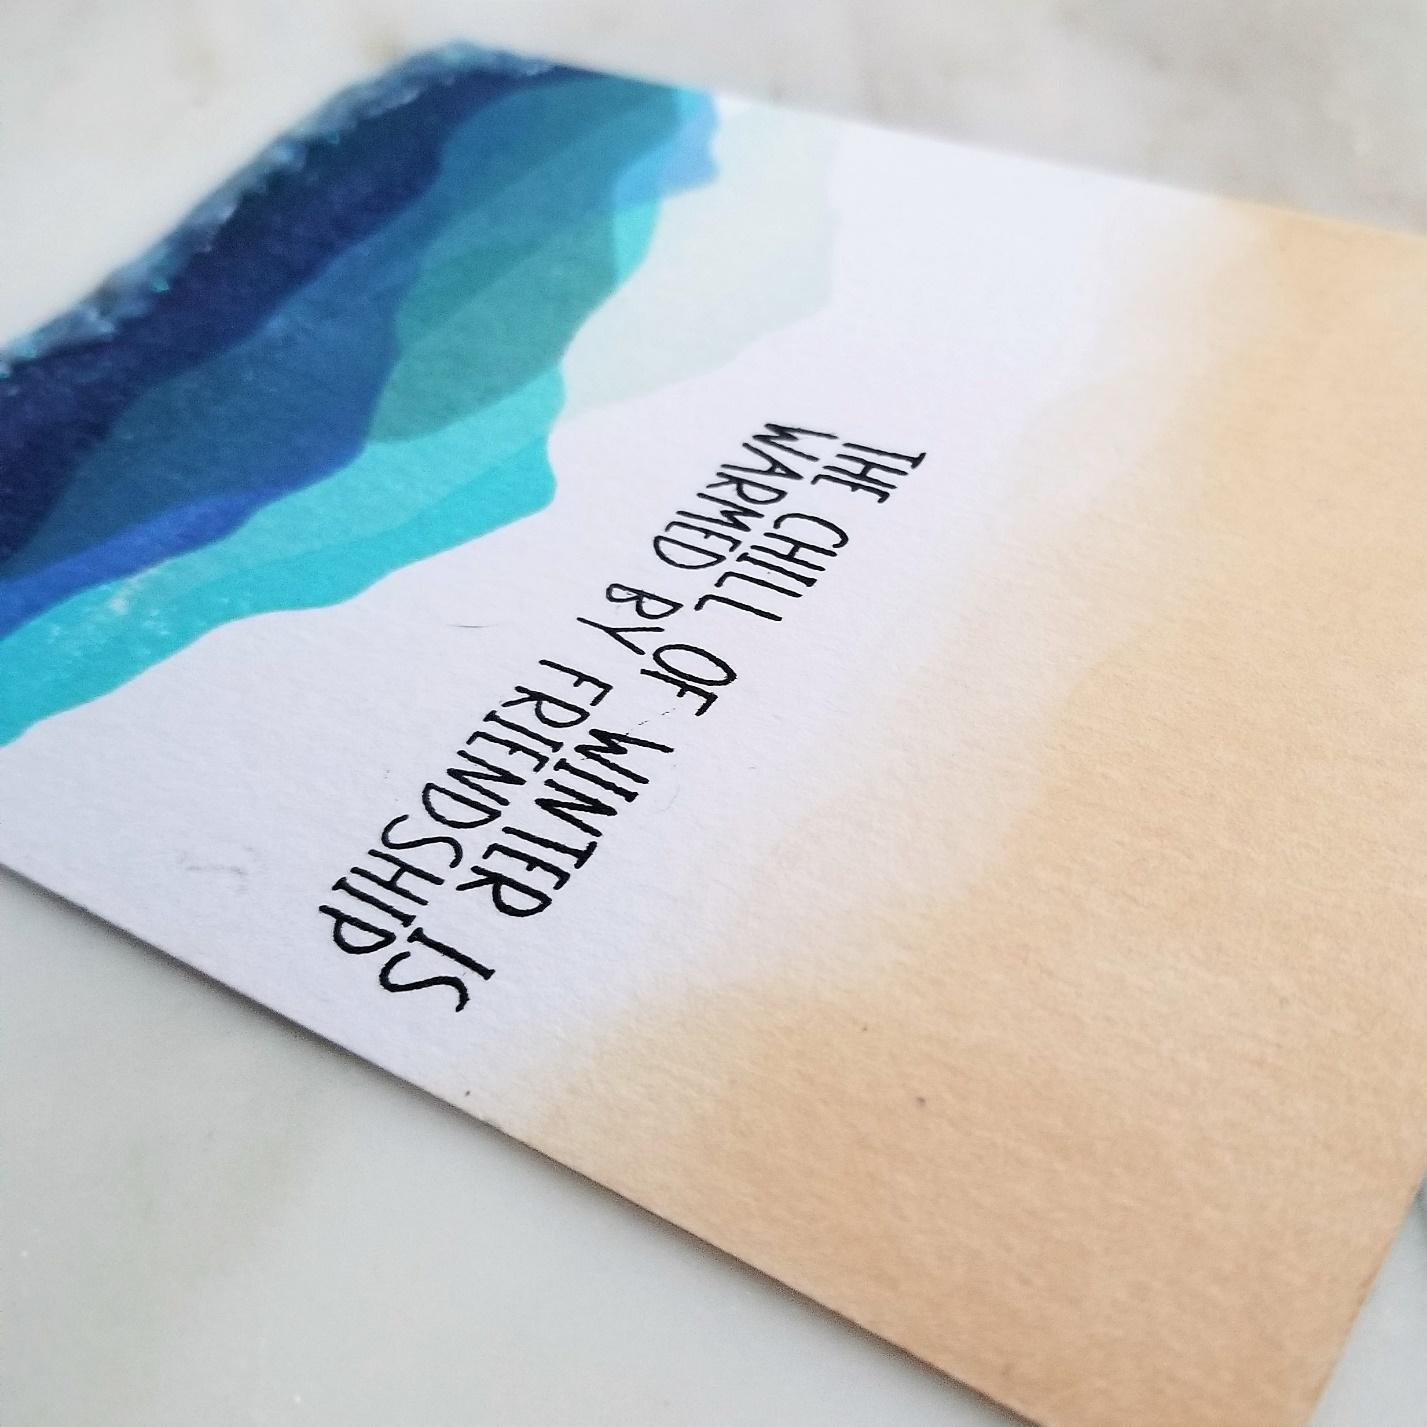
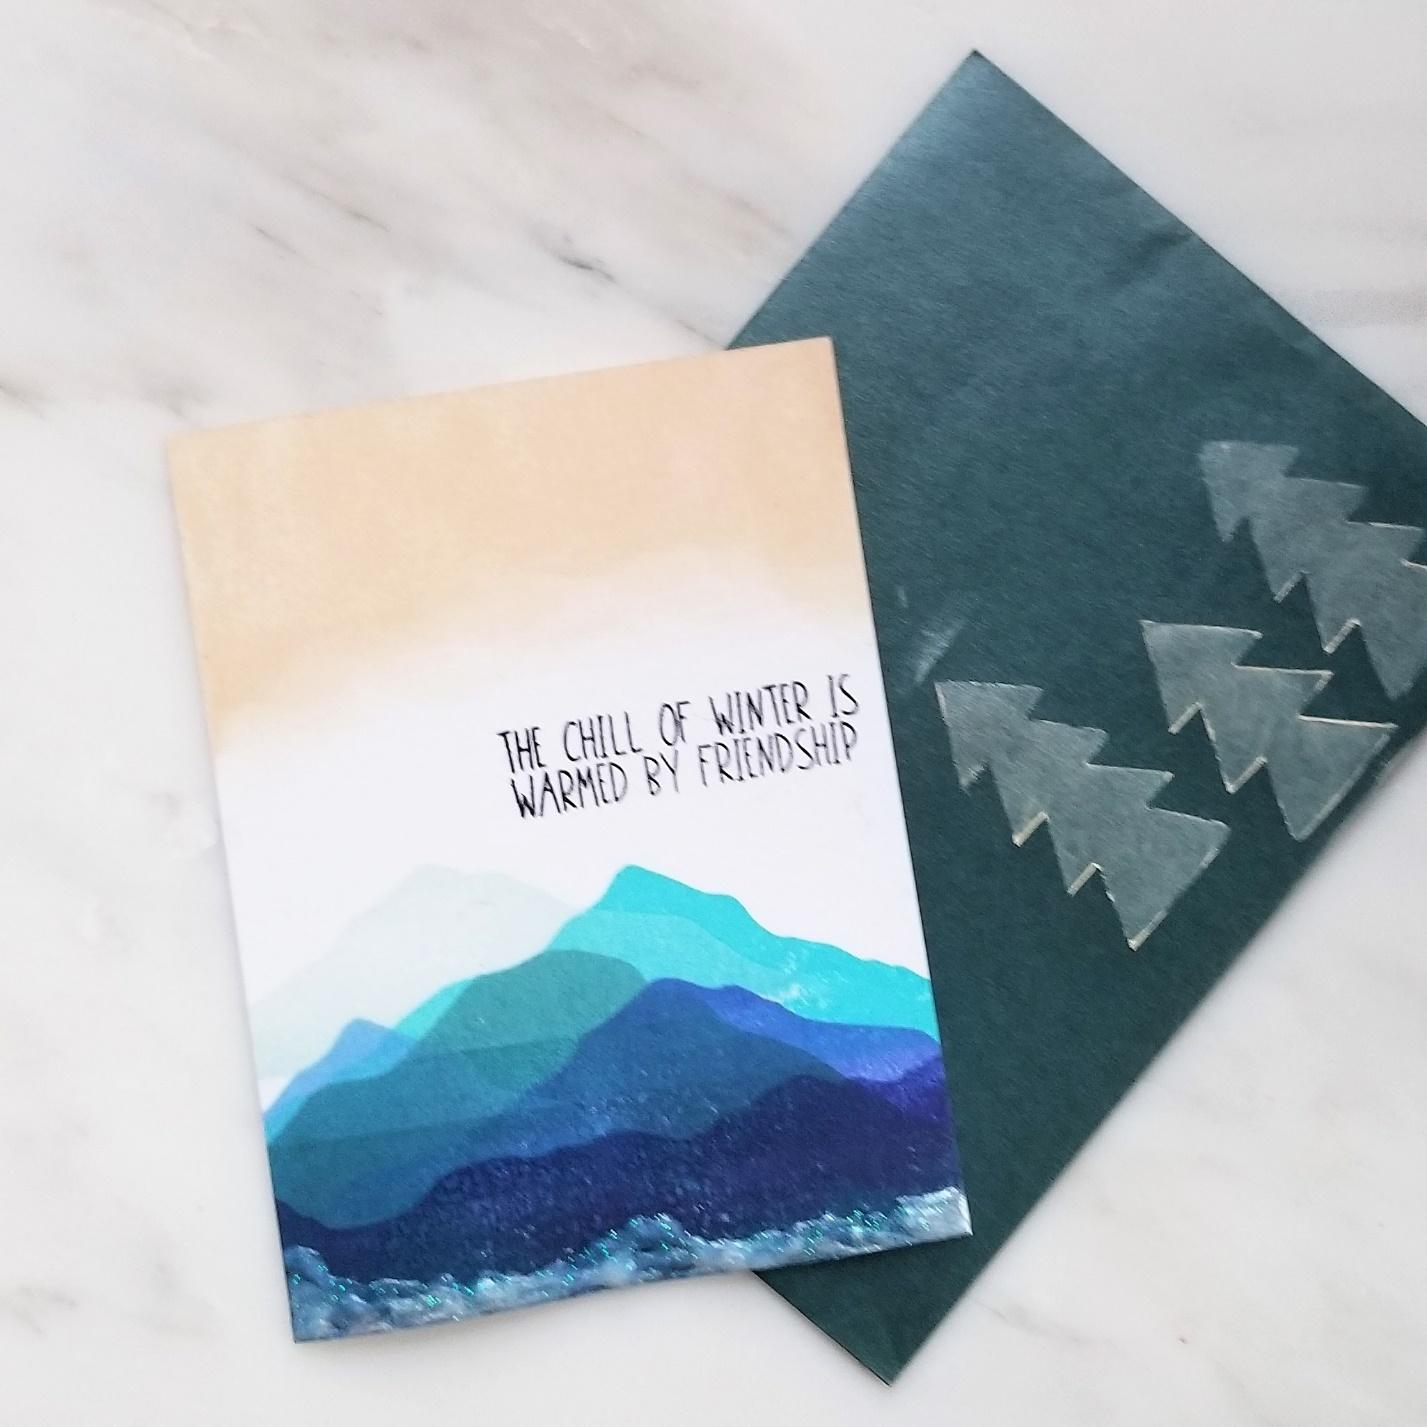
The main focal point of my card are these mountains from the Neat & Tangled stamp set Layered Landscape. This is a set perfect for all year round, it can be used in so many ways. Using the many mountain shapes, I layered my mountains in varying shades of blue. The thing to keep in mind here is to make sure your darkest colors either cover the bottom lines of the stamps for smooth layering or crop out any harsh lines. The easiest way to do this is to start with pale ink higher up and then layer more darkly lower down.
Then I used another favorite stamp set for my sentiment: Scandinavian Prints Christmas. This is a set I love using for Christmas cards but there are some seasonal sentiments as well, including this wonderful one about friendship. I stamped this twice in black Versamark ink just above my mountain range. I then blended some moonstone Nuvo Tonic paste in the sky to give the illusion of shimmery winter fog. This gives another yellowish color to my mostly blue card, which I think look lovely together. I added some swirl of crystal drops to the bottom of my mountains for some snow. I thought about adding it to the tops of the mountains, but I didn’t want to take away from the ombre layering of my mountain range.
For the envelope, I found a dark blue envelope and used the same moonstone Nuvo Tonic paste on Christmas tree stencils, called Tree Duo Stencils. Another great one for cards but wanted a fun image for my envelope. I blended it with an ink blending tool to give it a subtle shine for our Christmas trees.
Thanks so much for stopping by and I will see you again next Friday!
Xoxo Meghan
5

Monochromatic Trees with Miriam


I am in the thick of Christmas card making.  The big event is just over two months away and my pile needs to grow substantially before then.  

I thought I would pull out an old favorite, my Scandinavian Prints Christmas set.  

There are so many possibilities with this set, and I've found for cards like this, one of the easiest and quickest ways to work is to settle on an ink family and just mix and match the tones.  

For this card, I'm using Altenew's Sea Shore inks.  

I penciled in a ground line, and then stamped the trees varying the shades and combinations.  I did mock this up on some scrap paper to find the combination I liked best.

I usually stamp my sentiments in black, but decided to stay with the color scheme and stamp with the darkest shade of ink in the set.


To add a little bit of sparkle and texture, I added a thin line of liquid adhesive and then dropped glitter over top.

Once you figure out the combination of trees you want to use, this is really a quick and easy card, perfect for mass producing and nice and flat for mailing.

Thanks for stopping by, have a great day!
2

Hello from Me to You

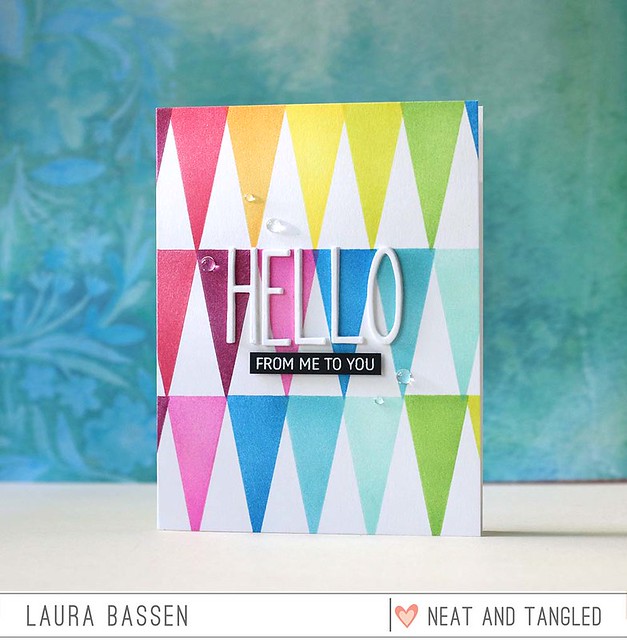
Hi there! Laura here and today I have a fun, colorful card to share featuring a couple of Christmas themed stamp sets. Yes, that's right. I used a couple of Christmas stamp sets to create this very non-Christmas-sy card:)Neat & Tangled-Scandinavial Prints Christmas & Journaling Alphas
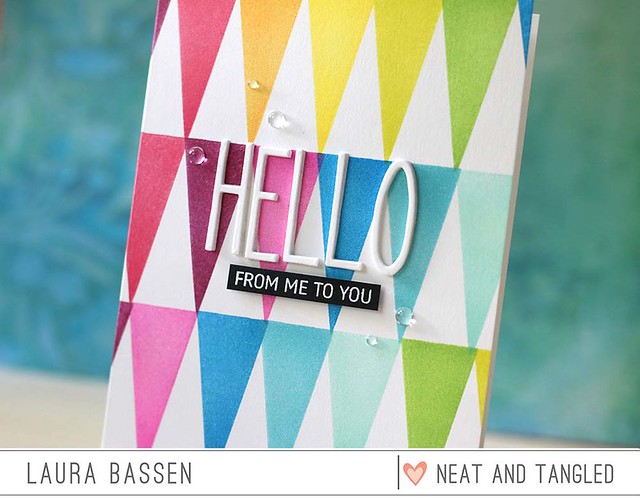
To create this colorful background pattern I used the solid triangle image from the Scandinavian Prints Christmas stamp set. I stamped it repeatedly using pigment inks. Using a MISTI helped a lot to get consistent spacing & alignment.
Neat & Tangled-Scandinavial Prints Christmas & Journaling Alphas
For the sentiment I used the Journaling Alpha dies and also embossed a coordinating sentiment from Happy Holidays. Here's a video to show you how I created this card.

Don't you just LOVE this colorful, geometric background pattern? Triangle patterns make my world go 'round. That's all for today. Thanks so much for stopping by!
4

Let your heart be light

Hello there!

Mayuri here to share a card using the Scandinavian Prints Christmas set in a non-seasonal way!

©Candles in the Garden. Neat and Tangled January 2017 - Scandinavian Prints Christmas.

This set has got to be one of the most versatile ones I have ever used, especially when paired with non-seasonal colours - I opted to go back to my trusted Distress Inks and stamp one of the outline tree images with rainbow colours.

©Candles in the Garden. Neat and Tangled January 2017 - Scandinavian Prints Christmas.

I began by die-cutting an aperture out of a panel of white cardstock using the Pixelated Heart die and stamping a sentiment from the same set with Versafine Onyx Black ink underneath it. I then marked up some guidelines on a white card base for where I would stamp the tree in rotation in rainbow colours.

©Candles in the Garden. Neat and Tangled January 2017 - Scandinavian Prints Christmas.

Once the stamping was complete, I foam mounted the die-cut panel to the card base, allowing the design to show through. To finish, added some Gold Mix sequins.

Thanks for stopping by!
10

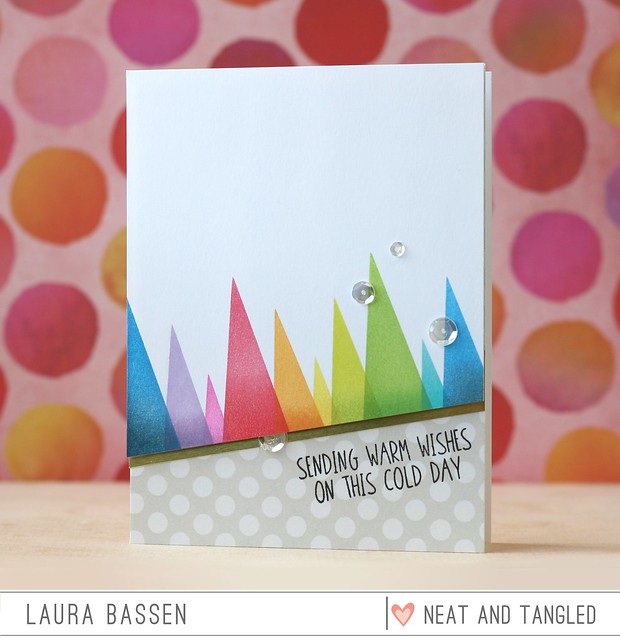
Laura-Scandinavian Prints Christmas

Hi there! Laura here and today I have a colorful and festive holiday project to share featuring the Scandinavian Prints Christmas stamp set.Neat & Tangled-Scandinavian Prints Christmas
I LOVE this set and think there are a million and one ways to create fabulous, geometric patterns and designs with it all year long.
Neat & Tangled-Scandinavian Prints Christmas
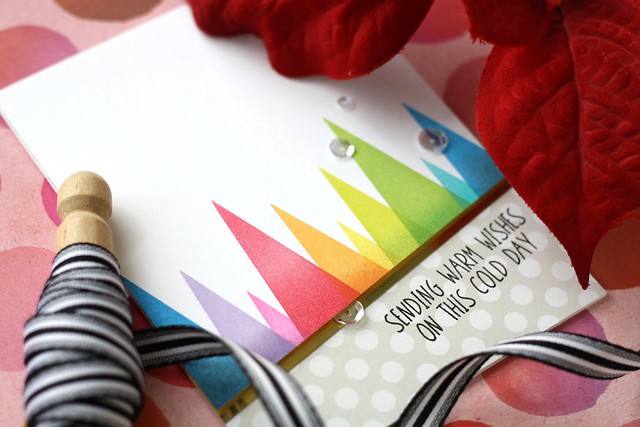
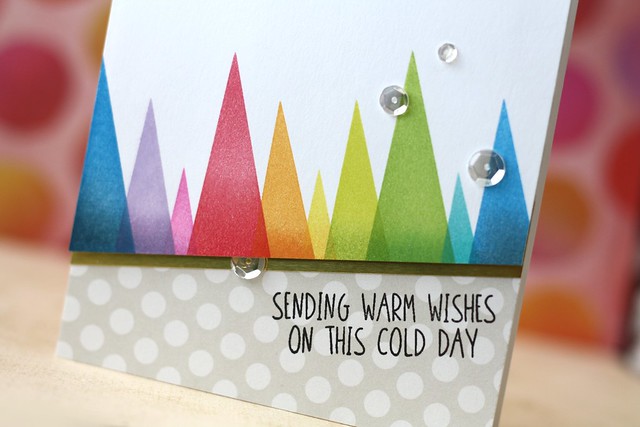
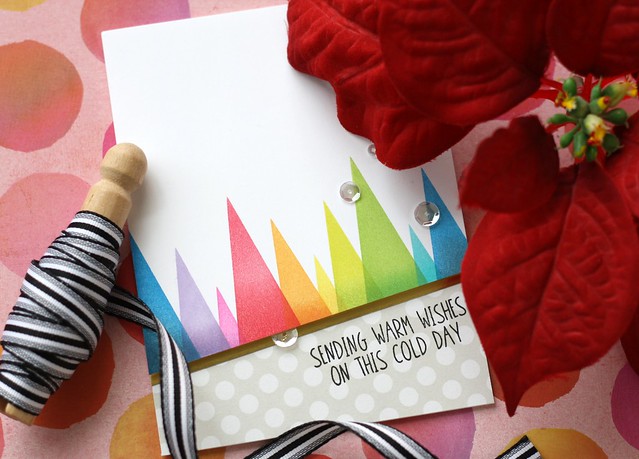
I used the three solid "tree" or triangle images and stamped them in a glorious row of rainbow happiness using a combination of pigment & dye inks. I inked up each triangle with two colors to give it that gradient look.
Neat & Tangled-Scandinavian Prints Christmas
I also added some clear sequins from the Frosted Pine Sequin Mix.
Neat & Tangled-Scandinavian Prints Christmas
Here's a video to show you how I made this card.

That's all for today! Thanks so much for stopping by!
6

Hello You!

Hello there!

Mayuri here to share a card using the gorgeous Scandinavian Prints Christmas set from the November Release!

 ©Candles in the Garden. Neat and Tangled December 2016 - Scandinavian Prints Christmas.

I used all of the solid triangle images from the set to create this random background, concentrating the stamping mostly towards the bottom of the panel. I began by stamping the images with lighter colour inks, and then with darker colours to create a sense of depth.

 ©Candles in the Garden. Neat and Tangled December 2016 - Scandinavian Prints Christmas.

I left enough of a clear space on the upper part of the panel for a sentiment - this one comes from Hello You and was stamped with Versafine Onyx Black ink.

©Candles in the Garden. Neat and Tangled December 2016 - Scandinavian Prints Christmas.

To finish up, I added some Gold Mix and Merlot Mix sequins.

Thanks for stopping by!
2

Have a Very Merry Christmas with Amy Sheffer


It's Friday!  This means our December guest designer Amy Sheffer is back with us!  Here's Amy to tell us about this adorable Christmas card:

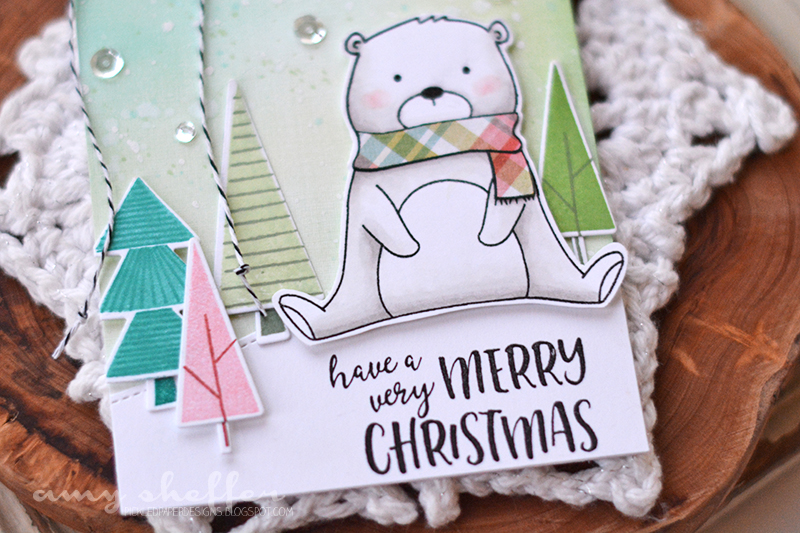
I have a thing for tree stamps -- funky trees, geometric trees, realistic trees, it doesn't seem to matter -- so naturally, I was smitten with Scandinavian Prints Christmas. Looking at all the different options takes me back to combinations and permutations in math class! I wonder how many unique tree designs you could actually stamp with this set?!


I decided to use some of these trees to create a scene for the adorable bear from Beary Merry. I'm often fairly literal with my scenes, as in skies are blue trees are green, etc., but today, I wanted to try something a little more fun and playful, so we have a minty green sky and pink and turquoise trees. To get the speckled sky look, I started with ink blending, then splashed a little water (which lifts some of the ink and leaves lighter spots), then added ink splatters, and finished with some opaque white splatter for the look of falling snow.


My bear is colored with Copics, except for the fun plaid scarf, which is paper pieced. I love how the Beary Merry diepartially cuts the bear's paws so that he can be holding something, but I also think he looks pretty fab all by himself (which worked out well since I don't have the Beary Merry dies yet).

I finished the card with a few sequins in the sky and some black and white baker's twine for embellishments.


I just adore this sweet fella and his whimsical wintry forest! See you again next week!
12

Pink for Christmas with Daria

Hi Dear friends,

Daria here. I didn't had any specific idea or plan for this card, just wanted to make something pretty and girlish... So, when I was playing at my craft table I diceded to use some patterd paper; and I don't do it very offen, but still can't resist buying it.


I die cut some tree images using cordinating dies for Scandinavian Prints Christmas set from Pink Parsley Ce La Vie paper pad and one from glitter cardstock. I think glitter always add that a little bit of festivity :)


I've blended in some distress ink in Picked Raspberry using blending tool to create backing for my trees scene. Sentiment comes from Happy Holidays stamp set. I placed it on a banner shaped piece made with die from Scalloped Nice and Neat dies.


I liked the way it turned out, hope you too. Try using some non traditional colors  - it will make you project look fresh and unique.  What do you think about pink for Christmas?

Thanks for stopping by and have a great day!
Daria.

Neat and Tangled products used:

Happy Holidays stamp set
Scalloped Nice and Neat dies
Scandinavian Prints Christmas - Nice and Neat Dies


6

November Release Redux Cards by Taheerah

Hey everyone, happy Wednesday! It's Taheerah here today to share some cards featuring the November release!

It seems that my release package wanted to travel the world a bit and got lost in Mexico! I was so sad to miss out on sharing some Release Week projects, but once my replacement package finally arrived I couldn't wait to tear it open and get stuck in! So although I didn't get a chance to join in with the other talented DT ladies, that just means I've got the limelight to share them with you now!


Totally swoon-worthy, right?!

Let's start with the first card:


For this one I used the May Your Holidays Be stamp set and combined it with the girl elf from Elfs And Their Shelf. I threw in an older set too called Happy Ornaments to turn it into a scene!


I cut out the centre of my main ornament and turned it into a fun shaker pocket! And I loved trimming the banner in two so that I could have it loop behind the ornament, and to have that cute little elf perched on it as it swings!


Next up, it was time to take the Scandinavian Prints Christmas set for a spin:


I created my own patterned paper right on my card front, stamping with a non-traditional colour palette!


Little added details for the stars and snowflakes came courtesy of the May Your Holidays Be and Elfs And Their Shelf sets respectively. The sentiment from Santa's Wonderland is the perfect finishing touch!


Speaking of Santa's Wonderland, I really wanted to play with it on its own too, and then I came up with a really cool and unique idea...


I used partial die cutting to create a snowglobe! I die cut most of the circular ornament from the May Your Holidays Be dies, then used the banner from the same die collection to create the base!


I created a fun shaker scene using the penguin, North Pole and snowflakes stamps. It was quite labour intensive to think through and put together, but the end result was so worth it!!


I used the Merry And Bright dies for the sentiment, doubling up my die cuts- one with black on top of gold, and the other reversed! There are so many fun details and lots of dimension in this beauty and I'm so proud of it!


And finally, possibly, my favourite was saved 'til last:


I built a super-fun scene using lots of different sets! Santa's Wonderland, Elfs And Their Shelf, Beary Merry and Into The Woods all feature here, and they go together perfectly!!


I curved the shelf stamp on my acrylic block to make a sled!! Then I got busy piling on the presents and little extras, and coloured everything with colouring pencils. The deer from Into The Woods makes a perfect Rudolph to tow this sled! I masked off all my images after colouring then ink blended my sky over them, having first heat embossed my snowflakes. Some shimmer, glitter and a gold cord tied everything together perfectly. Whoever gets this card is definitely on the Nice list!


I hope you loved these release projects as much as I loved creating them! The November release is probably one of my most favourite to date, with a few of the new products out of stock currently - so make sure you sign up to notifications for your favourites to know when they're back in stock! Thanks for stopping by!
8

Filled with Love

Hello there!

Mayuri here to share a card using the a couple of stamp sets from the November Release!

©Candles in the Garden. Neat and Tangled November 2016 - Scandinavian Prints Christmas.

If like me, you like to make patterns with your stamps, then this is a great card for you! I took just one stamp from the Scandinavian Prints Christmas set and repeatedly stamped it on a panel of white cardstock.

©Candles in the Garden. Neat and Tangled November 2016 - Scandinavian Prints Christmas.

I began by making a few guidelines on the panel to make it easy to follow as I stamped the circular pattern with Versafine Onyx Black ink. I trimmed the panel down to slightly smaller than my card base and die-cut a small aperture in the bottom right corner.

©Candles in the Garden. Neat and Tangled November 2016 - Scandinavian Prints Christmas.

I lined up a white card base and the die-cut panel in my MISTI and marked out where I would need to stamp the sentiment, so that it could show through the aperture. The large sentiment comes from May Your Holidays Be and was stamped with Festive Berries Distress ink straight onto the card base.

©Candles in the Garden. Neat and Tangled November 2016 - Scandinavian Prints Christmas.

I foam mounted the die-cut panel to the card base and moved on to the sentiment banner, which was from the same set. I stamped it onto a piece of pattern paper with Versamark, sprinkled with white embossing powder and heat set. I used the co-ordinating die to die-cut the banner out and then foam mounted to the card front.

To finish, I added some die-cut hearts and some Gold Mix sequins.

Thanks for stopping by!
4
Back to Top