Showing posts with label Rice Paddies Stencil. Show all posts

Create a One Layer Background with Stencils


Welcome back everyone! I have summer on the brain and put it on a card. Join me today as I create a one layer background using stencils from Neat & Tangled.

VIDEO DETAILS


I have a video that you can view down below or HERE on my Youtube channel showing how to put these stencils to work!


I stamped my images from To The Stars and Beach Day onto Neenah Solar white card stock with Gina K Designs Amalgam Ink. Then colored with copic markers and used the coordinating dies to cut them out. I wanted to show you how these cute fairies can be used for more than just night time skies.


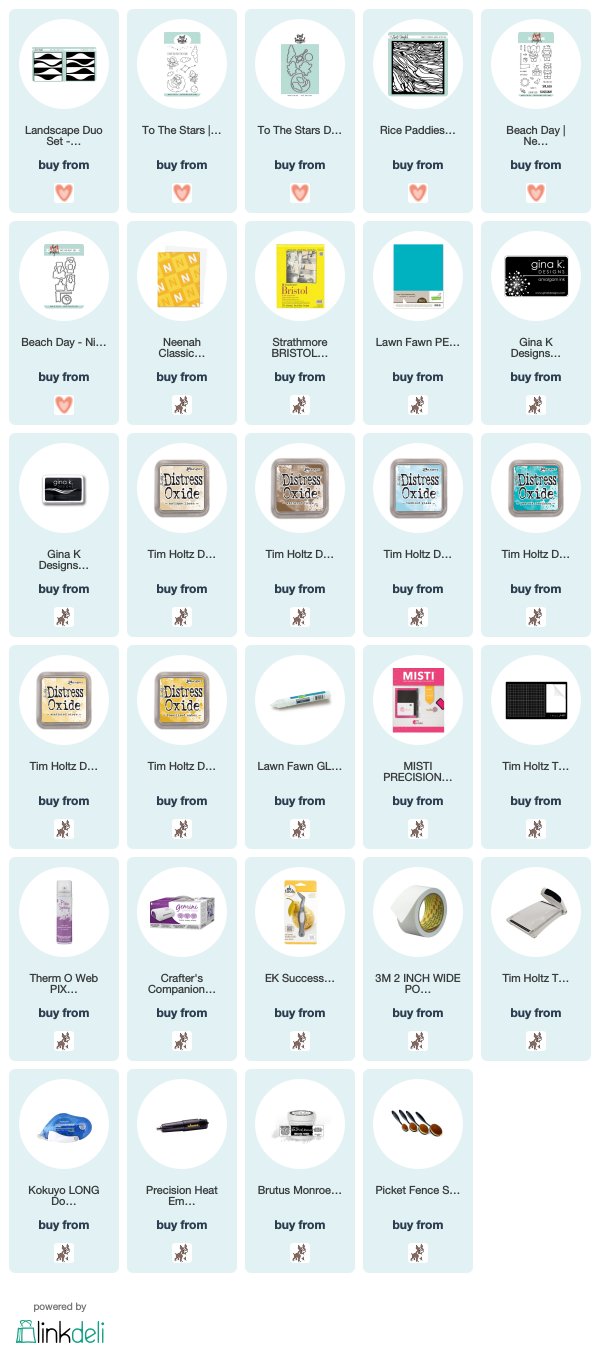
Now, I did say one layer background with stencils. The card itself is not one layer because we will be adding the die cut images. To create the one layer background, I'm going to use the Landscape Duo Stencil. This fits together like a puzzle and is great for masking off areas.

A super easy way to hold down your stencils, especially intricate ones is spray Pixie Dust onto the back of the stencils. This is a temporary adhesive from Thermoweb. After spraying, let it sit for a minute and the back of your stencils will be tacky enough to hold down to the card stock but won't rip the paper when you remove it. It's amazing. I sprayed the back of my stencils with the Pixie Spray.

Then, I ink blended Antique Linen and Gathered Twigs Distress Oxide inks with a Life Changing Blender Brush. I squished my Gathered Twigs onto my glass media mat, spritzed with water and flicked on specks of the color. This adds a fun texture and more interest to the sand.


Next, I added in the other piece of the Landscape Duo stencil. This piece will fit right on top of the sand, masking it so we can ink blend some water right above it. I ink blended Tumbled Glass and Peacock Feather Distress Oxide Inks. Then added the Rice Paddies stencil over the top and applied more Peacock Feathers to add interest to the water. I removed the stencil to reveal my beach scene in-the-making.

Using post it tape, I masked off my beach and ink blended Scattered Straw and Fossilized Amber for the sky. This adds such a nice, warm Summer feel to the card. I'm in love with how this is turning out!

I finish off my card by adding my images. I die cut Summer from Peacock card stock and layered up three times for dimension.

I hope you enjoyed today's inspiration. Don't forget to visit the video HERE walking you through the steps. Thanks for joining me today.

Affiliate links are used at no additional cost to you.

3

Happy Easter Scene with Kelly Latevola

Hello Crafters! 

I am gearing up for Spring like nobody's business ya'll. 
I don't even need flip flops and shorts I'll settle for going outside and not having my face hurt. 
Come on mother nature. Let's make this happen. 

In the meantime I'll just embrace all the springy-ness in my card making that I can get my hands on. 


I think the stamp sets from the newest release are just adorable. Their also perfect for a cute little scene :) Since I am enveloping myself in all things spring I stuck with a pretty pastel color palette. 


The fact that the bunnies from each set are drawn in the same style make it super simple to mix and match them. I thought the idea of these cuties bringing their big "bunny" friend an extra sized sweet treat was a lovable little scene. 

You can see the entire card from start to finish in the video below. 


The little boo boos I had at the end there aren't terribly noticeable thankfully. Even though I'm a big fan of bright bold color it's nice to challenge myself to switch it up every once in a while. 


Thank you so much for visiting. 
I hope you found a bit of spring time inspiration :) 


Supplies:


Affiliate links are used
Neat & Tangled  RICE PADDIES - SIMPLY STENCIL
Neat & Tangled RICE PADDIES - SIMPLY STENCIL
Shop at:
NT
ALL THE BUNNIES
ALL THE BUNNIES
Shop at:
NT
ALL THE BUNNIES - NICE AND NEAT DIES
Shop at:
NT
EGGCITING
EGGCITING
Shop at:
NT
EGGCITING - NICE AND NEAT DIES
Shop at:
NT
Neenah Classic Crest 80 LB SMOOTH SOLAR WHITE
Shop at:
SSS | SB | HB

Sakura WHITE GELLY ROLL Medium Point Pens Set
Shop at:
SSS | HB
EK Success WRITING PEN FINE TIP
Shop at:
SSS
Sizzix BIG SHOT PLUS MACHINE Gray And White
Shop at:
SSS | SB
Neenah Classic Crest 80 LB REAM Smooth Solar White Paper Pack 250 Sheets
Shop at:
SSS
Fiskars PREMIUM CUT LINE Paper Trimmer 12 Inches
Shop at:
SSS | SB
Tombow MONO MULTI Liquid Glue
Shop at:
SSS | SB | HB
Ranger MINI ROUND INK BLENDING TOOLS
Shop at:
SSS | SB | HB
Ranger MINI ROUND FOAM REFILLS for Mini Round Ink Blending Tools
Shop at:
SSS | SB | HB
3M Scotch DOUBLE-SIDED FOAM TAPE Permanent
Shop at:
SSS
Copic Sketch Marker RV02 SUGARED ALMOND
Shop at:
SSS | DB
Copic Sketch Marker RV04 SHOCK PINK
Shop at:
SSS | DB
Copic Sketch Marker C1 COOL GRAY
Shop at:
SSS | DB
Copic Sketch MARKER C3 COOL GRAY
Shop at:
SSS | DB
Copic Sketch MARKER C5 COOL GRAY
Shop at:
SSS | DB
Copic Sketch Marker V0000 ROSE QUARTZ
Shop at:
SSS | DB
Copic Sketch Marker V12 PALE LILAC
Shop at:
SSS | DB
Copic Sketch COLORLESS BLENDER Marker
Shop at:
SSS | DB
Ranger Inkssentials Non Stick CRAFT SHEET
Shop at:
SSS | SB
Simon Says Stamp LARGE GRID PAPER Pack Pad
Shop at:
SSS
Copic Sketch Marker Y00 BARIUM YELLOW
Shop at:
SSS | DB
ZIG Wink of Stella GLITTER CLEAR Brush Tip Marker
Shop at:
SSS | SB | HB
Copic Sketch Marker B02 ROBIN'S EGG BLUE
Shop at:
SSS | DB
MISTI PRECISION STAMPER Stamping Tool Kit
Shop at:
SSS
MINI MISTI PRECISION STAMPER Stamping Tool Kit
Shop at:
SSS
Copic Sketch Marker Y02 CANARY YELLOW
Shop at:
SSS | DB
Judikins Eclipse ART MASKING TAPE
Shop at:
SSS
We R Memory Keepers TRIM AND SCORE Board
Shop at:
SSS
Copic Sketch Marker B00 FROST BLUE
Shop at:
SSS | DB
Hero Arts Black Ink Pad
Shop at:
SSS | HA
Gina K Designs JET BLACK AMALGAM Ink
Shop at:
SSS
2

1 Stencil 3 Ways


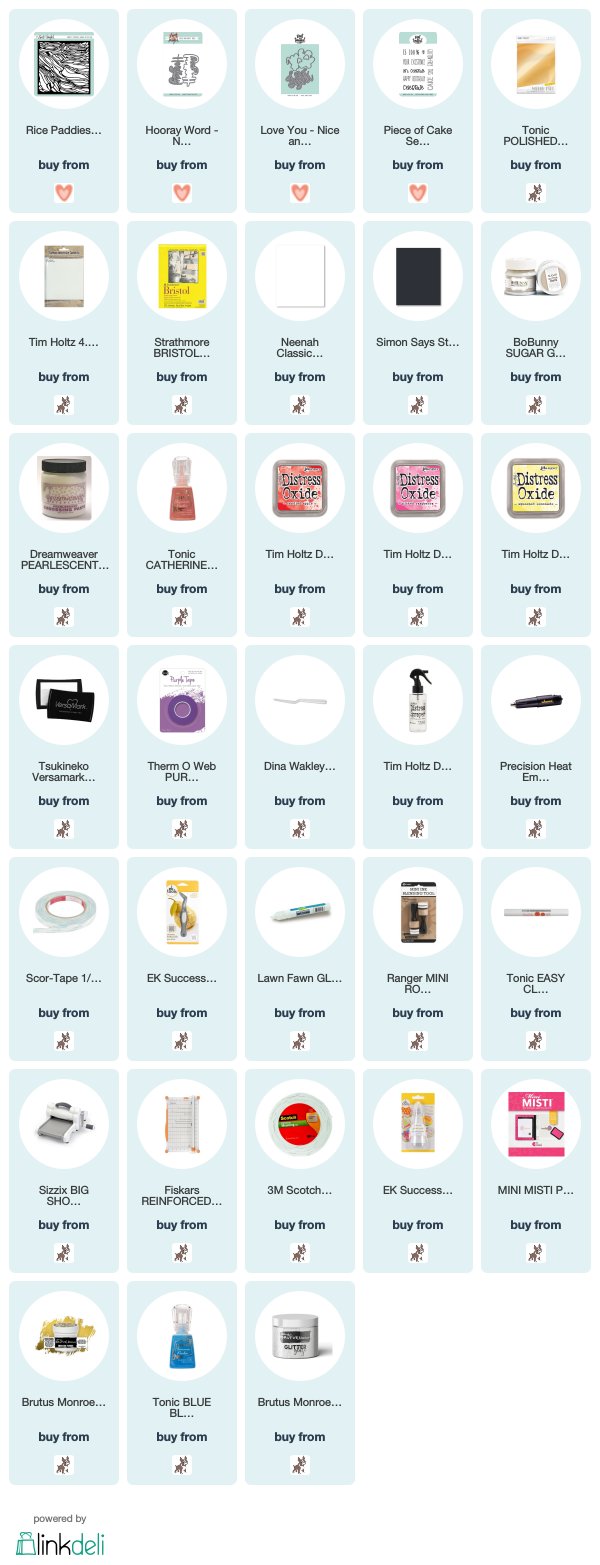
Welcome everyone! Mindy with you and I'm excited to share my first post on the Neat & Tangled blog. Today I'm going to show you a couple different ways to create some amazing backgrounds. 

VIDEO DETAILS

I have a video that you can view down below or HERE on the Neat & Tangled Youtube channel walking you through the process.


CARD DETAILS

For my first card, I'm using Tim Holtz Watercolor Card stock and the Rice Paddies Stencil. I hold these together securely with purple tape and attach to a wooden cutting board. This will allow me to pick up my paper and move it around when needed. 

Next, I apply Bo Bunny Sugar Glitter Paste with a palette knife, starting in one corner and spreading evenly across the stencil. Before removing the stencil,  I spritz water onto my background and add a few taps of Catherine Wheel Shimmer Powder. Then spritz with more water to move it around.


The more water you add, the more the shimmer powder will mix and spread. Then you can pick up the board and move the water around. Once you are happy with the coverage, wipe up the sides with a paper towel and carefully remove the purple tape and stencil. Be sure to clean the stencil right away so the paste does not stick to the stencil. I had a little water seep underneath the stencil which I'm totally ok with as I think it just adds character to the background. 


I helped dry my background with a heat tool but I would say give it at least a couple hours to fully dry. I trimmed the background down to 4" x 5 1/4" and added to a white A2 size cardbase using double sided tape. You want to make sure you are using a strong adhesive because there is so much texture to the card.

For my sentiment, I die cut the Love You two times from white card stock and once from Gold Mirror card stock and layered them for dimension. Then added to the card front with Lawn Fawn liquid glue. I placed a couple clear blocks on top to put pressure on the words and help secure it down to the textured background.


For my second card, we are going to start by ink blending Candied Apple, Picked Raspberry and Squeezed Lemonade Distress Oxide onto Bristol Smooth card stock. I will then attach the Rice Paddies stencil to the ink blended panel with purple tape. To give texture to this background, I'm going to apply Dreamweaver Pearlescent Embossing Paste. I apply this evenly through the background and then remove the stencil. Be sure to clean your stencil immediately with warm water.

My intention was to just have this beautiful pearlescent finish but when I went to speed up the drying process with my heat tool, the embossing paste started to bubble up. I was surprised at first but thought it gave such a unique look to the card so I heated up the entire panel. 


Once the panel was fully dry, I trimmed down to 4" x 5 1/4" and die cut the Hooray shadow layer from the center. I then took that shadow layer piece and die cut the Hooray scripty word from it. My intention was to lay this in my shadow I die cut from the panel but thought it was just too much. So I'll save it for the next card. 


I layered the back of the ink blended panel with foam tape and attached to an A2 size notecard. Then added my Hooray Scripty word that I die cut from Gold Mirror card stock. So bright and colorful! 

I wanted to add one more sentiment to the front to break up the background a little. I prepped a piece of black card stock with an antistatic powder tool and stamped a sentiment in Versamark ink. Then added Brutus Monroe Gilded gold embossing powder and heat set. This sentiment comes from the Piece of Cake Sentiments stamp set which coordinates beautifully with this word die.


I'm considering this my bonus card since I didn't originally plan on it. I kept it quite simple. 


I started with an A2 size card base and an added a piece of the Gold Mirror card stock. The mirror card stock measures 4" x 5 1/4", then added a piece of white card stock measuring 3 3/4" x 5" so it left a beautiful gold edge. 

Since I already had my die cut word from the previous background panel, I die cut it two more times from white card stock and layered together for dimension using Lawn Fawn liquid glue. I added it to my layered panel and attached a sentiment just like in the previous card. Clean and simple yet so colorful! 


Here you can see all the beautiful colors and texture! 


One final look at the cards created in the video. So much fun creating stunning backgrounds and die cut words using paste and stencils! Neat & Tangled's scripty word dies are perfect because of the gorgeous lettering style and size. 


Be sure to check out the video HERE for the complete tutorial.

SUPPLIES


3
Back to Top