Welcome back everyone! It's Mindy Eggen here with you today. I think sometimes we get caught up in all the shiny new products out on the market that we forget about what we already have. While I love a bold, dramatic background, I decided today to go real simple. And by simple, I mean sticking to one color.
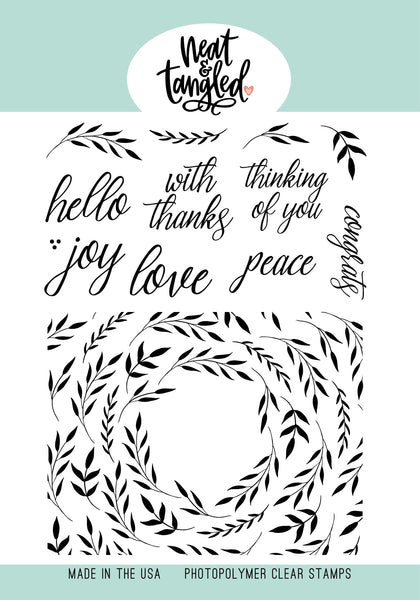
I'm totally ready for Spring to come which is probably why I reached for my Key Lime shade for the card today. I used the Foliage stamp set from Neat & Tangled and stamped it in Key Lime ink from Gina k Designs onto Neenah 80 lb cardstock.
I layered my panel onto another piece of white cardstock and then mounted to a Key Lime card base. The center is actually open space so before working with a sentiment, I lightly ink blended Key Lime ink. I started in the center and blended outwards.
This beautiful scripty sentiment is actually from the same stamp set. I stamped it in clear ink and heat embossed with white embossing powder.
I die cut my sentiment out using the largest of the circles from the coordinating die set of the Circular stamp set. Then attached to my card front with foam squares.
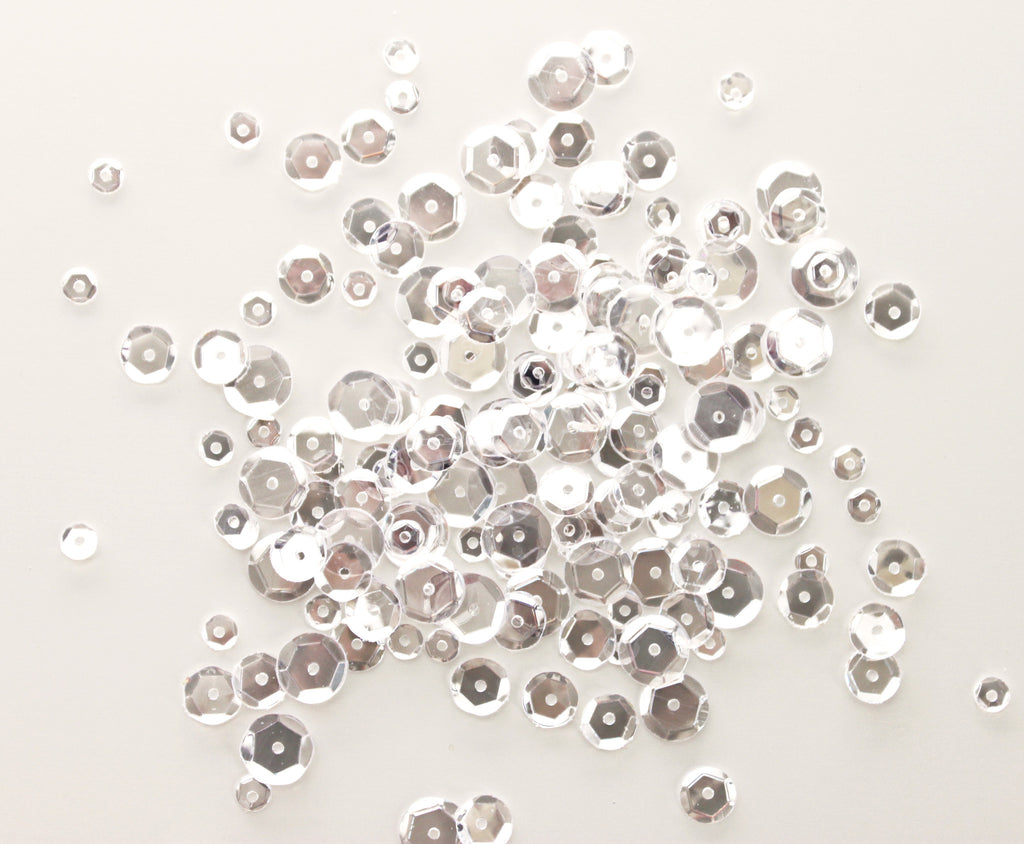
For a little added interest, I added Sparkling Crystal Crystalline.
This card came together very quickly. Especially when you are using just one color. There isn't the struggle of trying to decide if the colors coordinate together or not.
I hope you 'll give this monochromatic look a try. Just image a whole rainbow of cards like this! That would be heaven!
SUPPLIES
Below you will find links to the products used. Click the icon to start shopping. Compensated Affiliate links are used at no additional cost to you. Your support helps me to keep bringing you new projects and videos. Thank you!
Since the holiday season is upon us I wanted to do a Christmas card but I also wanted to share how you can use a layout you love for the holidays for an everyday card too!
I really love the Foliage Frame stamp and thought it would be perfect for a tone on tone background. In order to make sure it didn't blend too much into the background I decided on an embossed resist.
I picked two colors of cardstock as my base and got o work stamping.
The Foliage Frame stamps the entire front of a A2 sized card. In order to make sure I get it edge to edge I use temporary adhesive to hold me cardstock down inside my MISTI. Once I'm done I just rub it off the foam.
In order to get smooth results I treated the cardstock with my anti-static bag andthen stamped in clear sticky embossing ink. I heat embossed with clear embossing powder so the true color of the cardstock would be trapped underneath the embossing.
For my Christmas card I added layers of yellow greens around the center of the carstock getting progressively darker on the outside edges. The darker the ink the better the resist will show through.
For this card I used shabby shutters, crushed olive, peeled paint, and forest moss.
I wanted my everyday card to still have a green ish background that would make sense with the leaf frame so I opted for teals. I layered on cracked pistachio, peacock feathers, mermaid lagoon, and pine needles for this one.
Once the ink blending was done I set my backgrounds aside to copic color my flowers.
After the coloring was done I die cut both poinsettias out along with the strips for my sentiments. I heat set both sentiments in white embossing powder this time. For the larger words I fussy cut around them so they didn't feel duper blocky. Everything got popped up on foam and accented with either our Sophisticated Enamel Dots or our Cleat Sequins.
You can see the entire process in the video below.
I apologize for the quiet volume but I was having trouble with my audio :/
Thank you so much for stopping by and I hope you have a wonderful Christmas!