Hello and welcome to the Neat & Tangled blog! Janette Kausen here with my second of three guest posts for February. Today’s project features the Lovely Lotus stamp set. I’ve used just one flower from the set, but it includes two additional full blooms, two buds, two leaves and a handful of sentiments. This 6” x 8” stamp set is a colorists dream with its open spaces crying out for color!
I’ve taken a bold and graphic approach with minimalist coloring technique to create an eye catcher balanced against a healthy dose of white.
To create this card, stamp a Lovely Lotus in black on smooth Bristol paper and heat emboss with a clear based sparkly embossing powder. Color image with water based markers. Die cut Falling Circles into white cardstock and then back with black.
Adhere trimmed Falling Circles onto an A2 (4 ¼” x 5 ½”) cardstock panel horizontally. Die cut Lovely Lotus and adhere popped up over background with dimensional adhesive. White heat emboss Lovely Lotus sentiment and adhere in place with dimensional adhesive over edge of circle panel. Add a touch of twinkle with holographic thread wrapped three times below the sentiment and secure to back with tape. Adhere finished panel to an A2 card base.
Thank you for visiting today and I hope you’ve been inspired to create! I’ll see you again a little later in the month. In the meantime, be sure to visit the Neat & Tangled shop to view their latest release. It is darling!
Other Supplies Used: Nuvo Aqua Flow markers in Hawaiian Orchid, Sweet Pea, and Just Peachy Tombow Dual Brush in 098 Sulky Gold Holographic Thread Hero Arts cardstock in Dove White and Pitch Black Strathmore Smooth Bristol Paper Gina K Amalgam Black Ink Tsukineko Versamark Ink Hero Arts Sparkle and White Detail Embossing Powders
I have to admit I love a good challenge! And crafting challenges always push me to try new things and get more creative with what I already have on hand. When I feel like my mojo is slumping I'll look for a challenge to take part in, or even make one up for myself!
So for today's post I decided to challenge myself to make a project using
only my Neat and Tangled dies, without any stamps! Now I didn't quite
get there because in the end I couldn't resist the temptation to add a
sentiment and a little finishing touch of Christmas lights, but my
intentions were good! And you can see that I could have easily left those bits out, or replaced them with something else instead so I didn't feel like a failure! LOL!
In my usual style though I like to add lots of paper layers, and I like
to stack them up and overlap them and cluster them together. I like to
add a variety of different colours, and I'm always looking for an excuse
to use up my patterned paper, and to throw in some glitter. I wanted to make sure I stuck to my usual
style and include all these elements, even within the confines of my
self-imposed challenge to only use die cuts. And so it began!
Do you think it's too early to begin Christmas projects yet? I hear
there's only 90 odd days left before it's upon us, so I figure I'll take
any crafting opportunity I can to get a head start on my gift tags ;-)
In my video today I'm going to show you how these tags came together. They were quite easy to assemble, and without any real stamping and colouring they were super quick too! I'll share all my hints and tips along the way for creating your own versions of these stacked die-cut tags.
Hello friends, it's Natalie here today and I've got lots I want to share! This is a sort of "sit-down and grab-a-cuppa" kind of post because once I started thinking about all the ways you can use your collection of Cover Plate Dies I came up with quite a long list! And that means my accompanying video which demonstrates all the techniques has become kinda long too ;-)
Disclaimer: Some of the cards you'll see today you may recognise because I've shared them before, but I'm using them as examples of the techniques I'm discussing. However, I did also make 3 new cards just for this post, so there's plenty of fresh inspiration for you too! I hope that's ok?
Ultimately I thought of 7 different ways to use Cover Plate Dies, and I want to share them with you today. Of course, I don't imagine the list is complete by a long shot. I'm sure there are a million more ways to use your Cover Plate Dies as well (and if you've got one I would LOVE to hear it!) But here's the first 7 that I thought of....
1. Background Texture
This is probably the most common way I tend to use my Cover Plate Dies, and one of my favourite techniques. It's all about using your die to cut your background panel, and then piecing it back together again so that it becomes a subtle hint of pattern and texture without overwhelming the focal point of the card. There are multiple ways of achieving this easily, and I'll demonstrate my technique in the video at the bottom of this post.
To make the card on the left I've used the 'Squares and Chevrons' die with just plain white cardstock. I love the white-on-white look which gives me plenty of opportunity to go BOLD and BRIGHT with the rest of the elements on the card.
The card on the right features the 'Inlaid Squares' die, but this time I cut my background panel out of patterned paper. I think it creates an extra point of interest in the background but it doesn't distract you from the main features of the card.
2. Patterned Paper Patchwork
This is a similar technique to the first one, except this time I cut multiple sheets of different coloured patterned paper with the Cover Plate Die and then mixed and matched them as I pieced them back together. It reminds me of patchwork or quilting techniques.
This set of 3 sympathy cards were created with the 'Squares and Chevrons' die and 3 different patterned papers. One of the great advantages of this technique is that you can create multiple versions of the same background with all the pieces you'll have. If you use 3 papers, then you've got enough to create 3 backgrounds. If you use 4 papers then you could create 4. It's a great way of making cards in bulk. Now I say 'background', but I think most of the time this kind of technique is pretty enough to stand on it's own, and only needs a simple sentiment to finish it off.
In the video below I'm going to share with you how I created this card with the 'Succulent' Cover Plate Die. It might look like I've used a different technique because this cover plate isn't a pattern, and I've only used 2 colours of paper, but it's the same principles of Patterned Paper Patchwork in action!
3. Create Your Own Patterns
The Congratulations card on the right has an eye-catching black and white patterned paper, or so it seems at first glance. In fact, what I've done is take the square pieces that are cut out when you use the 'Inlaid Squares' die and adhered them to white cardstock in my own pattern (granted, it's very similar to the intended design of the die in the first place.... but not quite! LOL!)
Certainly you could be more adventurous in your own arrangement!
4. Negative Pieces as a Feature Embellishment
Since I have a hard time letting anything go to waste, I then used the remaining smaller black squares from the same pass of the 'Inlaid Squares' die and scattered them across my Happy Birthday card (above) in a slightly more haphazard way. What I'm attempting to do here is use the negative pieces - the bits that 'pop out' of the diecut - as a focal point on the card.
Some of the other Cover Plate Dies are even more aptly suited to this purpose. Take the 'Warm Winter Scene' die for example....
The trees and houses that it cuts are purposely designed to be used as embellishments in their own right. But don't ignore the positive piece that's left behind - that grid of house and tree-shaped holes is definitely worth using for other projects. Which brings me to an example for my very next technique...
5. As a Window Frame
I'm not sure if that's really the right term for it, but let me just explain what I mean!
What I'm referring to is the use of the positive image - that's the bit that's left behind when you've popped out all the other pieces, and which is usually the main point of the die - as a top layer to a dimensional project. The best example of this is to create a shaker card!
On this card I used the 'Warm Winter Scene' diecut, backed it with clear plastic, mounted that onto some foam (for the dimension) and filled in all the windows with sequins.
But you could opt for a much more 'simple' approach and layer your positive diecut image over the top of patterned paper, or an ink-blended sunset, or an alcohol-ink galaxy, or some other brightly coloured layer. The depth this creates is what reminds me of it being like a window frame, with you looking through the windows to the world beyond.
6. As an Embossing Plate
Did you know you can turn any of your traditional dies into embossing plates with the addition of a sheet of rubber or silicone? This is the perfect technique for Cover Plate dies with their repetitive patterns. You need to buy the rubber sheets separately (many of the diecutting brands such as Sizzix, Spellbinders, Cuttlebug etc have their own specific versions, but you can also buy more generic 'embossing kits' from other manufacturers) and when you use these as part of your sandwhich of die, paper and cutting plates it will stop the die from cutting, and only leave an embossed impression on your paper instead.
For some reason I completely failed to take a photo of the embossed backgrounds I created using this technique, although I do demonstrate it in the video, so go and watch that for more details! However, I do have this card where I use this same technique with the 'Lucky Stars' die - and even though it's not a Cover Plate die you get the idea right?! :-)
7. Create Your Own Stencils
The last idea I wanted to share today is how you can use your Cover Plate dies to make your own set of stencils! Again, you can purchase specific stencil film for this intended purpose (Sizzix has just released their version for example), but I find if you're ok with a little bit of fuzziness around the edges that some normal cardstock will do the trick in a pinch.
On the card above I used the 'Falling Circles' die and cut it out using some scrap cardstock. Then I simply sponged mint ink through the holes to give the impression of falling snow. In the video I use the same 'stencil' with multiple bright colours of ink to instead give the impression of falling confetti! So you can see it's a fun technique with many uses.
And now... to demonstrate all these techniques and to share some examples I've put it all together in video form as well. So sit back and enjoy!
Oh, and don't forget to leave your comments with all the other ways you've been using Cover Plate Dies in your own makes! Share your ideas and link your projects because I would LOVE to see!
Mayuri here to share a card using some of the newest stamp and die sets;-)
For this card, I used the Backdrop stamp, which at first may seem deceptively simple, but actually packs quite a punch.
I began by stamping the Backdrop image repeatedly across a panel of white cardstock, using a range of different coloured inks. I wanted to create a rainbow effect but wasn't sure what would happen to each impression as it overlapped the last.
I was quite surprised with the results and almost didn't want to cover all that stamping up, but I then ran the panel through my die-cutting machine with the Falling Circles Coverplate.
I then simply foam mounted the stamped and die-cut panel to a white card base and moved onto the sentiment, which comes from the Hello Winter set. I chose one of the simple sentiments from the set and heat embossed it in white on a strip of black cardstock.
I foam mounted the sentiment to the card front and finished off with some sequins.
While the Truck die is great for creating those 3D trucks, it's also great for creating flat cards as well by cutting and trimming out just one side of the truck!
Think of all the cute things you could put in that shaker besides sequins - I'm thinking stamped and die cut treats, gift boxes or cute critters!
It's our favorite week of the month- release week! Welcome to day 4 of our October 2017 release! This month we have some amazing products for you - sequins, stamps, and dies! All new products will be available TOMORROW Friday, October 6th at 8am EST. I hope you enjoyed each day this week!
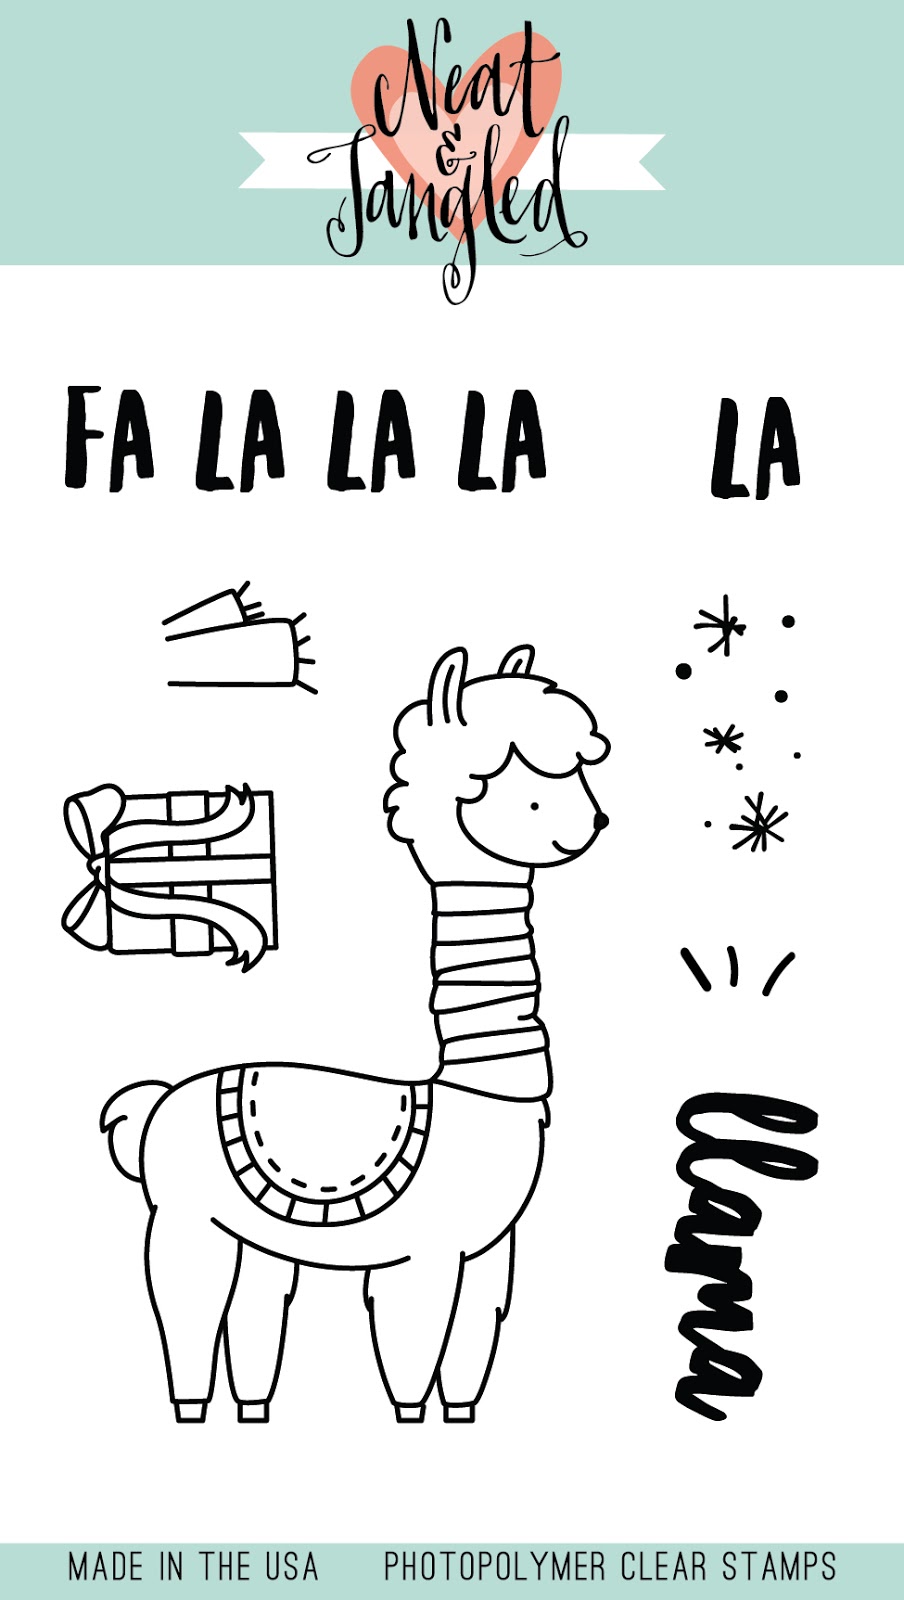
We still have a few new products to share with you today! Elena Roussakis has illustrated Fa La Llama. This 3x4 set has a lovely little llama and some fun sentiments, sure to bring a smile!
We also have a great new cover plate die for you! Falling Circles Cover Plate die is a 4" x 5.25" cover plate die that has a whimsical pattern and lends itself to lots of techniques!
And now for some inspiration! Be sure to head to each design team members blogs for details by clicking on the photos, and for a chance to win a $25 gift certificate! One person will be chosen from among comments on the design team members blogs!
Would you like to win the new Fa La Llama and Falling Circles Cover Plate Die? To enter:
1. Be a follower and leave a comment!
2. Follow us on Facebook and share about release with your friends! (leave another comment)
3. Follow Neat and Tangled on Twitter and tweet about our release, use @neatandtangled! (leave another comment)
4. Follow Neat and Tangled on Instagram and repost about our release! Use #neatandtangledrelease (leave another comment)
See you tomorrow when we announce the giveaway winners and wrap up this release!