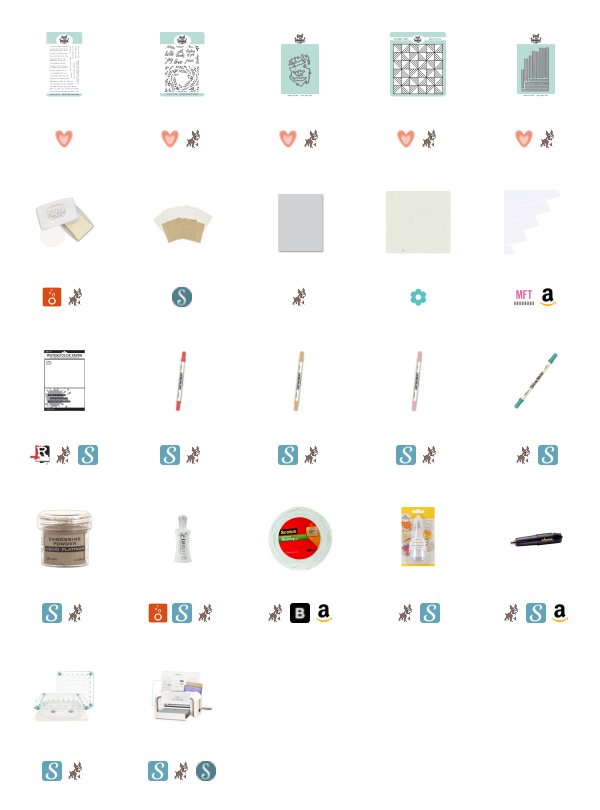
Hello everyone. Koren here with another card project for you. Today I am using, from the May release, the NEW Foliage Frames stamp set and coordinating dies to create this rustic “thinking of you” card. This card has a ton of texture with busy patterns to enhance an otherwise simple look.
I started with a piece of Neenah 110 lb. Solar White cardstock. I loaded it into my Precision Press along with the NEW Quilted Background (also from the May Release). I stamped it using Nuvo Clear Mark embossing ink and I heat embossed it using Ranger White embossing powder. I cut this panel down to 3 1/2 by 4 3/4. Then I ran it through my die cutting machine with the die that cuts out the circle aperture from the Foliage Frames die set. I centered it the best that I could, and ran it through the machine.
Now that I had a nice hole in my card panel, I needed to fill it with something. So I reached for some canvas that I have by Spellbinders. You can easily die cut this fabric, but I wanted to use it more as a background. So, I stamped the sentiment “thinking of you” also from the Foliage Frames stamp set, using the same clear embossing ink and heat embossed it using Ranger Liquid Platinum embossing powder.

I want to let everyone know that when I heat emboss, I prep my surface with some type of embossing powder prep tool. I have both the Ek Success Powder tool and the Embossing Buddy by Stampin’ Up! Both of these tools work well. I tend to use the bag when embossing larger areas. I try to prep my surface each time I heat emboss. This takes off any residual static from the paper that might hold onto bits of embossing powder and make for a look that is a bit messier than you would expect. By prepping the surface you can help cut down on those loose particles that can make your project look less than ideal.
The canvas was no different. I prepped this surface just like any other and heat embossed it without trouble. Although, I would be careful when adding heat to any type of fabric. It could catch fire and although that could be a cool look on a different card, fire and ash isn’t really the look we are going for here.
Once I had my sentiment stamped and embossed, I added some Scotch Foam Tape to the back of the white panel and attached it to the canvas sentiment, trying to line up the sentiment to show directly in the middle. I might have stuck it on a little too close to the top, but that just gave me a great idea. I used the Neat & Tangled Skinny Strips to cut out a sub-sentiment banner. I stamped “I am always here for you” from the Neat & Tangled Typed Sentiments stamp set and heat embossed that to compliment the canvas piece. Only this time I stamped it onto a natural cardstock that show little bits of fiber for a more rustic feel.

Before attaching the sub-sentiment. I stamped several of the individual foliage stamps with Distress Markers. These are water-based markers and they react with water which makes them excellent water color tools. I add the ink directly to the stamp and press it to the Ranger watercolor paper. Giving you an instantly watercolored look. I sometimes like to fill in the color by using a blender brush. It allows you to move the color around without adding anything additional to it. It helps to make the colors look more blended and even.
I used their coordinating dies to cut them out. Small bits of Scotch foam tape where added to back of each piece and then carefully added to the area around our opening in the panel. I then arranged these individual pieces into a wreath to further enhance the opening in the panel.
To finish off the card I added the sub-sentiment with Nuvo Deluxe liquid adhesive and then added the entire card panel to a Simon Says Stamp Fog card base cut to size A2 in a landscape orientation.
I hope you enjoyed my project for you all today. I hope that it inspired you to maybe add some materials to your card making arsenal that you don’t normally think of, like fabric or felt.
Until next time happy crafting.
Koren.


