Hello there!
Mayuri here to share a card using the Polygon Stencil ;-)
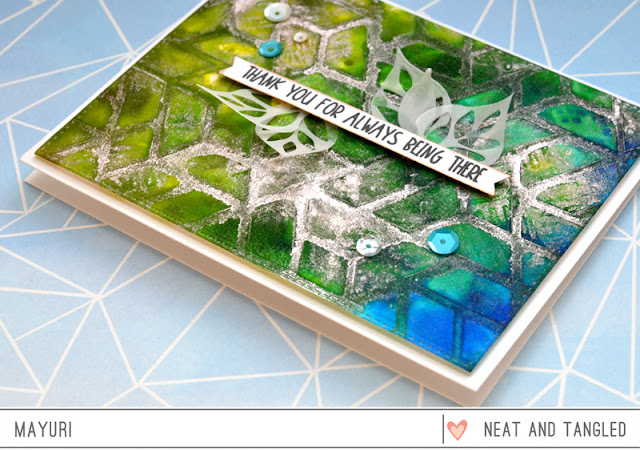
I took out my Dylusions Ink Sprays and Antiqued Bronze Distress Stain for a cool effect, with minimal effort! I began by adding droplets of blue and green Dylusions to a large acrylic block until the whole things was covered - the more droplets you add, the richer the end result.
I then heavily misted a piece of watercolour paper with water until it was fairly saturated before laying the stencil on top, and stamping the inky acrylic block straight down into the watery puddles. I jiggled the block around a bit to help spread the colour through the stencil.
I gently removed the acrylic block and while the stencil was still in place, I smooshed the Distress Stain sporadically through it and onto the damp watercolour piece. I slowly removed the stencil, mopped up any excess moisture and quickly heat set the panel.
Once dried, I trimmed the panel down and foam mounted it to a white card base. I stamped a sentiment from the Scandinavian Prints set with black dye ink onto a strip of white cardstock and foam mounted it to the card front with a few vellum, die-cut leaves underneath. To finish, I added some sequins from the Ocean Waves sequin mix.
Thanks for stopping by!


I love the vellum touches...
ReplyDeleteCristina
thehouseoftheblackbirds.blogspot.it
Gorgeous background colors!!
ReplyDeleteWhat a stunning card!
ReplyDelete