Hey everyone, happy Wednesday! It's Taheerah here today to share some cards featuring the November release!
It seems that my release package wanted to travel the world a bit and got lost in Mexico! I was so sad to miss out on sharing some Release Week projects, but once my replacement package finally arrived I couldn't wait to tear it open and get stuck in! So although I didn't get a chance to join in with the other talented DT ladies, that just means I've got the limelight to share them with you now!

Totally swoon-worthy, right?!
Let's start with the first card:

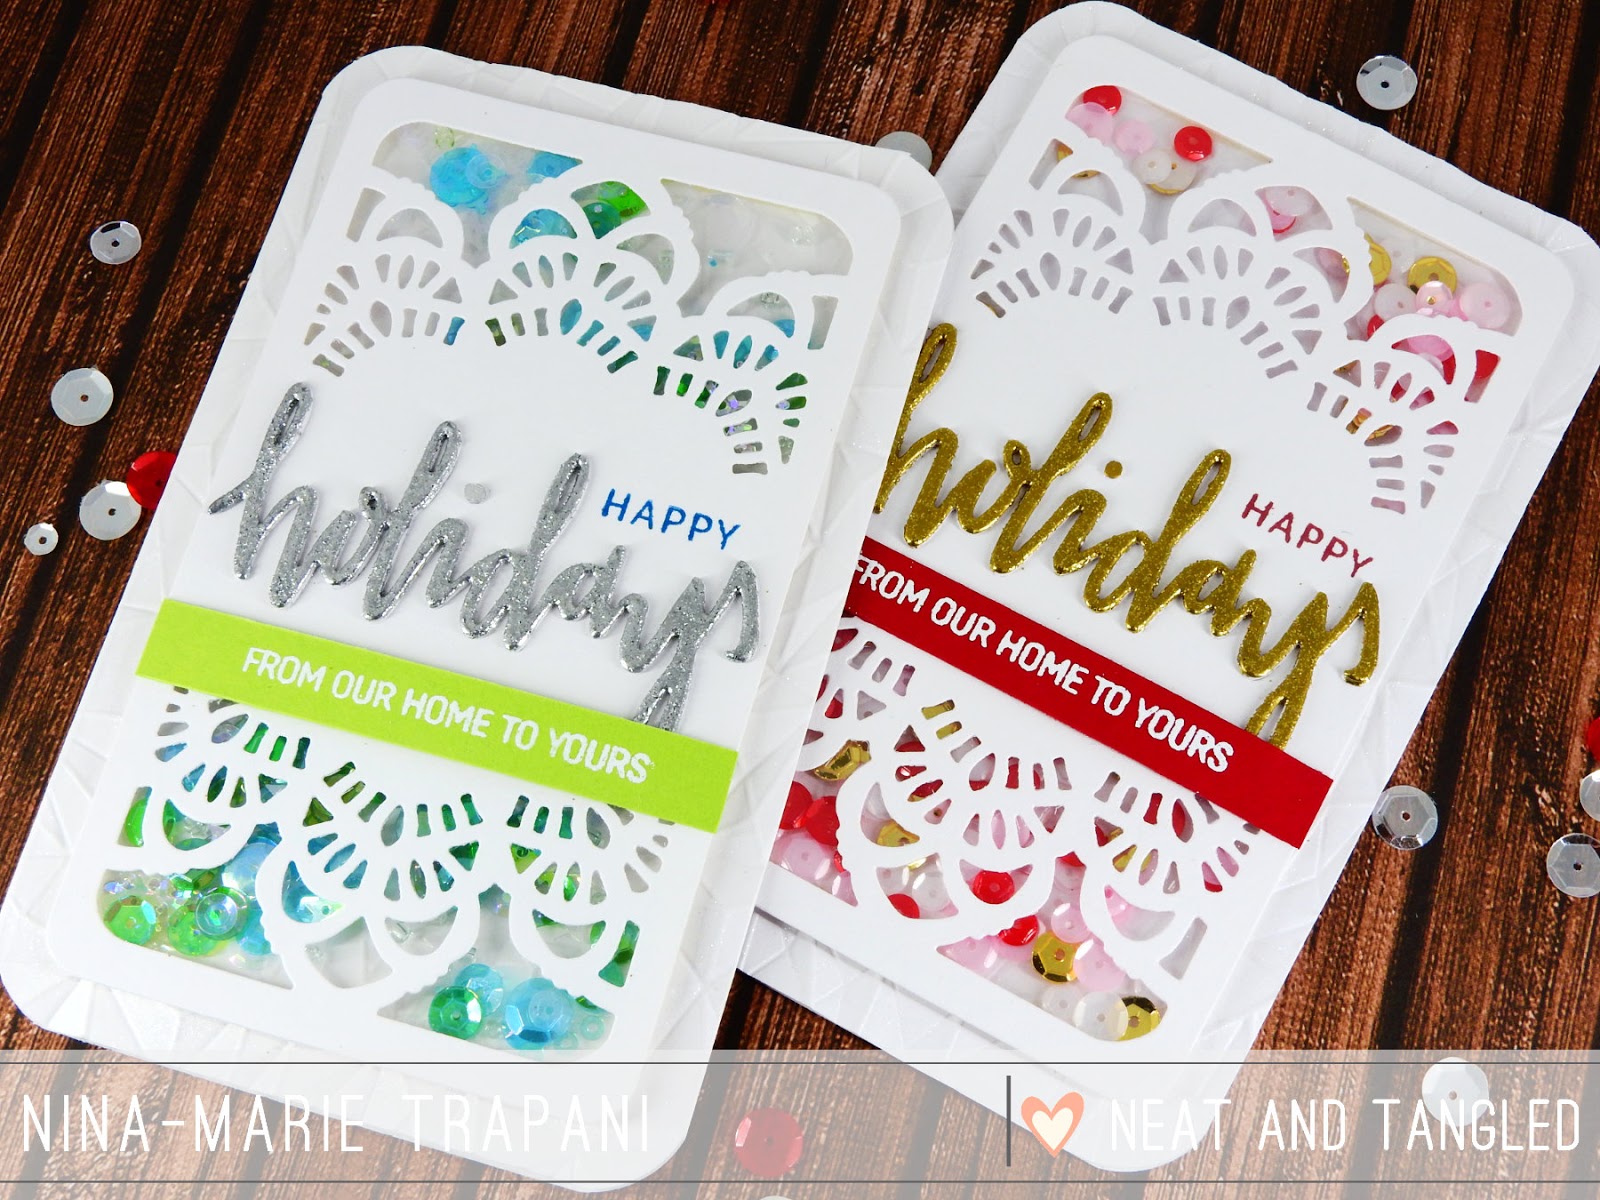
For this one I used the May Your Holidays Be stamp set and combined it with the girl elf from Elfs And Their Shelf. I threw in an older set too called Happy Ornaments to turn it into a scene!

I cut out the centre of my main ornament and turned it into a fun shaker pocket! And I loved trimming the banner in two so that I could have it loop behind the ornament, and to have that cute little elf perched on it as it swings!
Next up, it was time to take the Scandinavian Prints Christmas set for a spin:

I created my own patterned paper right on my card front, stamping with a non-traditional colour palette!

Little added details for the stars and snowflakes came courtesy of the May Your Holidays Be and Elfs And Their Shelf sets respectively. The sentiment from Santa's Wonderland is the perfect finishing touch!
Speaking of Santa's Wonderland, I really wanted to play with it on its own too, and then I came up with a really cool and unique idea...

I used partial die cutting to create a snowglobe! I die cut most of the circular ornament from the May Your Holidays Be dies, then used the banner from the same die collection to create the base!

I created a fun shaker scene using the penguin, North Pole and snowflakes stamps. It was quite labour intensive to think through and put together, but the end result was so worth it!!

I used the Merry And Bright dies for the sentiment, doubling up my die cuts- one with black on top of gold, and the other reversed! There are so many fun details and lots of dimension in this beauty and I'm so proud of it!
And finally, possibly, my favourite was saved 'til last:
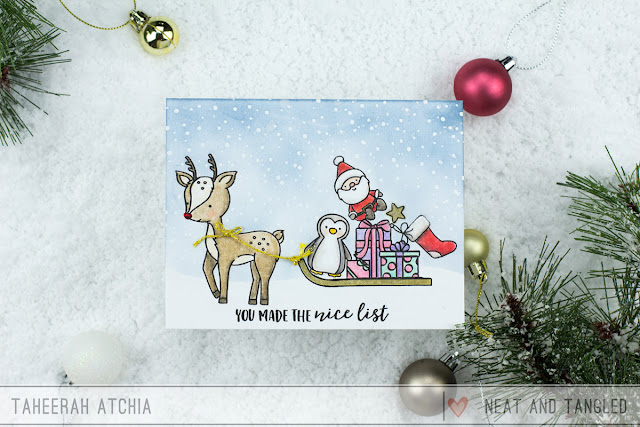
I built a super-fun scene using lots of different sets! Santa's Wonderland, Elfs And Their Shelf, Beary Merry and Into The Woods all feature here, and they go together perfectly!!

I curved the shelf stamp on my acrylic block to make a sled!! Then I got busy piling on the presents and little extras, and coloured everything with colouring pencils. The deer from Into The Woods makes a perfect Rudolph to tow this sled! I masked off all my images after colouring then ink blended my sky over them, having first heat embossed my snowflakes. Some shimmer, glitter and a gold cord tied everything together perfectly. Whoever gets this card is definitely on the Nice list!
8
It seems that my release package wanted to travel the world a bit and got lost in Mexico! I was so sad to miss out on sharing some Release Week projects, but once my replacement package finally arrived I couldn't wait to tear it open and get stuck in! So although I didn't get a chance to join in with the other talented DT ladies, that just means I've got the limelight to share them with you now!

Totally swoon-worthy, right?!
Let's start with the first card:

For this one I used the May Your Holidays Be stamp set and combined it with the girl elf from Elfs And Their Shelf. I threw in an older set too called Happy Ornaments to turn it into a scene!

I cut out the centre of my main ornament and turned it into a fun shaker pocket! And I loved trimming the banner in two so that I could have it loop behind the ornament, and to have that cute little elf perched on it as it swings!
Next up, it was time to take the Scandinavian Prints Christmas set for a spin:

I created my own patterned paper right on my card front, stamping with a non-traditional colour palette!

Little added details for the stars and snowflakes came courtesy of the May Your Holidays Be and Elfs And Their Shelf sets respectively. The sentiment from Santa's Wonderland is the perfect finishing touch!
Speaking of Santa's Wonderland, I really wanted to play with it on its own too, and then I came up with a really cool and unique idea...

I used partial die cutting to create a snowglobe! I die cut most of the circular ornament from the May Your Holidays Be dies, then used the banner from the same die collection to create the base!

I created a fun shaker scene using the penguin, North Pole and snowflakes stamps. It was quite labour intensive to think through and put together, but the end result was so worth it!!

I used the Merry And Bright dies for the sentiment, doubling up my die cuts- one with black on top of gold, and the other reversed! There are so many fun details and lots of dimension in this beauty and I'm so proud of it!
And finally, possibly, my favourite was saved 'til last:

I built a super-fun scene using lots of different sets! Santa's Wonderland, Elfs And Their Shelf, Beary Merry and Into The Woods all feature here, and they go together perfectly!!

I curved the shelf stamp on my acrylic block to make a sled!! Then I got busy piling on the presents and little extras, and coloured everything with colouring pencils. The deer from Into The Woods makes a perfect Rudolph to tow this sled! I masked off all my images after colouring then ink blended my sky over them, having first heat embossed my snowflakes. Some shimmer, glitter and a gold cord tied everything together perfectly. Whoever gets this card is definitely on the Nice list!
I hope you loved these release projects as much as I loved creating them! The November release is probably one of my most favourite to date, with a few of the new products out of stock currently - so make sure you sign up to notifications for your favourites to know when they're back in stock! Thanks for stopping by!