Focus on a Sentiment with Daria

Hello-hello Awesome People!

Daria here. Today, I have two cards for you with a focus on sentiment. I wanted to give a sentiment a central role, while keeping integral to the whole carddesign. So, I've decided to place it on a separate shape. 


I took sentiments from Moon Magic stamp set and Thanks So Much Stamp set.


I also used the Circular die set. The biggest circle from the set became a perfect placement for the sentiment. Plus, I die cut a few of the circles from glitter cardstock and used them as embellishments for my projects.


As a supporting image for my cards, I, of course, choose some flowers. Big flower cluster from Grateful Heart stamp set is perfect to surround the panel with a sentiment. 


For both of the cards, I used embossing folders: Stripes by Heidi Swapp (discontinued) and Confetti by Mimicut. I like to keep my cards white, and embossing makes them look dimension and interesting while feeling very "clean". 


Hope you like these simple ideas and will give them a try. 
See you back soon,

D.
1

Stacked Just Because with Koren Wiskman


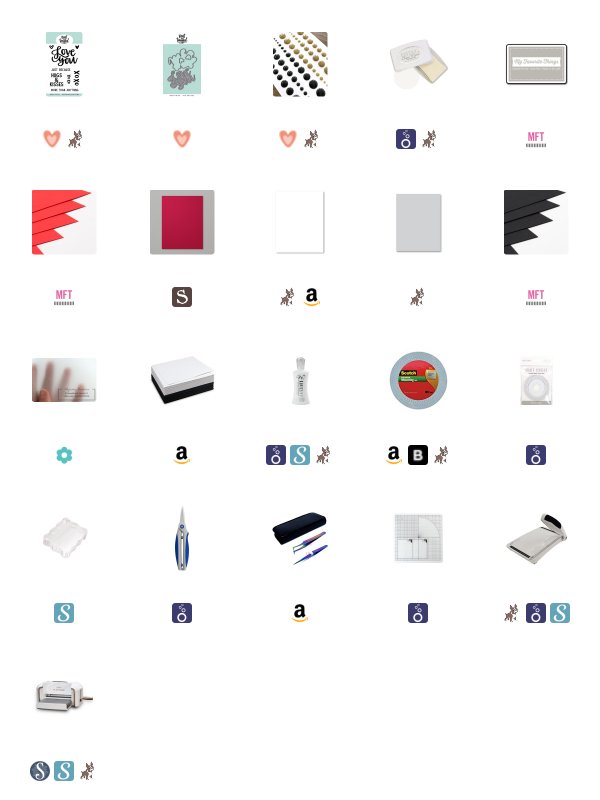
Hello everyone. Today I have a cute high-contrast card that brings attention to the details. I'm using the Neat & Tangled Just Because stamp set and coordinating dies, as well as the Mail Background stamp.  I also threw in a little Sophisticated Enamel Dots to finish it off.

To start, I loaded the Mail Background red rubber stamp into my Original MISTI. I do this because I like the security of a stamp positioner when stamping my background stamps. I almost always stamp them twice to get good coverage. The MISTI is my go-to stamp positioner. I stamped it with a light gray hybrid ink that works with alcohol markers. I didn't want the background to be too busy so I wanted to attempt to color this with light lines. I used my alcohol markers to color the hearts read and to lightly shade the areas where the envelopes are just so you can tell that they are back there.

Once the background was colored I trimmed it down to 3 1/2 by 4 3/4.  To subtly increase  the appearance of the background on the card, I cut a piece of vellum to the same dimensions to go over the top of the background. In-person the background is nicely represented, which is kind of hard to capture on camera.


The Just Because stamp set and its coordinating dies are one of my favorites. I love the big bold "love you" word die and it's companion shadow die. Together they fill a card front nicely and it makes my job designing them very easy.

For this card, I wanted to stack the layers of my word die to have striped layers of black and white. I cut the shadow first from black cardstock and then the word die itself. The "love you" is actually made up of three separate sections. The "L" is one section the "ove" is another and then finally "you" is one of its own. I cut the word die five times two from black cardstock and three from white cardstock. Starting with the black base of the shadow I then stacked them in alternating layers white, black, white, black, and finally white on the top. I used liquid adhesive to layer them together allowing a little time for it to dry with an acrylic black resting on top to keep them flat and snuggled nicely together.

The entire word die was then added to the vellum using liquid adhesive. This gave me a great area to add adhesive to the vellum and attach it to the background. To keep the adhesive hidden only add the adhesive behind the word die. This gives it plenty to hold on to and it looks nice.

As for the sub-sentiment "xoxo" I stamped the smaller of the two xoxo's included in the Just Because stamp set onto some bright red cardstock using clear sticky embossing ink. I then heat embossed it using white embossing powder. I cut it down to a strip using my paper trimmer and added it to the card panel using a double layer of foam adhesive. I had to double the foam to get over the height of the stacked word die and nestle it nicely under the "you".


I then cut the two hearts also from the Neat & Tangled Just Because coordinating die set in two shades of red, a light, and a dark red. I thought this would give it a little more interest.

I added a sprinkling of Sophisticated enamel dots in black to really set of the black and white contrast.

I added the card panel to a light gray card base cut to size A2 and scored in top-folding portrait orientation. I used white craft foam and tear tape adhesive to stick it on and give it a little dimension as well.

I hope you like my card project today and that I've inspired you to create using these fun love-themed products from Neat & Tangled.

Koren

1

This is Just a Phase with Cheiron

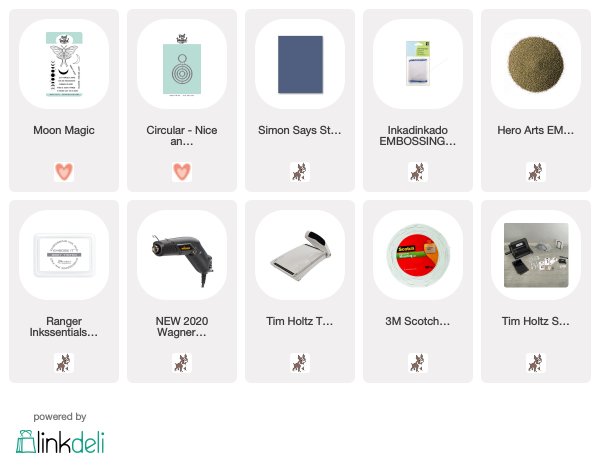
Hi there crafty friends! It's Cheiron here with a quick and easy card using the Moon Magic stampset. I love the moon phases in this set and thought it would be fun to create a background with them. To create this card I prepped a panel of Dark Navy card stock with an embossing magic pouch. Then I stamped the moon image repeatedly on the panel and embossed it with Gold embossing powder. I made sure to vary the placement of the full moon as I stamped the image.

Once the background was completed, I stamped the sentiment onto a small strip of card stock and embossed it. I also wanted to have a "moon" shape on my card, so I cut one of the circles from the Circular dies, pressed it into embossing ink and embossed it in gold and added both the moon and the strip on top of it with foam tape

This is such a fun and easy card to make and a great way to stretch stamps you already have in your collection.  I hope to make a few more of these (maybe in different colors) using the rest of the phrases in the set. I hope this inspires you to make some Moon Magic of your own!


SUPPLIES:
2

XOXO card with Daria

Hello-hello Awesome People!

Daria here. And for  today's projects I am again playing with Circular stamp and die sets. I think, I simply love the polka-dot pattern. How about you?


So, I randomly stamped the second biggest circle from the Circular stamp set into my card-base with black ink. Then, I die cut lots of circles from coloured and glitter cardstock using Circular die set.
I arranged them onto my card-bases and adhered everything derictly to paper without any foam squares. But foam adhesive could also look interesting as it will add another layer and more dimension for the whole project.


For the sentiment, I used XOXO from one of my favourite sets - Just because stamp set (which is now on Sale!) and You are magnificent from Moon Magic stamp set, which I placed on a banner from Skinny Stripes dies.  


I've also added a little flower from Grateful Heart stamp set for some extra attention to the sentiment. 


Hope you like these simple ideas and will give them a try. 
Love,
D.
2

Loved with Koren Wiskman


Hello everyone. Koren here with a Valentine card with zero colorings. I actually have three cards created in the same way but using different colors and patterns. For these cards, I used the Neat & Tangled Journaling and Love Mail die sets as well as the Typed Sentiments stamp set.

To start, I cut a piece of woodgrain cardstock or patterned paper to 3 1/2 by 4 3/4 inches. Then I cut the medium size heart from the Love Mail die set out of black, white, and red cardstocks as well as some patterns from my stash. I also cut the smallest heart from the same set using the same colors. These hearts are to replace the o in "loved".


For the word "loved" I used the Neat & Tangled Journaling Dies and cut them from the same colors of cardstock. I cut each letter four times so that I could stack them together using my liquid adhesive. It makes them sturdy embellishments that look great. I used a ruler to line up my letters as straight as possible using liquid adhesive to tack them in place.

For each of the cards, I stamped some of the sentiments that I thought went well with the word "loved" from the Typed Sentiments stamp set. I stamped and heat embossed them before cutting them into tiny strips with my paper trimmer.


I adhered the main card panels to white craft foam using tear tape adhesive and then attached them to light gray card bases. These cards are cut to size A2 and scored in a top folding portrait orientation.

I adhered the first of the three hearts on each card with liquid adhesive flat to the card panel. The subsequent two are popped up using foam tape. The sentiments were adhered in a similar fashion. I wanted them to be wonky and whimsical so I stuck them on crooked with a little flair.


I hope that I've inspired you to create something loving today using Neat & Tangled products. Thank you for spending your time with me.

Koren


6

Copic Coloring Transparent Wings with Kelly Latevola

Hello Crafters! 

I'm super excited to share today's technique with you. I love when you formulate an idea in your crafty brain and it actually turns out don't you?!


I really wanted to be able to show this moth landing on the flower bouquet as realistically as possible. So I had to do two things, 1. a little research and 2. color them transparently. 
I knew I wouldn't be comfortable doing no-line coloring so I got a little creative to keep my lines. 


I started by stamping my moth and then masking it. I stamped the Heartfelt Thanks bouquet in my MISTI over top of it. A stamp positioner is key here. After I stamped the flowers once I removed the mask over the moth and then stamped again without reinking. This is called second generation stamping and leaves a lighter impression which is exactly what I needed. 


I used my copic markers to color up the image. I started by "Mapping" my colors underneath the wings. I colored in the flowers and leaves using my lightest green, violet, yellow and pink. 
Transparent items are see through which means you will see the color underneath the wings but it will have a green overcast to them. Copics are transparent which allows us to layer colors. 
I colored the rest of the images (the ones not covered by the wings) as I normally would before adding my green over the wings of the moth.  

You can see the entire process in the video below. 


Like I said in the video there is nothing wrong with sticking to the lighter colors. The technique still works to create a transparent look but adding a bit of bolder color really drives the look of it home as you can see in the close up below. 


I really hope you decide to give this technique a try! Moths, butterflies, fairies, the options are endless :) 

Thanks so much for stopping by!


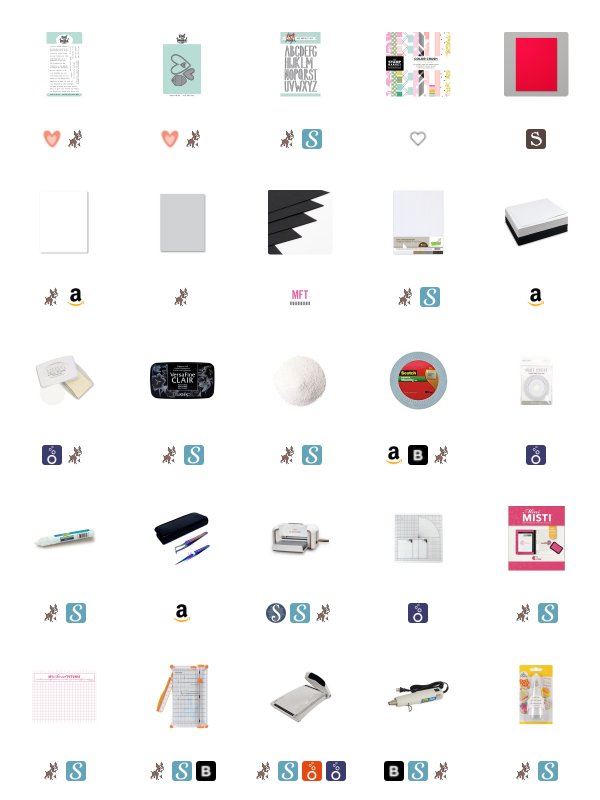
Supplies:
Affiliate links are used
Neat & Tangled Heartfelt Thanks
Shop at:
NT
Neat & Tangled Moon Magic
Shop at:
NT
Neenah Classic Crest 80 LB REAM Smooth Solar White Paper Pack 250 Sheets
Neenah Solar White 250 Sheets
Shop at:
SSS

Sakura WHITE GELLY ROLL Medium Point Pens Set
Shop at:
SSS | HB
EK Success WRITING PEN FINE TIP
Shop at:
SSS
Neenah Classic Crest 80 LB SMOOTH SOLAR WHITE
Shop at:
SSS | SB | HB
Fiskars PREMIUM CUT LINE Paper Trimmer 12 Inches
Shop at:
SSS | SB
Tombow MONO MULTI Liquid Glue
Shop at:
SSS | SB | HB
Ranger MINI ROUND INK BLENDING TOOLS
Shop at:
SSS | SB | HB
Ranger MINI ROUND FOAM REFILLS for Mini Round Ink Blending Tools
Shop at:
SSS | SB | HB
Copic Sketch Marker RV02 SUGARED ALMOND
Shop at:
SSS | DB
Copic Sketch Marker RV04 SHOCK PINK
Shop at:
SSS | DB
Copic Sketch Marker RV09 FUCHSIA
Shop at:
SSS | DB
Copic Sketch Marker YG01 GREEN BICE
Shop at:
SSS | DB
Copic Sketch Marker YG03 YELLOW GREEN
Shop at:
SSS | DB
Copic Sketch Marker YG17 GRASS GREEN
Shop at:
SSS | DB
Copic Sketch Marker YG67 MOSS
Shop at:
SSS | DB
Copic Sketch Marker V01 HEATH
Shop at:
SSS | DB
Copic Sketch Marker V04 LILAC
Shop at:
SSS | DB
Copic Sketch Marker V06 LAVENDER
Shop at:
SSS | DB
Copic Sketch MARKER V09 VIOLET
Shop at:
SSS | DB
Copic Sketch COLORLESS BLENDER Marker
Shop at:
SSS | DB
Simon Says Stamp LARGE GRID PAPER Pack Pad
Shop at:
SSS
Copic Sketch Marker Y08 ACID YELLOW
Shop at:
SSS | DB
Copic Sketch MARKER G05 EMERALD GREEN
Shop at:
SSS | DB
ZIG Wink of Stella GLITTER CLEAR Brush Tip Marker
Shop at:
SSS | SB | HB
Copic Sketch MARKER G17 FOREST GREEN
Shop at:
SSS | DB
Copic Sketch MARKER G28 OCEAN GREEN
Shop at:
SSS | DB
MISTI PRECISION STAMPER Stamping Tool Kit
Shop at:
SSS | SB
MINI MISTI PRECISION STAMPER Stamping Tool Kit
Shop at:
SSS | SB
Ranger Studio Paint ARTIST BRUSHES
Shop at:
SSS | SB
Silver BLACK VELVET Brush Size 2 Round
Shop at:
SSS | DB
Copic Sketch Marker Y02 CANARY YELLOW
Shop at:
SSS | DB
Tim Holtz Distress Ink Pad SALTY OCEAN
Shop at:
SSS | SB
Tim Holtz Distress Ink Pad BLUEPRINT SKETCH
Shop at:
SSS | SB
Tim Holtz Distress Ink Pad CHIPPED SAPPHIRE
Shop at:
SSS
Judikins Eclipse ART MASKING TAPE
Shop at:
SSS
Ranger Perfect Pearls PERFECT PEARL Individual Pigment
Shop at:
SSS | SB
We R Memory Keepers TRIM AND SCORE Board
Shop at:
SSS | SB
Copic Sketch Marker RV00 WATER LILY
Shop at:
SSS | DB
Tim Holtz Distress Ink Pad BLACK SOOT
Shop at:
SSS
Hero Arts Intense Black Ink Pad
Shop at:
SSS | SB | HA
ZIG Wink of Stella GLITTER WHITE
Shop at:
SSS | SB
3
Back to Top