
To start off, I'm going to stamp my image onto Bristol Smooth card stock with Clear Embossing Ink. Then I will sprinkle on Gilded Embossing Powder and heat set with my Wagner Heat Tool.
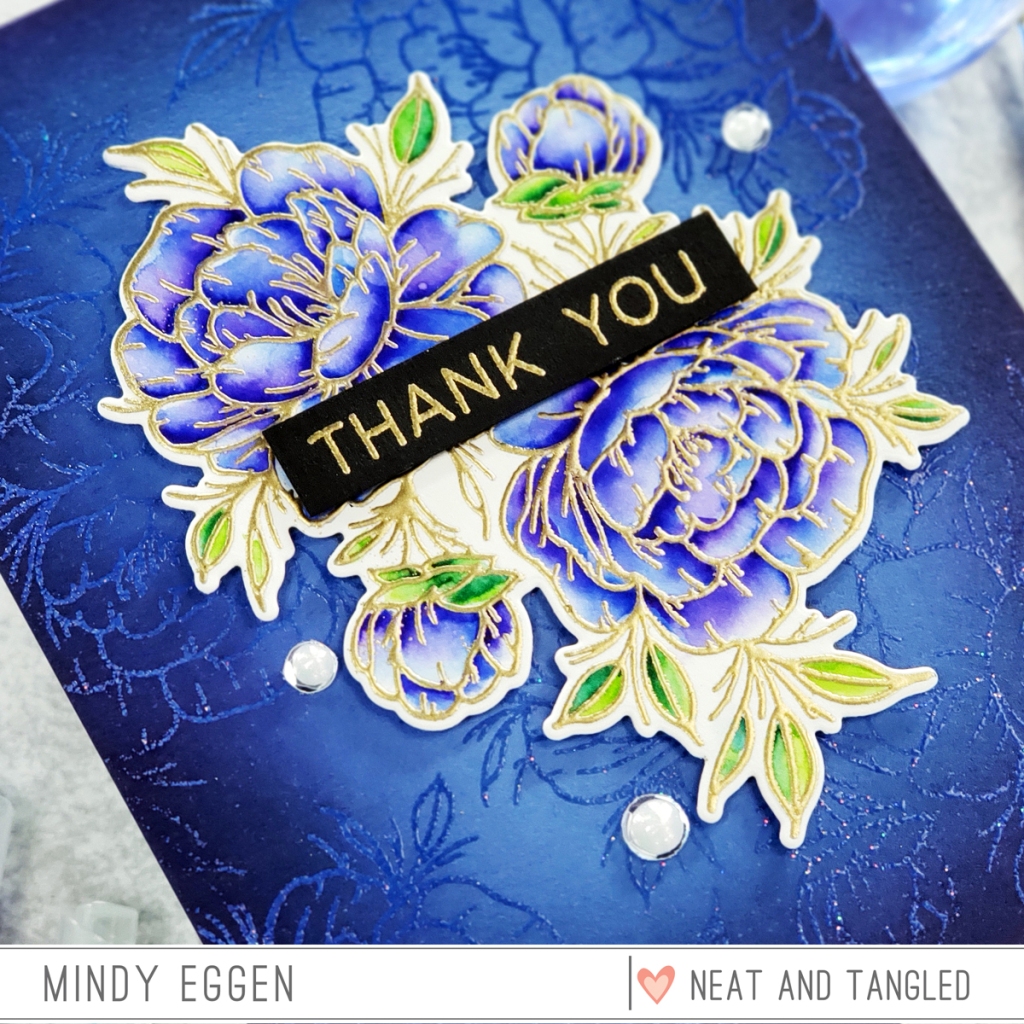
I start coloring my image by taking the No. 036 Light Blue Zig Marker and just adding some color down to the image. Then I will wet my paint brush and spread that around. This will apply a very soft blue to the image. I like to start with a super soft color as it just helps me visually. It may disappear as I work on the rest of my colors into the image and that's ok.
Next, I'm going to add No. 030 Blue to the flowers. I am just putting this where I would put shadows areas with my copic markers. This is really dark color so I don't need to add a lot. Then I'll wet my paint brush a tad and drag that color out. I usually go back and forth with my water and dabbing off on a towel so that I still have a light area to my petals.
Once that layer is dry, I'm going to bring in the No. 084 Deep Violet. This is super super dark so I don't need a lot. I'll just add little spots of it in and repeat the process of dragging it out. I call this my galaxy combination because as I mix the colors together it reminds me of a galaxy.
For the leaves, I will use No. 041 Light Green and No. 400 Marine Green. After the panel is good and dry, I will line up the coordinating die, hold in place with purple tape and run through my Spellbinders Platinum machine.
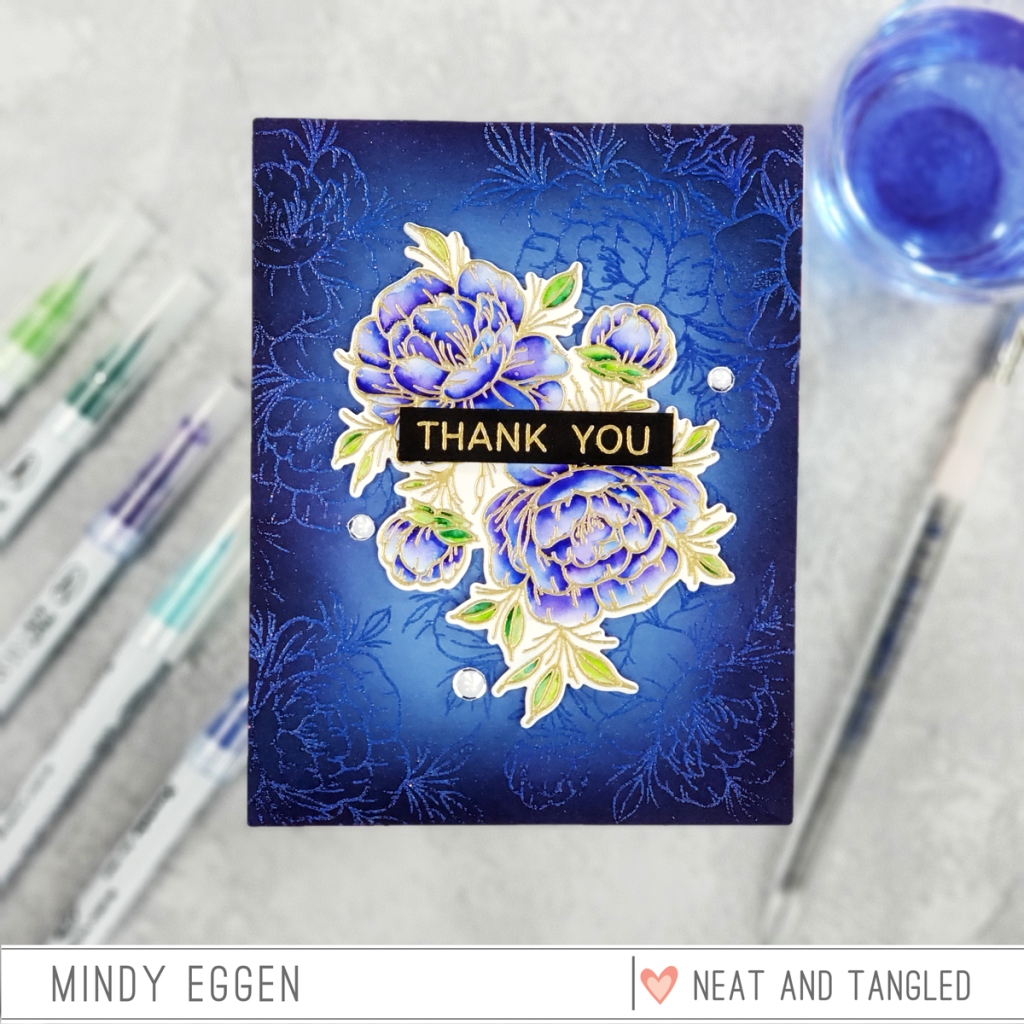
For my background, I used the same large image from the Grateful Heart set. With a comfort block, I will ink it up with embossing ink and stamp this image around my panel of Lapis card stock. Then I sprinkle on Sparkle Embossing Powder and heat set.
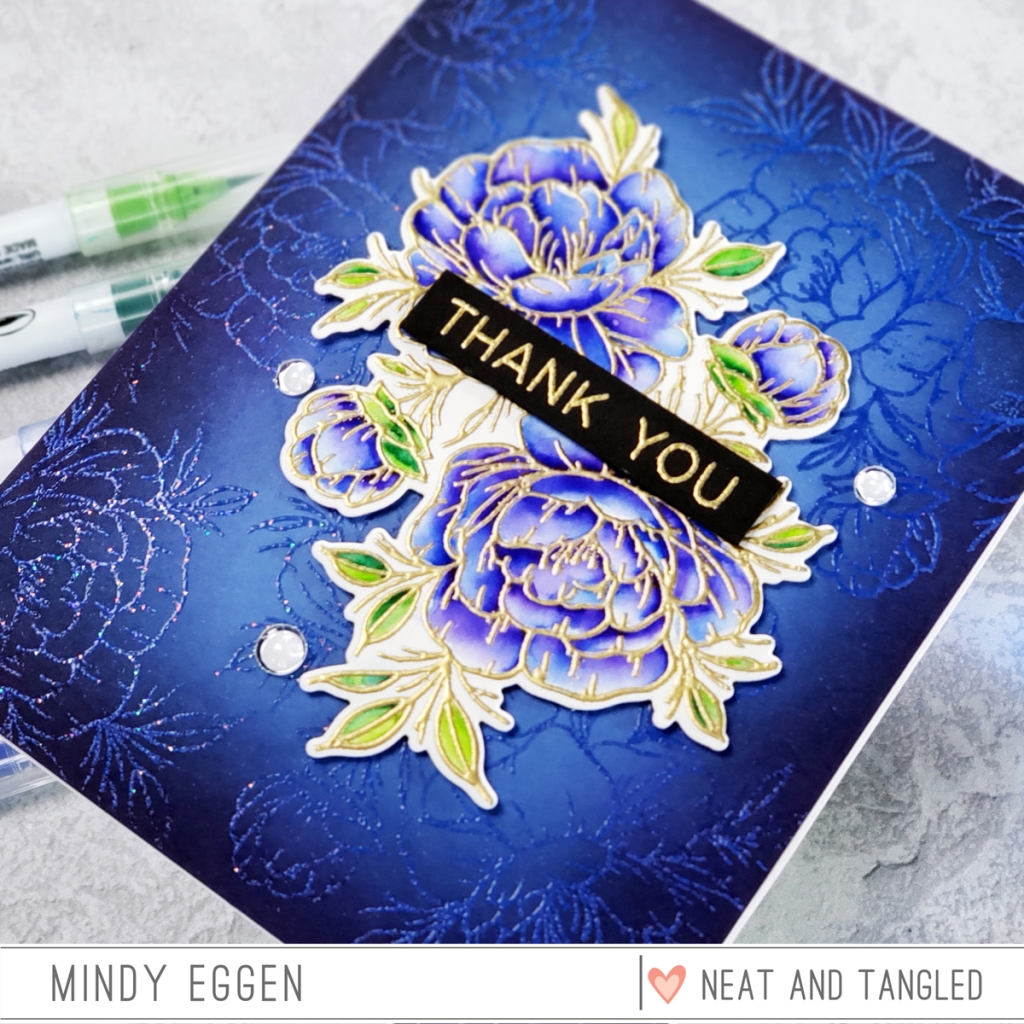
To draw the eye in towards where my focal point where be, I ink blend Navy Ink around the edges of the card stock with a Life Changing Blender Brush.
To finish up the card, I add foam tape to the back of my image and attach to the card front. The sentiment, also attached with foam tape, is heat embossed in Gilded Embossing Powder onto Pitch Black card stock and trimmed down to a thin strip. I used the Crystal Clear Sequins around my image, attaching with liquid glue and topping off with Cloud 9 Dream Drops.
I'm sure you've seen similar cards from me before but they are therapeutic to make and really grabs attention. Hope you enjoyed today's inspiration!
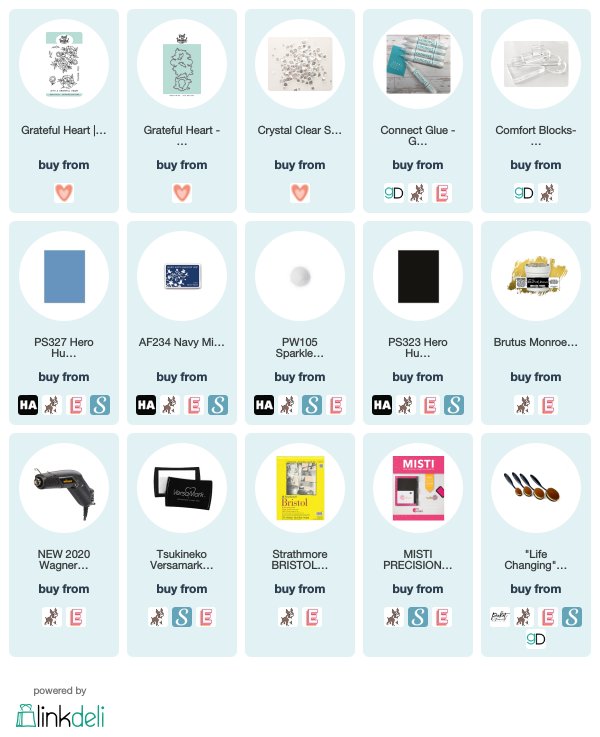
SUPPLIES
Below you will find links to the products used. Click the icon to start shopping. Compensated Affiliate links are used at no additional cost to you. Your support helps me to keep bringing you new projects and videos. Thank you!


Wow!! Bright and beautiful! <3
ReplyDeleteStunning ! Glad you fancied a therapy session with your zigs today x
ReplyDeleteWOWZERS! This is absolutely GORGEOUS!!!!
ReplyDeleteYour card is amazing. I love the Grateful Hearts set and I'm always excited to get new ideas on how to use it!
ReplyDeleteWhat a beautiful card!!
ReplyDeleteso very pretty
ReplyDelete