Showing posts with label copics. Show all posts

Mix your Stamps to create your Holiday Cards with Mindy Baxter


Mix your Stamps to create your Holiday Cards with Mindy Baxter

Hello everyone! It's Mindy from My Creative Scoop and today I'm going to share how simple it is to Mix your Stamps to create your Holiday Cards. 

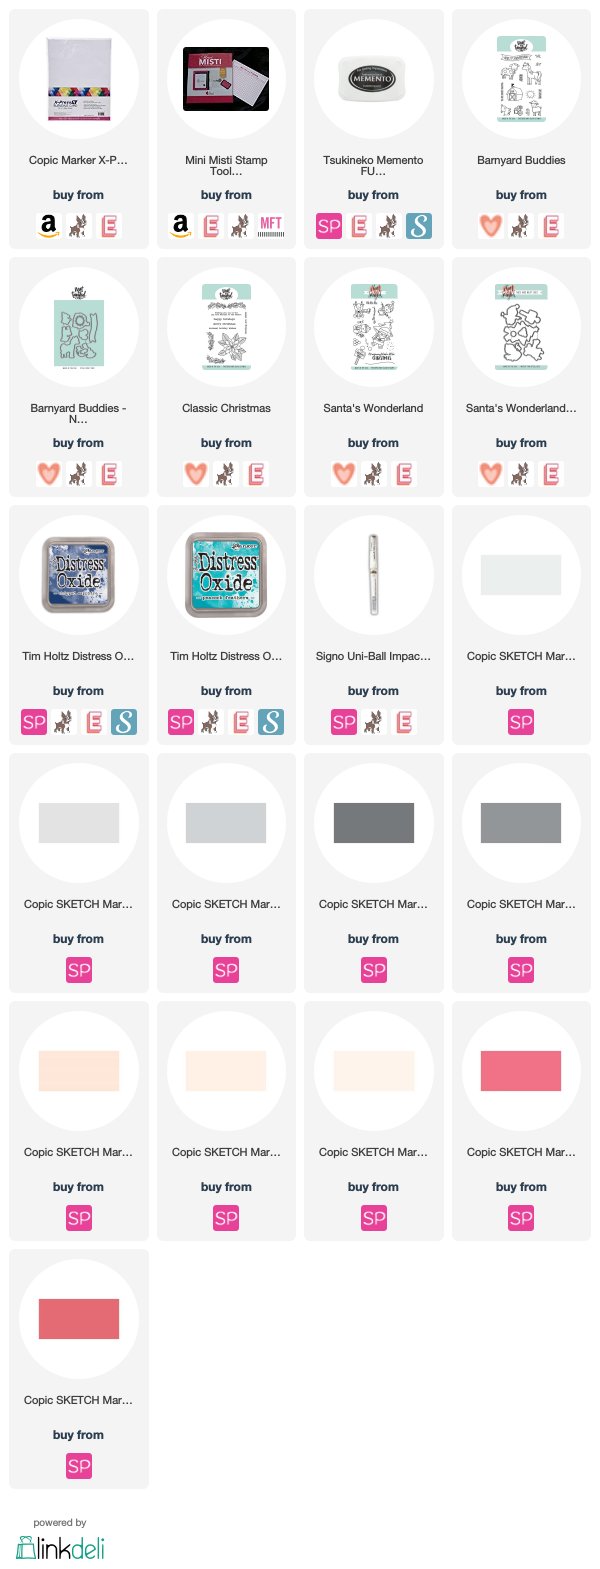
I'm using This adorable little Cow from the Barnyard Buddies Stamp Set, The hat from the Santa's Wonderland Stamp Set and the Sentiment from the Classic Christmas Stamp Set.


I've also used some Distress Oxides to create my Sky. I used Chipped Sapphire and Peacock Feathers. 

Check out the video below so you can see how I have put my card together.

Copic Colors used in video:

N0, N1, N3, N5, N7, E11, E00. E000, R35, R37


I hope you enjoyed my video and post this month. Have a wonderful day!

♥ Mindy
Let’s Connect on Social Media!
1

Coloring Heartfelt Thanks Flower with Copic Markers by Mindy Baxter


Hi there, it's Mindy from My Creative Scoop and today I'll be sharing with you how to color the new Heartfelt Thanks Stamp using Copic Markers.

I stamped my images with Memento Black Ink and Stamped onto my Copic Xpress it Blending Card using my Misti


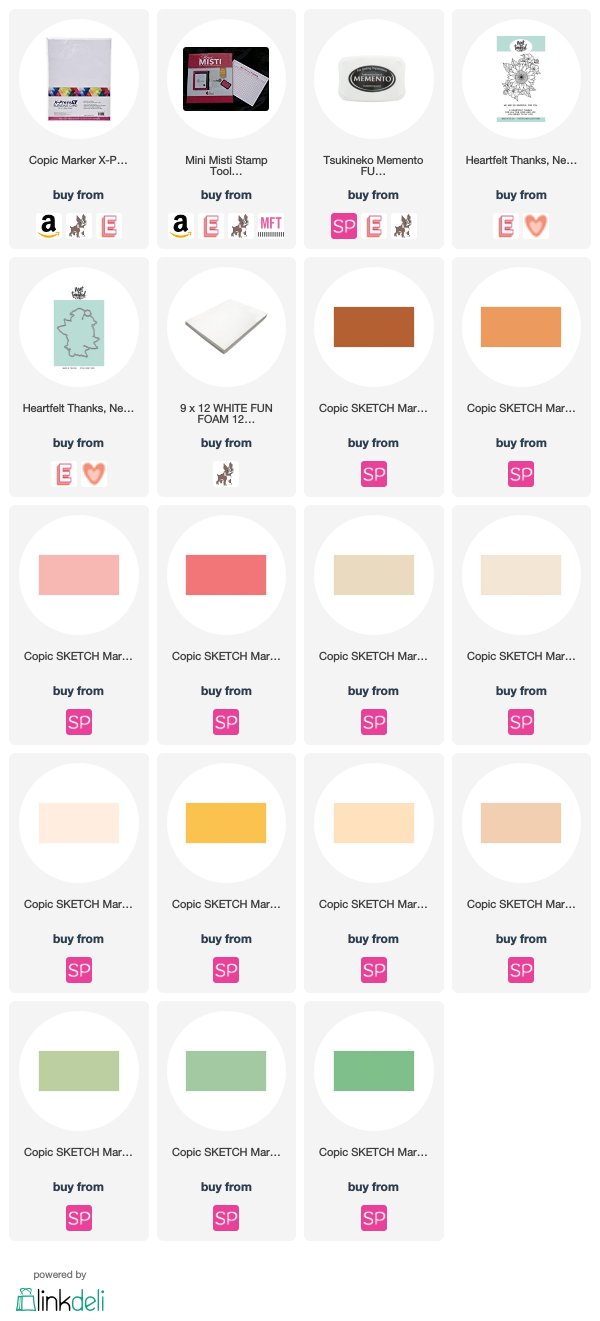
I'm using the following Copic Markers in my video tutorial.

E99, E97, R22, R24, E43, E42, E41, YR15, YR20, E33, YG61, YG67, YG63,

Here's the video below. Enjoy!


I hope you enjoyed my video this month. Thank you so much for watching and have an awesome weekend!


For more Copic tutorials, classes and info please vidit my blog My Creative Scoop!


1

Copic Coloring with Mindy Baxter - Coloring a Penguin


Hi there, it's Mindy from My Creative Scoop and today I'm sharing a tutorial on how to color this adorable stamp from the Santa's Wonderland Stamp Set.

I stamped my images with Memento Black Ink and Stamped onto my Copic Xpress it Blending Card using my Misti

I used my Hickory Smoke Distress Oxide Ink to create my background and my white gel pen and white ink pad to create my snow. 


All of the penguins are colored with the exact same color combo, minus the hat. Here's a list of the Copics I used.


N0, N1, N3, N5, N9, R32, R30, YR14, YR12
The hat color combos are: BG11, BG13, BG18, R32, R30, E13, YG67, YG63, YG61


I hope you enjoyed my tutorial today. Have a wonderful day!

♥ Mindy

4

Copic Marker Flower Video Tutorial by Mindy Baxter


Hi friends! It's Mindy from My Creative Scoop and today I'm sharing this Copic Marker Video Tutorial using the new release! This stamp set is called Grateful Heart. Isn't it gorgeous in this blue and yellow shade!


 I stamped my images with Memento Black Ink and Stamped onto my Copic Xpress it Blending Card using my Misti.
I colored my flowers using the following Copic Markers.
BG05, BG07, BG09, BG11, Y11, Y02, G20, G24

Check out my video tutorial below so you can see how I colored my flower.


Thank you so much for visiting today. I hope you enjoyed the video tutorial. Have a wonderful day!

Mindy

Let’s Connect on Social Media!

109

How to color a Night Scene with Copic Markers - Video Tutorial by Mindy Baxter


Hey there crafty friends! It's Mindy from My Creative Scoop and I'm here to share another Copic Marker Tutorial with you today!

I'm using this adorable new stamp set called Slow and Steady. These 2 little gmuch fun to color, too! I thought it would be cute to create a night time scene to look like it took all day for these two to get to the Birthday party. 


For this Tutorial I'm using the following Copic Markers.

V000, V01, BV02, BV04, BV08, E31, E33, E35, E37, YG93, YG95, YG97, G2, G85, N0, N1, N3, N5, N7


I hope you enjoyed watching this month's tutorial. If you ever have any suggestions on tutorials leave a comment on what you'd like to see. :)

Have a great day!

3

Neat and Tangled Cake Video Tutorial with Copic Markers


Hello friends! It's Mindy from My Creative Scoop and I'm here to share another Copic Marker Coloring video with you all!

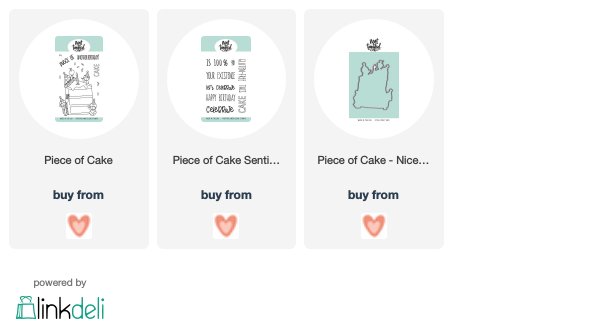
Today I'm going to share how to color this piece of cake stamp from  and how to get the different textures of the smooth surface of the icing and the fluffy part of the cake. I wanted to use pinks to create this strawberry cake since Valentine's Day is right around the corner. 
For the Cake Tutorial I'm using the following Copic Markers.

RV11, RV13, RV32, RV34, R30, E27

Watch the video below.


For the rest of the scene I'm using the following colors:

Skin - E00, E11, E13, R32, R30
Hair - E31, E30, E25
Clothes/Hats/Cherry - R37, R39, R59,C0, C3, C6, C8, C10, B93, B95, B97, YR12, Y04, Y11, G21, G24


I hope you enjoyed this month's tutorial. If you ever have any questions or need any help with your coloring check out my site for more tutorials, downloads and inspiration.

Have a wonderful day!

Mindy
5

Different styles of coloring with Copic Markers - Video Tutorial


Neat and Tangled Video - Different Copic Coloring Techniques

Hello there everyone! It's Mindy and I'm back with another Copic Marker Coloring Tutorial. 

 This month I'm going to show you the different ways you can color with your Copic Markers. I'm using the stamp set Stay Cool. This bear is such a great image to how you the different ways you can color. I used my images to create these adorable tags. I love the way they turned out.


In the video I'm using E40, E41, E42, E43 and E44 to color the bear. 

Check out the video below!


I hope you enjoyed the tutorial this month.
 I want to wish you all a Merry Christmas and Happy New Year! See you next year!

♥ Mindy
MyCreativeScoop.com
6

Copic Marker Video Tutorial - Coloring a Snowman


Copic Marker Video Tutorial - Coloring a Snowman


Hello everyone, it's Mindy from My Creative Scoop and I'm back with another Copic Marker Video tutorial to share with you.

This month I'm using one of my favorite sets from Neat and Tangled, Santa's Wonderland. I've stamped my image on Copic Xpress it Blending Card using Black Memento Ink.

I cut out a circle using a circle die and used the negative part to sponged the circle onto my card base using my Stormy Sky and Hickory Smoke Distress Oxide Ink pads. Then I took the circle I cut out and trimmed a piece from the top and the bottom in a wavy pattern to create a snow effect. I popped up the 'snow' on some foam dots for some extra dimension.

Now for the coloring. Here's a list of Copic Markers I'm using in the video tutorial.
C0, C2, C4, B000, B00, B95, G82, G85, R35, R37, R39, N5, N1


I hope you found the video tutorial helpful. Please visit me over on my site, My Creative Scoop for more Copic Marker Tutorials, Videos and Online Classes. 

Until next month my friends!

♥ Mindy 

4

Later Alligator - No Line Copic Marker Tutorial by Mindy Baxter


Hello everyone. It's Mindy from My Creative Scoop. I'm back with another Copic Marker Video Tutorial to share. 

This month I'm sharing how to color this adorable little Alligator from the Later Alligator Stamp set. I'm going to show you how to color the no line technique and we are going to keep the color a little on the lighter side to resemble a watercolor look. 

I'm using G20, YG13, YG17, YG63, YG67 W7, E40, E41, E42

I hope you enjoy the tutorial below. 


I hope you enjoyed this month's tutorial I will see you next month with a new coloring tutorial.

Have a wonderful day!

Mindy
6

Video Tutorial - Coloring Hair using Copic Markers with Mindy Baxter


Hi there everyone! It's Mindy from My Creative Scoop, and I have another Copic Marker Tutorial to share with you all!  I am using the stamp set Mermazing and also it's coordinating Mermazing Nice and Neat Dies. I just had to pair this mermaid up with the new Hello Summer Stamp Set and Hello Summer Die Set. I seriously cannot get enough of these layering script dies. I LOVE them! 

One of the most popular questions I get asked when coloring with Copic is coloring hair. So many people struggle coloring hair and I think it's one of the funnest parts to color. The trick to coloring hair is, to leave white in between the the strands so you can have natural looking highlights. 


In the video I'm showing you the simplest way to color blonde hair and still getting so much texture -- and it literally takes me just a few minutes. Of course you can spend a little longer on your hair and get a 'neater' look if that's the look you're going for -- but quick and easy is always great, too. Plus, it's way less intimidating! 

I'm coloring using E40, E41, E42 E43 and E44. You can do this exactly the way I'm coloring using ANY coordinating color combo. I also have tons of Hair Tutorials over on My Creative Scoop, that you can check out!


The background was super fun to make, I'm using my Neat and Tangled Hexastar Stencil and Nuvo Plum Glitter Paste!

I hope you enjoyed this months video. Have a great day!

Mindy

2

Alcohol Ink Vs Copic Refill Backgrounds with Kelly Latevola

Hello Crafters! 

I hope you're having an amazing weekend!
Summer time has arrived here in Ohio and I spent yesterday outside soaking up the sun. 
Whoo hoo for summer time sunshine. 

In today's video I wanted to look at two different ways to create an alcohol ink background. 


Several people have asked me if they can use their Copic marker refills to create alcohol ink backgrounds. The answer is YES! you can. You may have to adjust your a approach but ultimately you can achieve beautiful results.  


This one is the actual Ranger alcohol ink and you can see that it dries down a bit more granulated. I also added less pigment to get intense color but needed more alcohol mixative to get it to move. 


For the Copic refill background they moved with very little mixative but I needed to add more ink to get a bright saturated color. It also seemed to dry much faster than the Ranger alcohol inks. 

You can watch both cards come together in the video below 


I love how both cards are the same but different. It just goes to show you that even with different supplies you can still get results you really do love. 


These sweet little girls on their adorable floats don't hurt either, am I right?
I love how changing up your coloring or your layout can really completely change the look of a card. 


Thank you guys so much for dropping in!
I hope you have an amazing weekend filled with lots of sunshine :) 


Supplies:


Neat & Tangled FLAMINGO FLOATIE
Shop at:
SSS | Neat & Tangled
Neat & Tangled  BEACH DAY
Neat & Tangled BEACH DAY
Shop at:
SSS | Neat & Tangled
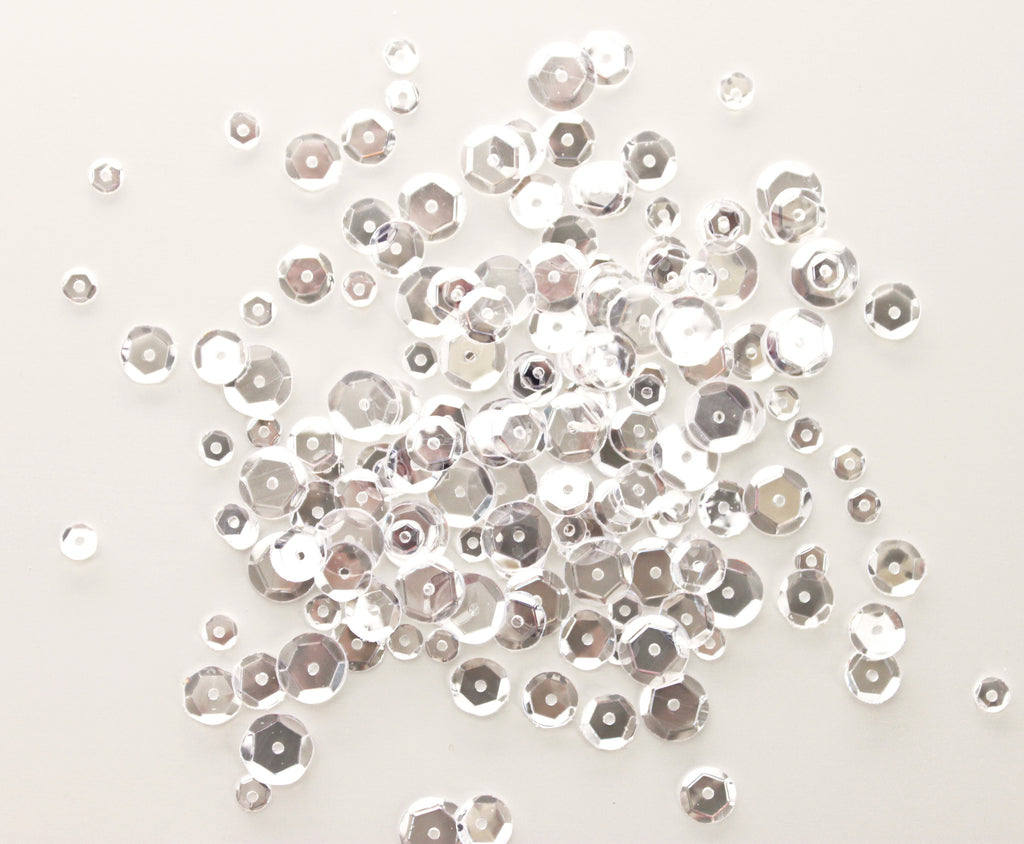
Neat and Tangled CRYSTAL CLEAR SEQUIN MIX
Shop at:
SSS | Neat & Tangled
Memento TUXEDO BLACK MARKER Dual Tip Tsukineko
Shop at:
SSS
Sakura WHITE GELLY ROLL Medium Point Pens Set
Shop at:
SSS
EK Success WRITING PEN FINE TIP
Shop at:
SSS
Neenah Classic Crest 80 LB SMOOTH SOLAR WHITE Paper Pack 40 Sheets
Shop at:
SSS
Neenah Classic Crest 80 LB REAM Smooth Solar White Paper Pack 250 Sheets
Shop at:
SSS
Fiskars PREMIUM CUT LINE Paper Trimmer 12 Inches
Shop at:
SSS
Tombow MONO MULTI Liquid Glue
Shop at:
SSS
3M Scotch DOUBLE-SIDED FOAM TAPE Permanent
Shop at:
SSS
Ranger Inkssentials Non Stick CRAFT SHEET
Shop at:
SSS
Simon Says Stamp LARGE GRID PAPER Pack Pad
Shop at:
SSS
Precision Heat Embossing Tool Gun
Shop at:
SSS
Tsukineko Versamark EMBOSS INK PAD
Shop at:
SSS
Inkadinkado EMBOSSING MAGIC Powder Bag
Shop at:
SSS
Simon Says Stamp EMBOSSING POWDER WHITE Fine Detail
Shop at:
SSS
Ranger Inkssentials GLOSSY ACCENTS
Shop at:
SSS
Simon Says Stamp Premium Ink Pad INTENSE BLACK
Shop at:
SSS
Tim Holtz ALCOHOL BLENDING SOLUTION
Shop at:
SSS
Tim Holtz WHITE ALCOHOL INK YUPO PAPER
Shop at:
SSS
Tim Holtz Alcohol Ink Set DOCKSIDE PICNIC
Shop at:
SSS
Tim Holtz Alcohol Ink Set NATURE WALK
Shop at:
SSS
Copic Marker REFILL B24 SKY
Shop at:
SSS
Copic Marker REFILL BG49 DUCK BLUE
Shop at:
SSS
Copic Sketch Marker RV02 SUGARED ALMOND
Shop at:
SSS
Copic Sketch Marker RV04 SHOCK PINK
Shop at:
SSS
Copic Sketch Marker RV06 CERISE
Shop at:
SSS
Copic Sketch Marker RV09 FUCHSIA
Shop at:
SSS
Copic Sketch Marker E50 EGG SHELL
Shop at:
SSS
Copic Sketch Marker e00 COTTON PEARL
Shop at:
SSS
Copic Sketch MARKER E11 BARLEY BEIGE
Shop at:
SSS
Copic Sketch MARKER E04 LIPSTICK NATURAL
Shop at:
SSS
Copic Sketch Marker E53 RAW SILK
Shop at:
SSS
Copic Sketch Marker E55 LIGHT CAMEL
Shop at:
SSS
Copic Sketch Marker E57 LIGHT WALNUT
Shop at:
SSS
Copic Sketch Marker E59 WALNUT
Shop at:
SSS
Copic Sketch MARKER C7 COOL GRAY
Shop at:
SSS
Copic Sketch MARKER C9 COOL GRAY
Shop at:
SSS
Copic Sketch MARKER 100 BLACK
Shop at:
SSS
Copic Sketch Marker V04 LILAC
Shop at:
SSS
Copic Sketch Marker V06 LAVENDER
Shop at:
SSS
Copic Sketch MARKER V09 VIOLET
Shop at:
SSS
Copic Sketch Marker YR04 CHROME ORANGE
Shop at:
SSS
Copic Sketch Marker Y08 ACID YELLOW
Shop at:
SSS
Copic Sketch MARKER B06 PEACOCK BLUE
Shop at:
SSS
Copic Sketch Marker E25 CARIBE COCOA
Shop at:
SSS
Copic Sketch Marker E27 MILK CHOCOLATE
Shop at:
SSS
Copic Sketch Marker E29 BURNT UMBER
Shop at:
SSS
Copic Sketch Marker Y02 CANARY YELLOW
Shop at:
SSS
3
Back to Top