Hello there!
Mayuri here to share a set of cards that I've made using some solar prints I created a few weeks ago, when we had some amazing weather and lots of sunshine!
Solar prints are created using special paper which reacts to the sun. You carefully place objects onto the paper, and expose it in the sun for about 5-10 minutes, depending on how sunny it is. When the exposed areas turn white, you remove the objects and immerse the paper in a water bath to allow the print to 'set'. Where the objects were laid is where you get the almost ethereal, ghostly images. I decided to experiment with Neat & Tangled stencils, die-cut pieces as well as leaves and flowers.
After I'd exposed several sheets of solar paper in the sun, I'd hung them up to dry for around 15 minutes. I then die-cut several rectangle panels out of them, slightly smaller than an A2 card base to use for my cards.
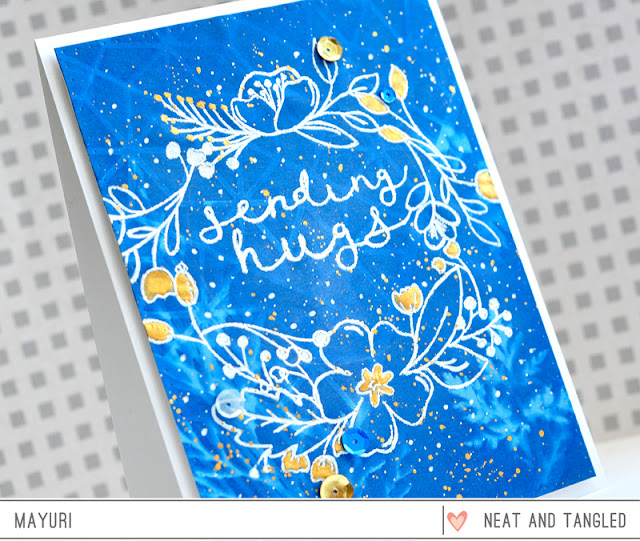
For this first card, I began by stamping a sentiment from No Words in the centre of one of the panels with Versamark Ink. I then stamped supporting images from Friendly Florals in the form of a wreath, again with Versamark Ink. I sprinkled with white embossing powder and heat set. I added a bit of sparkle by colouring some of the open areas in with gold paint.
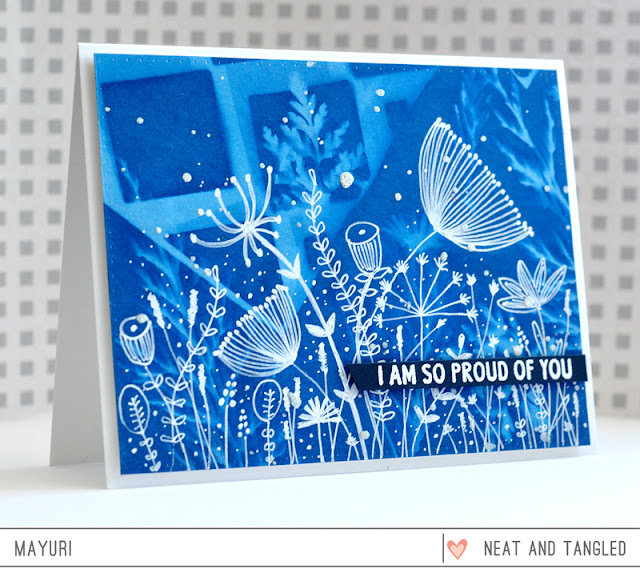
For my second card, I took huge inspiration from a set of cards that Ruby from A Rare Ruby had created - she mentioned in her post that there was lots of doodling ideas on Pinterest and so I literally doodled onto one of the panels with a white gel pen. I added a sentiment from So Many Sentiments to finish off.
For my third and fourth cards, I adhered a panel of the exposed solar paper to a piece of cardstock to make it more sturdy and then run it through my die-cutting machine with the Warm Winter Scene Cover Plate. I was able to use both the positive and negative pieces to create two cards!
I hope you feel inspired to used your stamps and dies in different ways!
Thanks for stopping by ;-)
Mayuri here to share a set of cards that I've made using some solar prints I created a few weeks ago, when we had some amazing weather and lots of sunshine!
Solar prints are created using special paper which reacts to the sun. You carefully place objects onto the paper, and expose it in the sun for about 5-10 minutes, depending on how sunny it is. When the exposed areas turn white, you remove the objects and immerse the paper in a water bath to allow the print to 'set'. Where the objects were laid is where you get the almost ethereal, ghostly images. I decided to experiment with Neat & Tangled stencils, die-cut pieces as well as leaves and flowers.
For this first card, I began by stamping a sentiment from No Words in the centre of one of the panels with Versamark Ink. I then stamped supporting images from Friendly Florals in the form of a wreath, again with Versamark Ink. I sprinkled with white embossing powder and heat set. I added a bit of sparkle by colouring some of the open areas in with gold paint.
For my third and fourth cards, I adhered a panel of the exposed solar paper to a piece of cardstock to make it more sturdy and then run it through my die-cutting machine with the Warm Winter Scene Cover Plate. I was able to use both the positive and negative pieces to create two cards!
Thanks for stopping by ;-)


Wow..very interesting ! Never heard of solar prints,something new ! Loved your cards a lot !
ReplyDeleteBeautiful cards Mayuri, I have never used Solar Prints yet but I know about them.... Funny story....My daughter (who is now a jewellery designer) gave me a Solar Print pack when she first went to Universary. That was 18 years ago now and I never used it. Everything is still in the package and you although I thought about using it many times, YOU are the first person I ever heard speak of it. LOL I guess I just thought no one would "get it" so I didn't bother to use them.
ReplyDeleteA beautiful group of cards, you have inspired me to use mine. Thanks for sharing this!
Wow these are just stunning!! What a creative use of Solar prints.
ReplyDeleteVery beautiful, I remember using this technique in school many, MANY moons ago on a field biology class.
ReplyDeleteStunning cards! What a wonderful and fun way to create!
ReplyDeleteLove the look of your cards! I've never heard of this before, but the effect is beautiful. I'm going to have to look into this more. Thanks for sharing!
ReplyDeleteWow!! These are gorgeous!! I'm hearing about solar prints for the first time, can you please let me know where we can get them? Also how did you get the vibrant blue? Is it the color of solar paper?
ReplyDeleteGorgeous cards! I love the color! Such a cool technique!!
ReplyDelete