Showing posts with label hoop die. Show all posts

Neat & Tangled / Hemptique Collaboration Week 4

Happy Tuesday!  Can you believe that it's already the last week of April?  Today is our finally Hemptique collaboration post.

Each Tuesday this month we have been showcasing projects that combine Neat & Tangled and Hemptique products.  Be sure to leave comments on these posts we're picking a lucky commenter this weekend who will win a Hemptique prize pack.

Today Mayuri, Taheerah, Danielle, and Sveta have cards to share.

First up is Mayuri:

©Candles in the Garden. Neat and Tangled collaboration with Hemptique.


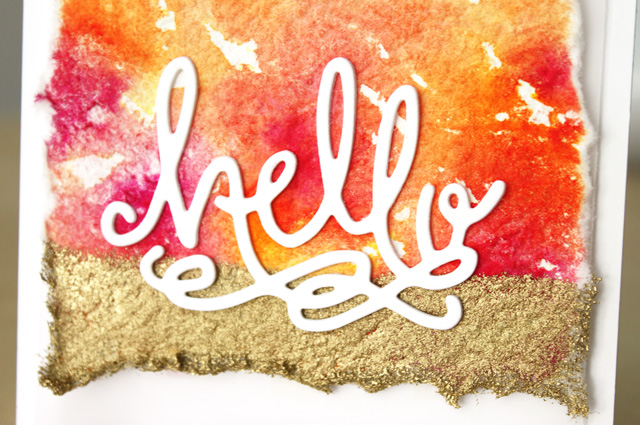
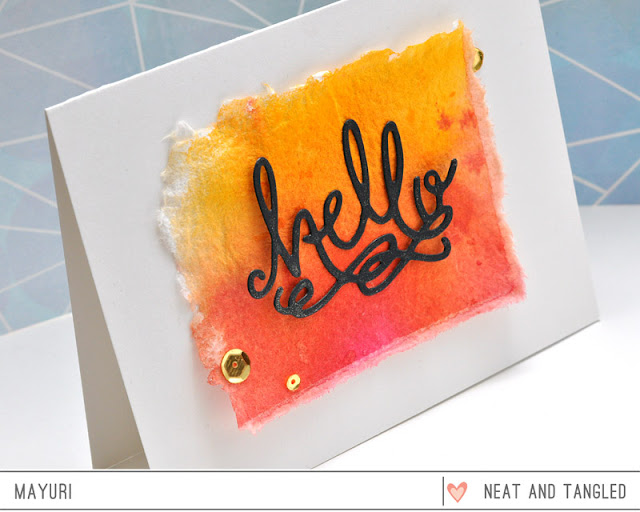
I used some of the Hemptique Handmade Hemp paper to create a background panel for a little word die-cut. The paper is very absorbent, and soaks up water really well - its great for simple watercolour washes.
©Candles in the Garden. Neat and Tangled collaboration with Hemptique.


I wanted to keep the card really clean and simple, and actually, this design would work well for mass producing a bunch of cards. So I simply foam mounted the watercolour panel to a card base and adhered the 'Hello' die-cut piece to the front.

To finish, I added a couple of sequins from the Gold Mix.

Onto Taheerah now, who also used the wonderful handmade Hemp paper on her card!


I decided to use my hemp paper in the same manner as you would watercolour paper! I tore a piece to roughly the same size as an A2 card then used the flower stamps from the Send Pretty Mail to create my hydrangea-like flower!


I used a mix of Distress Inks and misted my stamp each time with water for that watercolour look, then used a damp brush to move some of the colour around. Once dry I used a grey pen to draw some of the detail back into some of the flowers for a whimsical look!


The sentiments from Better Together worked to finish the card without distracting from that flower, and some sequins from the Warm Golden Glow shaker mix coordinated perfectly as accents!

Next we have Danielle.  She and Mayuri had a bit of a mind meld this week, but look at how different this card is.


Rather than painting a wash on the paper, she was a little more random with the painting, allowing some white portions to remain.  She also used a heat gun to speed up the drying process.  Then she added gold embossing to the bottom.  The texture she achieved embossing the paper looks amazing doesn't it?


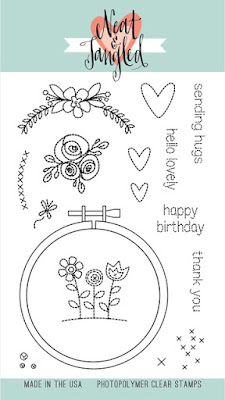
Last, but not least, Sveta created this card with a wonderful homespun feel.  Sveta used our Hoop Die and Handstitched stamp set.


She started by creating a simple pattern randomly stamping the grouped cross stitch stamp.


The texture of the hemp paper perfectly mimics fabric for the center of the hoop, and the use of different colors heightens the realism.


Wasn't this a great way to end our collaboration with Hemptique?  Be sure to stop by and leave them some love for them on their Facebook page, they are hosting a Neat & Tangled giveaway over there too.  Don't forget we'll be picking a winner this weekend, so be sure to leave comments on all the Hemptique posts!
21

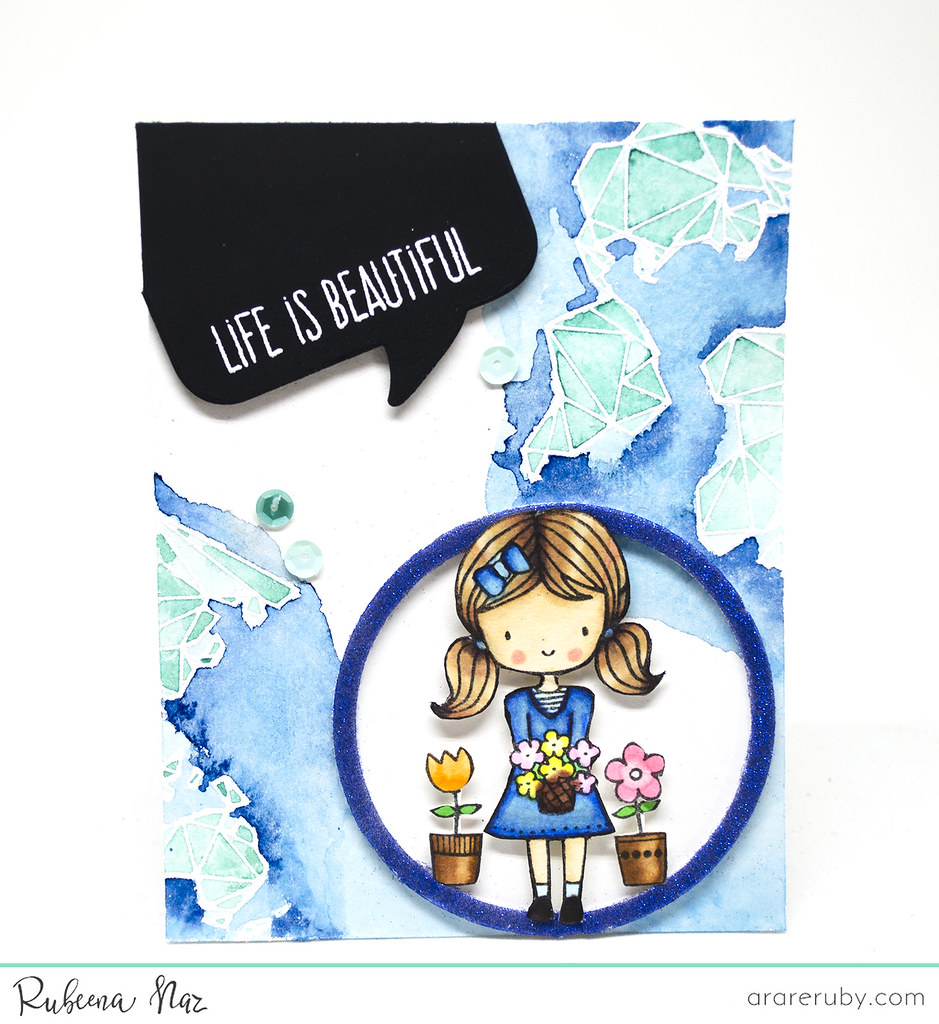
Life is Beautiful

N&T Apr 13

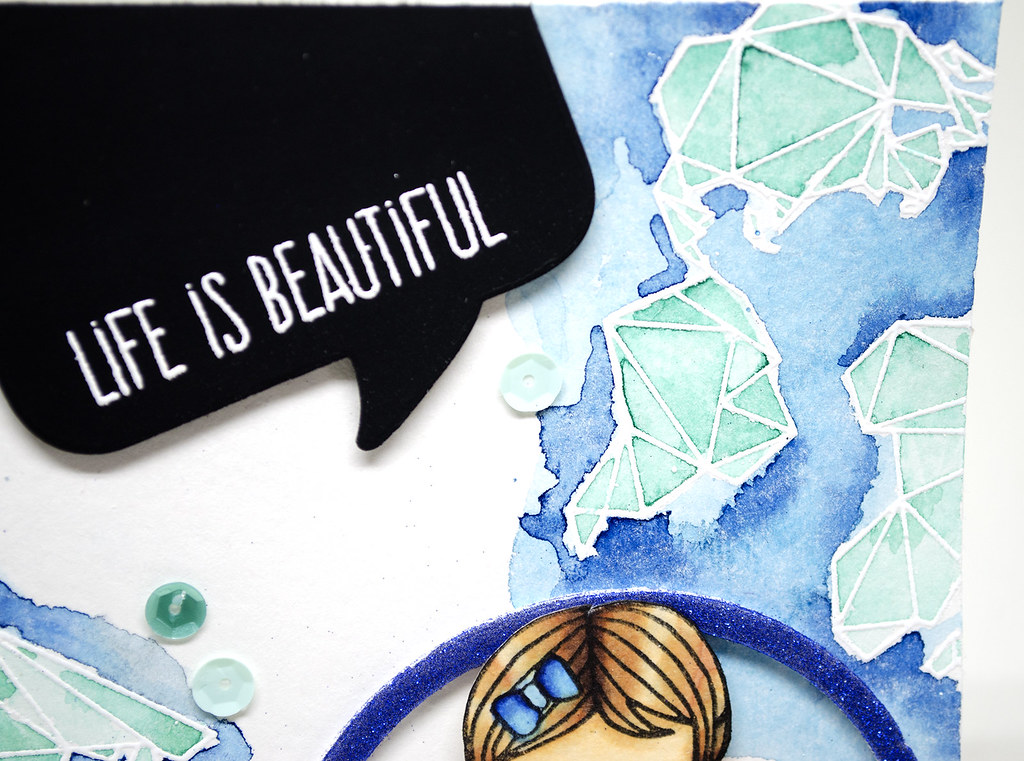
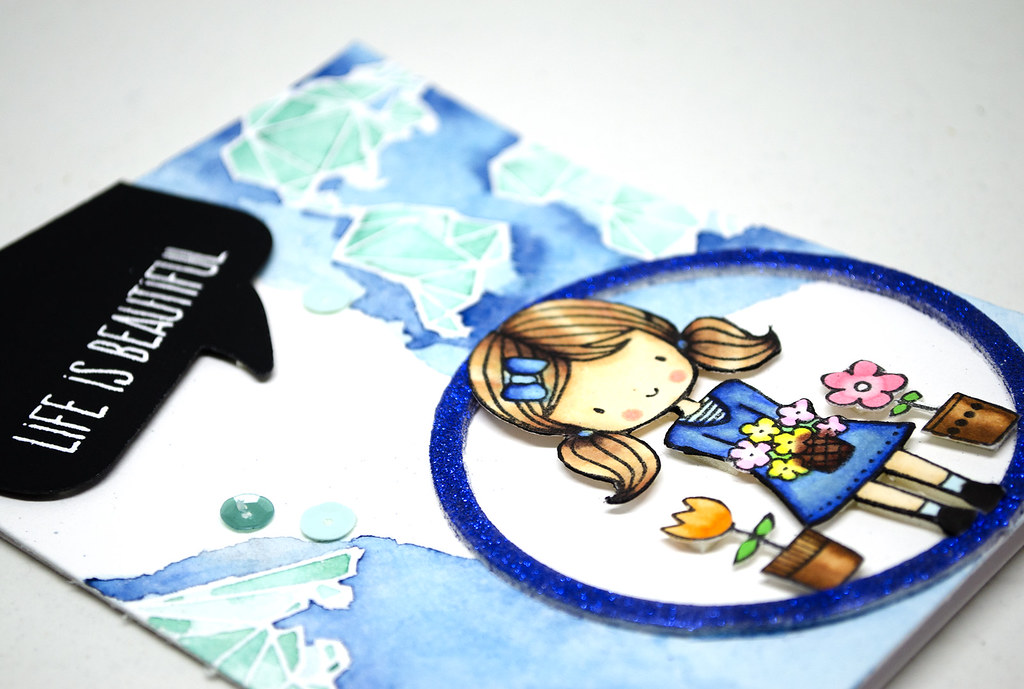
Hello! It's Rubeena, and I'm back to share a guest post with you today. When I craft, I usually just want to make pretty things. However, today's card was inspired by a deep gratitude for the beautiful things in life. I mixed up a few sets to create a collage look. One of my first sets from Neat & Tangled was the Origami Map. I started with a 4.25" x 5.5" watercolor panel that I prepped with some powder to prevent stray embossing powder. I stamped parts of the map in the corners with VersaMark ink and heat embossed with white embossing powder. Then I colored using blue and green watercolor shades.

   N&T Apr 13c

I die-cut black cardstock using A Lot To Say die. Then I stamped the sentiment from Life is Beautiful with VersaMark ink on it and heat embossed with white embossing powder. I arranged it in the upper left corner and trimmed it down before adding it to the colored panel with foam tape.

  N&T Apr 13b

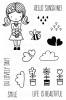
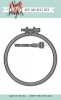
What I wanted this card to convey is joy. I feel quite blessed in my life, and I'm surrounded by good things and experiences in my world. I wanted to use the cute girl from Life is Beautiful, along with a few of the flower pots. I stamped them with a Copic-friendly black ink and colored with Copic markers. I fussy cut them and set them aside. The next part is a bit tricky. I used the Hoop die to cut through double-sided foam. I had tried it with Scor sheets first but forgot to tape one side to cardstock to make it sturdier. The foam worked out better. I removed one side of the sheet so I could sprinkle some blue glitter on it. After removing the excess, I cut off the hoop closure and taped the circle on the card. I added the girl and flower pots using foam tape. Finally, I finished it off with some sequins from Lucy's Little Things Phosphorescence Shaker Mix.
 
Thanks so much for stopping by!
7

Homespun Thank You


We're welcoming our March guest designer, Julia Stainton, back to the blog today.  We love this homespun card featuring our Hoop Die and Hand Stitched stamp set!  Here's what Julia has to say about her card:


I seriously cannot think of a sweeter set than the Hand Stitched stamp set from Neat & Tangled. The moment I saw it I knew it would be mine. I love how it adds hand stitched elements to a paper crafting design and those sweet flowers and sentiment…sigh. Today I’m pairing it up with a little watercoloring and texture and yes, real stitching to for a vintage/retro feel. 

The place I usually start off on a design is with the mail image and that’s where I started for this project as well. I wanted to add some texture and fabric texture with this stamp set is absolutely perfect. The main sentiment and flower image were stamped right onto an adhesive backed canvas with black archival ink. This ink is always great on hard to stamp on surfaces and doesn’t bleed. Just to be extra sure though, I heat set the image with a heat gun before watercoloring. 


I’d actually never tried watercolor on canvas but it worked really well! I used some watercolor brush markers and added in the color directly which was great for these fine images. A little water was added on a clean brush to blend the colors.

To create the frame for my image panel, I used the beautiful Hoop Nice & Neat Die. I die cut it four times from kraft cardstock and then adhered them all together in layers to form a thicker hoop that resembles chipboard.


The background of the card was  stamped onto watercolor paper and then watercolored. The colors are actually the same markers as the main image. They are just a little softer because I scribbled the marker onto a palette first and then picked up the color with a wet brush. 

I thought this sweet design needed some actual stitching and a little trim. Some vintage style trim is zig-zag stitched around the edges of the panel to add some extra texture to the design.

Thanks so much to Julia for creating this sweet card!
5

Gobble gobble

Hello, friends!

In a few days the United States will celebrate Thanksgiving day! I'm not an American citizen but love the idea of gratitude and giving itself! Turkey is the one of main (if not the main) symbols of this holiday and Neat & Tangled has a great stamp set, Turkey Talk, that you can use to celebrate Thanksgiving day!


I've never thought about the sounds that turkeys make.....gobble gobble? When I saw this stamp I couldn't stop myself from saying it again and again. My mom laughed at me, what am I doing? :) I love all the sentiments in this stamps set and of course turkey image too.


I colored the image with Akashiya Sai watercolor brushes and put it in a hoop using our Hoop die.


I decided to make a hoop look like more realistic and used some fabric for the background. Frankly, I'm a big lover of tasty food, especially tasty turkey, but for vegetarians this sentiment is perfect!


Have a great holiday!

Yours, Sveta.
7

sending hugs


Happy Monday!

I hope you had the chance to join in the birthday festivities last week!  It's Amy here with a quick 'thinking of you' card:


I've been a long time fan of embroidery hoops and was thrilled when Neat & Tangled introduced their Hoop Nice and Neat die!   I combined the Hand Stitched and Paris stamp sets.

I finished off my project with a bit of watercoloring and a small heart wood veneer.

Thanks so much for stoppin' by and I hope you have a super week!

Remember, if you come across a product that is currently out of stock, please select "Email Me when Available".

hoop
hoop nice and neat die


hand stitched
hand stitched


paris
paris

36

Hello Hoop


Hey everyone!  Miriam here today.  I pulled out a bunch of newer N&T dies to create today's card.

The background was created using the Graduated Stripes Cover Plate.  I cut it in white as well as that delicate geometric pattern and then inlaid the patterned pieces.  When I do this for cover plates, I will cut a piece of printer paper just under A2 size, run it through my Xyron 5" machine, and use that as my base.

The Hoop and Hello There dies were cut from black cardstock.  I adhered the hoop to a piece of vellum and then trimmed around the hoop to remove the excess, the Hello There die was then adhered to the vellum, and the entire piece was popped up with some foam tape.


Then it was just a matter of adding the sequins.  I really wanted to do a straight black and white card, but I couldn't resist adding those Magenta sequins.  In fact I think I used up my very last three....I had to scrounge around at the bottom of the container I keep my sequins in to find some that fell out of the bag in order to come up with these three!

That's all for today, short and sweet!  Hope you are having a great week!
6

Summer Coffee Lovers Blog Hop: je t'aime


Hello!  It's Amy here!  Did you know that we're in the midst of the Summer Coffee Lovers Blog Hop?  Neat & Tangled is a Super Sponsor, I'll have more on that in a smidge.  First up, here's my card for today:


I absolutely ADORE the new Hoop Nice and Neat Die!  There are so many possibilities for this awesome product.  

hoop die
hoop die

For today's project I cut cork with the die and kept the green as the hoop and flipped over the interior circle {trimmed off the top notch} and stamped directly on the natural cork side.

I used the sweet Paris set, how can you resist those images?!

paris
paris

The stacked tea cups have been colored with various alcohol based markers.


Neat & Tangled is one of the FABulous Super Sponsors for the Summer Coffee Lovers Blog Hop that is going on right now!  You have until 11:55 pm pacific on Friday, June 12th to link up a newly created coffee, tea &/or cocoa project to be eligible to win a Super Prize!

Check out the SWEET mug that Danielle of Neat & Tangled designed as a giveaway for the Summer Coffee Lovers Blog Hop!  


The coffee & crafting mug is also available as a pre-order in the Neat & Tangled shop!

33

Minimalist Hello Card with Taheerah

Hey everybody! Happy Thursday! It's Taheerah here with you today to share a card!

I've so loved the dies from the most recent Neat & Tangled release - particularly the Hello There die and the awesome Embroidery Hoop die! Today I'm bringing them both together but with a minimalist look!

Here's what I came up with:


I love how this turned out!


I impressed both dies into my white cardstock for a totally minimal look that still packs a punch! I then stamped the stars from Planner Blocks and selectively inked the sentiment from Little Santa Girl for some contrast. I added some splatter for a punch of colour to complete the look!


I hope this card brought some fun to your day! Thanks for stopping by!
4

Warm Wishes / combining stamp sets

Hello there!
Mayuri here to share a card that uses the whimsical images from a couple of stamp sets combined with the versatile sentiments from another. This is such a fun way to truly stretch your stamps!
©Candles in the Garden. Neat and Tangled Monthly Post MAY2015. Warm Wishes and combining Stamp Sets.

I began by stamping the macarons and the teacups from 
Paris with a pale blue pigment ink straight onto a white card base. I then stamped the Eiffel Tower image and some of the smaller images from Dala Horse with black dye ink for a bit of contrast.
©Candles in the Garden. Neat and Tangled Monthly Post MAY2015. Warm Wishes and combining Stamp Sets.

I also flicked some Tarnished Brass Distress Stain over the card base for some interest. I die-cut the embroidery hoops using the Hoop die first from some dark brown pattern paper, and then from some kraft cardstock for stability. I adhered the two pieces together to create a thicker embellishment and then adhered that onto the card front around the Eiffel Tower, trimming off the excess.

©Candles in the Garden. Neat and Tangled Monthly Post MAY2015. Warm Wishes and combining Stamp Sets.

For the sentiment, I turned to another versatile stamp set - Winter Wishes. I partially stamped a sentiment with black dye ink onto some scrap pattern paper and then trimmed into two strips before foam mounting to the card.


©Candles in the Garden. Neat and Tangled Monthly Post MAY2015. Warm Wishes and combining Stamp Sets.

To finish, I embellished with a few sequins from the Mermaid Tail mix. I hope you'll have a go at combining stamp sets that you own to see how far you can stretch them!

Thanks for stopping by ;-)
4
Back to Top