Showing posts with label Inlaid die-cutting. Show all posts

Summer Shimmer Wonky Chevrons with Cheiron


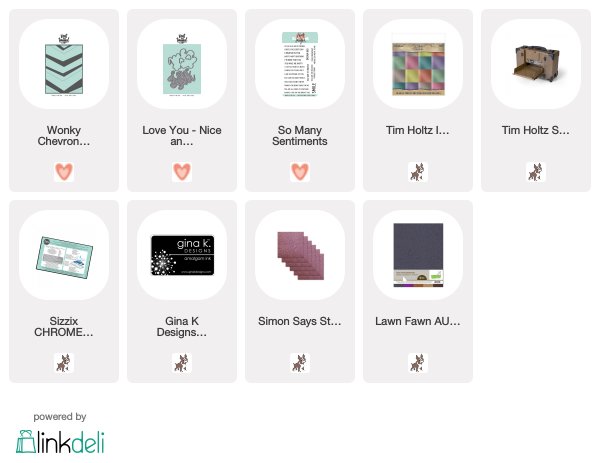
Hi there crafty friends! I hope you are enjoying your summer. Today I'm keeping it easy, fun and summery for you. If you are like me you are busy doing tons of activities in the summer and not spending a lot of time in the craft room making (or mailing cards). I wanted to make a few of cards to mail out to my best gal pals to let them know that I was thinking about them all. I used the Wonky Chevron Cover Plate and cut it several times from all kinds of summery shades of foil paper. Making multiples at one time is a super easy way for me to cut a bunch of different colored papers with a cover plate and not have any waste.


To put these cards together, I did some inlaid die cutting. My method for that is to cut the cover plate out, then cover the back side of the cutout with some double sided tape. That way, all of my parts fall into place. I cut the back of the Love You die with a coordinating glitter paper and added it to the card with a sentiment from the So Many Sentiments set. I love the combo of these dies and stamps together and just by mixing up the colors and patterns, you can use them for so many occasions.


I hope you have enjoyed my cards today. I hope you are able to take a summer creative break and send some love to your pals too :)

SUPPLIES: 
2

Glitter Inlay Birch Leaf with Cheiron


Hi there crafty friends! It's Cheiron here and today I've created a Clean and Simple Thanksgiving Card for you using the Birch Leaf stamp and dies and some glitter paper in fabulous fall colors.

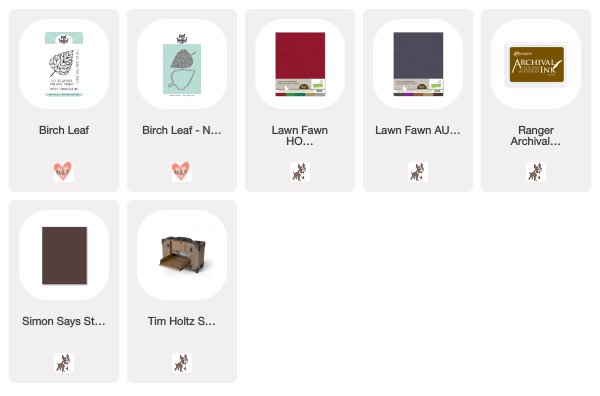
To create my card, I cut an A2 card base out of brown card stock, then cut a panel that was slightly smaller. I stamped the Happy Thanksgiving sentiment and then cut a birch leaf out of the center of the panel.


I used the smaller birch leaf die and cut it 5 times in different colors of glitter cardstock then once again from the neutral cardstock. I covered the back of my neutral cardstock leaf with double sided tape then used a jewel picker to pick up different sections of the leaf in all the different colors of the glitter paper then inlaid them into the neutral leaf.

The best part about cutting out 5 different color leaves is that you can use the remaining pieces to make 4 more leaves to use on other cards!

I hope you and your loved ones have a wonderful Thanksgiving if you are celebrating this week :)

SUPPLIES:
14

Inlaid Die-Cutting with a Dala Horse

Hey everyone!

Mayuri here to share a card that teams the Dala Horse dies with a bit of inlaid die-cutting!


©Candles in the Garden. Neat and Tangled Monthly Post MAR2015. Dala Horse Inlaid Die-Cutting.

I created a card and matching tag using minimal supplies - a few scraps of coloured paper, the two Dala Horse dies and a couple of stamp sets for the sentiments (though these could come from anywhere). 


©Candles in the Garden. Neat and Tangled Monthly Post MAR2015. Dala Horse Inlaid Die-Cutting.

I've been using this technique on a few cards recently, and really like the result. I basically die-cut concentric squares out of various coloured paper using some square nesting dies. This gave me lots of coloured square frames, which were then inlaid back into one another onto a piece of scrap white paper, starting with the smallest and working my way out to the largest.

©Candles in the Garden. Neat and Tangled Monthly Post MAR2015. Dala Horse Inlaid Die-Cutting.

Once I was happy, I took the Dala Horse dies and die-cut the large and small horses out of my concentric square piece. I foam mounted the large one to a card base, and the small one to a tag.

©Candles in the Garden. Neat and Tangled Monthly Post MAR2015. Dala Horse Inlaid Die-Cutting.

On the card front, I stamped a sentiment from Dala Horse and on the tag, one from Scandinavian Flowers, with black dye ink. To finish, I added a wood veneer star on both horses and pulled some red twine through the tag ;-)

Thanks for looking!

9
Back to Top