
I started with the background. Using the Neat & Tangled Sunburst background stamp and Nuvo Clear Mark embossing ink I stamped it onto a piece of Papertrey Ink Lavender Moon cardstock. I used Wow embossing powder in White Pearl Super Fine and my heat tool to heat emboss the lines of the sunburst. Then I used my Nuvo Blender brushes to blend on some deeper purples in Distress Oxide Dusty Concord and Wilted Violet around the outside edges of the lavender cardstock. Trying to keep a lighter spot where I knew my focal image would be.

I sprayed this piece with Imagine Crafts Frost and Sparkle shimmer sprays as well as Hero Arts White Iridescent Shimmer spray. I love the combination of these three sprays.
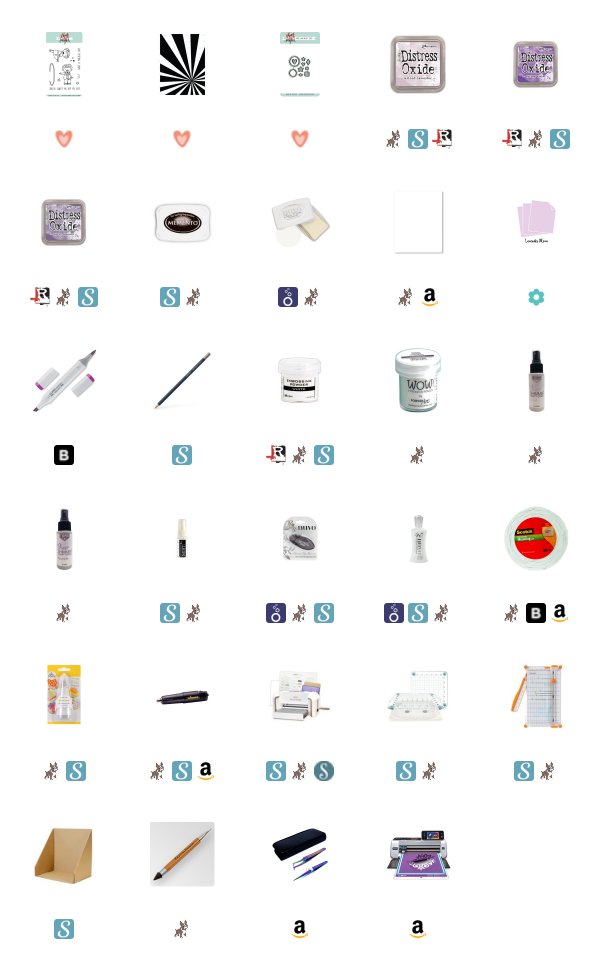
Around the center of the sunburst I wanted to create my orb. I used an Amazon Make up brush, one of the very smallest, to blend on some Distress Oxide in Milled Lavender and Wilted Violet. I feel like the Milled Lavender got a little lost in all of the other purples. I also stamped the cluster of three solid star images from the same Making Magic stamp set by Neat & Tangled. I stamped them in the Wilted Violet Ink, but I had this to do again, I would choose something darker that stands out more.
I added a little drop of Nuvo Deluxe adhesive to the very center of the sunburst and added a little clear droplet. The Liquid adhesive behind it changed the color of the inks that were added in that spot and it makes the orb appear even more magical.

Now because the background is oriented as such, I needed to stamp the little boy image from the Making Magic stamp set backwards. To do that, I stamped him onto a piece of silicone that I bought from Amazon with Memento Tuxedo Black Ink. After stamping the image I placed a piece of Neenah 110 lb cardstock on top of the silicone image. This transfers the image in reverse. You can then go back over some of the line work of the image if needed, but I am usually able to transfer it cleanly using this method.
I then colored my reverse image using Copic Alcohol Markers. To cut out the image, I could have lined up the coordinating die on the opposite side using my Cricut Bright Pad, but ultimately decided that I would just send it through my Brother Scan N Cut 2. I was so nervous that my Scan N Cut would make a mistake, but thankfully, it didn't. I popped him up onto the background with Scotch 3M foam tape. I placed him so that his hand was just under the orb.

For the sentiment, I stamped the "Have A Magical Day" stamp onto Avery Elle Sugar Plum, which is no longer available but it is a dark purple (you can find something similar at most craft supply stores). I heat embossed it using Ranger White embossing powder. I cut it down using my Fiskars Wire Guide paper trimmer and popped it up using the same foam tape. I framed the entire panel using the same Sugar Plum cardstock only I treated it with those shimmer sprays that I used on the lavender panel. I love how shiny it is.
I used the Neat & Tangled Little Bits dies to cut some small stars to add to the sentiment strip. I cut them from the Lavender Moon cardstock I used on the background. I popped up the one star and then adhered the rest flat. All of this was added to a Neenah 110 lb card base in A2 size landscape orientation.
I hope you were inspired to create something magical today.
Koren


What an awesome card in purple shades! Love the shimmer! :)
ReplyDeletelovely card
ReplyDelete