

Coloring Hair using Copic Markers
Hi there my crafty friends. It's Mindy here from My Creative Scoop and I'm going to be sharing some of my tips and favorite Copic Marker Color Combos with you all today.
I'm using this adorable new stamp set called To the Stars. I'm also using the To the Stars coordinating dies to cut them out.

For my background I used my Tumbled Glass Distress Oxide inks and then took the little stars stamp from the To The Stars Stamp Set and stamped them all over the sponged area using White Pigment ink. To make them stand out more and to give it a little more texture I also embossed them in some white embossing powder.

I stamped all my little fairies in black memento ink and and stamped onto my Copic Xpress it Blending Card. Which is my absolute favorite paper to color on.
Here's a list of the Copics I used to color the fairies.
Skin - RR32, R30, E13, E11, E00, E000
Green Fairy - YG00, G20, YR13, YG17
Purple Fairy - V17, V15, V12, V000
Blue Fairy - B14, B12, B00, B000
Yellow Fairy - Y21, Y26, Y28, Y000
Teal Fairy - BG18, BG15, BG13, BG11, BG10
Pink Fairy - RV00, R81, R83, R85
Here are the 6 Hair Copic Color Combos I'm using in my video.
Light blonde - E41, E42, E43, E44
Medium Brown - E41, E42, E43, E44
Red - R59, R39, R35, R32
Orange - YR09, YR04, YR12
Auburn - E17, E23, E25, E29
Black - N3, N5, N7, N9
Check out the video below so you can see how I color hair.

I hope you have enjoyed this tutorial and find it helpful. For more Copic tutorials, classes and help please visit my site My Creative Scoop!
Until next time, friends!
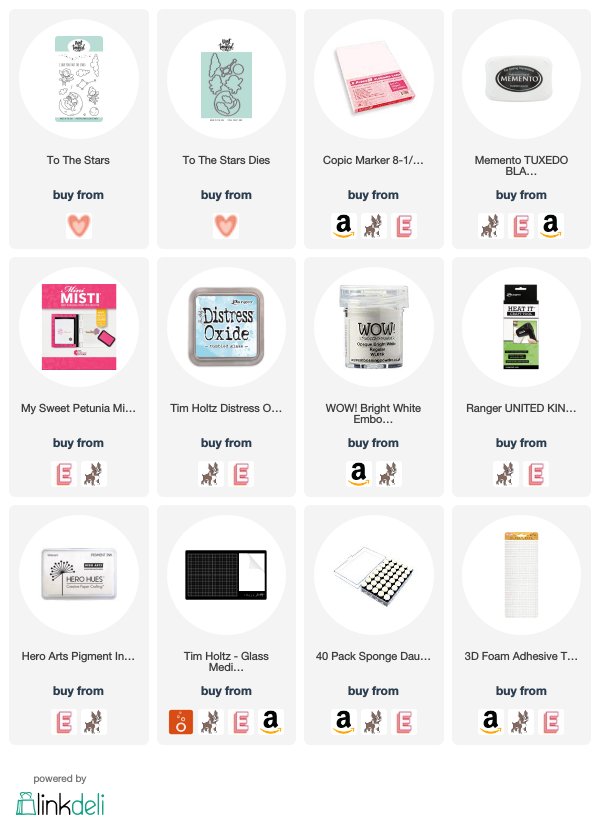
Supply List


Wonderful colorful card :)
ReplyDeleteFantastic video Mindy, I learn so much from watching you every time, thank you x
ReplyDelete