Showing posts with label stencils. Show all posts

Nuvo Dream Drops & Stencils


Welcome everyone! It's Mindy and today I'm sharing something a little new to me and that is using Nuvo Dream Drops with Stencils.

Now this technique was actually something a fellow design team member, Carly, had done and I just had to give it a try.


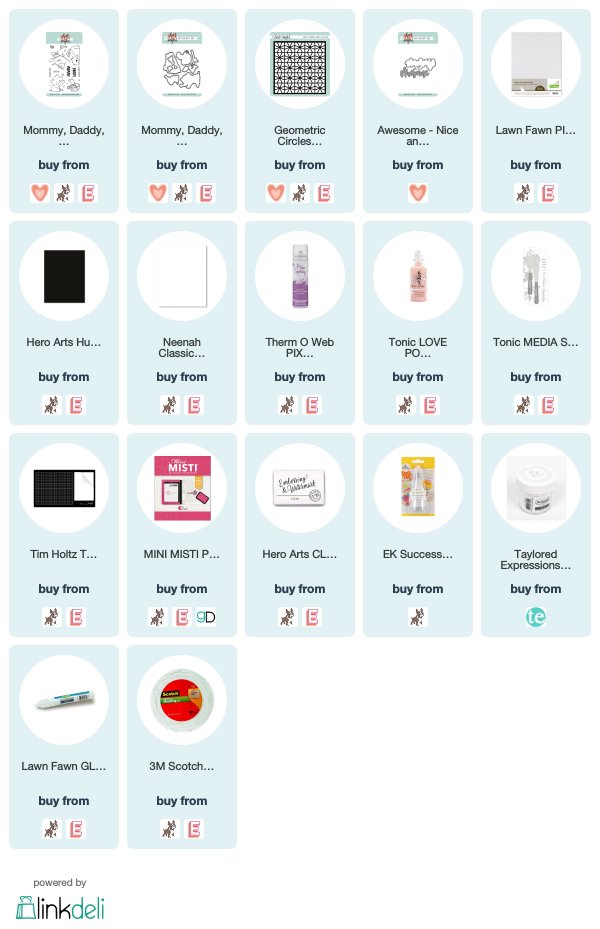
I started by spraying the back of my Geometric Circles Stencil from Neat & Tangled with Pixie Spray. This is a temporary adhesive that you can put on your stencil and provides a light tack to hold the stencil in place on your card stock. In comes in super handy for intricate stencils like this one.


I attached the stencil in place on black card stock and then started adding on some Nuvo Dream Drops in Love Potion. Taking a Tonic Spatula, I started spreading it across my stencil, just like I would glimmer paste.


It's amazing what this product looks like on black card stock! I have the bottle in my picture and you can see it's a light pink but once it's on black card stock, it turns like an iridescent purple. It's stunning in person!

Once I spread it out evenly, I remove the stencil and allow some time dry. After it was dry, which I may have helped along with my heat tool, I trimmed down to 3 3/4" x 5" and added to a white notecard with foam tape.


I die cut the Awesome word die once from Pixie Dust card stock and twice from white card stock. Then layered together with liquid glue. I added to the bottom half of my card with liquid glue as well.

The small sentiment that I heat embossed in white onto black card stock comes from the stamp set Mommy, Daddy and Me. I trimmed down to a thin strip and added to my card front with a tape runner.

Seriously, how stunning is this?! I'm blown away by the results ! I hope you'll give this a try.

Affiliate links are used at no additional cost to you.


3

Video Tutorial - Coloring Hair using Copic Markers with Mindy Baxter


Hi there everyone! It's Mindy from My Creative Scoop, and I have another Copic Marker Tutorial to share with you all!  I am using the stamp set Mermazing and also it's coordinating Mermazing Nice and Neat Dies. I just had to pair this mermaid up with the new Hello Summer Stamp Set and Hello Summer Die Set. I seriously cannot get enough of these layering script dies. I LOVE them! 

One of the most popular questions I get asked when coloring with Copic is coloring hair. So many people struggle coloring hair and I think it's one of the funnest parts to color. The trick to coloring hair is, to leave white in between the the strands so you can have natural looking highlights. 


In the video I'm showing you the simplest way to color blonde hair and still getting so much texture -- and it literally takes me just a few minutes. Of course you can spend a little longer on your hair and get a 'neater' look if that's the look you're going for -- but quick and easy is always great, too. Plus, it's way less intimidating! 

I'm coloring using E40, E41, E42 E43 and E44. You can do this exactly the way I'm coloring using ANY coordinating color combo. I also have tons of Hair Tutorials over on My Creative Scoop, that you can check out!


The background was super fun to make, I'm using my Neat and Tangled Hexastar Stencil and Nuvo Plum Glitter Paste!

I hope you enjoyed this months video. Have a great day!

Mindy

2

Happy Happy Birthday

Hi there! It's Cheiron here with my monthly post. Today I have a fun birthday card featuring the Balloon Duo Stencils. For this card, I wanted to keep the colors simple with some fun and elegant pink and gold balloons and lots of sparkle.


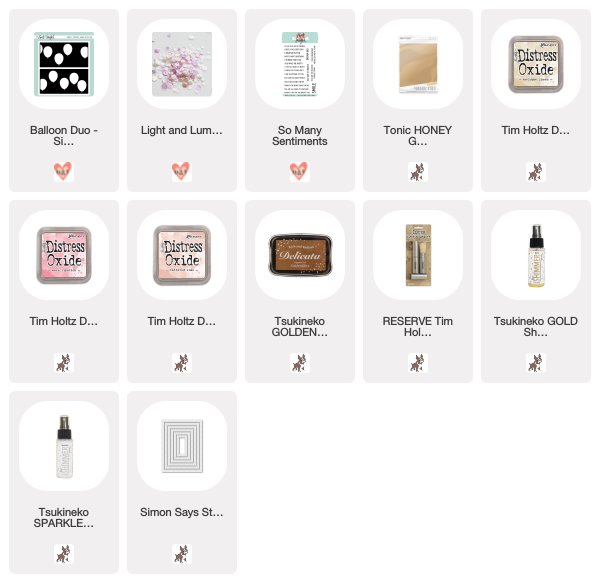
I inked through the Balloon Duo Stencils with Tattered Rose and Antique Linen Distress Oxides, then I used a Tim Holtz Distress Blending Brush to create shading on the edges of the balloons with Warm Lipstick Distress Oxide and Delicata gold ink. Then I misted the entire panel with Sparkle Sheer Shimmer Spritz and gave it a light splatter of Gold Shimmer Spritz using a paintbrush to create small drops. Once it was dry, I added a bunch of Light and Luminous Sequins.


I stamped and embossed the sentiment from the So Many Sentiments set with white embossing powder to complete the card.


SUPPLIES:
9
Back to Top