Showing posts with label diy. Show all posts

Collage Layout and DIY Embellishment with Kelly Latevola

Hello Crafters! 

I cannot believe we are heading into Thanksgiving this week! 
Here in Ohio we've skipped fall and headed straight into Winter. 

Which means I had to create my own :) 


I typically create 3 types of cards. 
1. Scene Card. 2. Floral Arrangement. 3. Clean and Simple 
BUT I love all kinds of card styles and I think it's so important to push outside our boundaries. 


I took one look at the Hello Fall set and knew I wanted to tackle a collage style card. I love the way they look and there's a few tips to make it really easy. Make sure to check out the video below to hear all about it. 


I really love the way the DIY embellishment came out. It's such a fun addition to the card and it adds another texture making the collage more interesting. 


In the close up you can see the water splatters and gold perfect pearls splattered on the leaves. I adore the shimmer element that adds! 

Thank you so much for stopping by!
Have a happy Thanksgiving! 


Supplies:


Neat & Tangled OAK LEAF
Shop at:
SSS | Neat & Tangled
Neat and Tangled HELLO FALL
Shop at:
SSS | Neat & Tangled
Neat and Tangled HELLO FALL - NICE AND NEAT DIES
Shop at:
SSS | Neat & Tangled
Neat and Tangled BIRCH LEAF
Shop at:
SSS | Neat & Tangled
Neat & Tangled WILD ORCHID SEQUIN MIX
Shop at:
SSS | Neat & Tangled
Neenah Classic Crest 80 LB SMOOTH SOLAR WHITE Paper Pack 40 Sheets
Shop at:
SSS
Memento TUXEDO BLACK MARKER Dual Tip Tsukineko
Shop at:
SSS
EK Success WRITING PEN FINE TIP
Shop at:
SSS
Sizzix BIG SHOT PLUS MACHINE Gray And White
Shop at:
SSS
Neenah Classic Crest 80 LB REAM Smooth Solar White Paper Pack 250 Sheets
Shop at:
SSS
Fiskars PREMIUM CUT LINE Paper Trimmer 12 Inches
Shop at:
SSS
Tombow MONO MULTI Liquid Glue
Shop at:
SSS
Ranger MINI ROUND INK BLENDING TOOLS
Shop at:
SSS
Ranger MINI ROUND FOAM REFILLS for Mini Round Ink Blending Tools
Shop at:
SSS
3M Scotch DOUBLE-SIDED FOAM TAPE Permanent
Shop at:
SSS
Ranger Inkssentials Non Stick CRAFT SHEET
Shop at:
SSS
Simon Says Stamp LARGE GRID PAPER Pack Pad
Shop at:
SSS
Ranger Inkssentials GLOSSY ACCENTS
Shop at:
SSS
Simon Says Stamp Premium Ink Pad INTENSE BLACK
Shop at:
SSS
Tim Holtz Distress Ink Pad FOSSILIZED AMBER
Shop at:
SSS
MISTI PRECISION STAMPER Stamping Tool Kit
Shop at:
SSS
MINI MISTI PRECISION STAMPER Stamping Tool Kit
Shop at:
SSS
Silver BLACK VELVET Brush Size 2 Round
Shop at:
SSS
Tim Holtz Distress Ink Pad MOWED LAWN
Shop at:
SSS
Silver BLACK VELVET Brush Size 8 Round
Shop at:
SSS
Tim Holtz Distress OXIDE INK PAD SET OF 12
Shop at:
SSS
Tim Holtz Distress Oxide Ink Pad ANTIQUE LINEN
Shop at:
SSS
We R Memory Keepers TRIM AND SCORE Board
Shop at:
SSS
Tim Holtz Distress Ink Pad SPICED MARMALADE
Shop at:
SSS
Simon Says Stamp Card Stock DARK CHOCOLATE
Shop at:
SSS
Ranger Perfect Pearls PERFECT GOLD
Shop at:
SSS
Simon Says Stamp Premium Dye Ink Pad ORANGE PEEL
Shop at:
SSS
Simon Says Stamp Cardstock METALLICS GLITTER
Shop at:
SSS
Simon Says Stamp Cardstock ASSORTMENT GLITTER
Shop at:
SSS
Simon Says Stamp Dye Ink CLEMENTINE
Shop at:
SSS
Simon Says Stamp Dye Ink Pad GREEN LEAF
Shop at:
SSS
Tim Holtz Distress Ink Pad AGED MAHOGANY
Shop at:
SSS
Simon Says Stamp Dye Ink Pad MERLOT
Shop at:
SSS
7

Neat and Tangled Sequin Series: DIY Sequin Bracelet!


Hi friends! Danielle here, and yes, that's right ladies, a whole week dedicated to sequins! Each day there will be a different designer with a different approach to using sequins. I feel I should also let you know that all sequin colors and styles have been restocked! Find them HERE.

So without further ado, I am up!  You know, I actually made 3 projects using sequins, and a 4th is in the works but I thought I'd hang on to a few of them for next week's May Release!

Today I am here with a photo tutorial showing you how to make a super simple and super inexpensive (for the amount of supplies I used it was probably around $1.00!) bracelet. This was quick, and so fun! Reminded me of making friendship bracelets when I was young! The great thing is that are also a million other ways you could go with this basic idea!

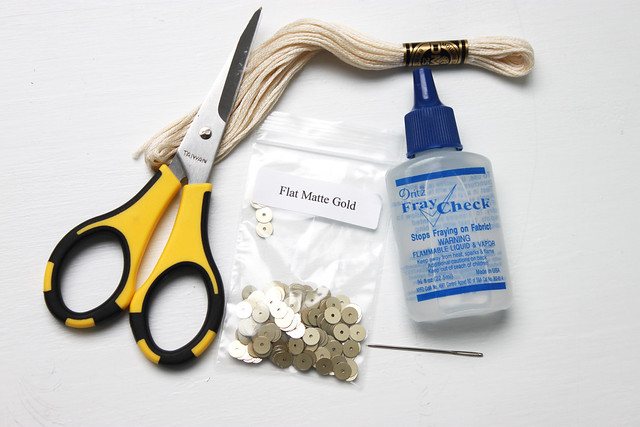
First up, here is what you will need:

supplies
scissors, embroidery floss, flat matte gold sequins, needle, fray check
Now, you can use whatever color floss and sequins you want! I opted for the flat matte gold sequins and a off white/beige floss.

Step 1: Cut 4 long pieces of floss. Wrap a piece around your wrist to see how long it should be, and than double it at least (I admittedly went way over board with the length of mine and made it like 4x as long and that was unnecessary)

step1

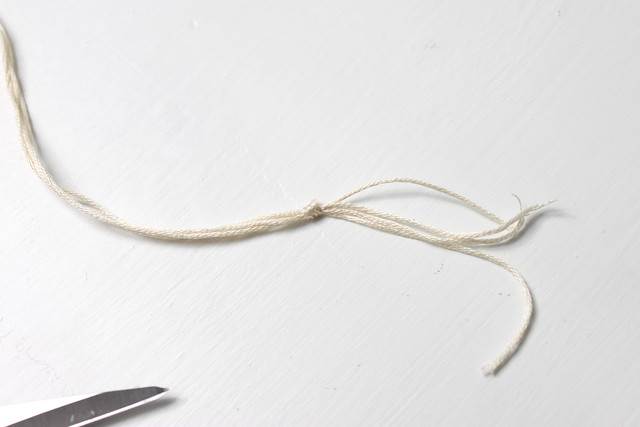
Step 2: Tie knot at one end, leave enough so that you can tie it around your wrist once finished.

step2
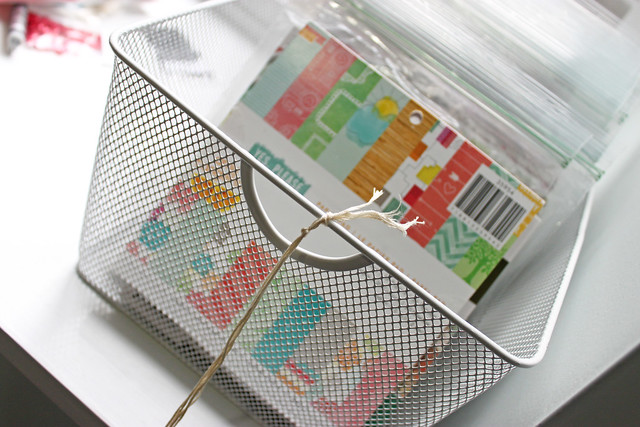
Step 3:  Next I tied the floss onto this little basket, you just need to tie it on something that isn't going to move when you pull on the floss.

step3
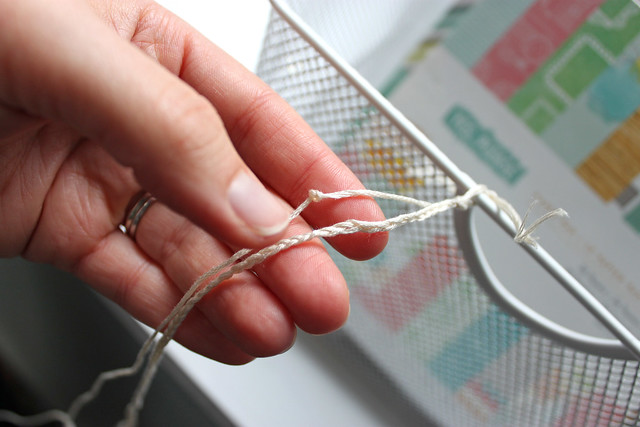
Step 4: Take 3 of the strands of floss and braid them. Check periodically to see if the braid is long enough to wrap the full length around your wrist.

step4
Step 5: Once your braid is long enough, tie it off loosely at the end (you will need to untie this later)

step5
Step 6: Thread the one remaining piece of floss through a small needle (it will need to fit through a sequin center)
step6
Step 7:  Tie a knot in the thread close to the top, where the braid begins.

step7
Step 8: Thread floss through 1 sequin, pull it all the way up until it touches the knot.

step8


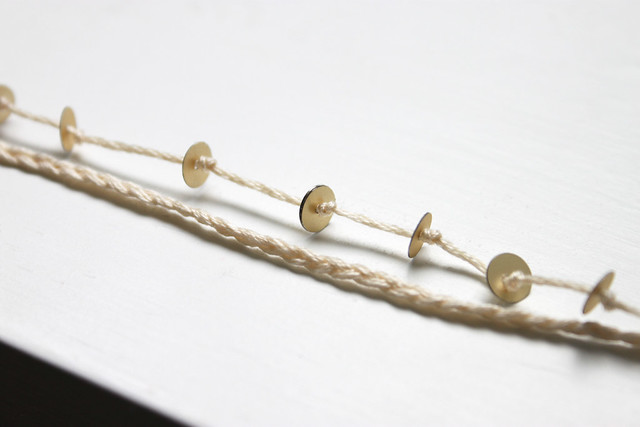
Step 9: Continue the trend of tying a knot and threading a sequin until you have gone the same length as the braid. You can space your knots and sequins. however you like! Close together, farther apart, equally spaced, clustered...whatever look you're going for! Here is what mine looks like, you can see the trend of knot, sequin.

step9


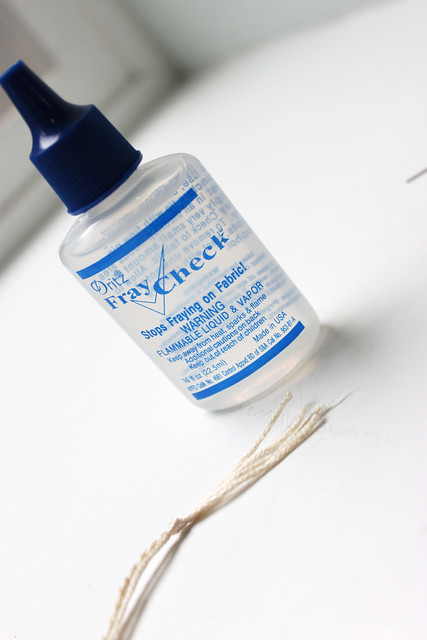
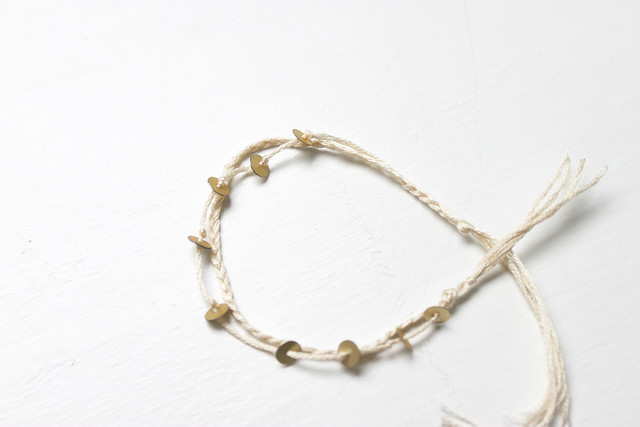
Step 9: I forgot to take a picture, but you untie the end of the braid, and then tie all 4 strands (the 3 from the braid and the 1 with the sequins) together in a knot at the end of your bracelet. Cut off the excess, but be sure to leave enough so you can tie the two ends together around your wrist. If you're worried about the ends of your floss fraying, you can use some Fray Check!

step11
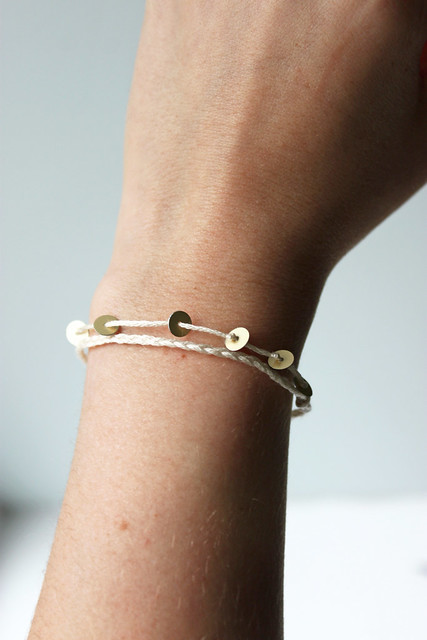
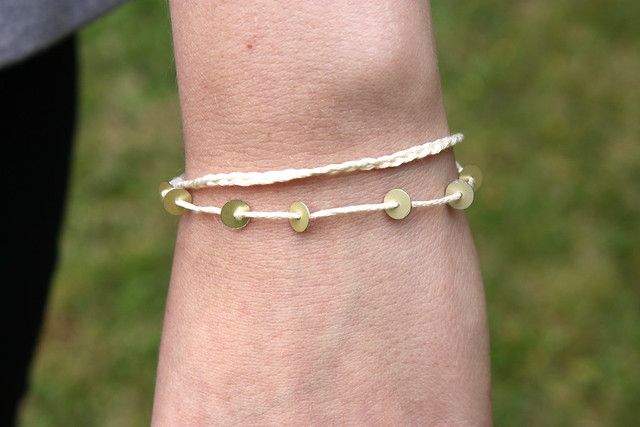
Step 10: Ta-Da! You have a sweet, custom, trendy, little bracelet!

step10
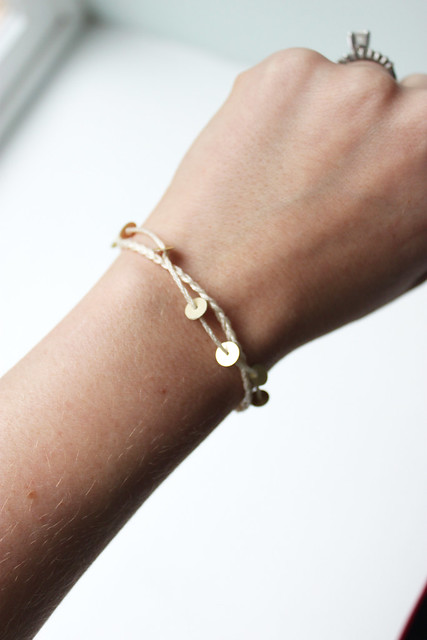
You can wear it with the braid and sequins sort of twisted

bracelet1
Or separate

bracelet2

bracelet3
Just imagine what you could do! I'm already putting some more of my hoarded embroidery floss and sequins to use! I was also thinking you could also add in beads, maybe twine or hemp instead of floss! If you give this a try be sure to share on our Facebook page or Flickr group! 
12
Back to Top