Hi friends! Danielle here, and yes, that's right ladies, a whole week dedicated to sequins! Each day there will be a different designer with a different approach to using sequins. I feel I should also let you know that all sequin colors and styles have been restocked! Find them HERE.
So without further ado, I am up! You know, I actually made 3 projects using sequins, and a 4th is in the works but I thought I'd hang on to a few of them for next week's May Release!
Today I am here with a photo tutorial showing you how to make a super simple and super inexpensive (for the amount of supplies I used it was probably around $1.00!) bracelet. This was quick, and so fun! Reminded me of making friendship bracelets when I was young! The great thing is that are also a million other ways you could go with this basic idea!
First up, here is what you will need:
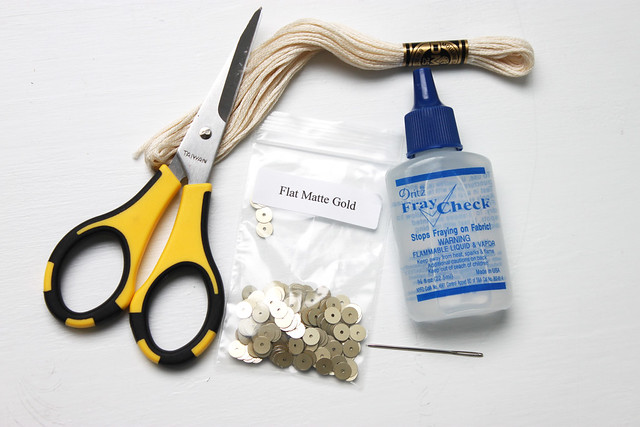 |
| scissors, embroidery floss, flat matte gold sequins, needle, fray check |
Step 1: Cut 4 long pieces of floss. Wrap a piece around your wrist to see how long it should be, and than double it at least (I admittedly went way over board with the length of mine and made it like 4x as long and that was unnecessary)
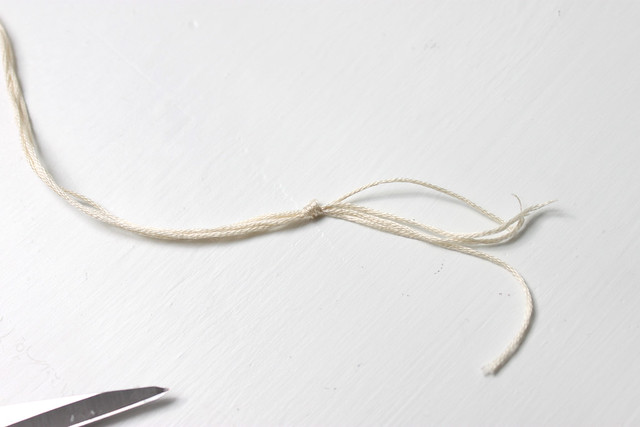
Step 2: Tie knot at one end, leave enough so that you can tie it around your wrist once finished.
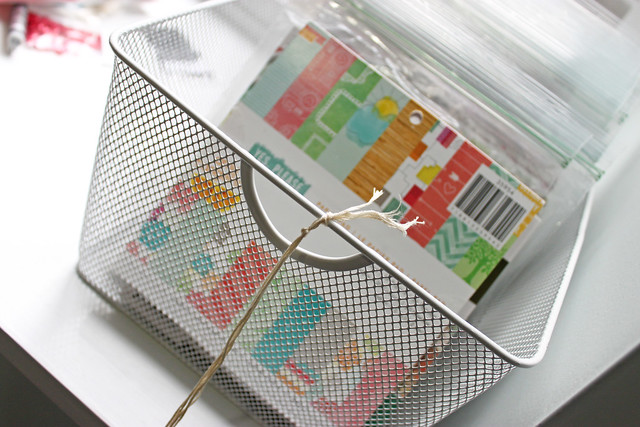
Step 3: Next I tied the floss onto this little basket, you just need to tie it on something that isn't going to move when you pull on the floss.
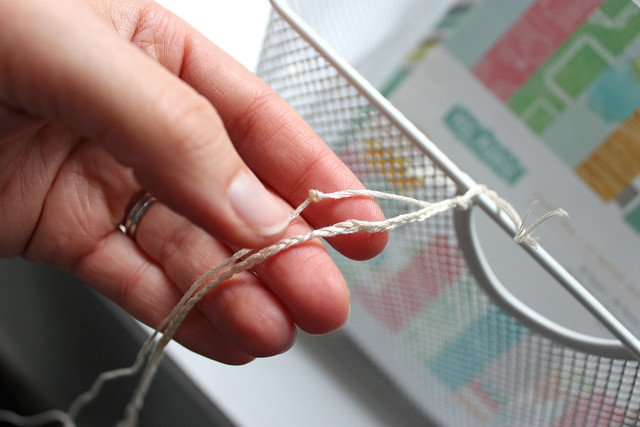
Step 4: Take 3 of the strands of floss and braid them. Check periodically to see if the braid is long enough to wrap the full length around your wrist.
Step 5: Once your braid is long enough, tie it off loosely at the end (you will need to untie this later)
Step 6: Thread the one remaining piece of floss through a small needle (it will need to fit through a sequin center)

Step 7: Tie a knot in the thread close to the top, where the braid begins.
Step 8: Thread floss through 1 sequin, pull it all the way up until it touches the knot.
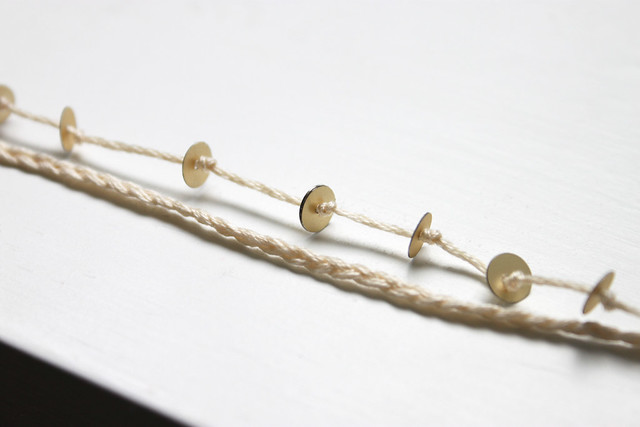
Step 9: Continue the trend of tying a knot and threading a sequin until you have gone the same length as the braid. You can space your knots and sequins. however you like! Close together, farther apart, equally spaced, clustered...whatever look you're going for! Here is what mine looks like, you can see the trend of knot, sequin.
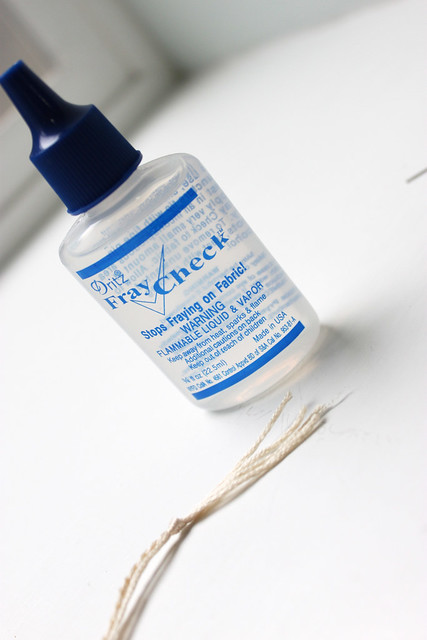
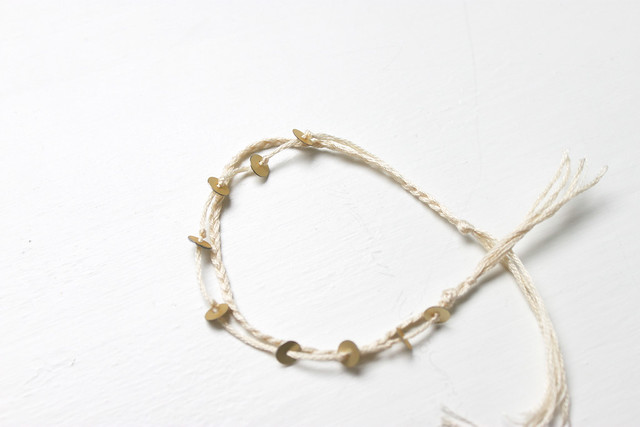
Step 9: I forgot to take a picture, but you untie the end of the braid, and then tie all 4 strands (the 3 from the braid and the 1 with the sequins) together in a knot at the end of your bracelet. Cut off the excess, but be sure to leave enough so you can tie the two ends together around your wrist. If you're worried about the ends of your floss fraying, you can use some Fray Check!
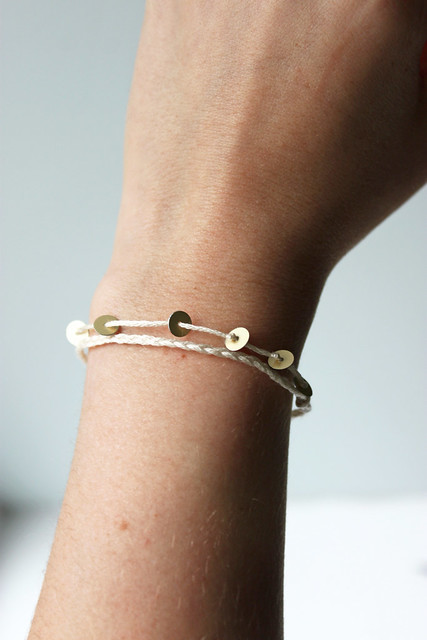
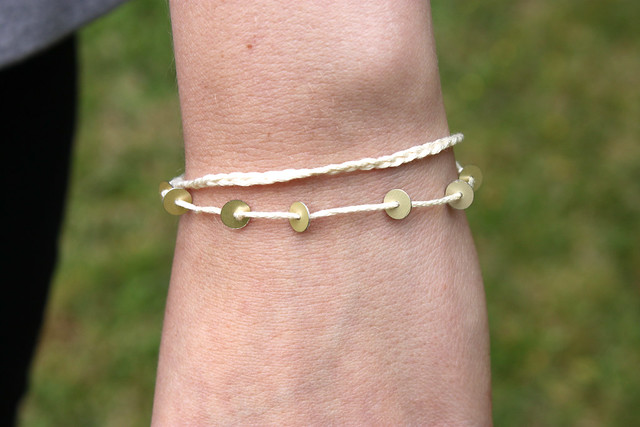
Step 10: Ta-Da! You have a sweet, custom, trendy, little bracelet!
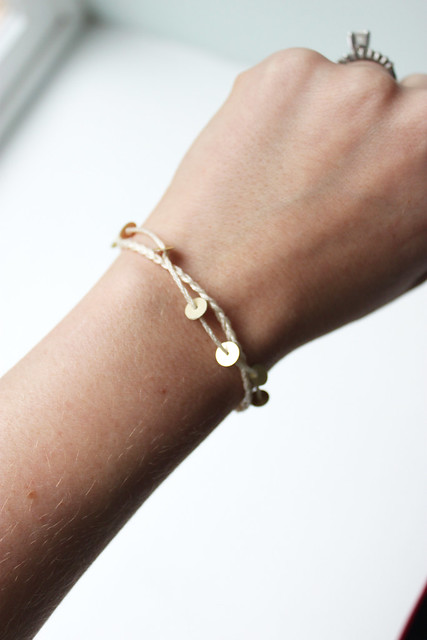
You can wear it with the braid and sequins sort of twisted
Or separate
Just imagine what you could do! I'm already putting some more of my hoarded embroidery floss and sequins to use! I was also thinking you could also add in beads, maybe twine or hemp instead of floss! If you give this a try be sure to share on our Facebook page or Flickr group!







So pretty, great tutorial!
ReplyDeleteAwesome!
ReplyDeleteSo cool!!!! Love that sequin bracelet!! It's so fun!!
ReplyDeleteSuper cute!
ReplyDeleteso pretty! i love the neutral color combo...awesome!
ReplyDeleteSo cool!!! Nice.... Hugs...x
ReplyDeleteNeat idea Danielle!!!
ReplyDeleteLove this idea!
ReplyDeleteGreat bracelet!
ReplyDeletesweet! i expect a friendship bracelet from you, including sequins, within the week LOL
ReplyDeleteHaha - very cute, Mary Dawn - please post a picture, when you receive it :)
DeleteSo pretty :) Thank you - great tutorial :)
ReplyDelete