Showing posts with label christmas card. Show all posts

Snow Fun with Mindy Eggen!

Welcome everyone! Mindy Eggen here with you today and I have some inspiration to share using the Snow Fun stamp set from Neat & Tangled. This is small 3" x 4" stamp set with lots of images to create a scene for your holiday card making.

I started by creating a mask using a standard circle die and Masking Magic. I adhered my mask to a piece of Neenah Solar White card stock measuring 4 1/4" x 5 1/2" and ink blended Shaded Lilac, Peacock Feathers and Twisted Citron Distress Oxides. I used Life Changing Blender Brushes for a soft blend.


Once my ink was dry, I stamped the snowflakes in embossing ink using a small acrylic block. Then sprinkled on Silver Embossing Powder and heat set.

My images are stamped in copic friendly ink and colored with copic markers. You can fussy cut or use the coordinating die to cut out the images.

I lined up my images temporarily and stamped the sentiment at the bottom using Black Ink. I made sure to move my images before stamping so I don't risk getting ink on them.


After I stamped the sentiment, I attached my images with liquid glue.


I love changing up colors to more of a non-traditional scene. I think it adds a little bit of interest to the card.

Hope you enjoyed today's inspiration!

SUPPLIES

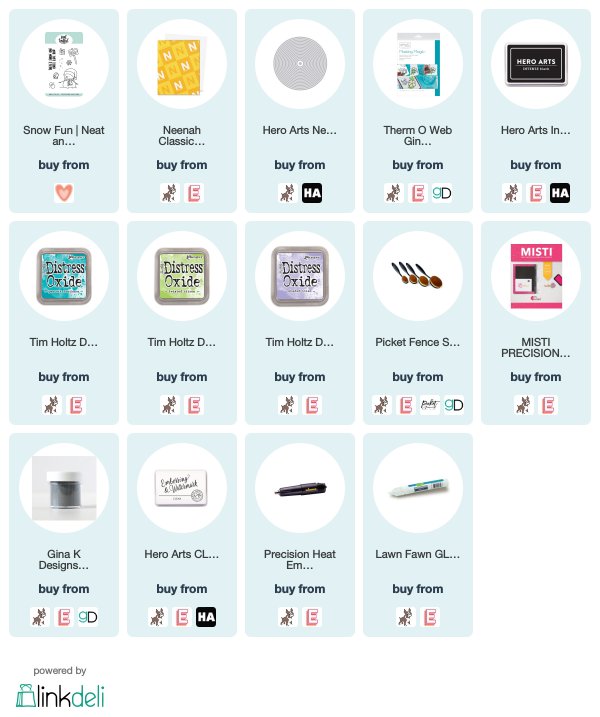
Below you will find links to the supplies used. Click the icon to start shopping. Compensated Affiliate links are used at no additional cost to you. Your support helps me to keep bringing you new projects and videos. Thank you!

4

Warmest Wishes | VIDEO | Natalie Elphinstone

We're quickly hurtling towards Christmas and if you're of the inclination to create some handmade Christmas cards (and I'll hazard a bet that the majority of people reading this probably are!!) then it's well and truly time to start creating your Christmas cards! In fact, I'm sure you already have right? But it never hurts to throw in some new inspiration and maybe I might encourage you to try something you've never tried before.


Did you manage to grab one of the new release stitching dies that Neat and Tangled designed in collaboration with Benzie Design yet? These are changing my perspective on the traditional paper-based Christmas card this year by encouraging me to add some felt embellishments with all the trimmings!


If you notice carefully, the Ugly Sweater Die Set comes with a whole range of small dies for decorating your sweaters with. But don't feel that you have to be limited to just that, when all the pieces can be used as stand-alone embellishments for sooooo many of your Christmas projects. And that's exactly what I've done here. I used the wreath and the poinsetta and the bow to make a kind of banner across my card, and the texture created by cutting these from Benzie Design felt is just incredible.


In my video today I'm going to walk you through the process of creating this card start to finish (including the part where I first finished the card with a whole different sentiment and then changed my mind and used this one instead!!!) I hope you enjoy it, and I hope I've inspired you to add some fabric textures into your next card.


Supplies:

Neat and Tangled with Benzie Design: Ugly Sweater Stitching Dies
Neat and Tangled Merry Kisses Stamp Set
Neat and Tangled Tiny Cuts Die Set
2

Copic Marker Video Tutorial - Coloring a Snowman


Copic Marker Video Tutorial - Coloring a Snowman


Hello everyone, it's Mindy from My Creative Scoop and I'm back with another Copic Marker Video tutorial to share with you.

This month I'm using one of my favorite sets from Neat and Tangled, Santa's Wonderland. I've stamped my image on Copic Xpress it Blending Card using Black Memento Ink.

I cut out a circle using a circle die and used the negative part to sponged the circle onto my card base using my Stormy Sky and Hickory Smoke Distress Oxide Ink pads. Then I took the circle I cut out and trimmed a piece from the top and the bottom in a wavy pattern to create a snow effect. I popped up the 'snow' on some foam dots for some extra dimension.

Now for the coloring. Here's a list of Copic Markers I'm using in the video tutorial.
C0, C2, C4, B000, B00, B95, G82, G85, R35, R37, R39, N5, N1


I hope you found the video tutorial helpful. Please visit me over on my site, My Creative Scoop for more Copic Marker Tutorials, Videos and Online Classes. 

Until next month my friends!

♥ Mindy 

4

Wishing You Love (and Rainbows)


Hi there! It's Cheiron here with my last card of the year. I wanted to use one of my favorite holiday greetings along with some rainbow colors to send some cheer to all of you. This card is perfect for anyone during the holiday season.


To create the background of this card, I cut a piece of Distress Watercolor cardstock with the largest of the Scalloped dies. Then I inked it up with foam blending tools and Distress Oxides in every color of the rainbow and spritzed it with water.  After that, I stamped the sentiment from the Wishing You Love stamp set with Versafine Onyx Black ink and embossed it with clear embossing powder.


I stamped the tiny heart with Picked Raspberry Distress Oxide and embossed that with clear embossing powder as well. When I was all done, I cut the inside of the panel with a stitched rectangle die and then layered the outside of the frame onto my black card base, followed by a piece of glitter paper just a bit larger then my stitched rectangle (with foam tape on the back), then added my stitched rectangle die on top. I had actually meant to line up the die and frame just as I had cut them, but when I put the pieces on the table, the outside colors were the opposite of what was inside. I liked the contrast, so I just went with it!


This card would be easy to replicate if you did a bunch of the panels at once, then stamped and cut and assembled.

Hope you enjoyed this walkthrough of my card. Wishing you all Joy, Warmth and Love this season and all the best for 2018!
6
Back to Top